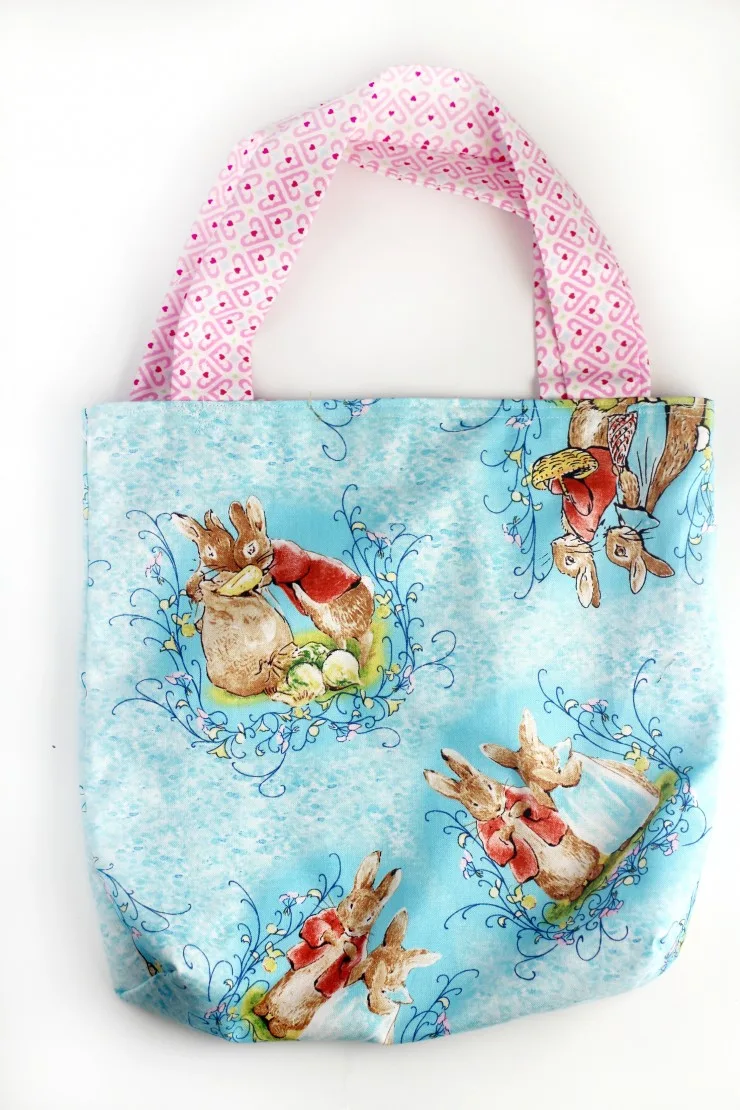
This simple kids tote is easy to make with a tutorial anyone of any sewing level can follow. There is no sewing pattern, just a few quick measurements and techniques to create this super cute bag for kids.
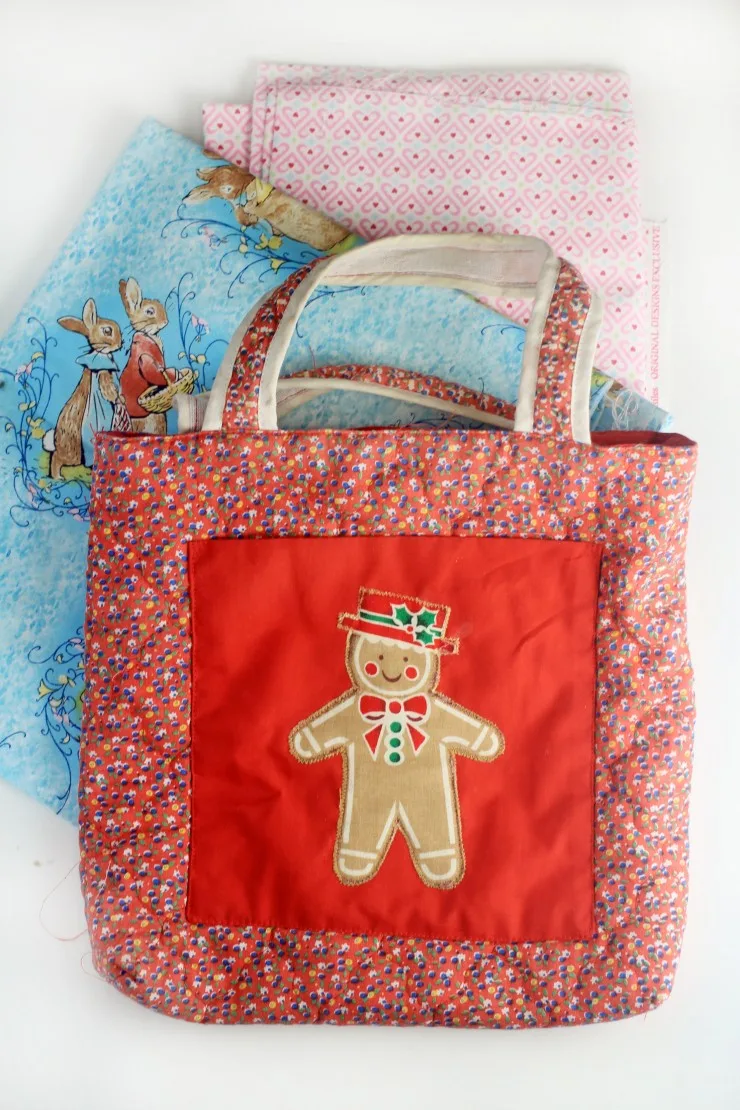
I was inspired to reverse engineer a cute little gingerbread tote bag my Great Aunt had made me when I was little to make brand new bags for my own little girls.
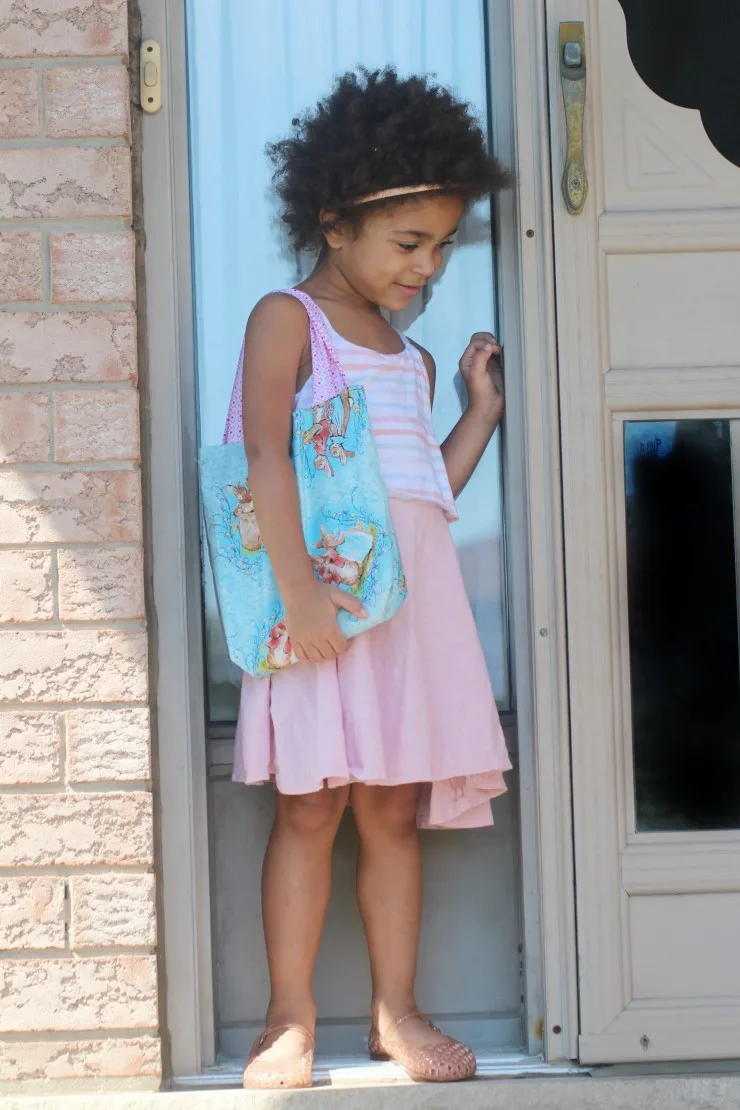
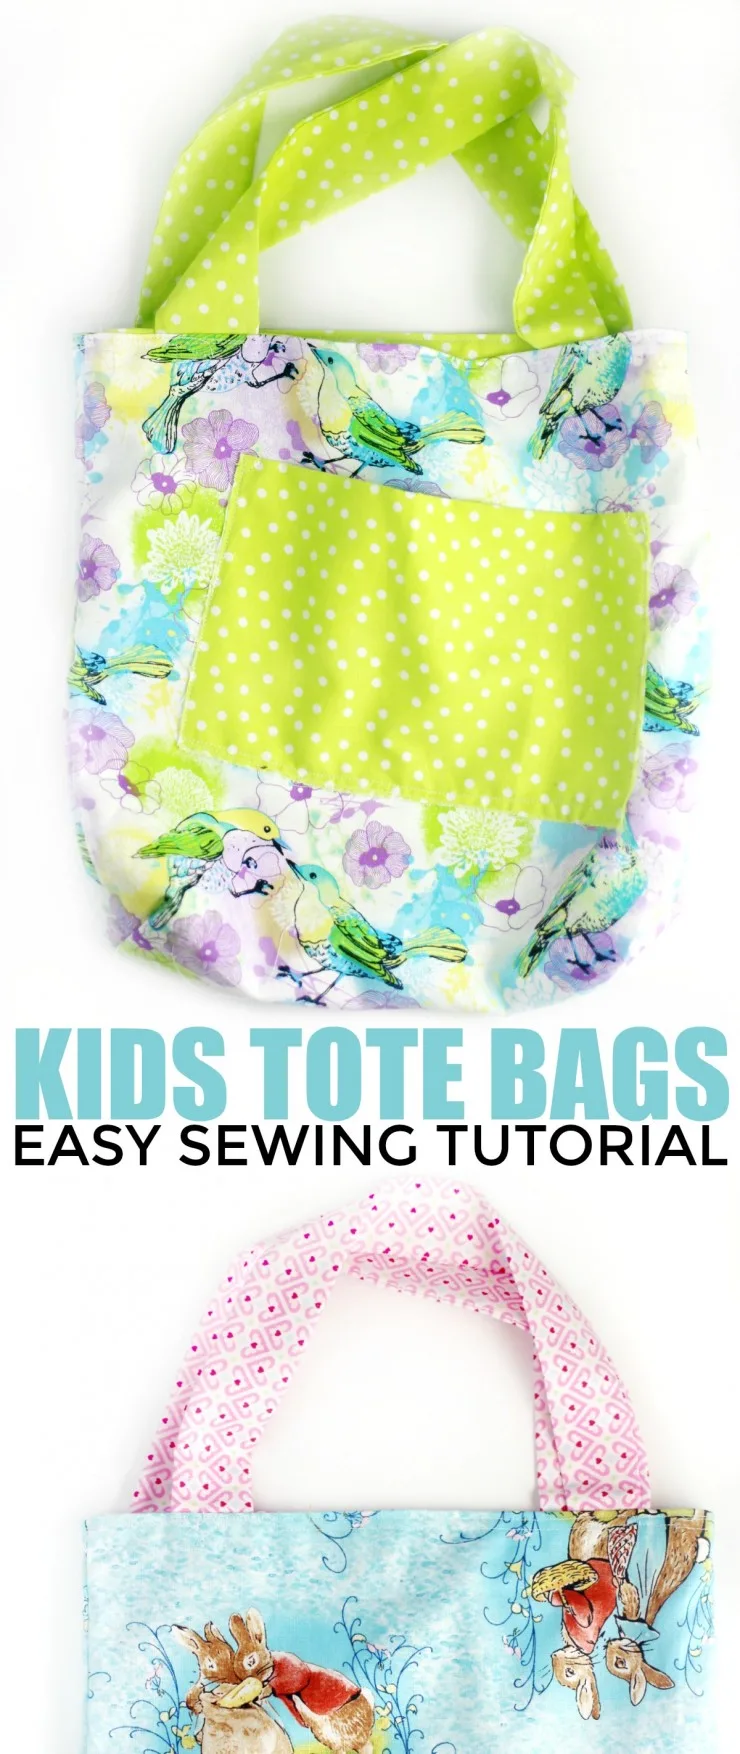
The girls completely love their tote bags. Keira, my 4 year old, chose a Peter Rabbit print for her bag. She loves to carry books and small toys in it when visiting her grandparents.
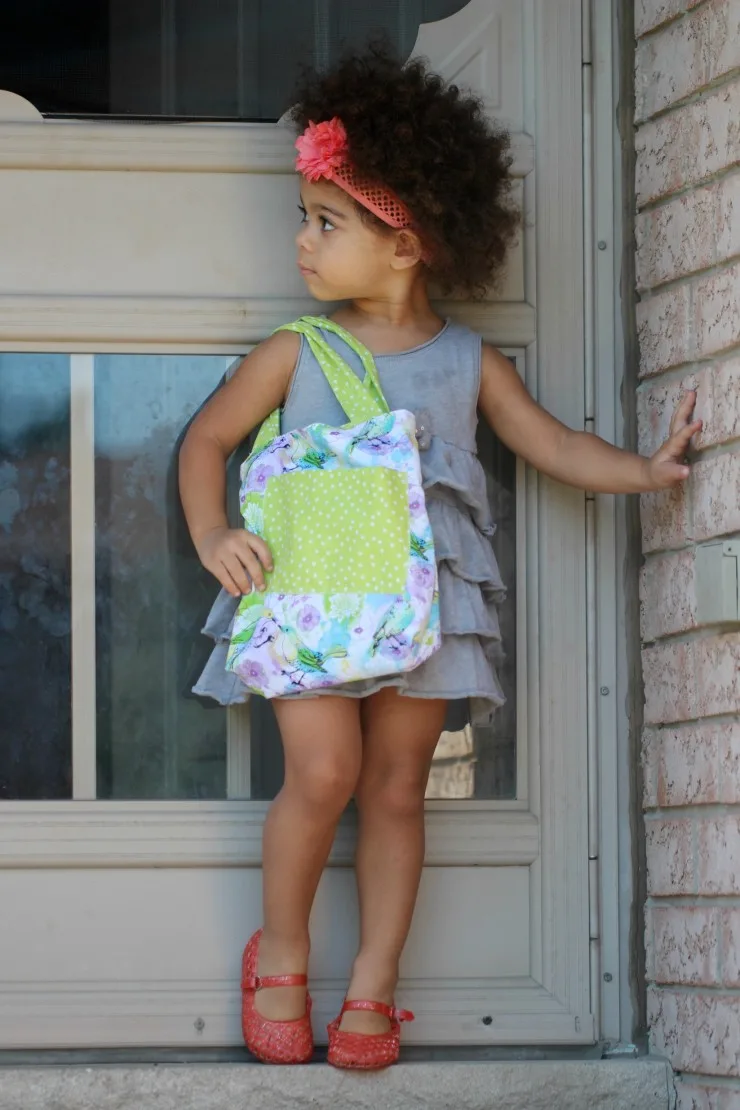
Ava picked this pretty print out from my stash of fabric and I chose the lime green polka dots as a nice, fun contrasting fabric. I went with a wonky pocket as the fabric itself is a bit “old” for a 2 year old, so I thought it made the bag cute for her.
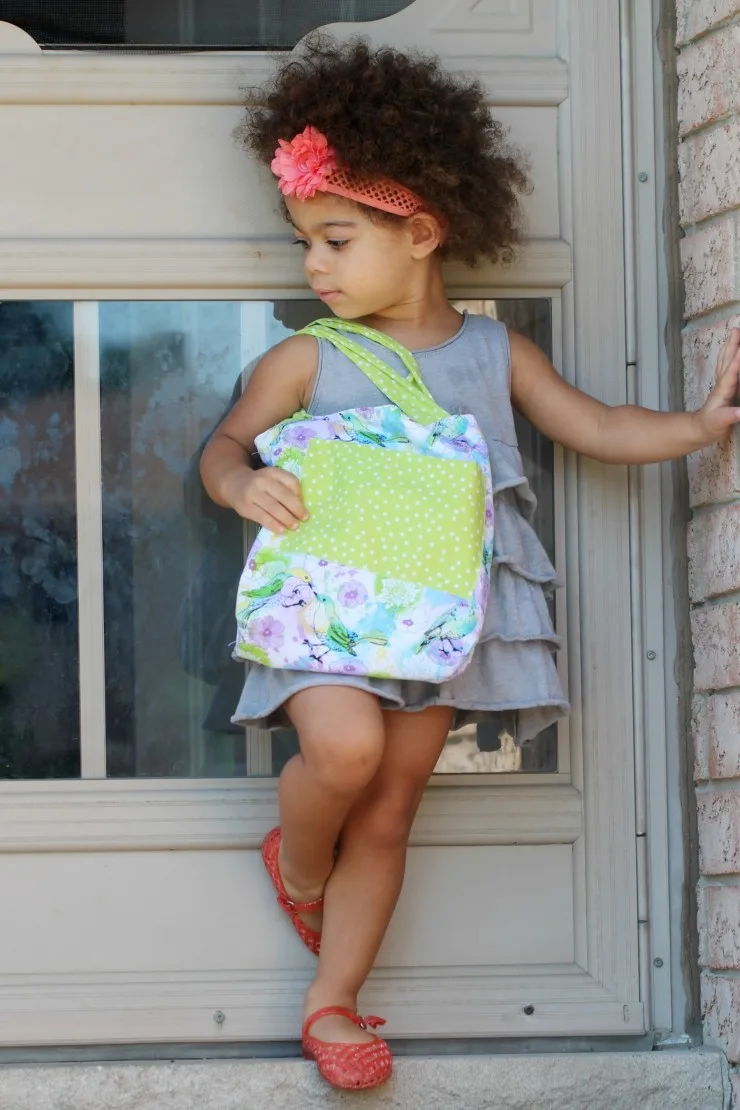
Ava carries her bag around with her everywhere. You can usually find random bits and pieces in it along with at least one Clifford book.
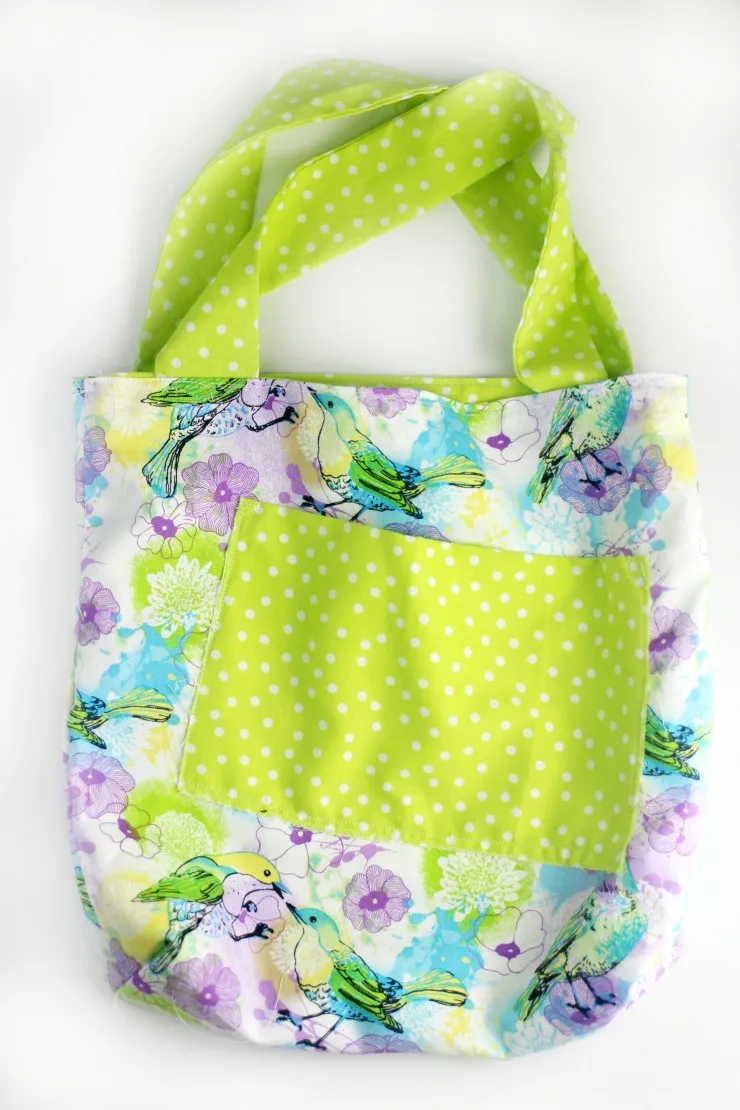
Simple Kids Tote Bag
The bag measures approximately 11″ wide x 11″ high.
Materials:
- (1) 11.5″ wide x 22.5″ cotton fabric – outer fabric
- (1) 11.5″ wide x 22.5″ cotton fabric – lining
- (2) 3″ wide x 14″ cotton fabric – straps (Same fabric as lining)
- (1) 14″ wide x 8″ cotton fabric – Pocket (Same fabric as lining) *optional
- coordinating thread
- water-soluble marking pen
- straight pins
- sewing machine
- clear acrylic ruler
- rotary cutter
- self-healing mat for cutting
- iron
Assembly:
For the Pocket:
If you want a pocket, fold the pocket material in half with right sides out and iron flat.
Pin the pocket onto your material with the fold at the top and raw edge at the sides and bottom. I went for wonky but you can definitely measure and centre it properly.
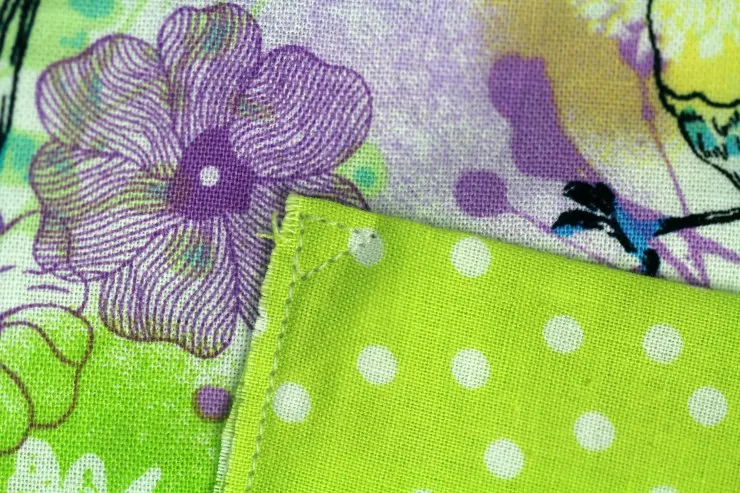
Sew along the sides and bottom of the pocket close to the edge. Start by sewing a small triangle with 1 cm sides at the top corning, ending with another small triangle on the other side, being sure to backstitch at the beginning and end to secure the stitches.
For the Tote Bag:
Fold the outer fabric in half with right sides facing and iron flat.
Fold the inner fabric in half with right sides facing and iron flat.
Fold the strap fabric in half lengthwise with right sides facing and iron flat.
Pin and stitch along the sides of the outer fabric.
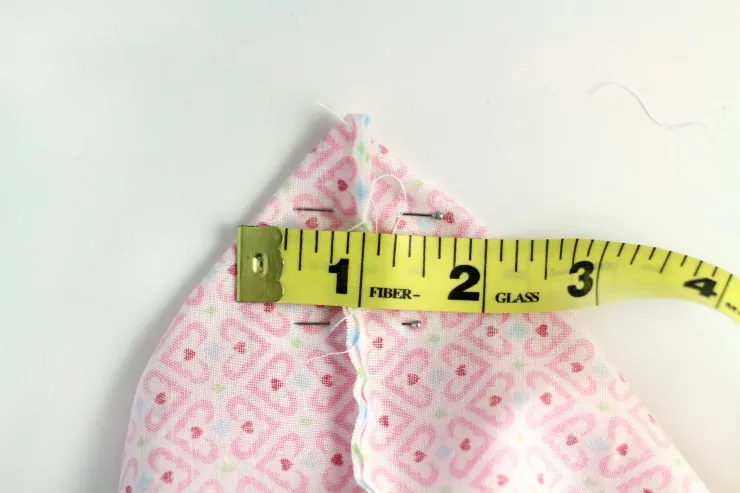
Flatten the bottom corner by matching one of the side seams to the bottom seam to create a triangle at the corner.
Measure 2″ across the triangle and mark the line with a water-soluble pen. Pin above and below the mark as well.
Sew along the line, being sure to backstitch at the beginning and end to secure the stitches well.
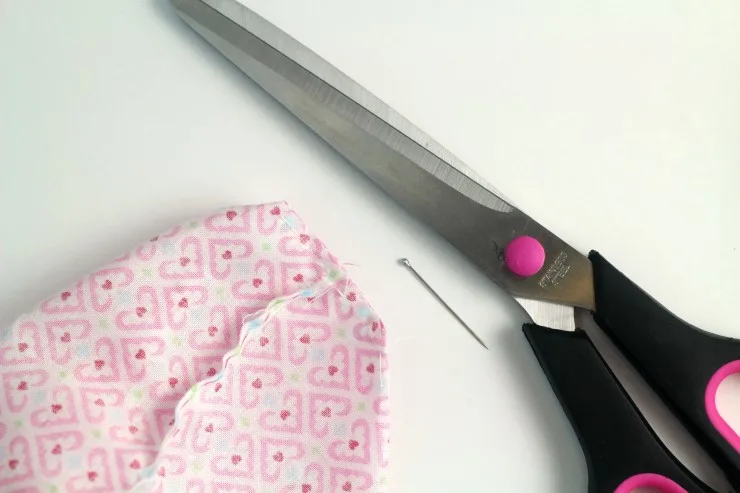
Cut the corner about 1/4″ from the stitches.
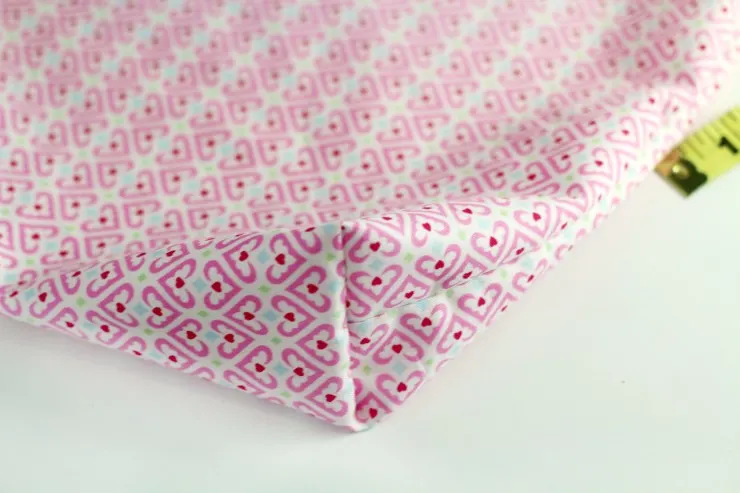
Repeat steps 5-8 for the other corner.
Repeat steps 4-9 with the lining fabric.
For the straps, sew along the open edge, being sure to backstitch at the beginning and end to secure the stitches.
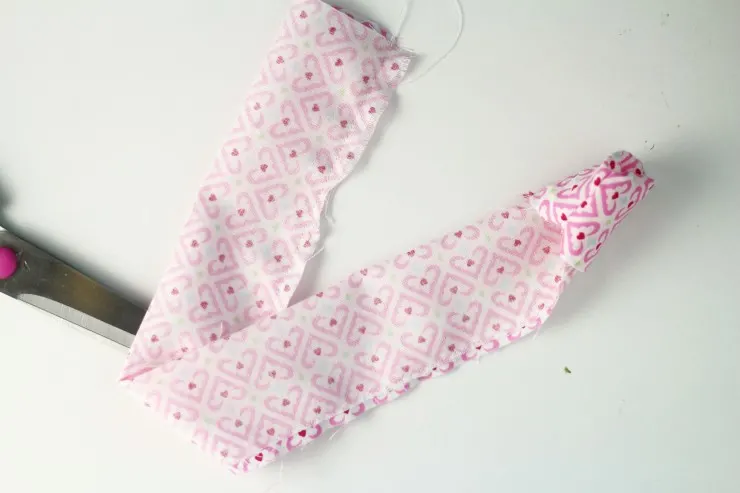
Pull the tubes inside out so the right sides are now outside and iron flat with the seam as an edge.
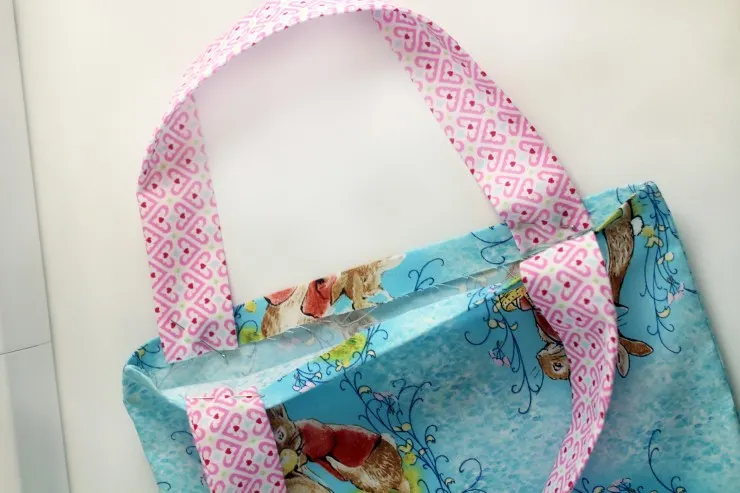
With the outer fabric facing right side out, fold the top into the bag 1/2″ and press flat.
Pin the straps to the inside of the bag 1/2″ down and about 2″ from each side seam.
Stitch around the entire bag near the raw edge being sure to backstitch at the beginning and end.
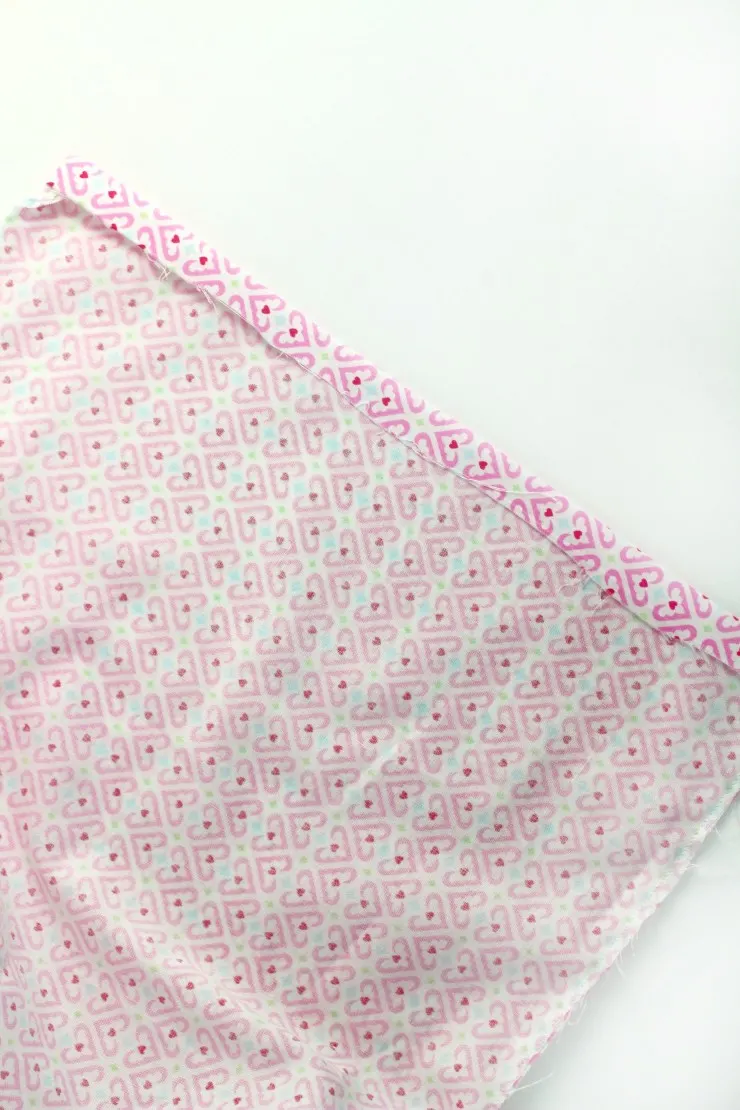
With the lining fabric keep the right sides facing and fold over the top edge slightly less than 1/2″. Press flat.
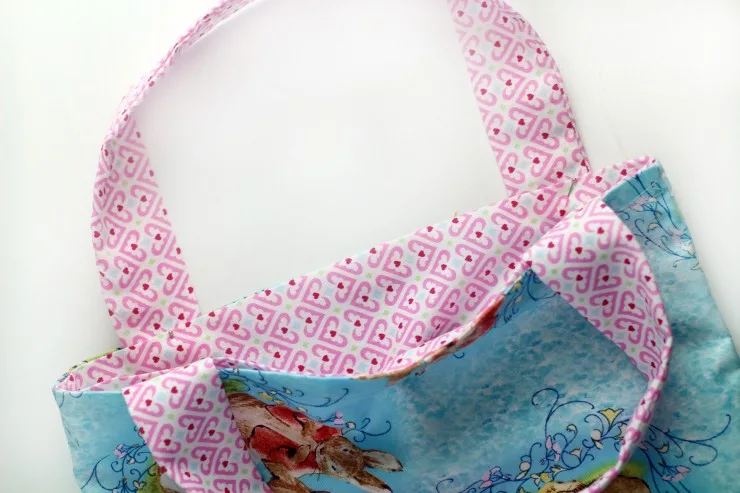
Insert the lining fabric into the outer fabric being sure to align the side seams. Pin the lining fabric just slightly below the top edge of the outer fabric.
Stitch around the entire bag near the top edge being sure to backstitch at the beginning and end.
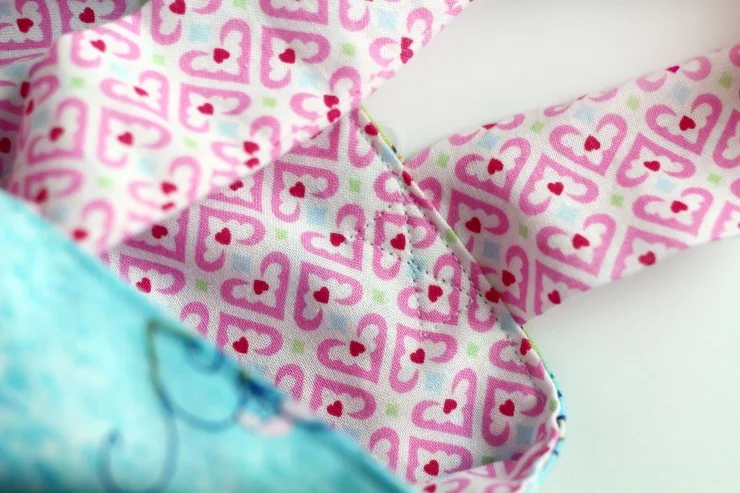
Stitch an “X” on the concealed parts of the straps with the outer fabric facing up for added strength.

Elizabeth Lampman is a coffee-fuelled Mom of 2 girls and lives in Hamilton, Ontario. She enjoys travelling, developing easy recipes, crafting, taking on diy projects, travelling and saving money!

Christine
Friday 15th of July 2022
I now see to use the folded edge. Sorry.
Elizabeth Lampman
Friday 15th of July 2022
Glad you figured it out, so sorry as I've just seen this, summer is so busy with the kids at home!
Christine
Friday 15th of July 2022
How do you flatten the bottom of the folded bottom edge?
Laurie P
Sunday 6th of November 2016
I want to get a hold of that rabbit print.....it's beautiful.
Stephanie LaPlante
Saturday 5th of November 2016
Such a cute little tote bag!
Susan T.
Thursday 3rd of November 2016
I love the bunny and bird fabrics. So cute!