
These Wood Slice Santa Claus Ornaments are an adorable and festive holiday craft that make for great keepsake gifts that look great on a Christmas tree. We had so much fun making these Christmas ornaments!
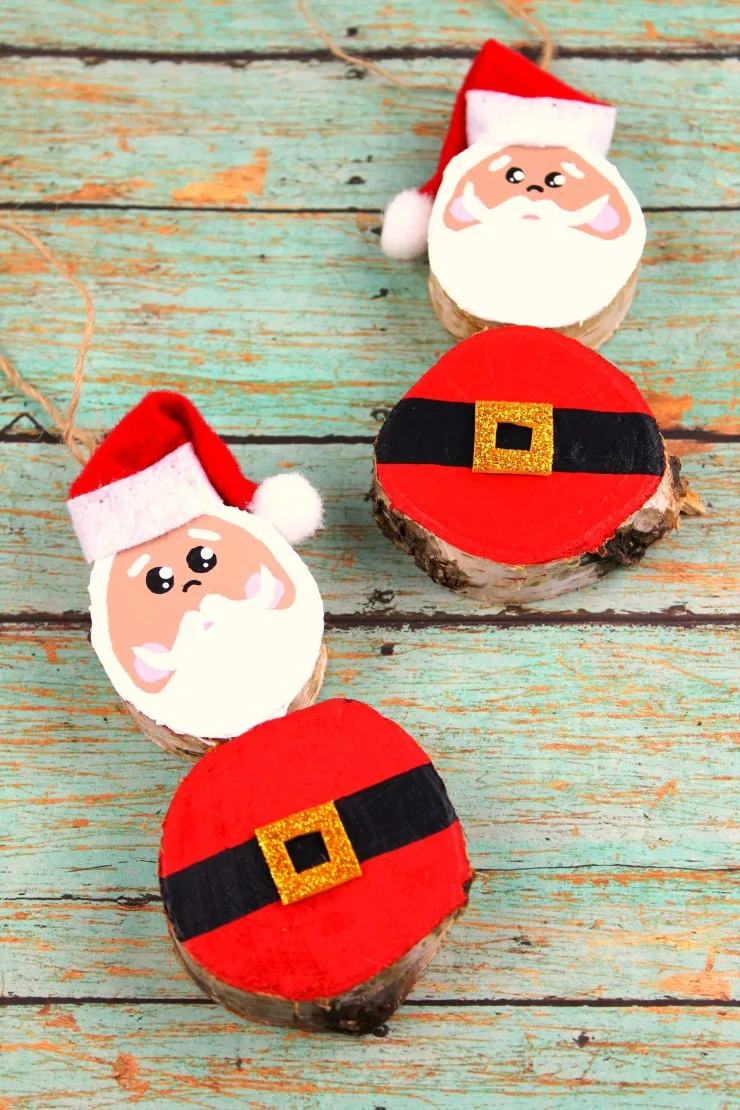
Wood Slice Santa Claus Ornaments
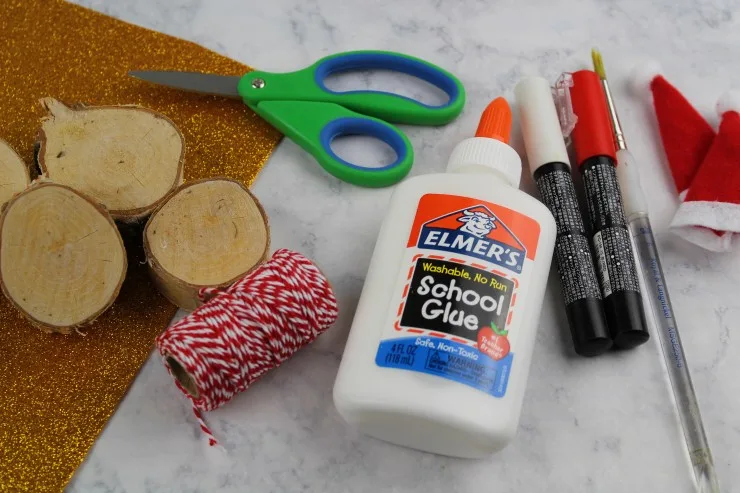
Supplies:
Wood Slices
Gold Glitter Craft Foam
Scissors
Glue
Red, White and Flesh Tone Paint
Paint Brush
Mini Santa Hats
Red, Pink and White Paint Markers
Cord or Twine
Instructions:
Paint an equal number of wood slices red and flesh toned. Allow them to dry completely.
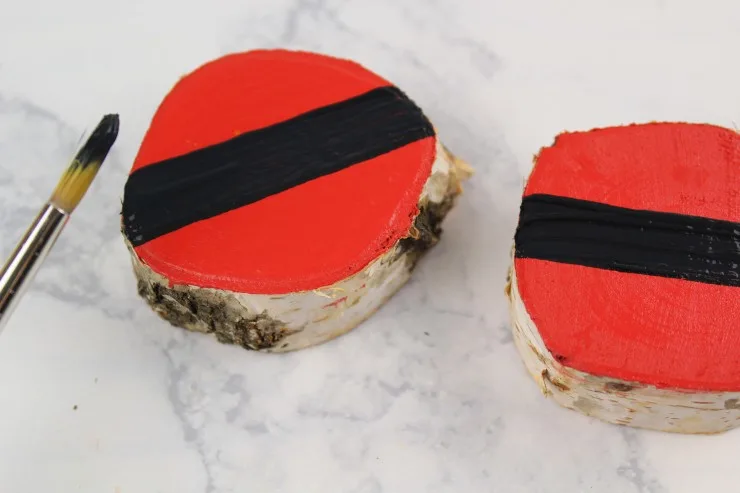
Paint a black belt across the red painted wood slices.
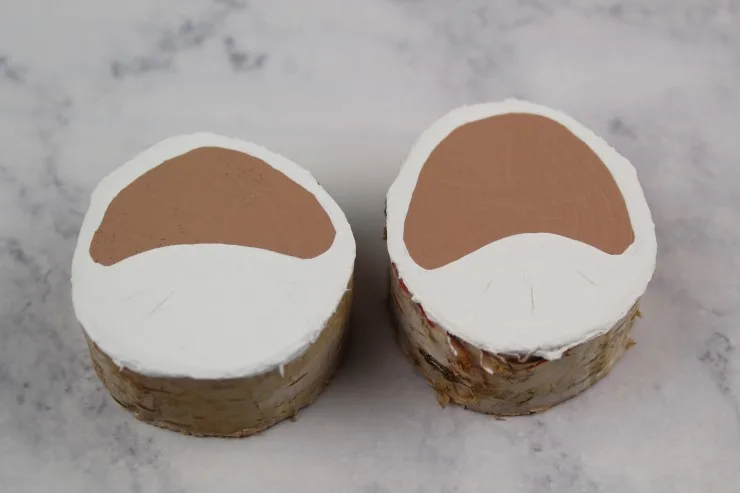
Paint a beard and hair onto the flesh toned paint slices.
Allow to dry completely.
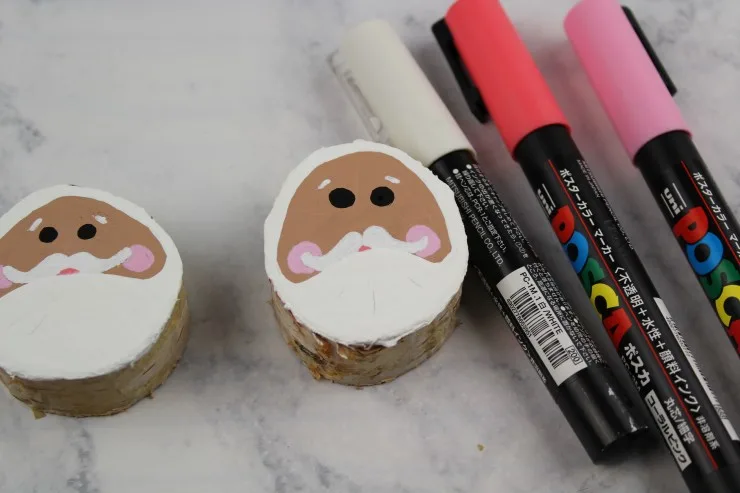
Use a black paint marker to draw on eyes.
Use a white paint marker to draw on a moustache and eyebrows.
Use a red or dark pink paint pen to draw on a mouth.
Use a light pink paint pen to draw on rosy cheeks.
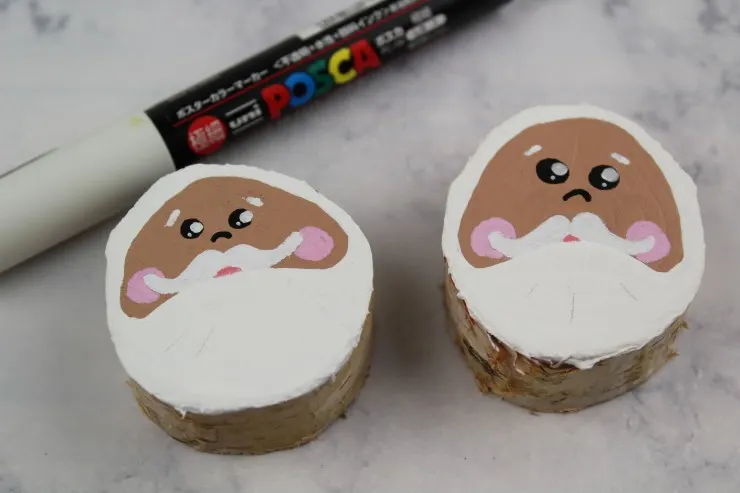
Use a white paint pen to add detail to the eyes.
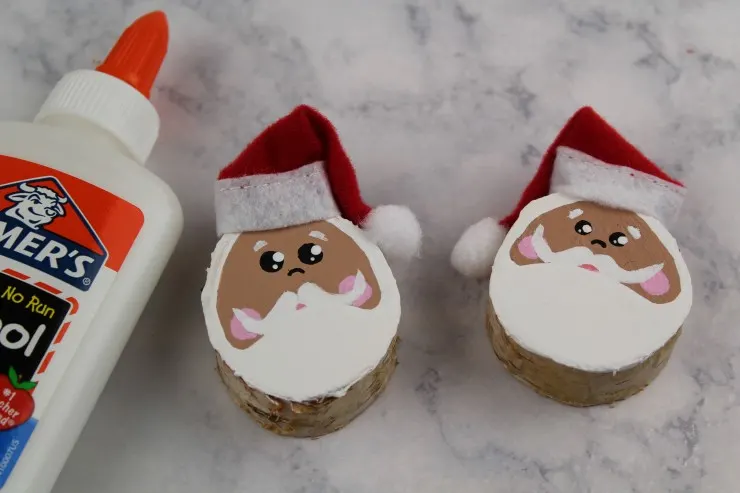
Glue mini Santa hats onto the top of the head.
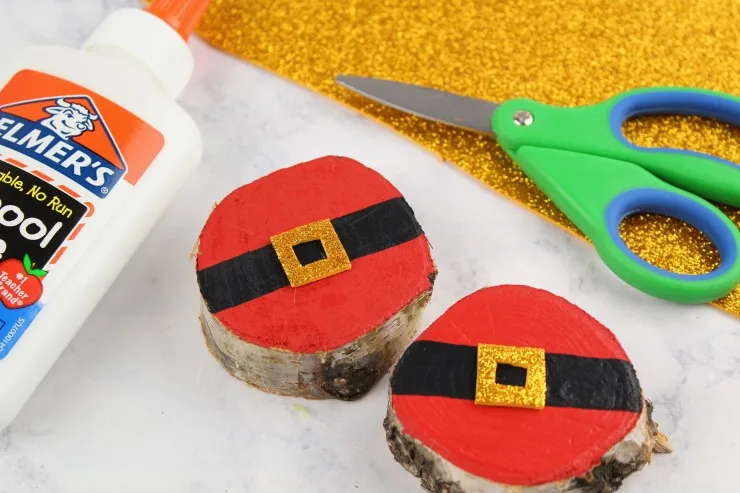
Cut a small square from gold glitter craft foam. Cut the centre out. Glue square onto Santa’s black belt.
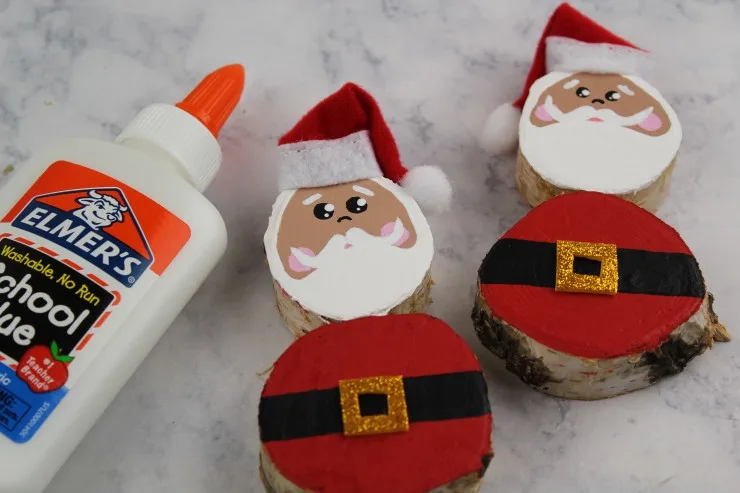
Glue head to the body.
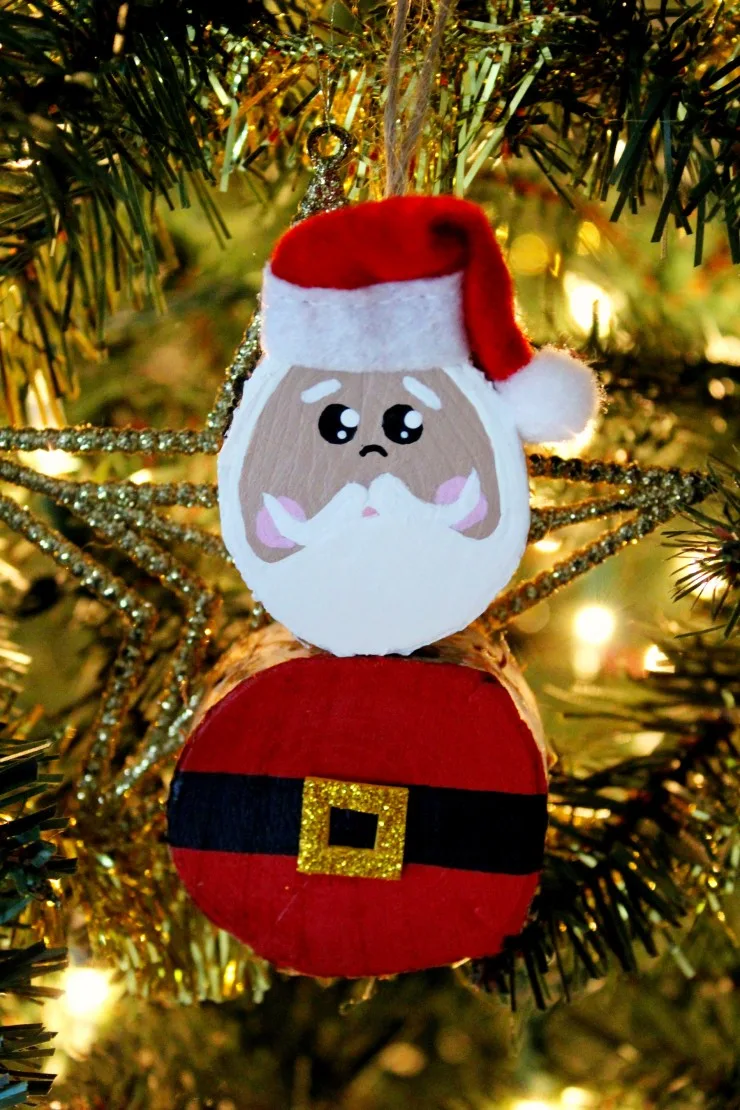
Glue a piece of cord or twine to the back of the ornament for hanging on a Christmas tree.

Elizabeth Lampman is a coffee-fuelled Mom of 2 girls and lives in Hamilton, Ontario. She enjoys travelling, developing easy recipes, crafting, taking on diy projects, travelling and saving money!
