DIY Glittery Layered Rainbow Soap

This apple scented DIY Glittery Layered Rainbow Soap is so pretty and perfect. Use at home or give as gifts, this soap is sure to leave you with joy!
DIY Glittery Layered Rainbow Soap
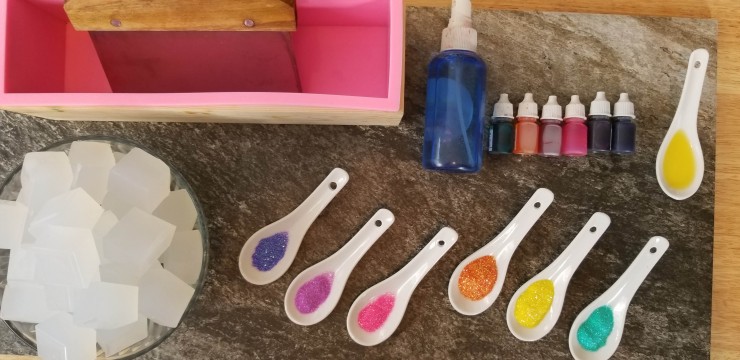
Supplies:
- 1 pound melt and pour clear soap cut into cubes (each cube is approx. 1 ounce) (You can find it here on Amazon)
- 1-2 drops each of teal, yellow, orange, pink, purple and violet soap coloring (I used colors from this set from Amazon)
- Fresh apple soap scent (You can find it here in this set on Amazon)
- Teal cosmetic glitter (You can find it here on Amazon)
- Yellow cosmetic glitter (See above)
- Orange cosmetic glitter (See above)
- Pink cosmetic glitter (See above)
- Purple cosmetic glitter (See above)
- Violet cosmetic glitter (See above)
- Spray bottle of rubbing alcohol
- Loaf soap Mold and cutting tool (I got mine on Amazon)
- 6 microwave safe bowls or measuring cups (I got mine on Amazon)
Instructions:
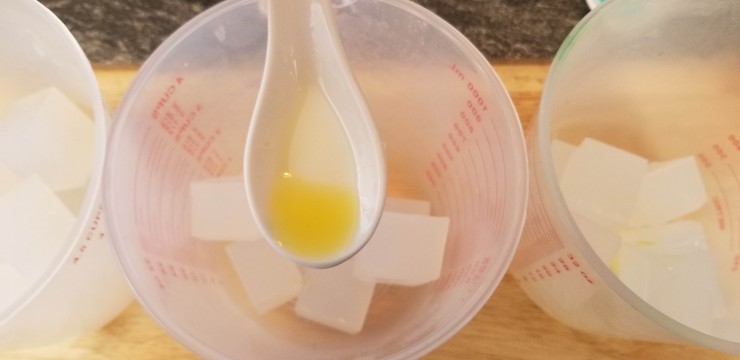
Step 1: Add 8 cubes of the soap base into a microwave safe bowl or measuring cup.
Step 2: Add 1/2 teaspoon of the apple soap scent into the container.
Step 3: Melt soap cubes in 30 second intervals, stirring after each until completely melted.
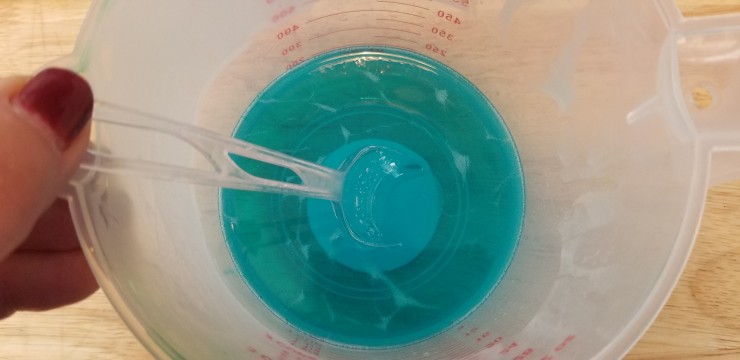
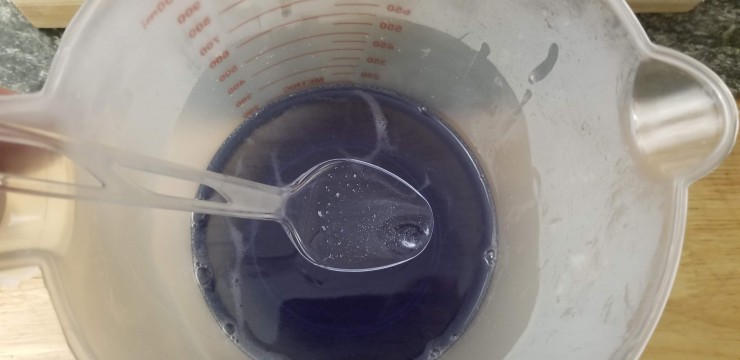
Steps 4-5: Into first container, add 1-2 drops of teal colouring, stirring until desired colour is achieved.
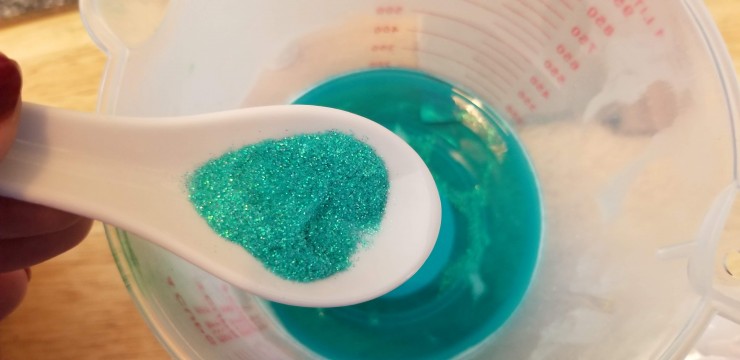
Step 6: Add teal glitter into container.
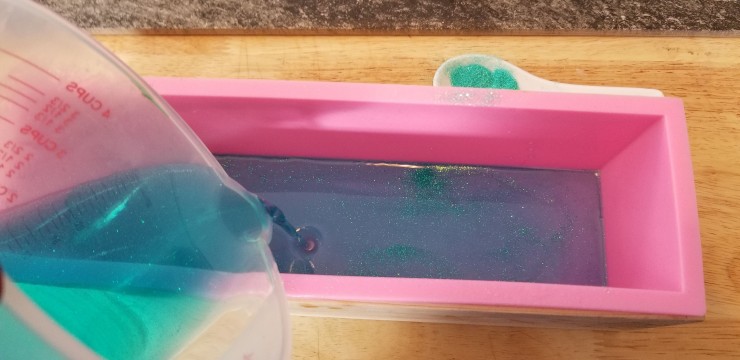
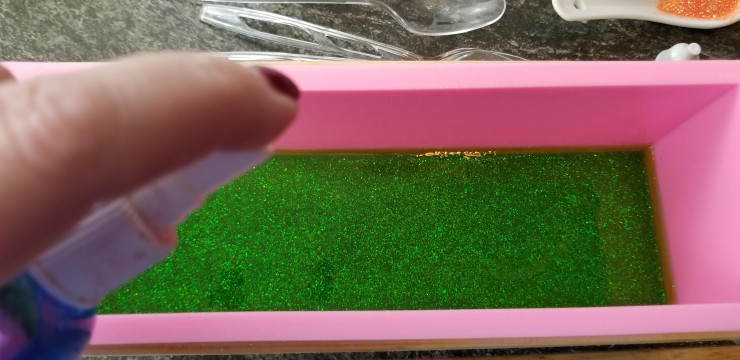
Step 7: Pour teal soap mixture into loaf mould.
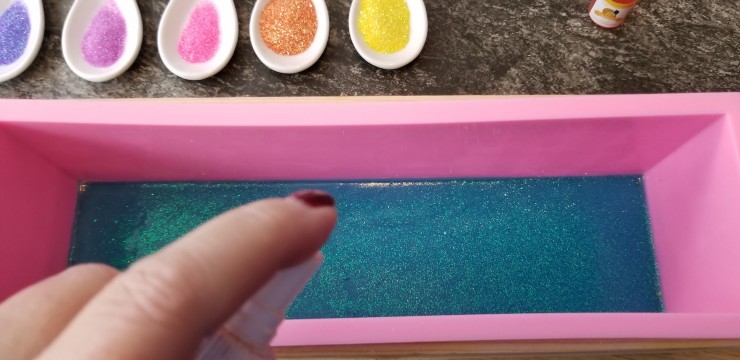
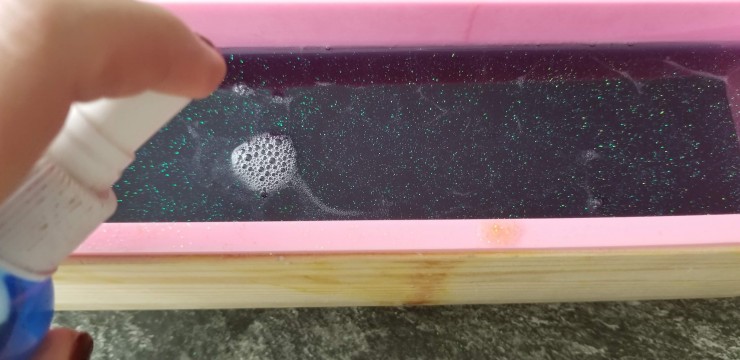
Step 8: Spray soap with the rubbing alcohol to prevent air bubbles in soap. Allow to dry completely before adding next layer. If you blow on the soap and you see ripples, the soap is not hard enough for the next layer.
Yellow Layer:
Repeat steps 1-3 above.
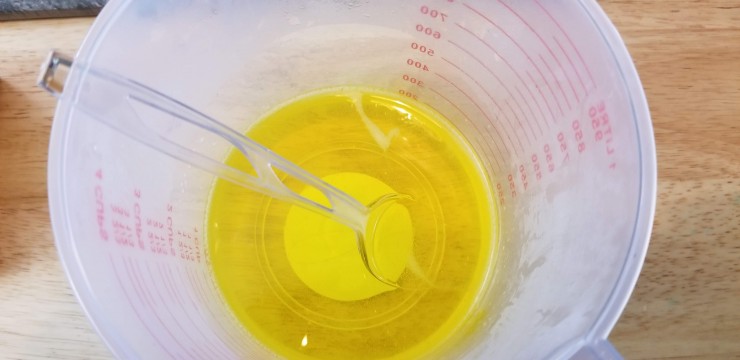
Steps 4-5: Into next container, add 1-2 drops of yellow colouring, stirring until desired colour is achieved.
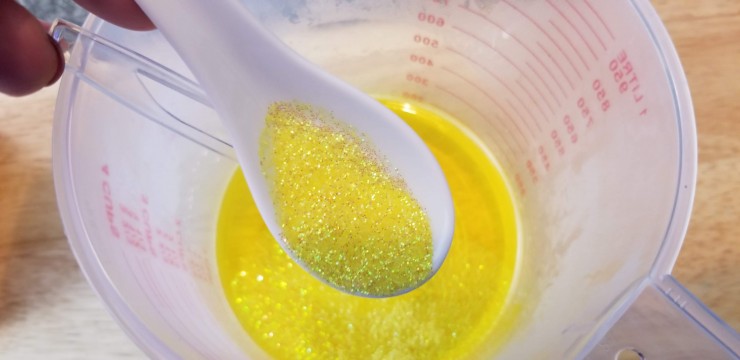
Step 6: Add yellow glitter into container.
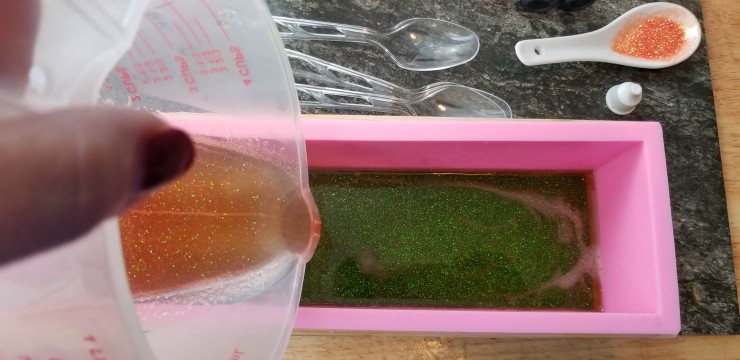
Step 7: Spray teal soap layer with the rubbing alcohol. This helps the layers adhere to each other.
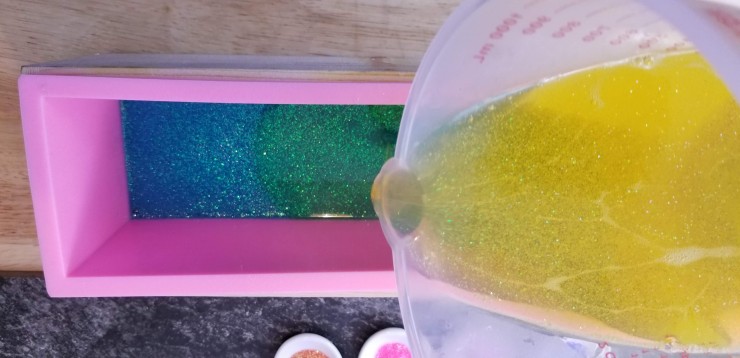
Step 8: Pour yellow soap mixture into loaf mould.
Step 9: Spray soap with the rubbing alcohol to prevent air bubbles in soap. Allow to dry completely before adding next layer. If you blow on the soap and you see ripples, the soap is not hard enough for the next layer.
Orange Layer:
Repeat steps 1-3 above.
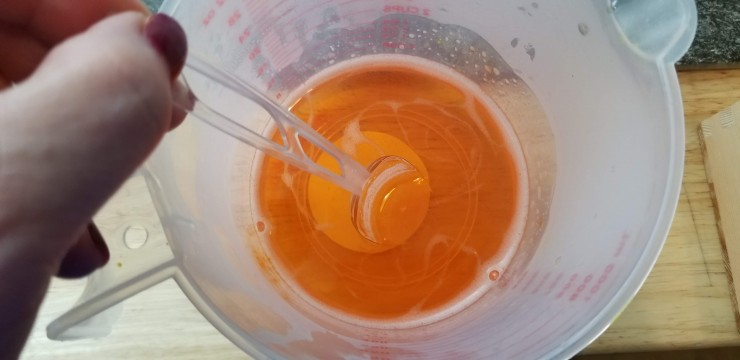
Steps 4-5: Into next container, add 1-2 drops of orange colouring, stirring until desired colour is achieved.
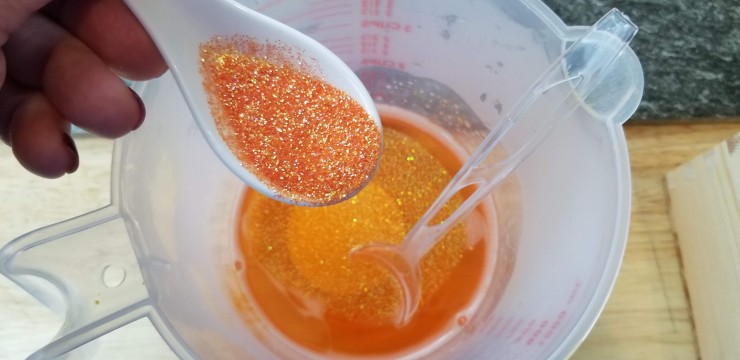
Step 6: Add orange glitter into container.
Step 7: Spray yellow soap layer with the rubbing alcohol. This helps the layers adhere to each.
Step 8: Pour orange soap mixture into loaf mould.
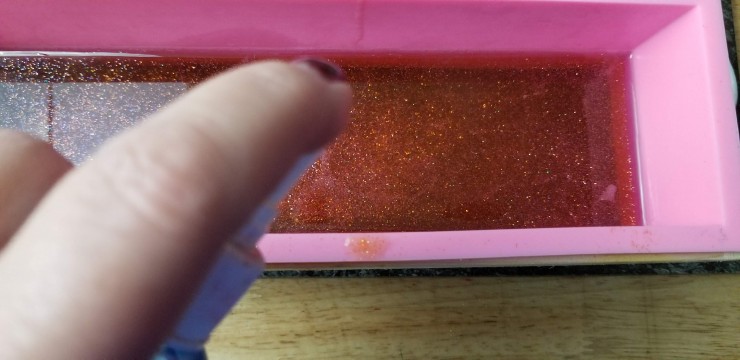
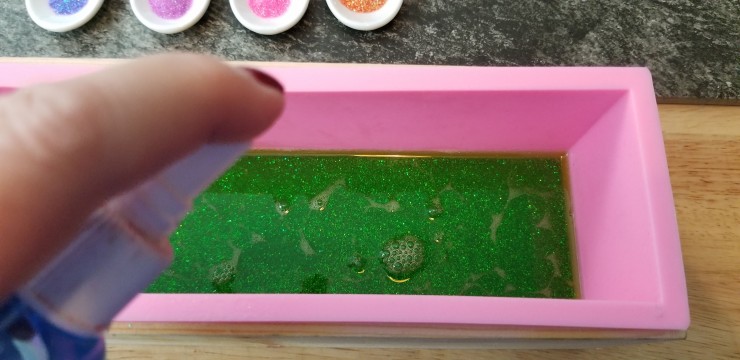
Step 9: Spray orange soap with the rubbing alcohol to prevent air bubbles in soap. Allow to dry completely before adding next layer. If you blow on the soap and you see ripples, the soap is not hard enough for the next layer.
Pink Layer:
Repeat steps 1-3 above.
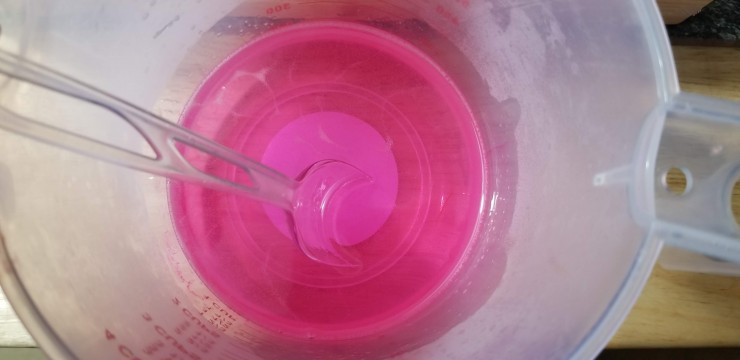
Steps 4-5: Into next container, add 1-2 drops of pink colouring, stirring until desired colour is achieved.
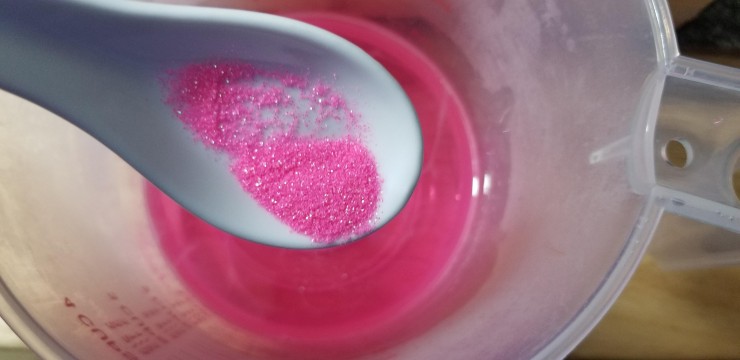
Step 6: Add pink glitter into container.
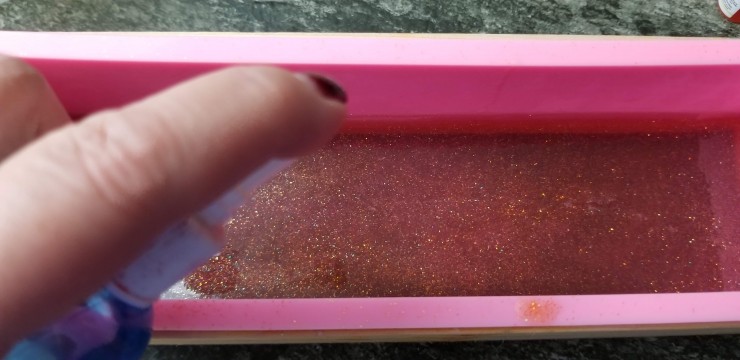
Step 7: Spray orange soap layer with the rubbing alcohol. This helps the layers adhere to each.
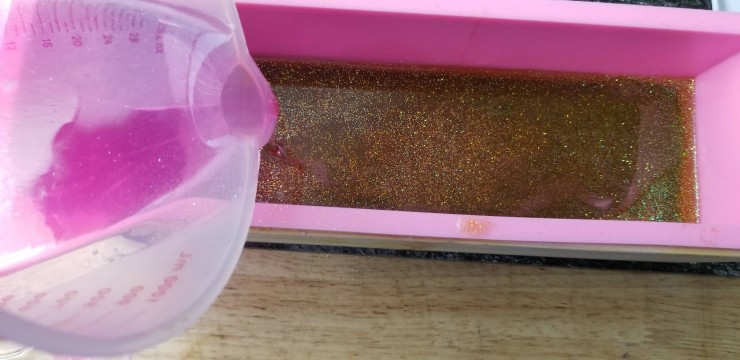
Step 8: Pour pink soap mixture into loaf mould.
Step 9: Spray pink soap with the rubbing alcohol to prevent air bubbles in soap. Allow to dry completely before adding next layer. If you blow on the soap and you see ripples, the soap is not hard enough for the next layer.
Purple Layer:
Repeat steps 1-3 above.
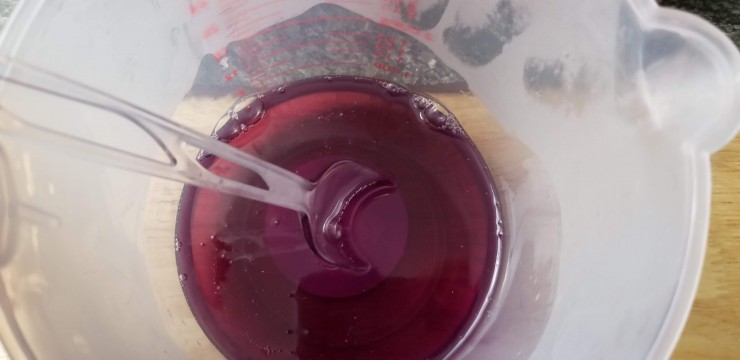
Steps 4-5: Into next container, add 1-2 drops of purple colouring, stirring until desired colour is achieved.
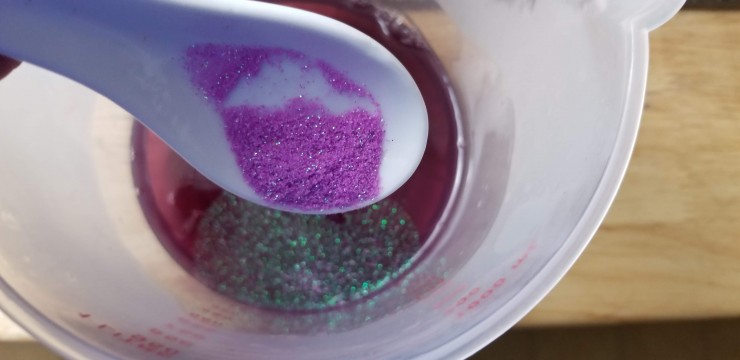
Step 6: Add purple glitter into container.
Step 7: Spray pink soap layer with the rubbing alcohol. This helps the layers adhere to each.
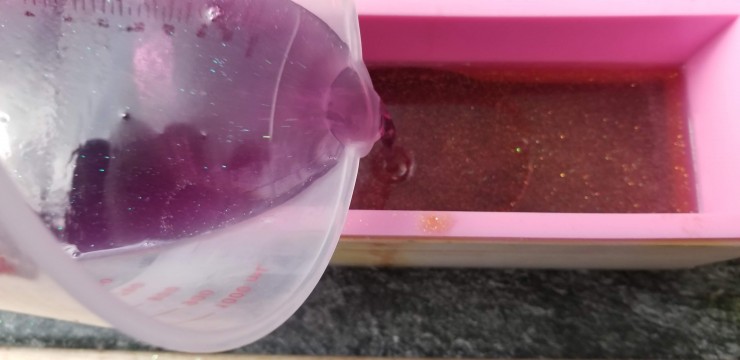
Step 8: Pour purple soap mixture into loaf mould.
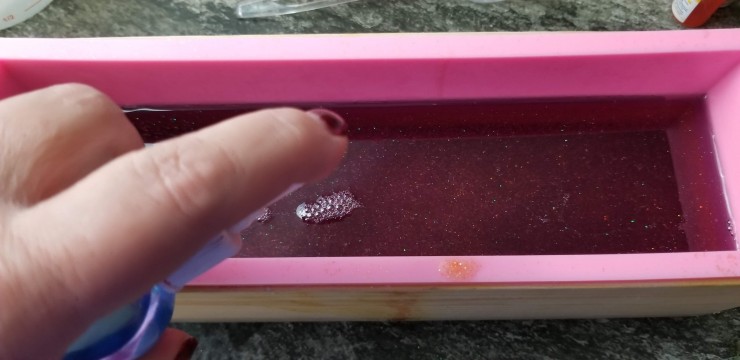
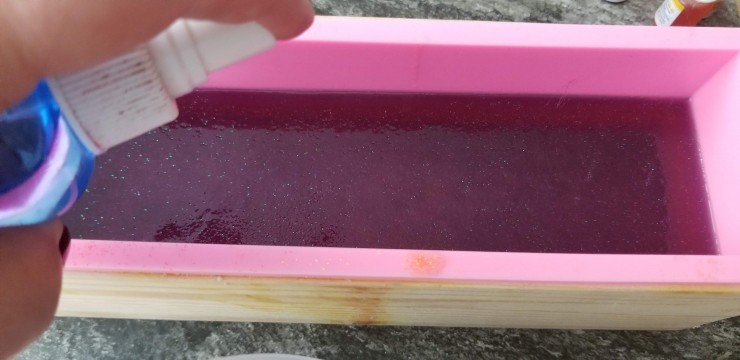
Step 9: Spray purple soap with the rubbing alcohol to prevent air bubbles in soap. Allow to dry completely before adding next layer. If you blow on the soap and you see ripples, the soap is not hard enough for the next layer.
Violet Layer:
Repeat steps 1-3 above.
Steps 4-5: Into next container, add 1-2 drops of violet colouring, stirring until desired colour is achieved.
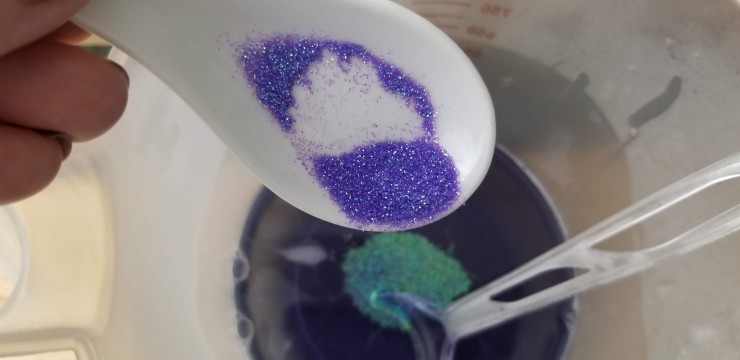
Step 6: Add violet glitter into container.
Step 7: Spray purple soap layer with the rubbing alcohol. This helps the layers adhere to each.
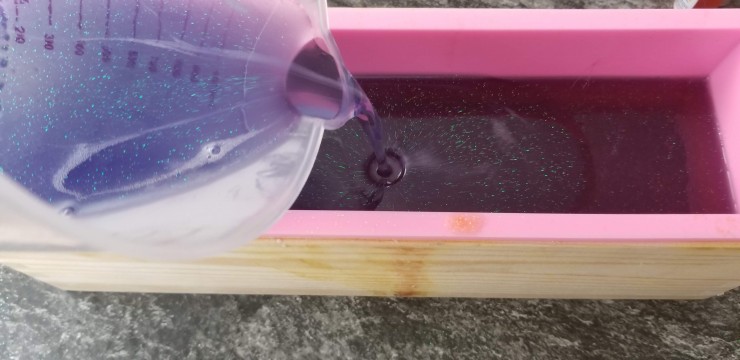
Step 8: Pour violet soap mixture into loaf mould.
Step 9: Spray violet soap with the rubbing alcohol to prevent air bubbles in soap. Allow to dry completely overnight.

Cut soap evenly and store in an airtight container until ready to use.