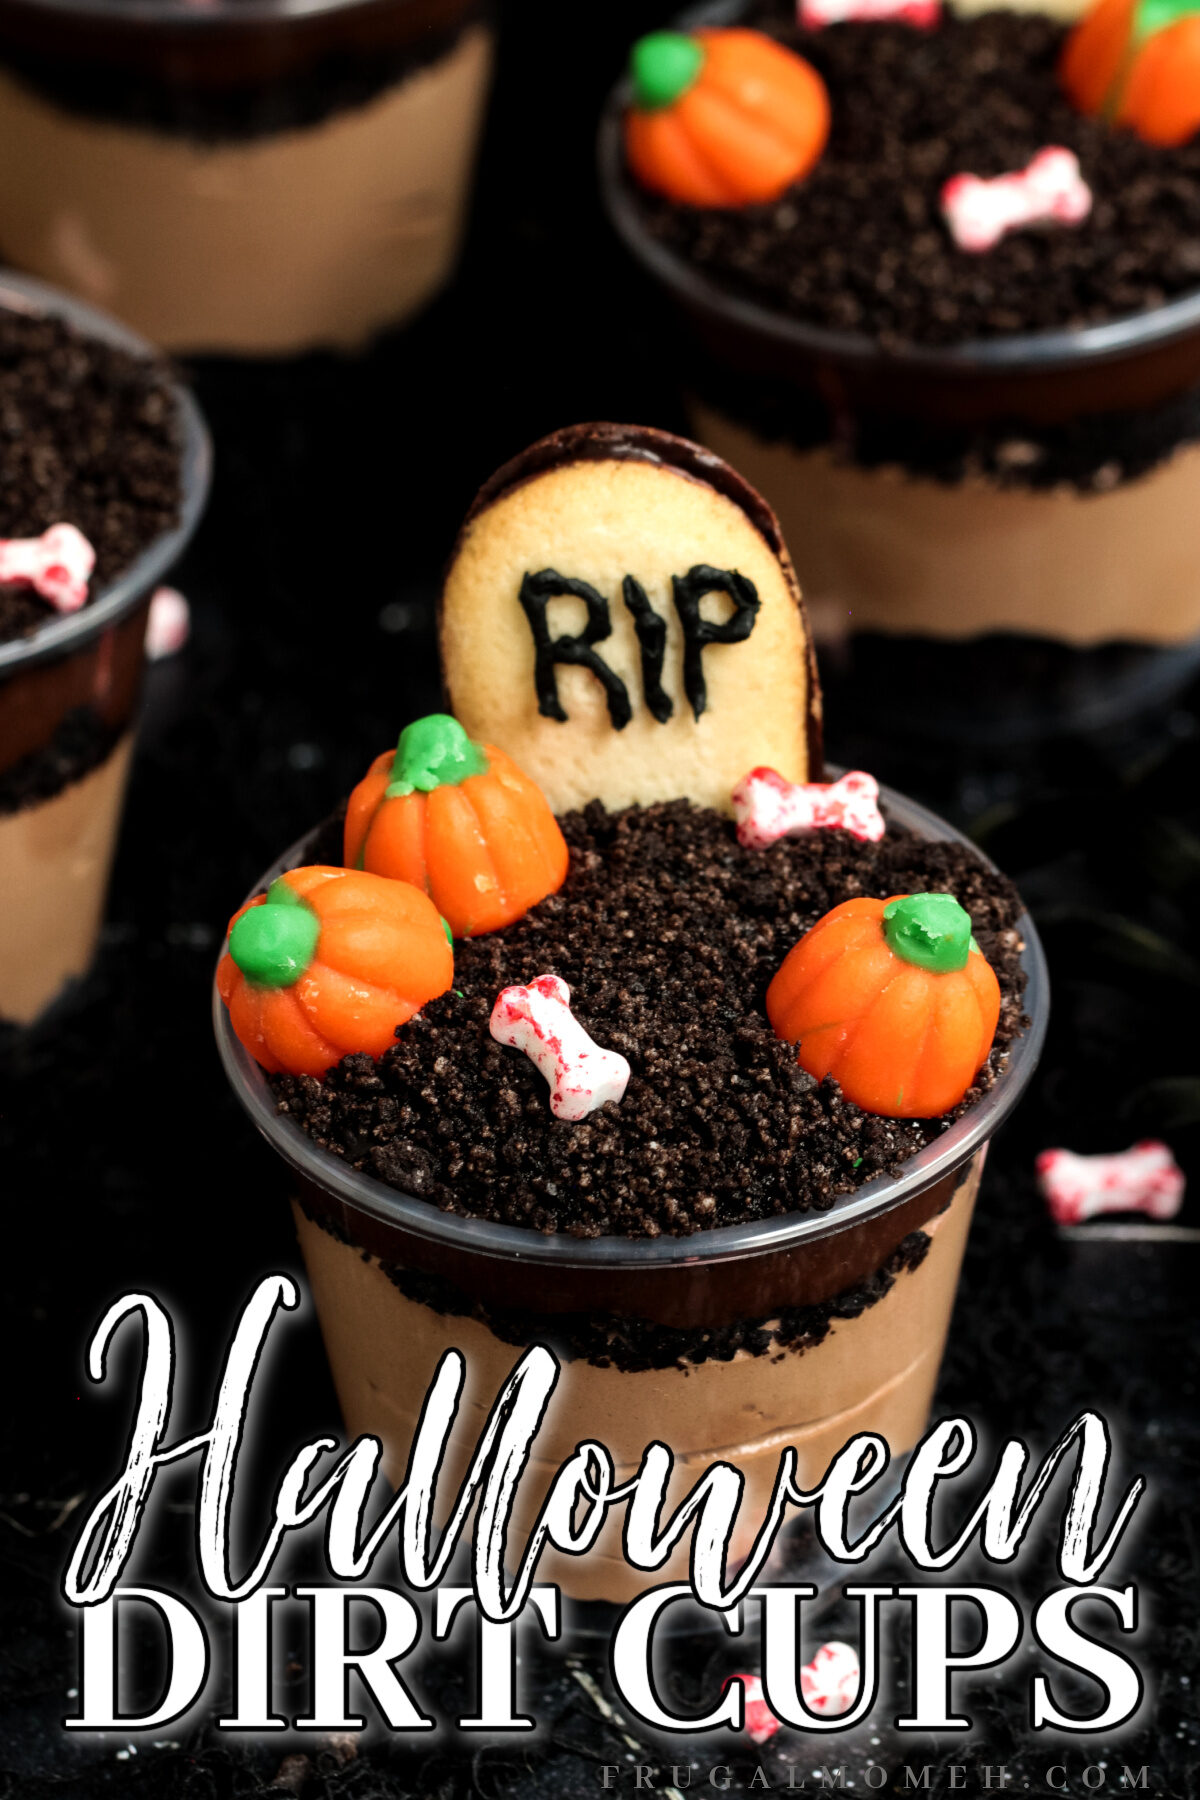
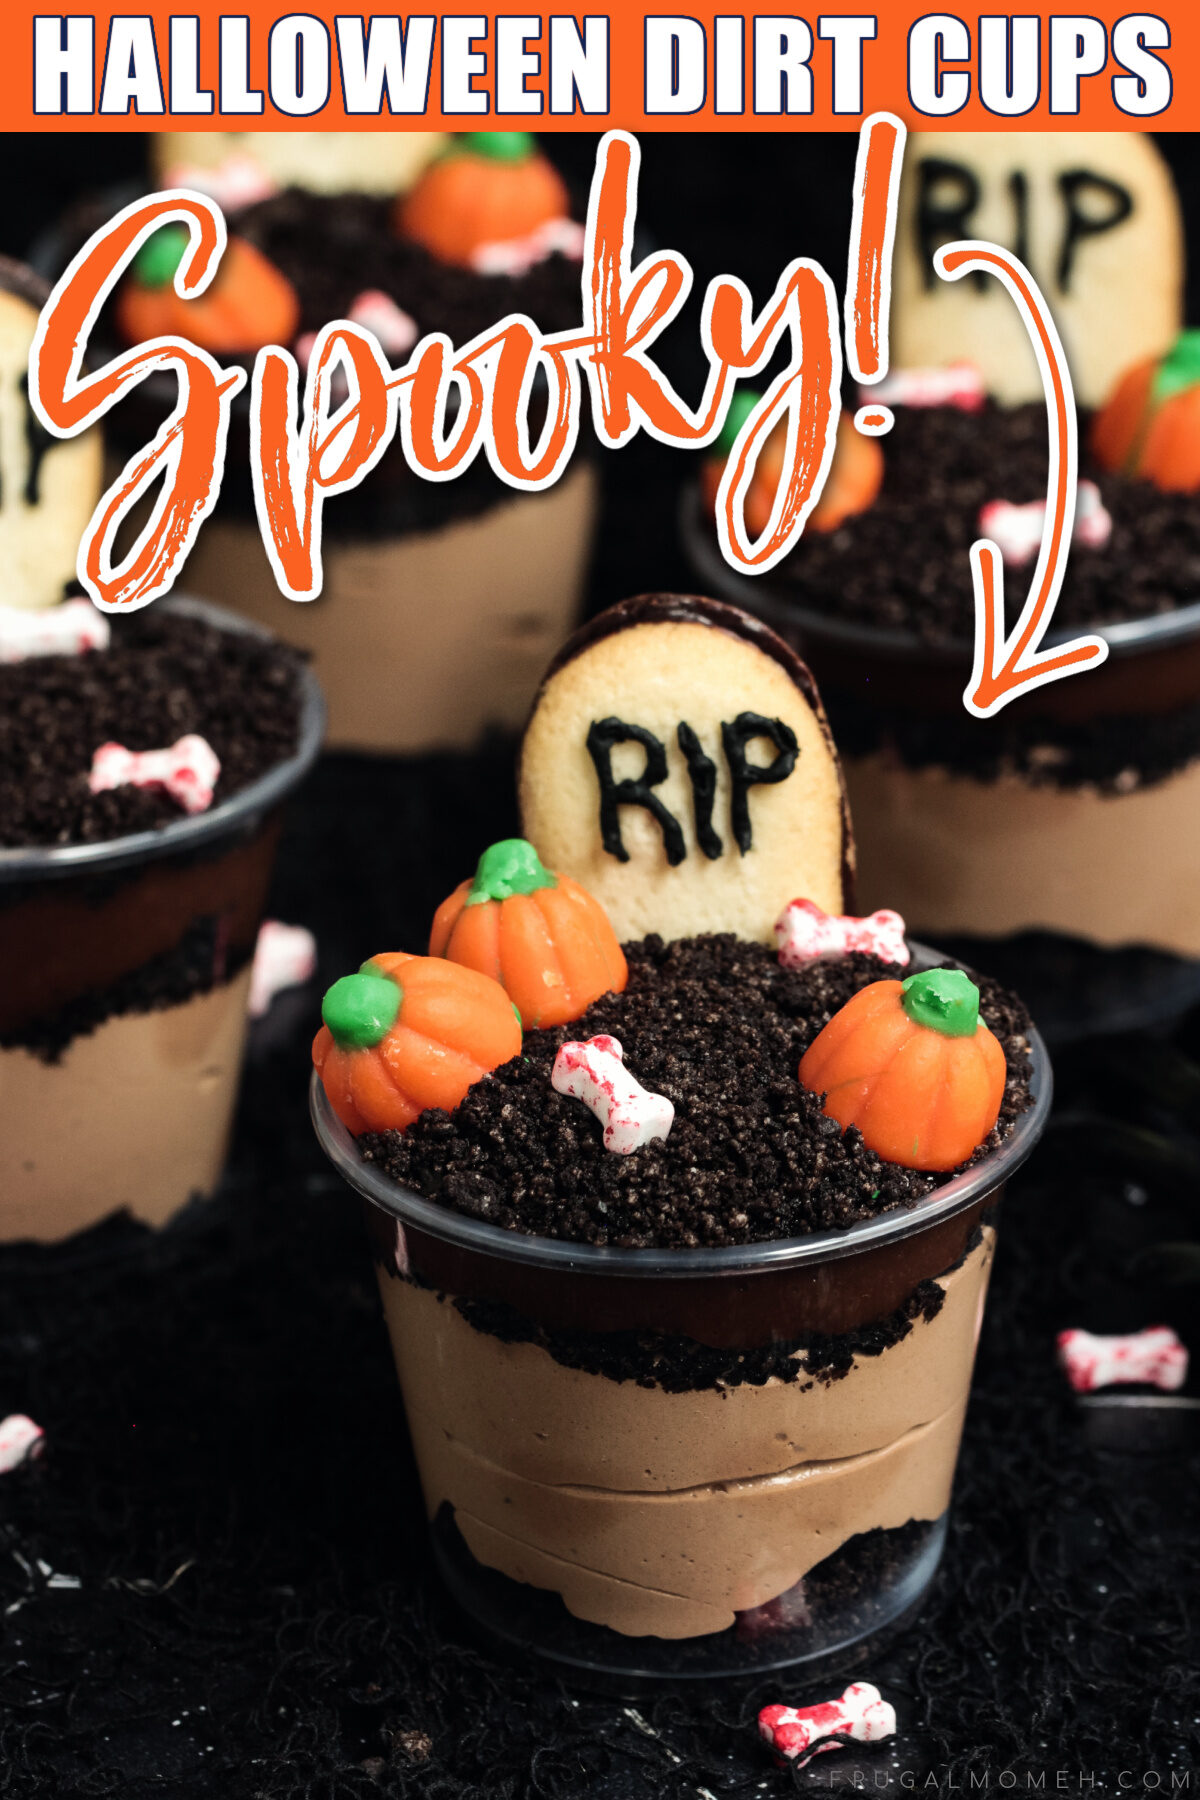
Halloween Dirt Cups
This Halloween Dirt Cups recipe is a fun and spooky treat for kids of all ages, especially for those with a bit of a sweet tooth.
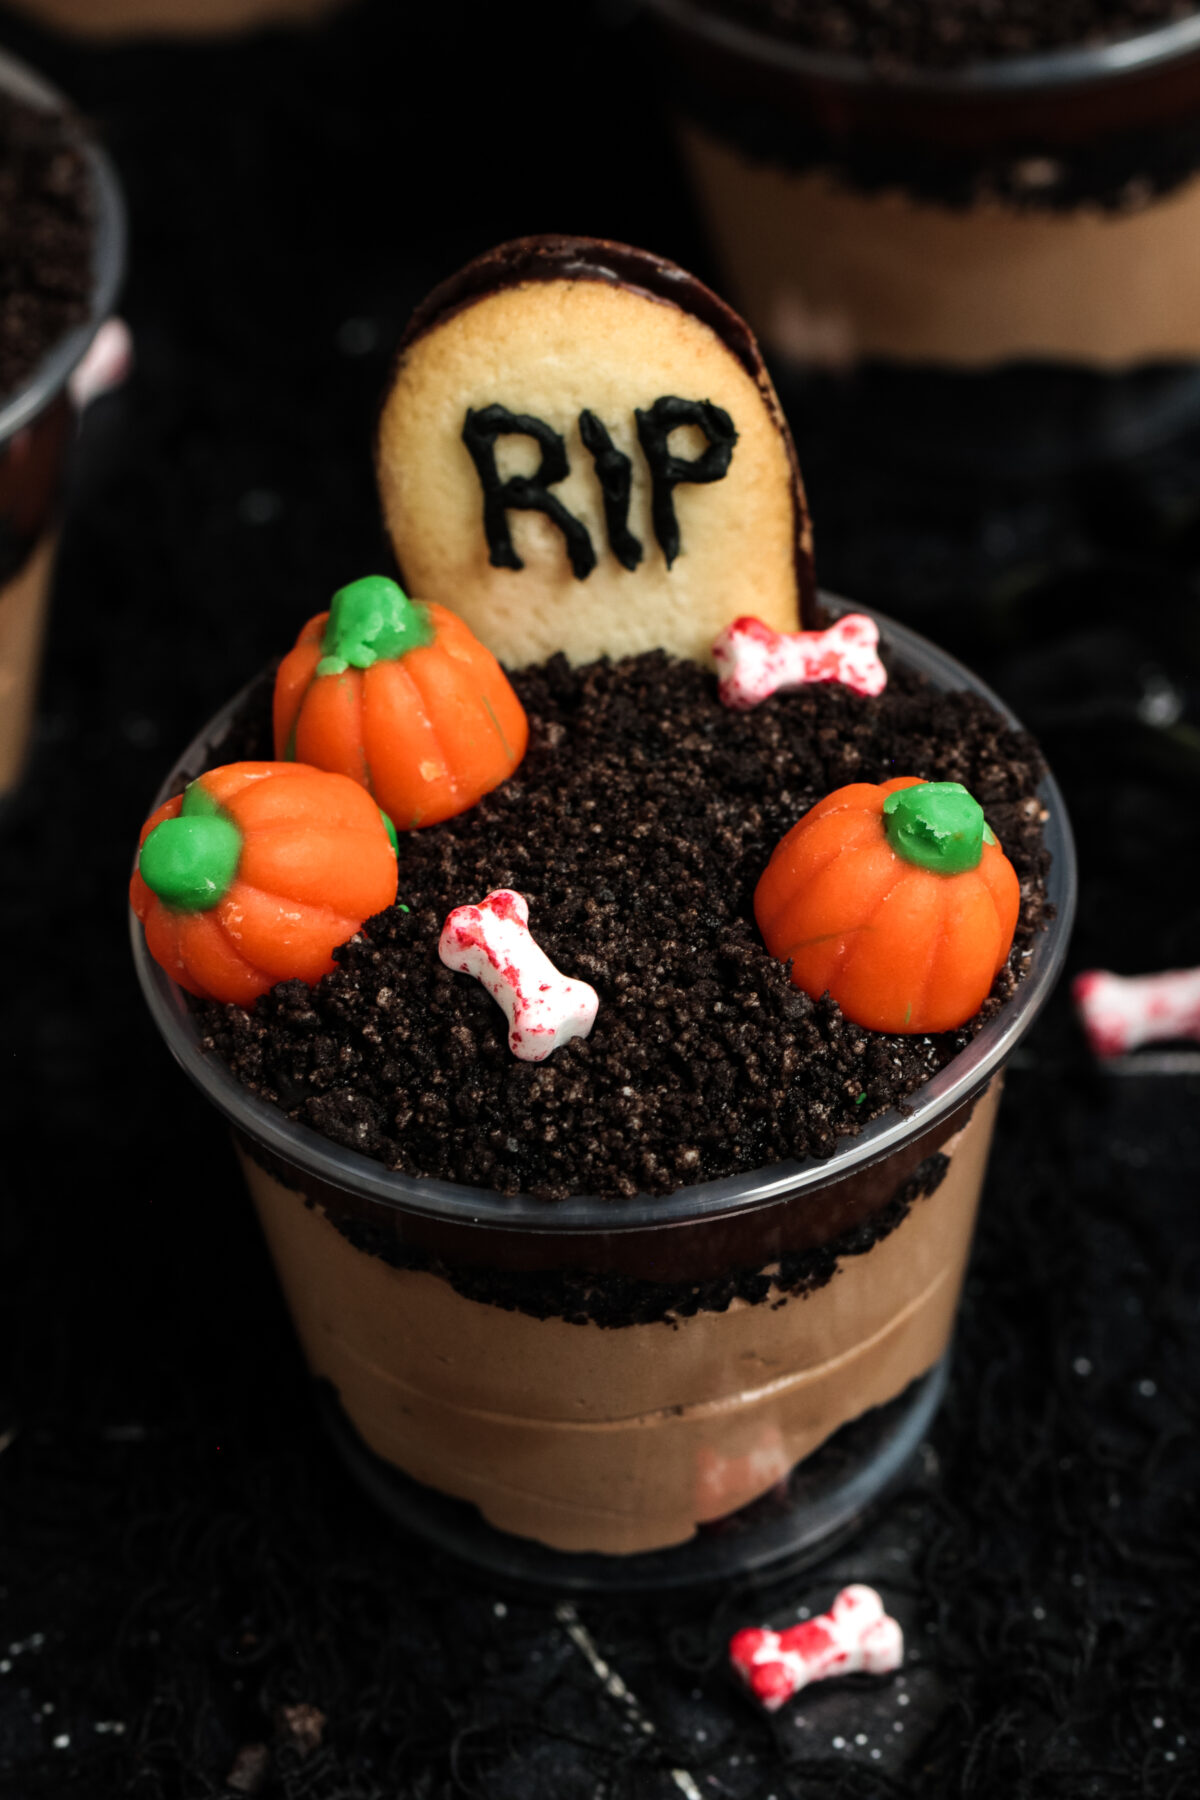
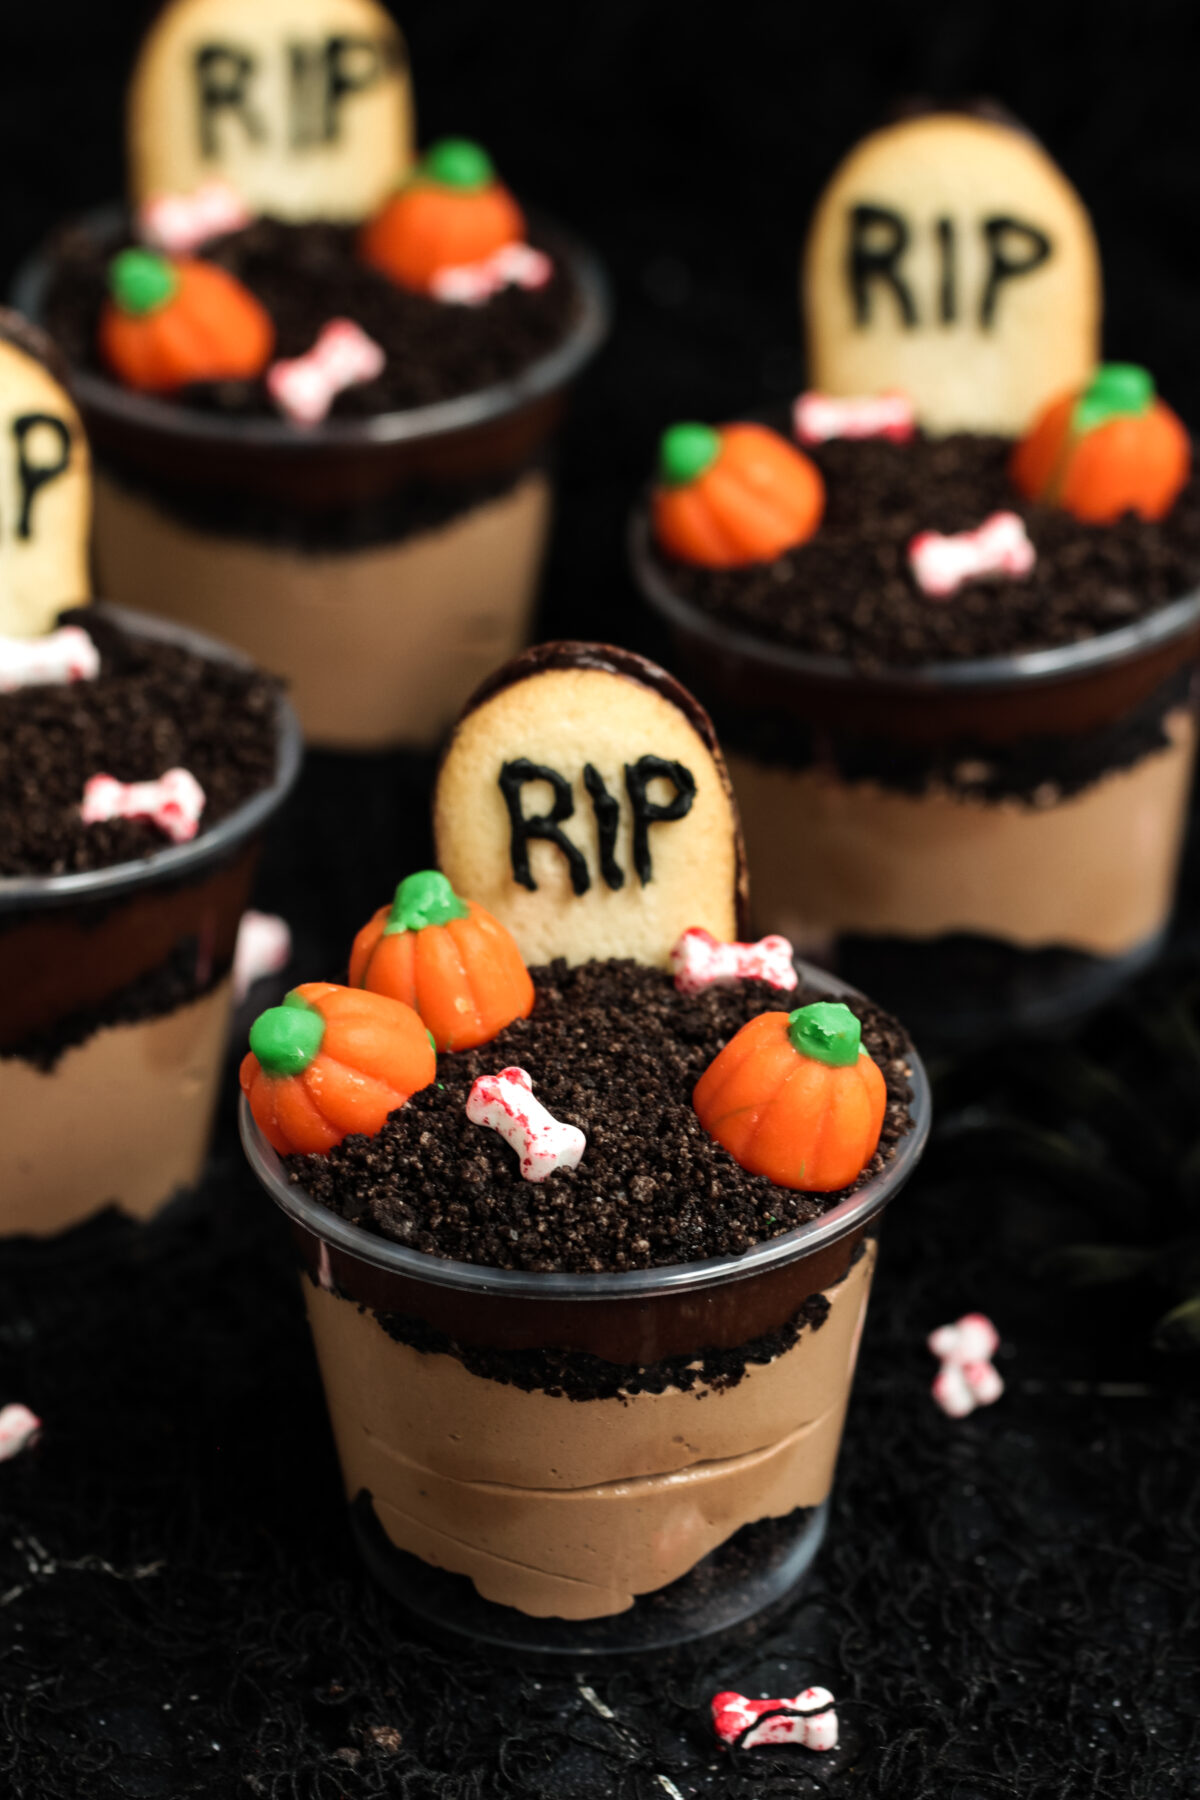
It’s that time of year again when ghosts, goblins and ghouls come out to play! If you’re looking for a fun and festive Halloween treat, look no further than dirt cups.
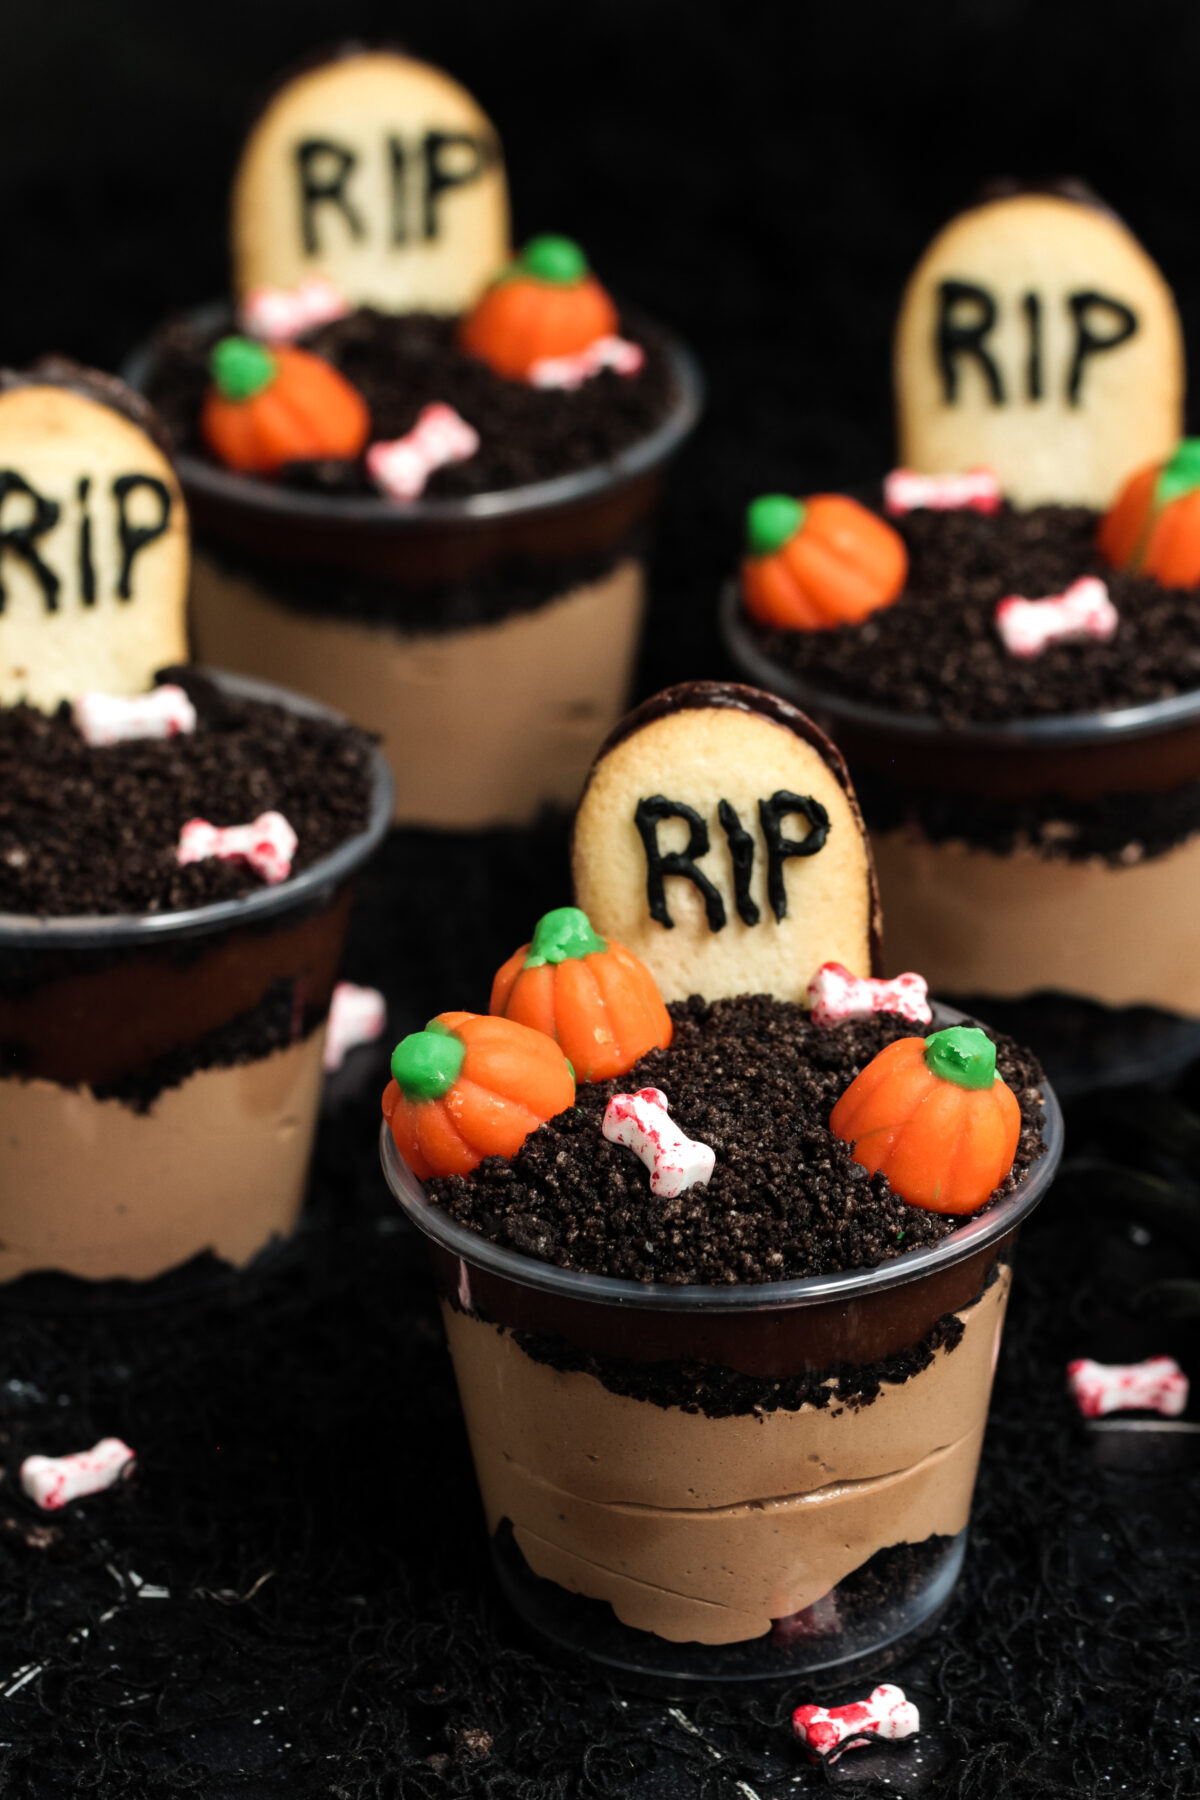
This classic dessert can be made with any variety of flavours and decorations, but today I’m going to show you how to make a creepy graveyard version using Milano cookies and Mellowcream pumpkins.
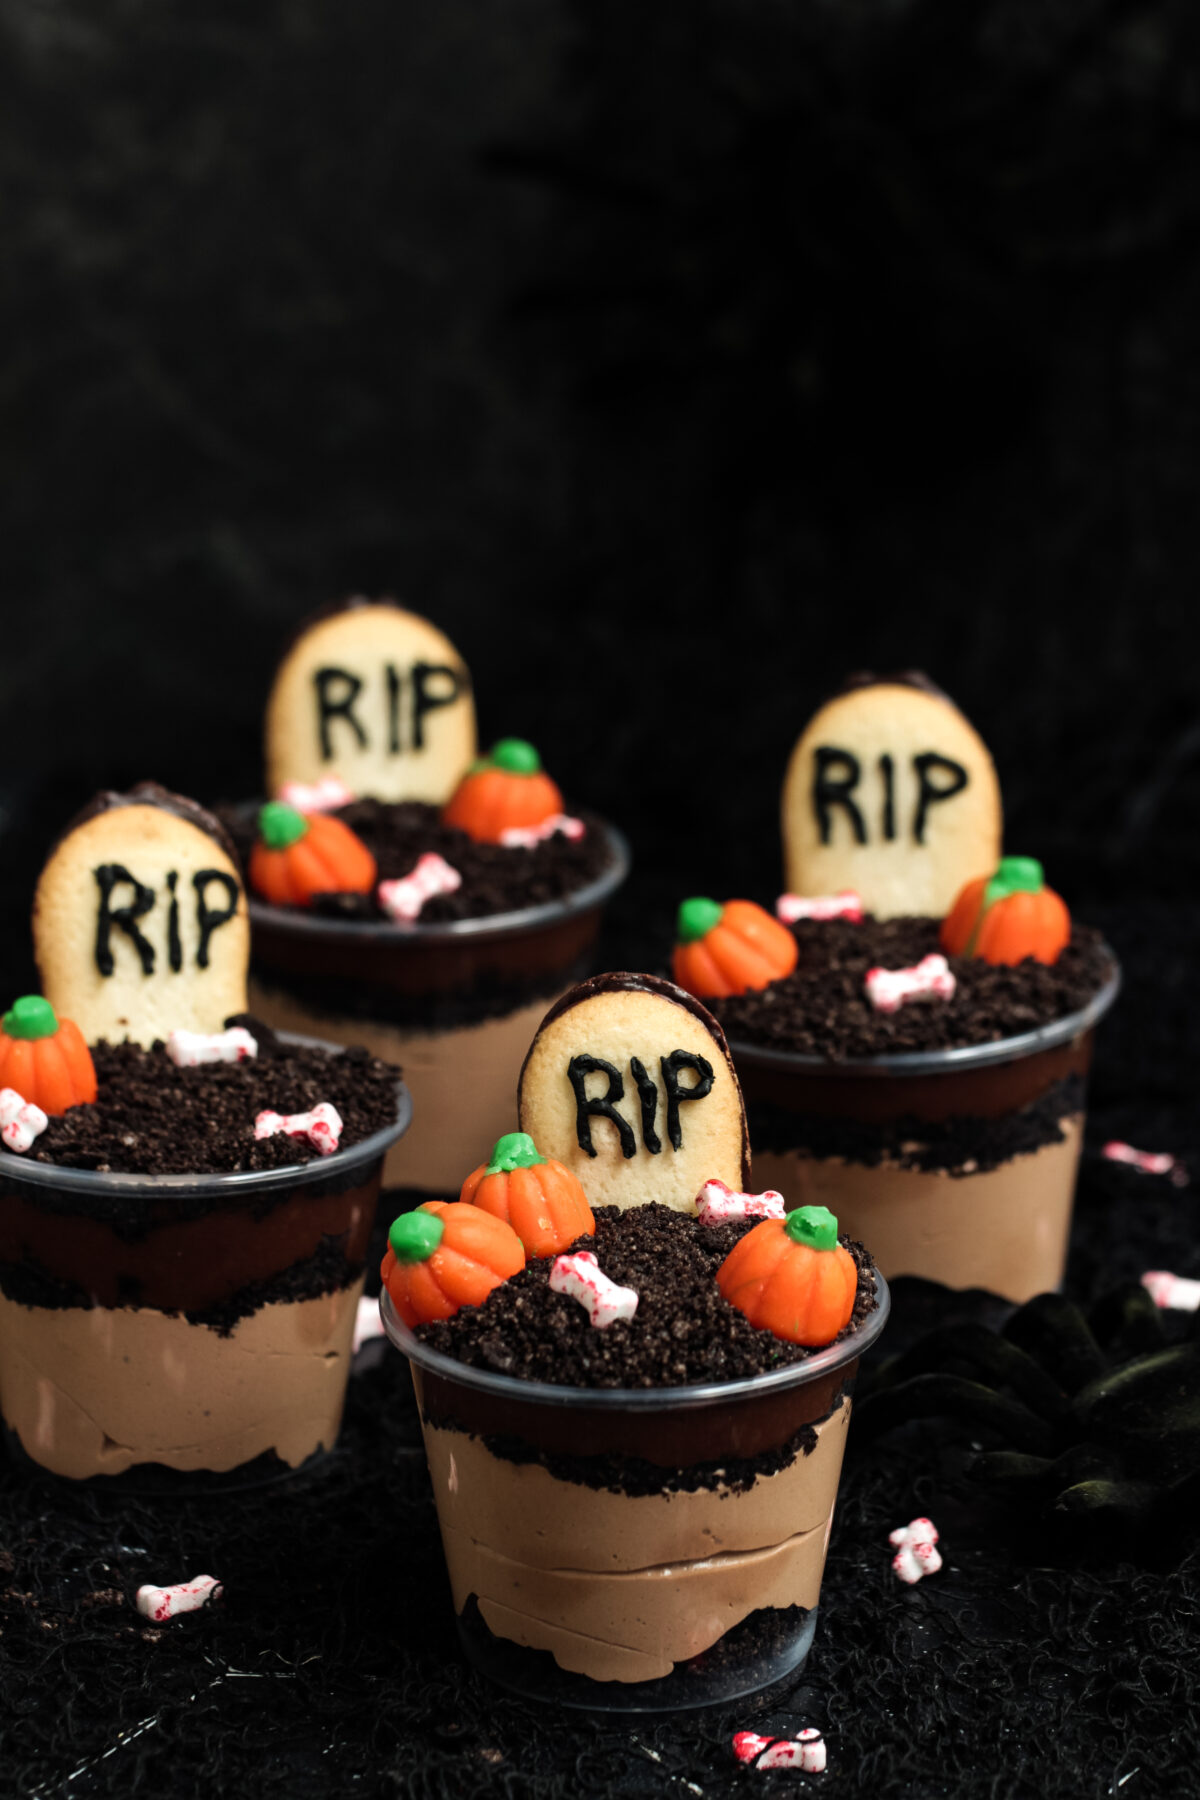
This year, try my recipe for Halloween dirt cups – perfect for both parties and snacking at home. This recipe is easy to follow and requires only a few simple ingredients. So get ready to get your kitchen haunted with graveyard dirt cups!
What Are Dirt Cups?
Dirt cups are a classic no bake dessert that have been around for years! They are simple to make and only require a few ingredients. Typically they are made with Oreo cookies, chocolate pudding, and gummy worms.
They get their name from their appearance, as they look like little cups of dirt. But don’t let that deter you, they are actually really delicious! The Oreo cookies provide a crunchy contrast to the creamy pudding, and the gummy worms add a fun chewy element.
If you are looking for a fun and easy Halloween dessert, then these Halloween dirt cups are perfect for you! They come together quickly and can easily be made ahead of time. Plus, they are always a big hit with kids!
Tips for Making the Best Dirt Cups
There are a few things to keep in mind when making dirt cups to ensure that they turn out perfectly every time!
- Use full fat pudding mix for the best flavour, but sugar free or low fat work too!
- Make sure to use cold milk when mixing up the pudding, otherwise it may not thicken properly.
- You can use any flavour of Oreo cookies or pudding that you like.
- If you don’t have a food processor you can crush the cookies with a rolling pin instead.
- Mix cream cheese into the pudding and Cool Whip mixture for a no-bake chocolate cheesecake layer.
- Layer everything into a large casserole dish for a whole spooky graveyard instead of individual servings.
- Hide the bones in the “dirt” too for a fun and spooky surprise.
More Halloween Dirt Cup Garnish Ideas
If you want to get really creative with your Halloween dirt cups you can create your own fun spooky scenes. Try some of these garnish ideas instead of pumpkins and bones!
- Gummy worms
- Candy corn
- Candy eyes
- Make ghosts by candy coating nutter butter cookies!
- Or use candy moulds and chocolate to make your own spooky garnishes!
- If you are in Canada, Kit Kat Halloween Scary Friends work great.
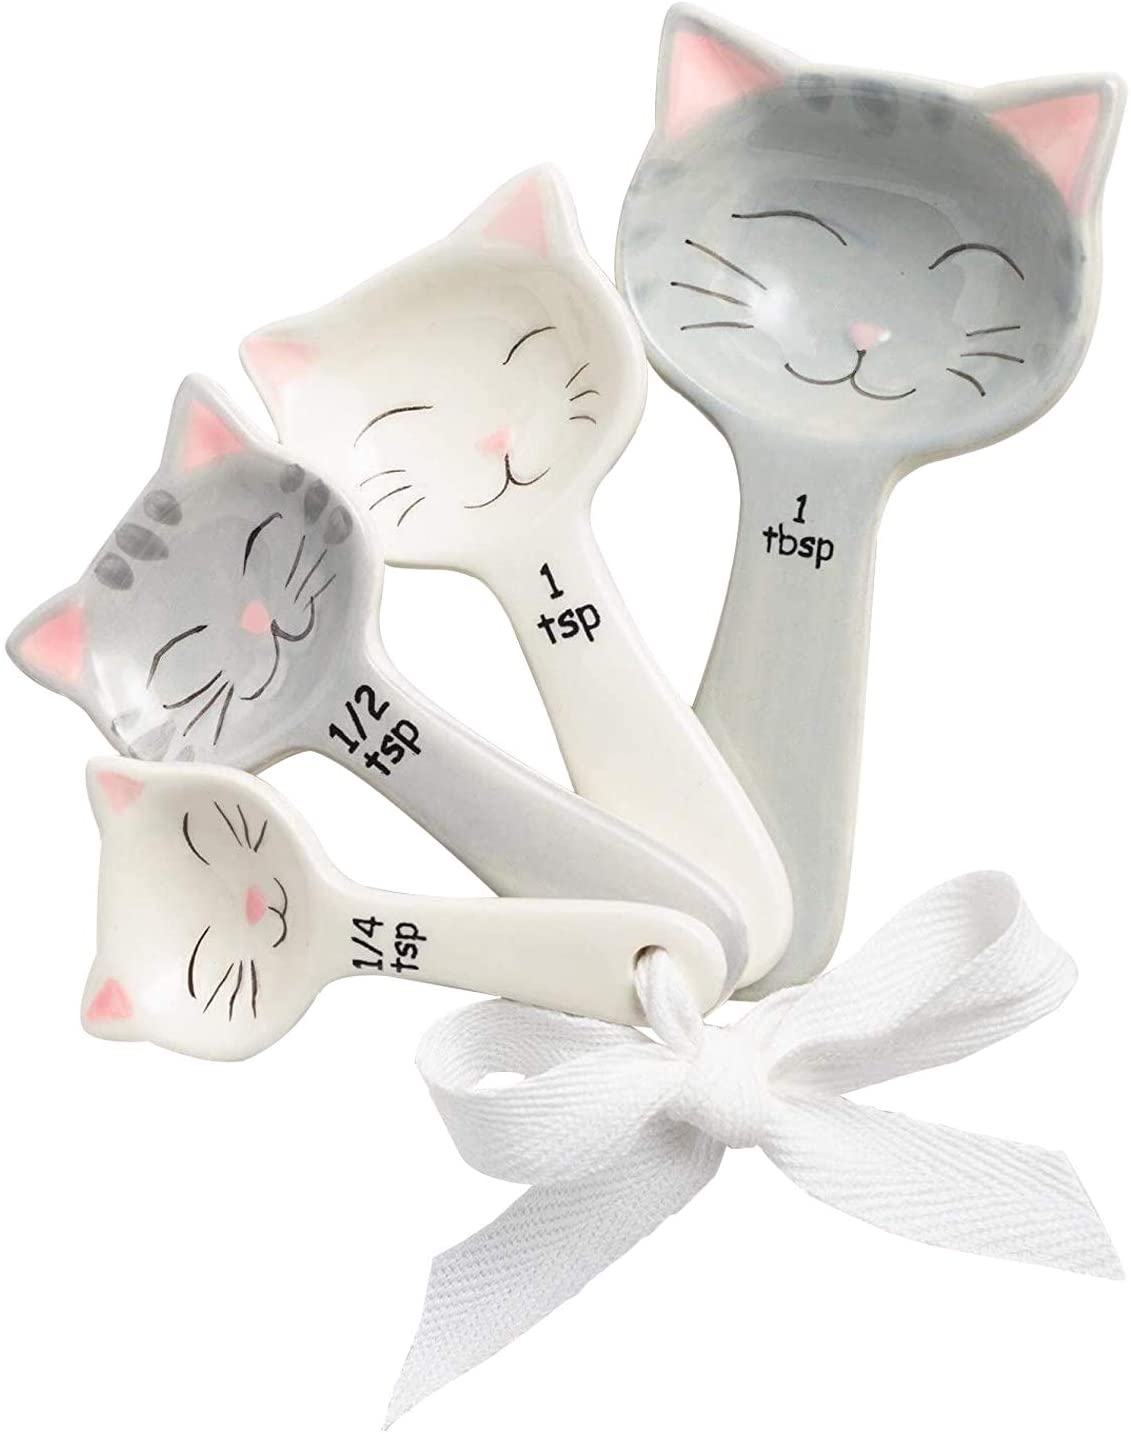
You could also serve them up with these adorable shovel spoons!
How to Store Halloween Dirt Cups
Any leftover Halloween dirt cups can be stored, covered, in the fridge for up to 3 days. The cookie crumbs may begin to get a little soggy though, so I would really recommend consuming the dirt cups on the same day you assemble them.
You can make the pudding ahead of time and store it in the fridge for up to 3 days. Assemble the dirt cups when you are ready to serve them.
I do not recommend freezing them as the pudding will get grainy.

About the Equipment Needed for Halloween Dirt Cups
Plastic cups – I used these 5.5 oz cups. You can use other sized and then adjust your layers accordingly.
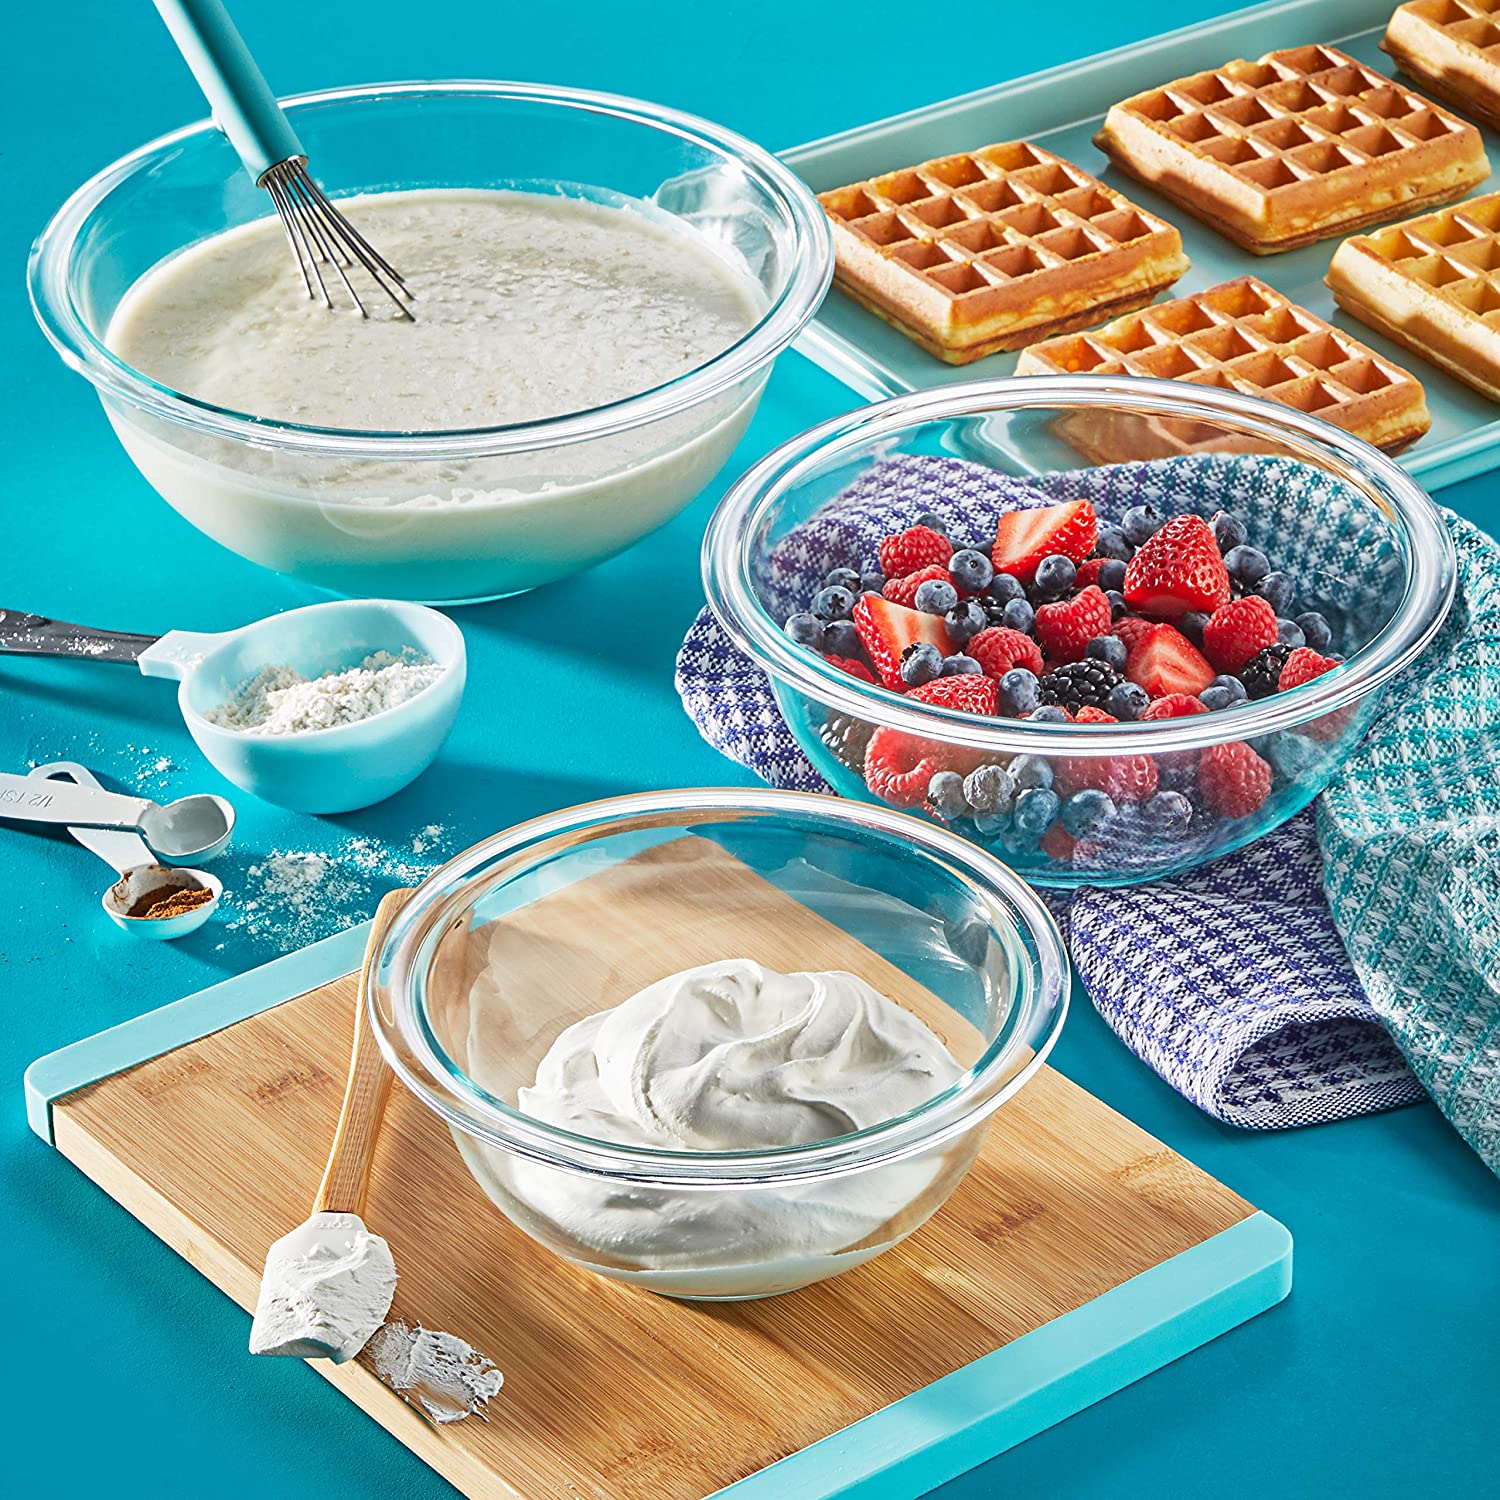
You will also need mixing bowls, and a whisk or stand mixer, as well as a few spoons for layering everything out.
About the Ingredients for Halloween Dirt Cups
Milano cookies – For making the grave stones, you can use any flavour you like. Pumpkin spice is a fun seasonal flavour but use what you like!
Cookie icing – I just used a tube of prepared cookie icing in black. Try to make sure the icing has a fine tip for writing with. If not simply the squeeze the icing into a pastry bag fitted with a small round tip.
Instant pudding – You only need one 3.9 oz (4 servings) box, or two 1.4 oz boxes. Any flavour of chocolate pudding will do, including sugar free.
Water – The water needs to be cold to make the chocolate pudding.
Cool whip – You can also use homemade whipping cream but you must stabilize it with a little powdered sugar while preparing it, then be sure to carefully fold the chocolate pudding in as it is a lot less forgiving than cool whip.
Oreos – If you don’t have a food processor you can crush the oreos by placing them in a zippered bag and rolling over them with a rolling pin until crushed.
Garnish – I used mellowcreme pumpkins and bone sprinkles but you could also use your own choice of garnishes. I have shared more ideas above.
Looking for More Spooky Halloween Treats?
Check out more of my favourite Halloween recipes!
Learn how to make monster eye cookies with this recipe. Perfect for Halloween parties, these spooky treats are quick and easy to prepare!
Purple People Eater Halloween Punch is a fun and easy non-alcoholic punch recipe that kids will love for this year’s Halloween party.
These easy Devil Cupcakes are perfect for even the most novice home baker to perfect. Make them for a Halloween party or even just for a small celebration at home
How to Make Halloween Dirt Cups
Yields: 8 Servings | Prep time: 15 minutes | Cook time: 0 minutes
Ingredients:
- 8 Milano cookies
- Black cookie icing
- 3.9 oz Instant chocolate pudding mix
- 2 cup milk, cold
- 2 cups Cool Whip, thawed
- 18 Oreo cookies
- Mellowcreme pumpkins
- Bone sprinkles
Directions:
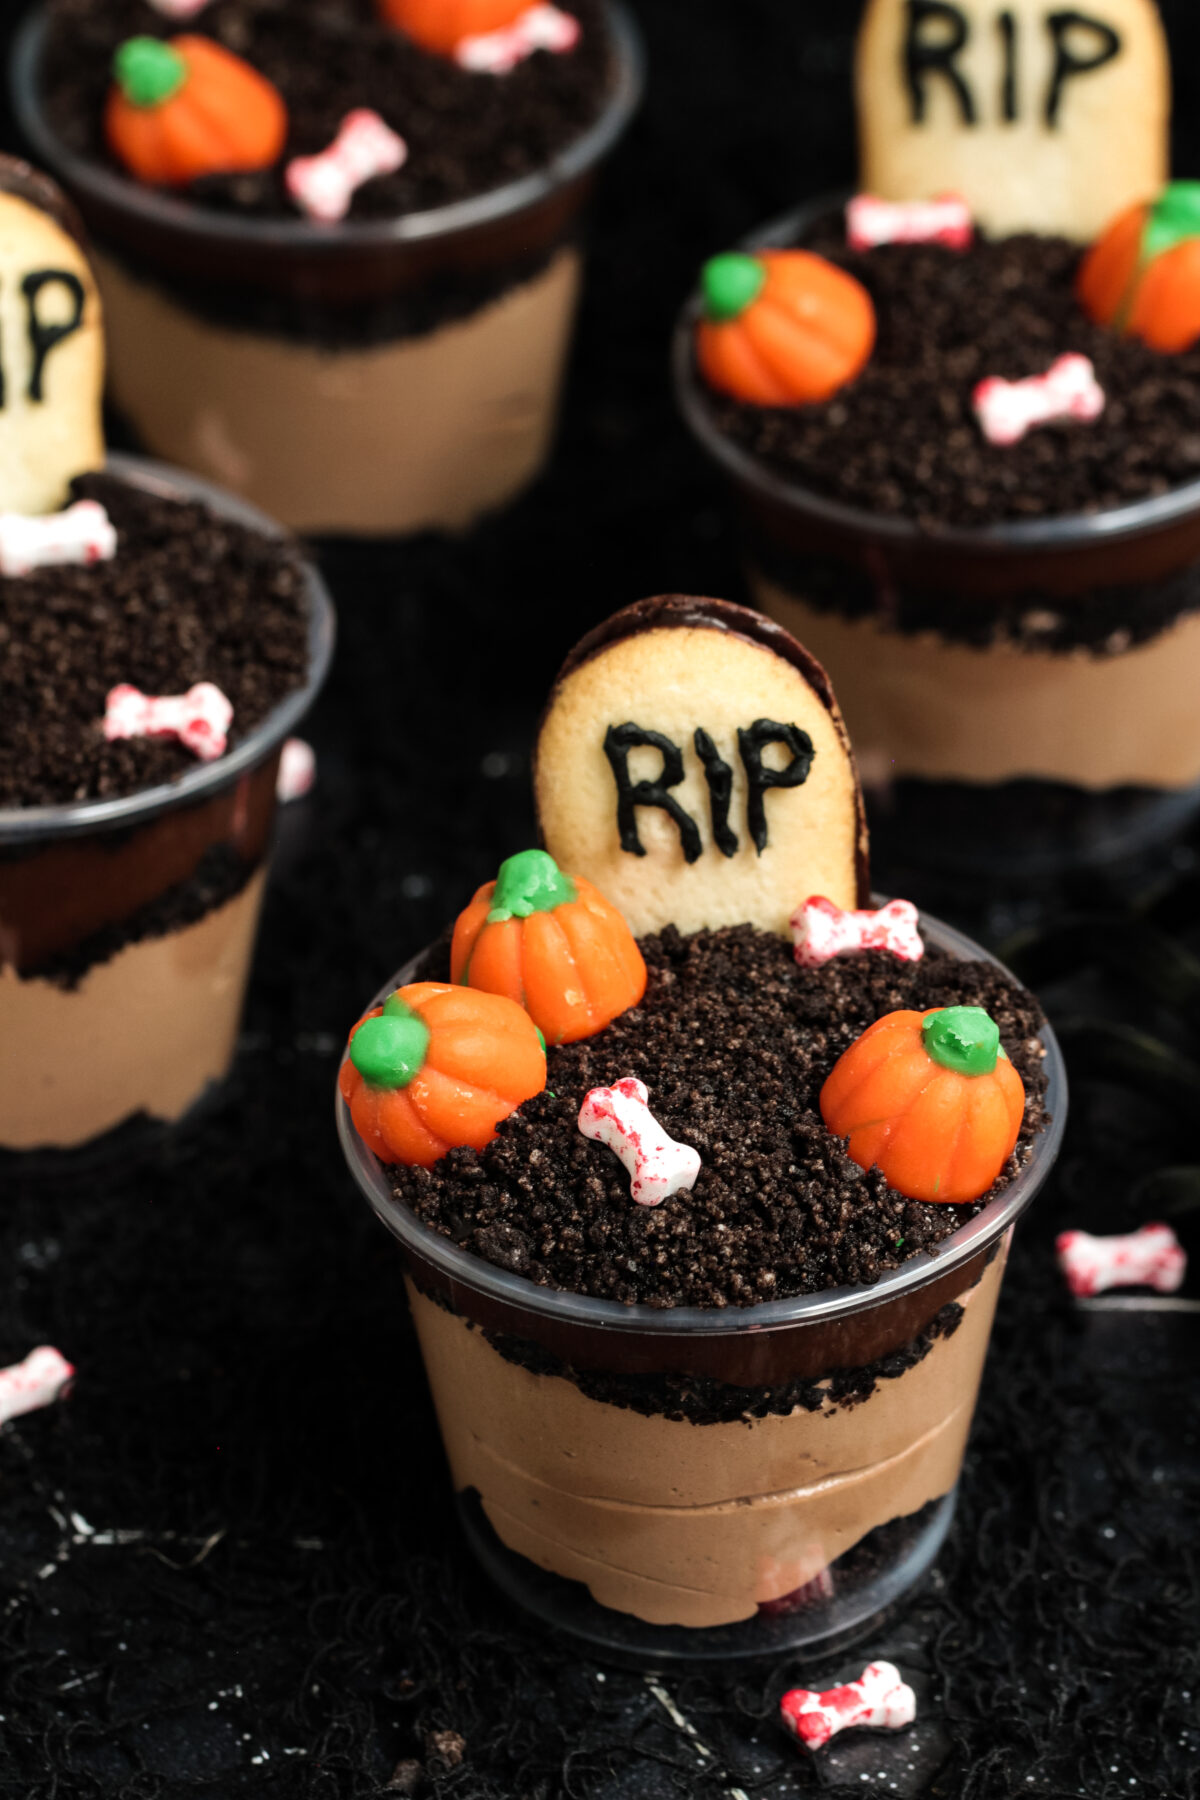
Use the black cooking icing to write “RIP” on each of the Milano cookies. Set aside for the icing to set.
In large bowl, combine pudding mix and milk; beat for 2 to 3 minutes with a wire whisk or stand mixer. Set aside.
Place whole Oreo’s (with cream) into the base of a food processor, and pulse until you have medium crumbs.
Pour 2 cups of the chocolate pudding and 2 cups Cool Whip into a medium bowl and mix until well combined.
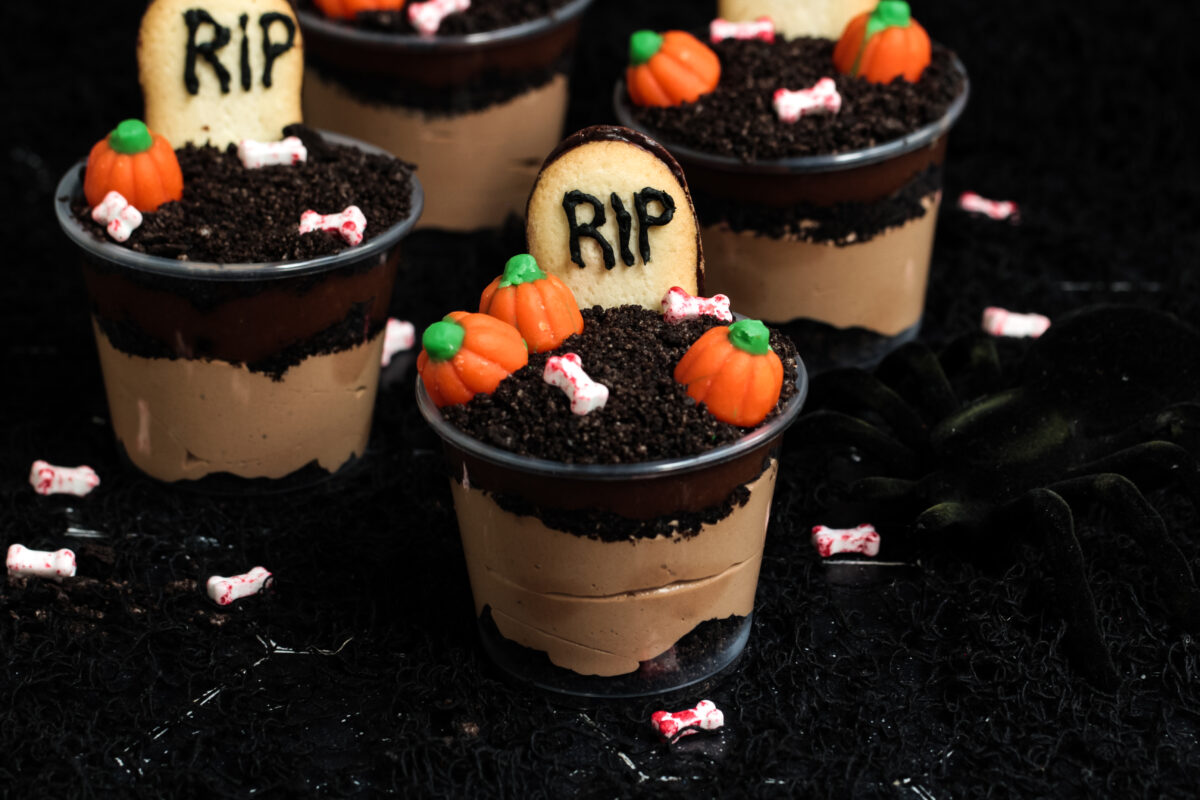
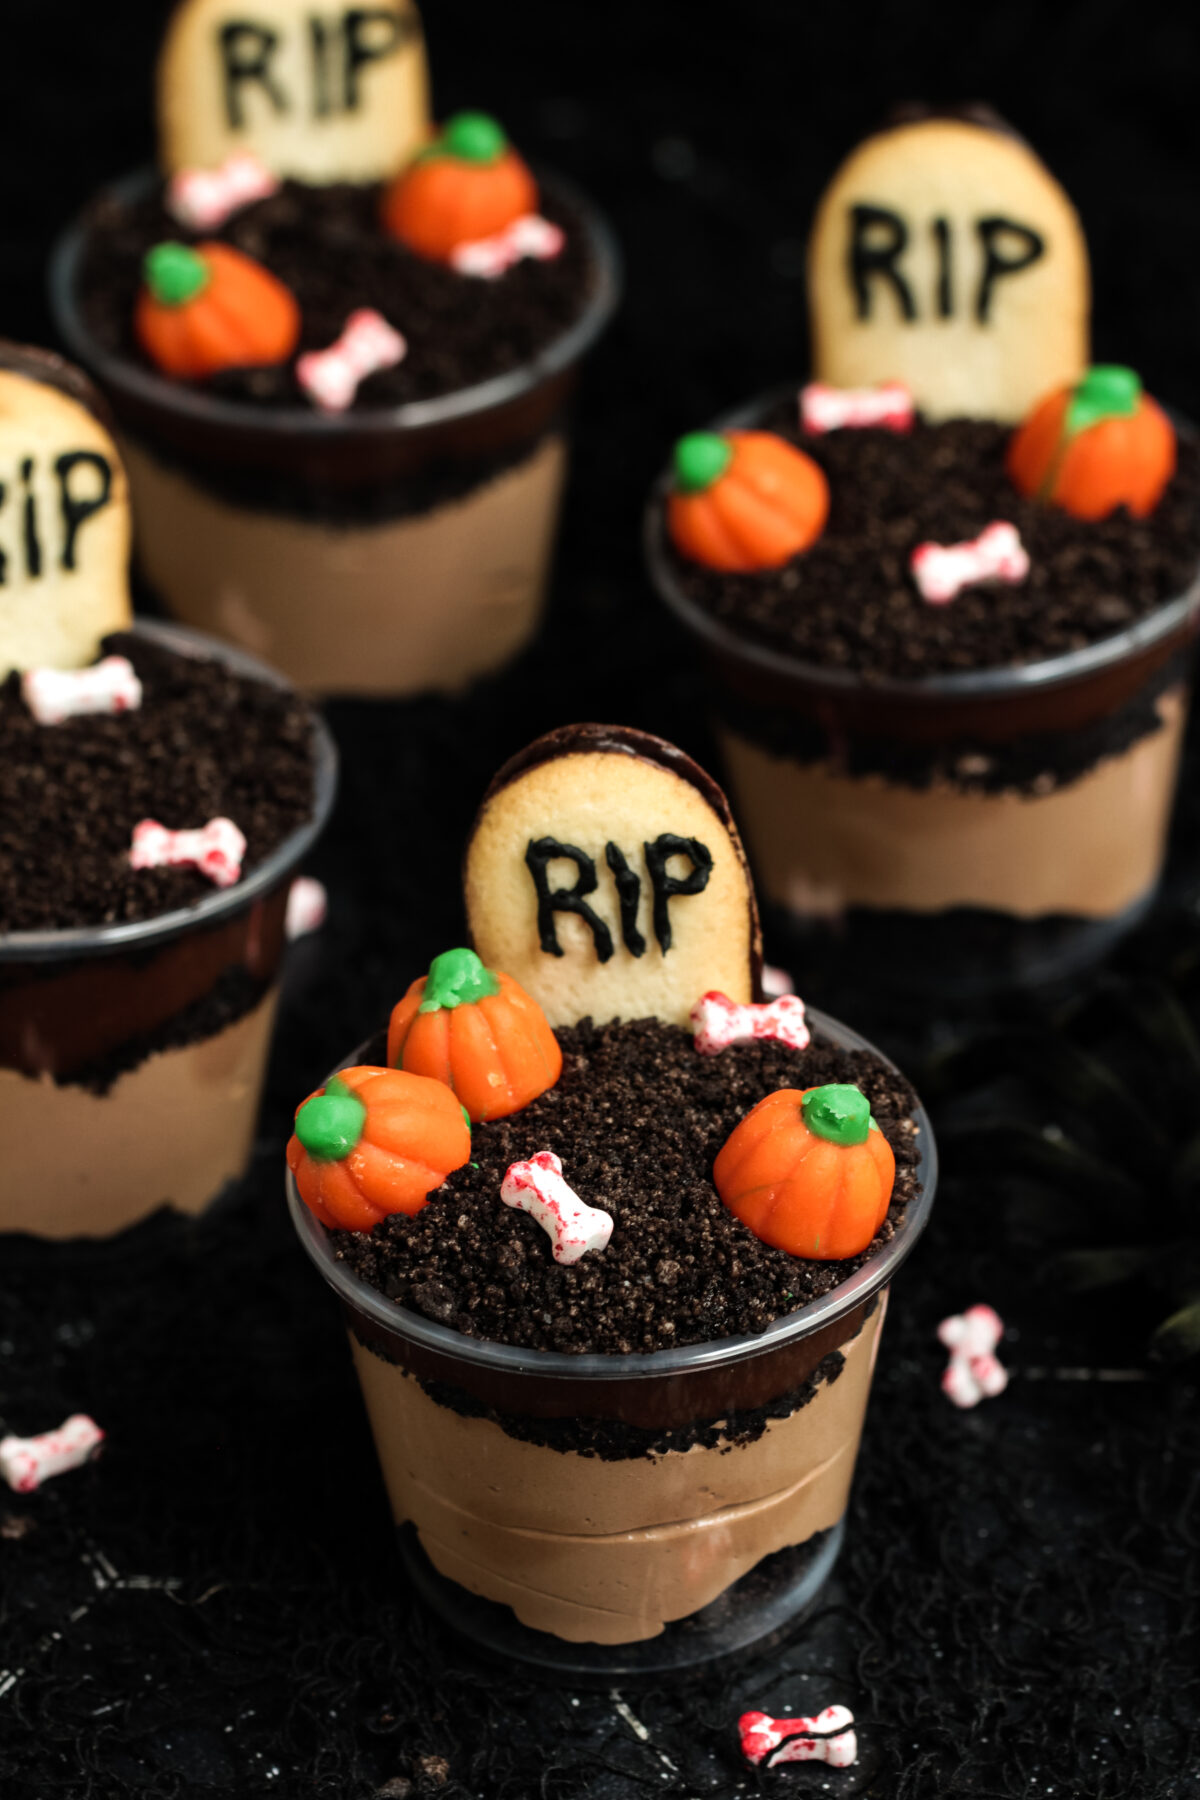
Lay out 8 plastic cups and pour in about 1 tablespoon of the Oreo “dirt” into the bottom of each cup.
Fill each cup about 2/3 full with the chocolate cool whip mixture, then top with another tablespoon of Oreo “dirt”. Tap the cup on the counter to level out the layer.
Evenly divide the chocolate pudding between the 8 cups, then then the cup on the counter to level out the layer again. Finish with a layer of Oreo “dirt”.
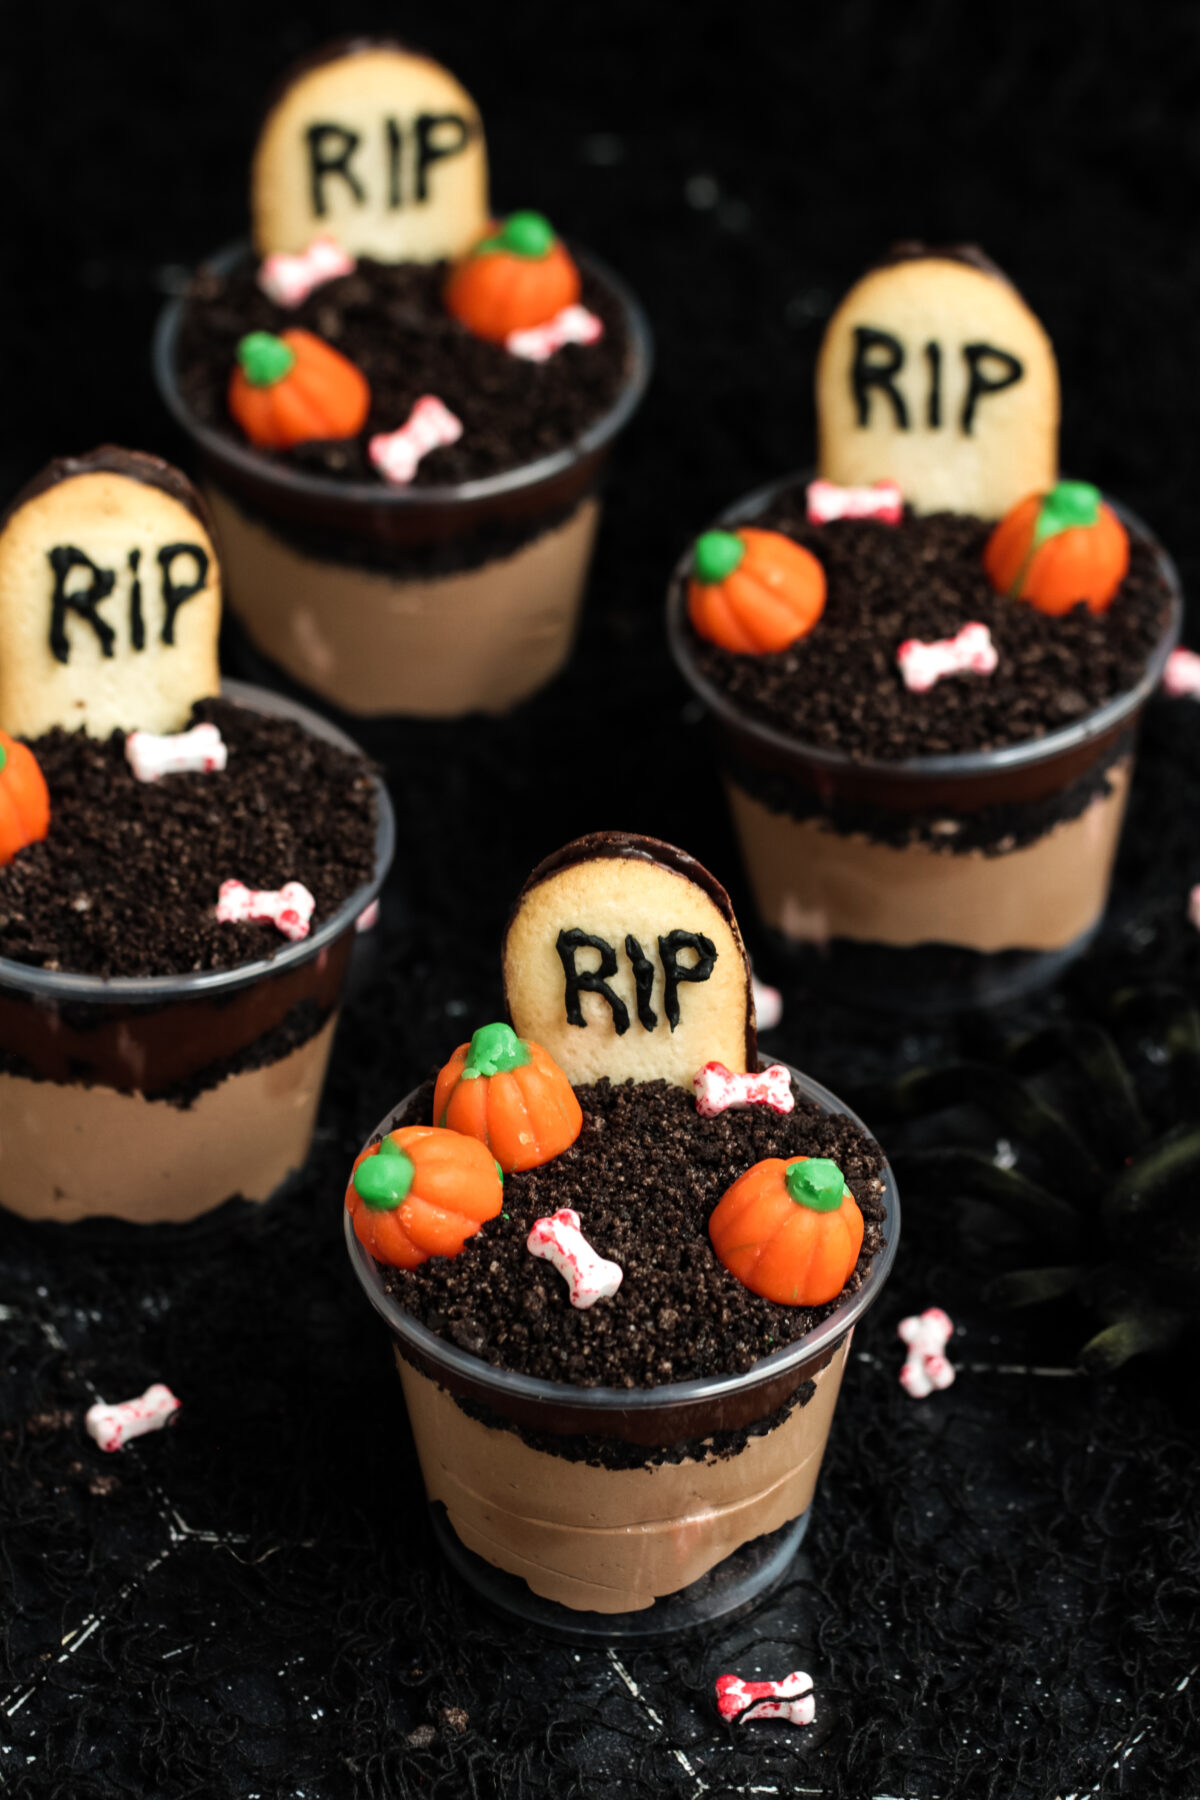
Push a cookie gravestone into each of the cups. Garnish with pumpkins and bones.
Chill in the refrigerator for 30 minutes before serving. Enjoy!

Halloween Dirt Cups
This Halloween Dirt Cups recipe is a fun and spooky treat for kids of all ages, especially for those with a bit of a sweet tooth.
Ingredients
- 8 Milano cookies
- Black cookie icing
- 3.9 oz Instant chocolate pudding mix
- 2 cup milk, cold
- 2 cups Cool Whip, thawed
- 18 Oreo cookies
- Mellowcreme pumpkins
- Bone sprinkles
Instructions
- Use the black cooking icing to write “RIP” on each of the Milano cookies. Set aside for the icing to set.
- In large bowl, combine pudding mix and milk; beat for 2 to 3 minutes with a wire whisk or stand mixer. Set aside.
- Place whole Oreo’s (with cream) into the base of a food processor, and pulse until you have medium crumbs.
- Pour 2 cups of the chocolate pudding and 2 cups Cool Whip into a medium bowl and mix until well combined.
- Lay out 8 plastic cups and pour in about 1 tablespoon of the Oreo “dirt” into the bottom of each cup.
- Fill each cup about 2/3 full with the chocolate cool whip mixture, then top with another tablespoon of Oreo “dirt”. Tap the cup on the counter to level out the layer.
- Evenly divide the chocolate pudding between the 8 cups, then then the cup on the counter to level out the layer again. Finish with a layer of Oreo “dirt”.
- Push a cookie gravestone into each of the cups. Garnish with pumpkins and bones.
- Chill in the refrigerator for 30 minutes before serving. Enjoy!
Recommended Products
As an Amazon Associate and member of other affiliate programs, I earn from qualifying purchases.

Nutrition Information:
Yield:
8Serving Size:
5.5 ozAmount Per Serving: Calories: 333Total Fat: 17gSaturated Fat: 9gTrans Fat: 0gUnsaturated Fat: 4gCholesterol: 6mgSodium: 230mgCarbohydrates: 43gFiber: 1gSugar: 27gProtein: 4g
This information is provided as a courtesy and for entertainment purposes only. This information comes from online calculators. Although frugalmomeh.com attempts to provide accurate nutritional information, these figures are only estimates.