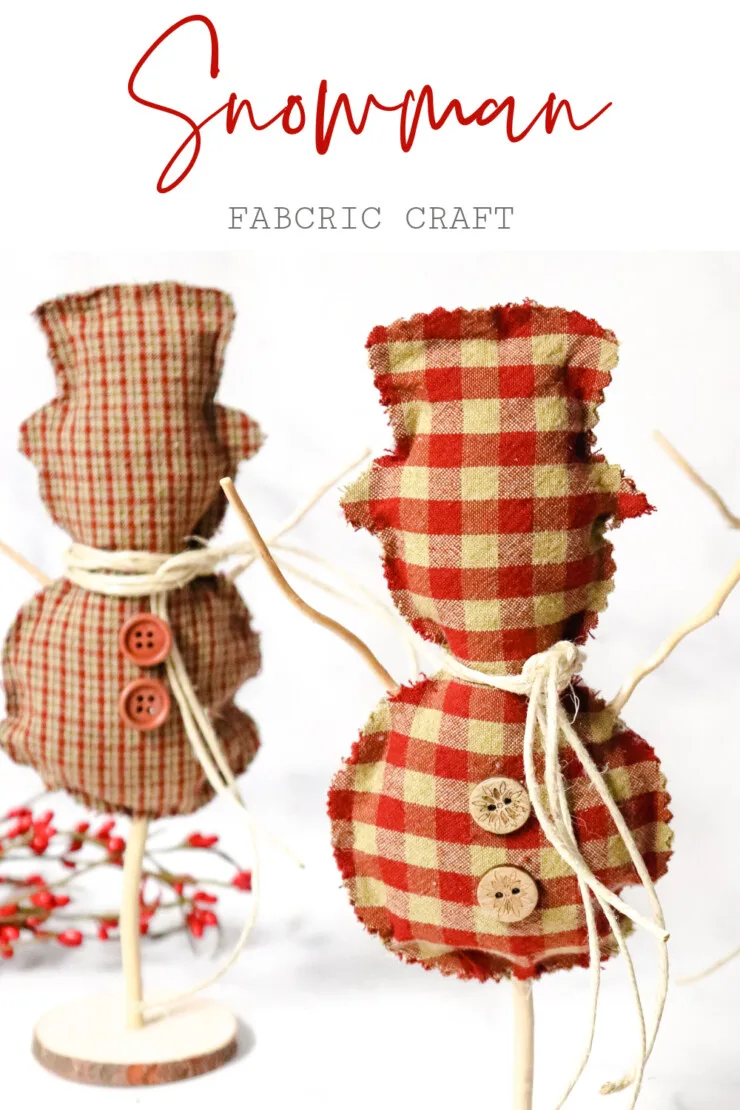
This no-sew fabric snowman craft is easy enough for anyone to make their own rustic winter display thanks to the free printable pattern.

These fabric snowmen make a wonderfully festive display that you can keep up all winter long to bring a little joy into your home through the winter months.
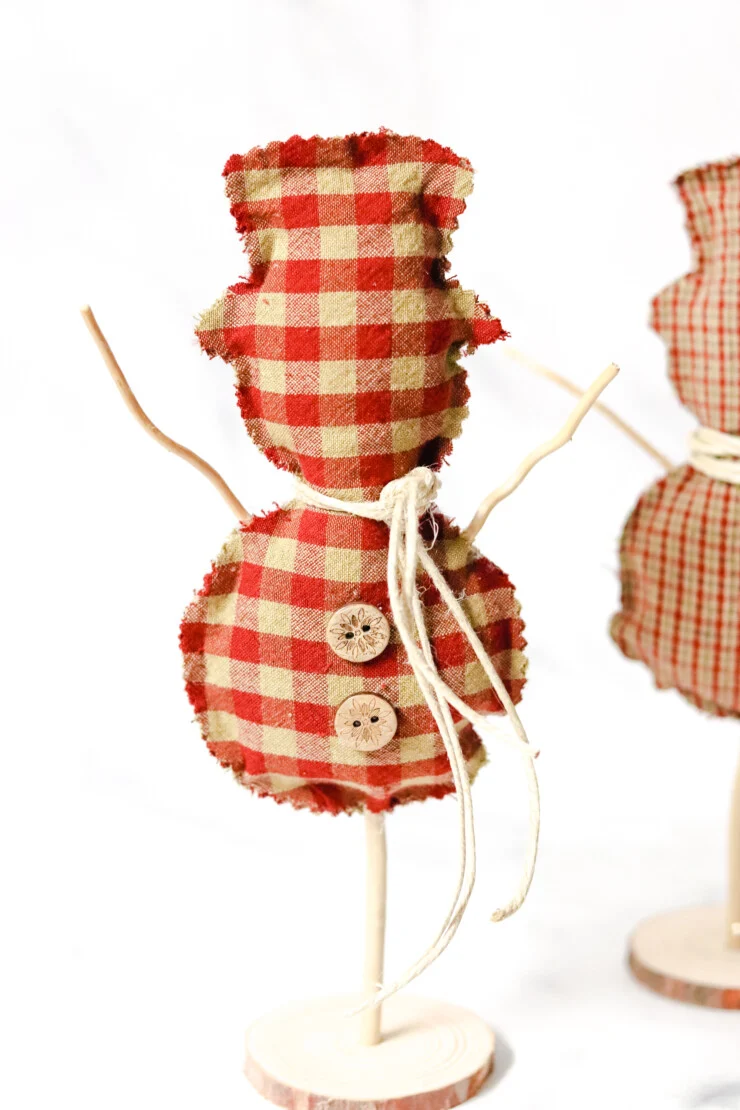
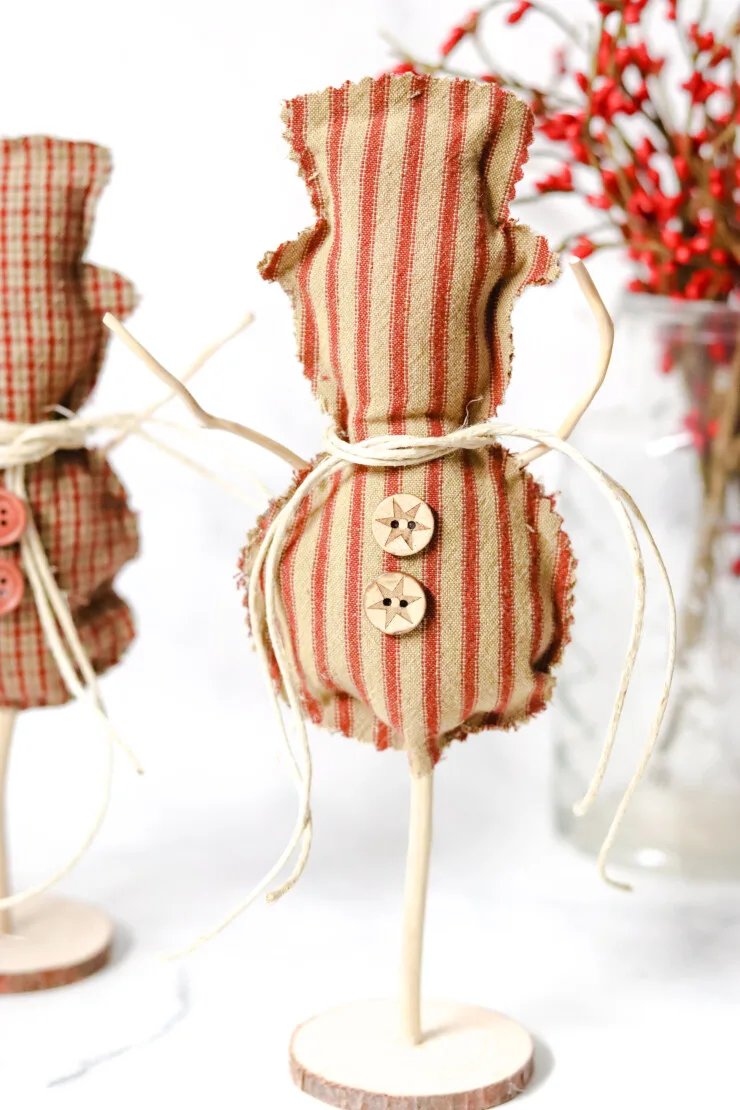
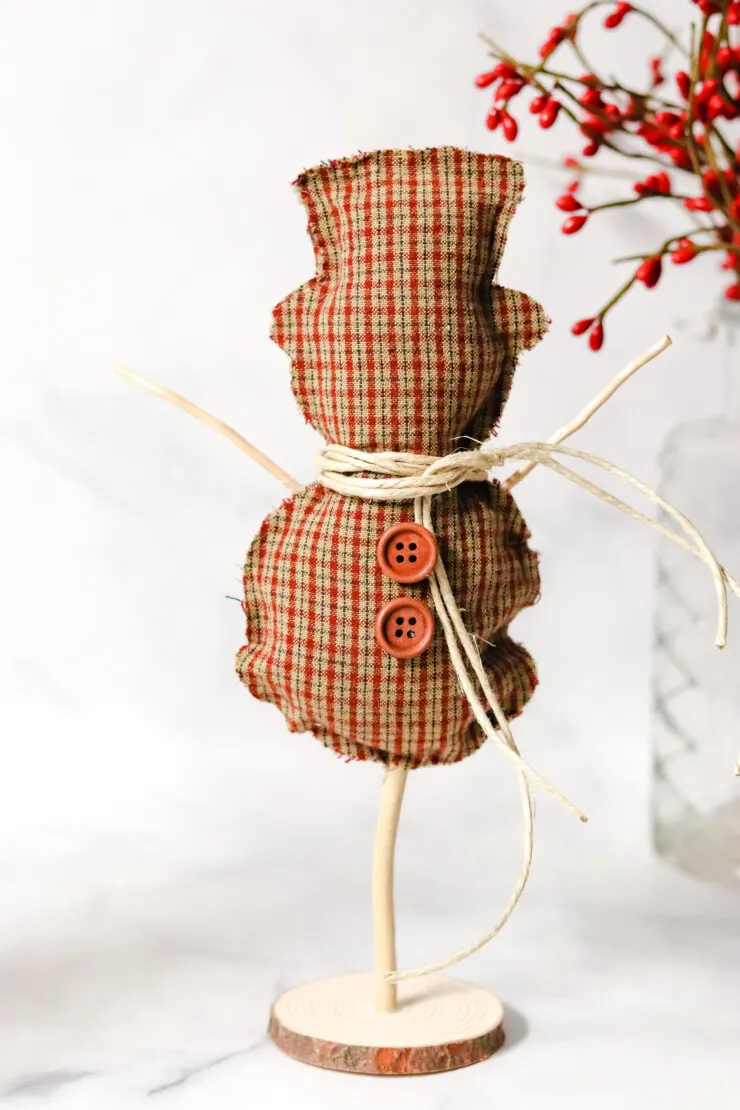
You can get really creative with this project and use fun coloured fabric rather than going with the rustic farm house style I chose. I’d love to see the results of your projects – you can share on this pinterest pin for everyone to see!
Looking for more Snowman Crafts?
Check out some of my favourite handmade snowmen decor projects:
Fabric Snowman Craft
Supplies:
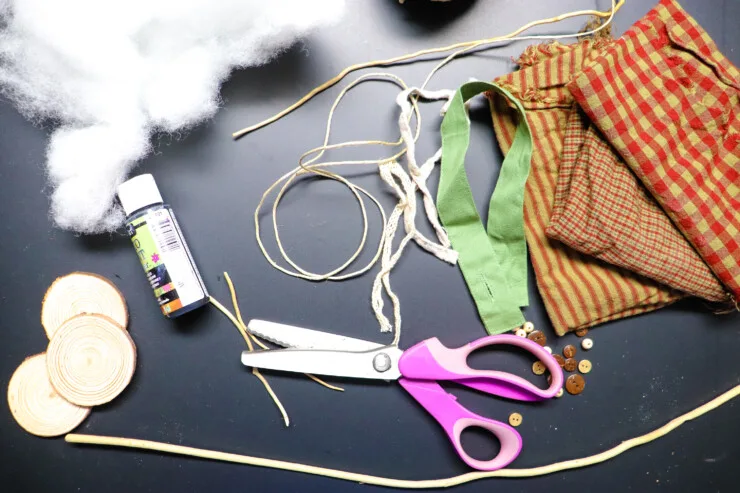
Small wood rounds/slices
6” sticks
3” thin sticks
twine or thin ribbon for the scarf
Fabric
fabric scissors
*optional pinking shears
wood buttons
polyfil stuffing
hot glue gun
screw gun with drill bit
snowman pattern
Instructions:
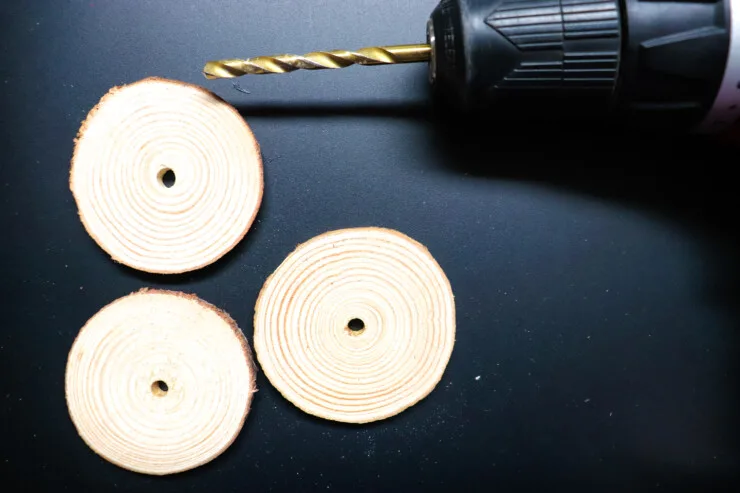
Drill holes in the center of each wood slice that allow your sticks to stand upright.
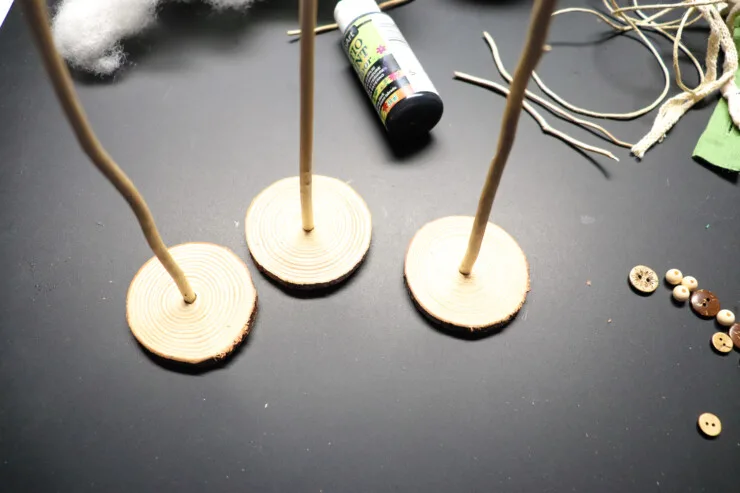
Hot glue the sticks in place if needed.
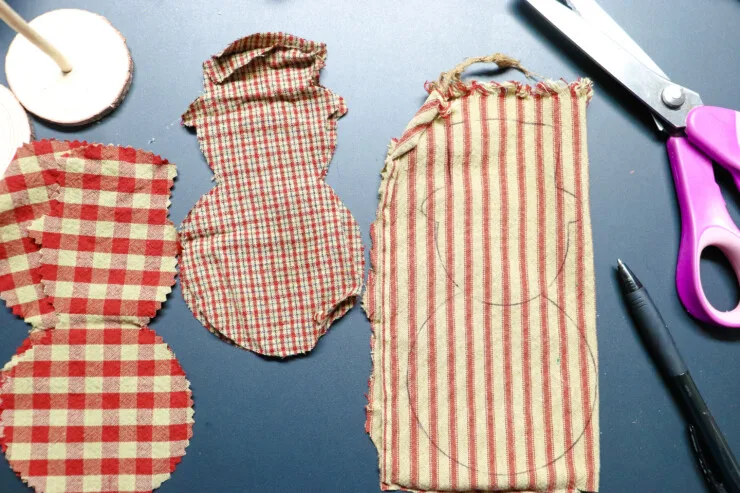
Cutout and trace snowman pattern on fabric that is folded in half so that each snowman has two pieces of fabric. Use pinking shears to get zig zag edges and regular scissors for a smooth edge.
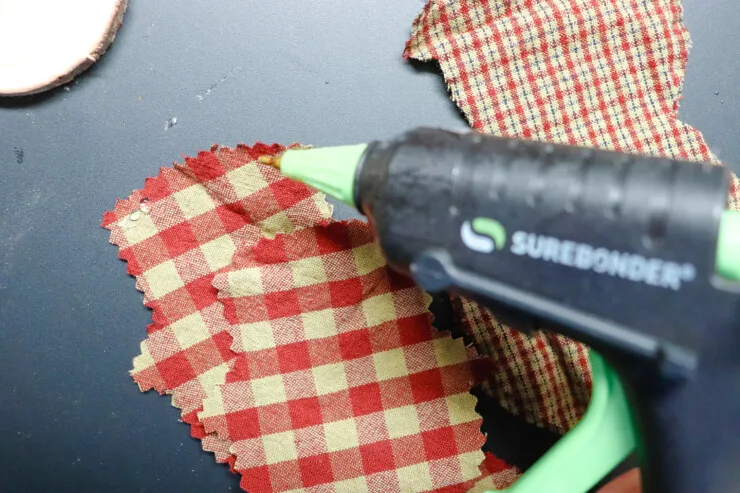
Hot glue two pieces of the same fabric together starting at the top of the hat and working down both sides. Hot glue all the way where you’ll insert the thin twigs for the arms. Glue those in place on both sides.
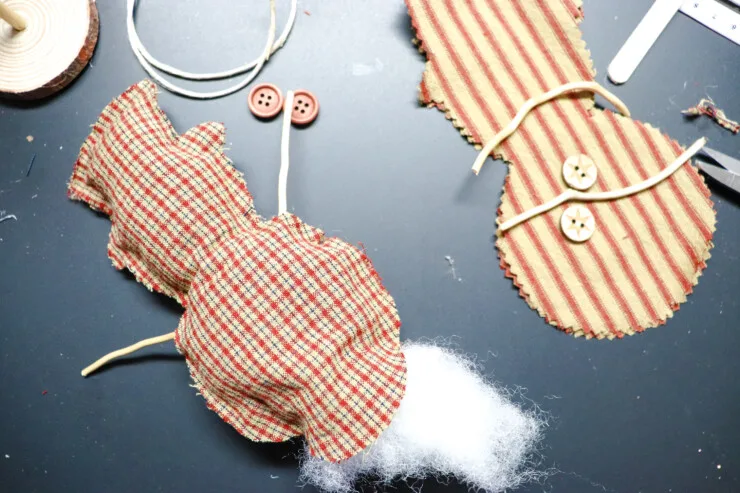
Keep the bottom open enough to stuff with polyfil. Use a pencil to help move the stuffing up and in.
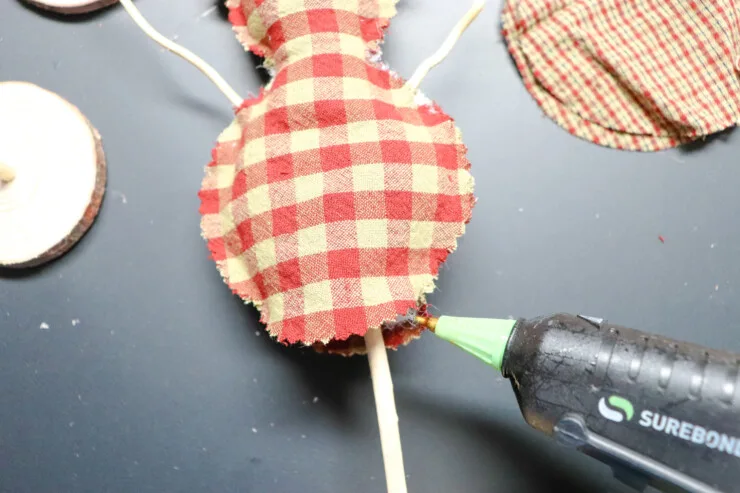
Insert the base and stick into the bottom of the snowman and got glue the fabric around the stick.
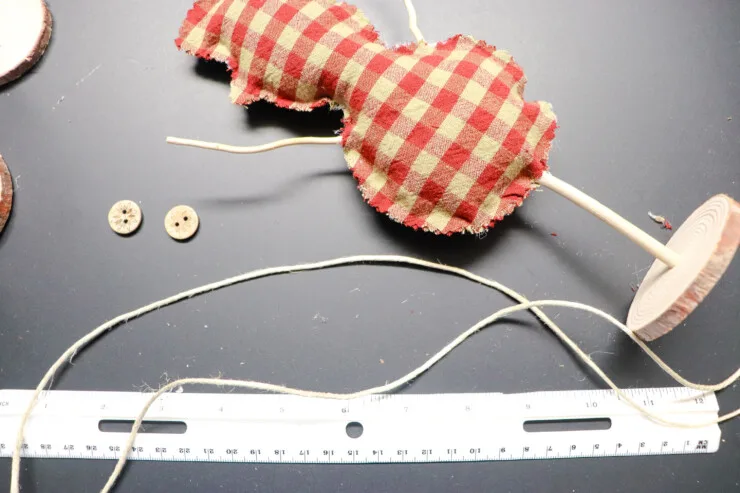
Cut a 25” length of twine for the scarf. Tie scarf loosely around snowman’s neck. Trim to desired length.
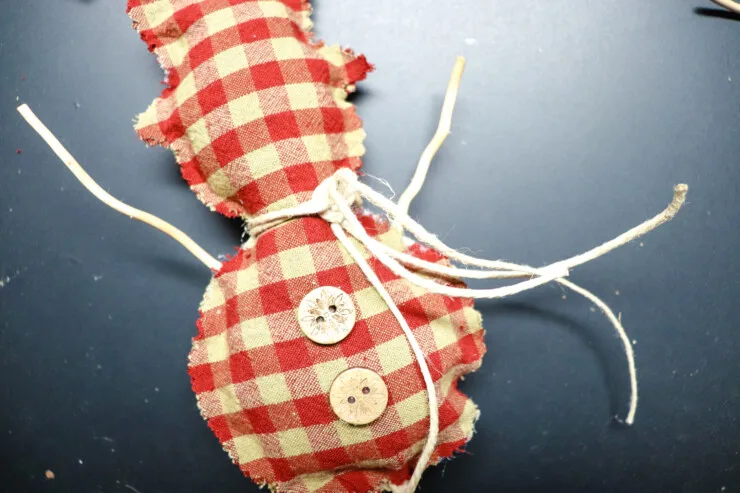
Hot glue two buttons on the snowman’s belly.
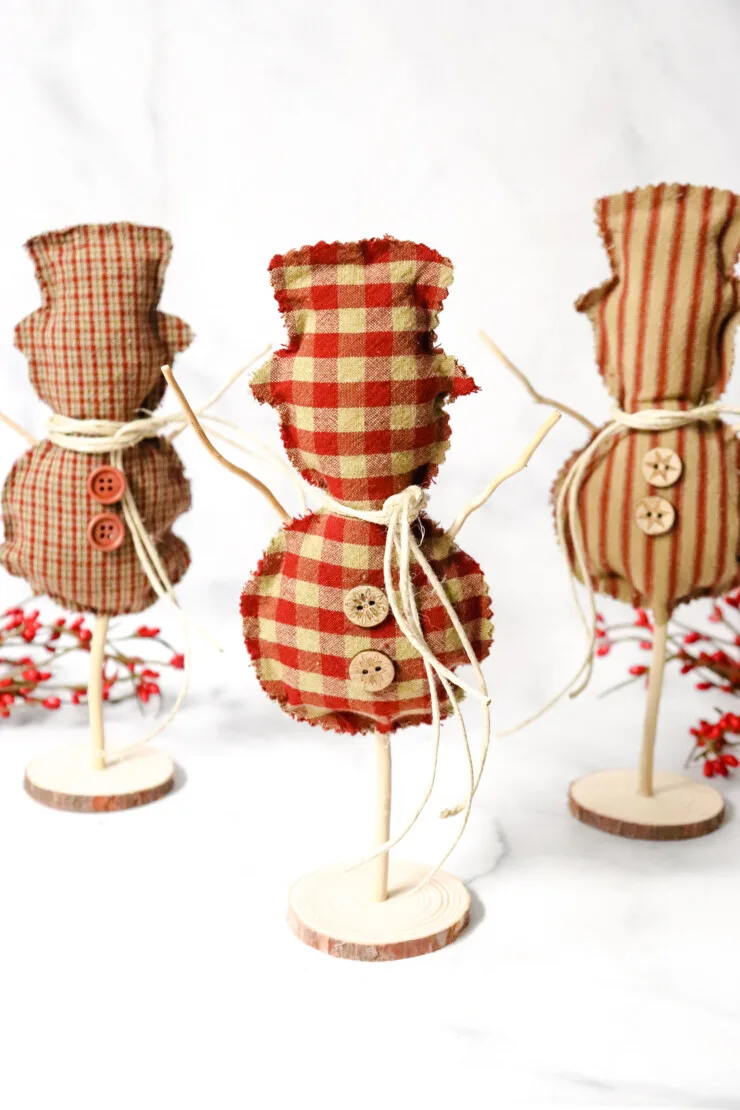
Set out for display or give as a gift!
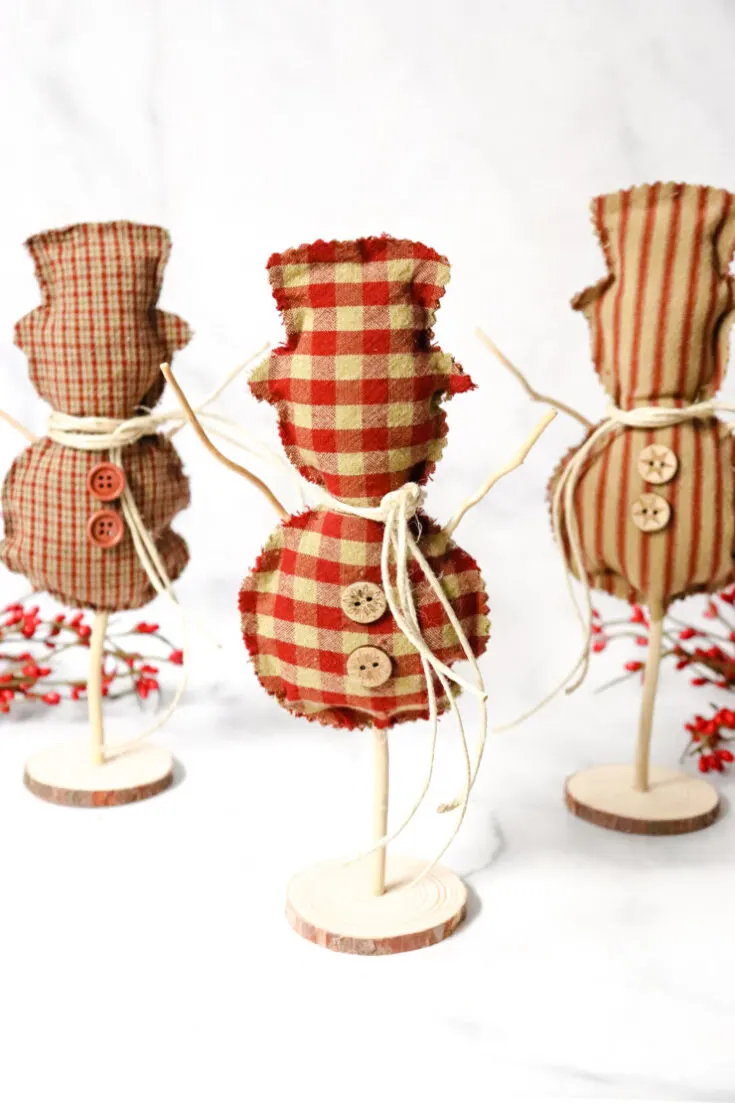
Fabric Snowman Craft
This no-sew fabric snowman craft is easy enough for anyone to make their own rustic winter display thanks to the free printable pattern.
Materials
- Small wood rounds/slices
- 6” sticks
- 3” thin sticks
- twine or thin ribbon for the scarf
- Fabric
- wood buttons
- polyfil stuffing
- snowman pattern
Tools
- hot glue gun
- screw gun with drill bit
- *optional pinking shears
- fabric scissors
Instructions
Drill holes in the center of each wood slice that allow your sticks to stand upright.
Hot glue the sticks in place if needed.
Cutout and trace snowman pattern on fabric that is folded in half so that each snowman has two pieces of fabric. Use pinking shears to get zig zag edges and regular scissors for a smooth edge.
Hot glue two pieces of the same fabric together starting at the top of the hat and working down both sides. Hot glue all the way where you’ll insert the thin twigs for the arms. Glue those in place on both sides.
Keep the bottom open enough to stuff with polyfil. Use a pencil to help move the stuffing up and in.
Insert the base and stick into the bottom of the snowman and got glue the fabric around the stick.
Cut a 25” length of twine for the scarf. Tie scarf loosely around snowman’s neck. Trim to desired length.
Hot glue two buttons on the snowman’s belly.
Set out for display or give as a gift!

Elizabeth Lampman is a coffee-fuelled Mom of 2 girls and lives in Hamilton, Ontario. She enjoys travelling, developing easy recipes, crafting, taking on diy projects, travelling and saving money!

Glenda
Tuesday 28th of November 2023
Do you have a link for the twigs at michaels? I like Karen would like to use the same twigs you have for your arms.
Karen
Monday 25th of October 2021
Where did you find your twigs for the snowman's arms? I have been using sticks from my yard buy yours look a lot nicer. Thanks!
Elizabeth Lampman
Monday 25th of October 2021
Michaels!