
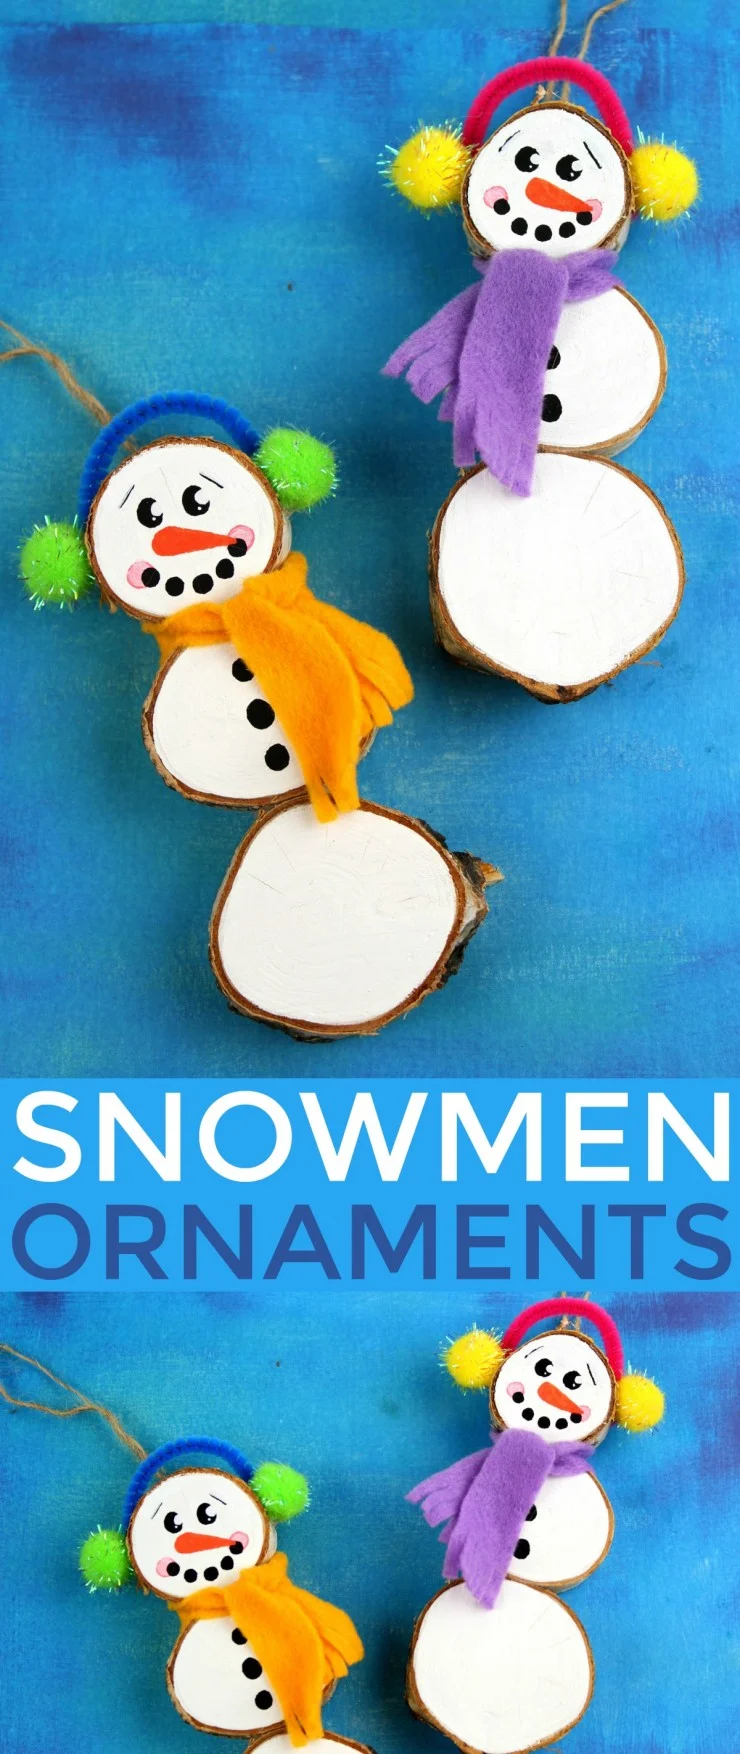
These Wood Slice Snowmen Ornaments are an adorable and festive holiday craft that make for great keepsake gifts that look great on a Christmas tree. We had so much fun making these Christmas ornaments!
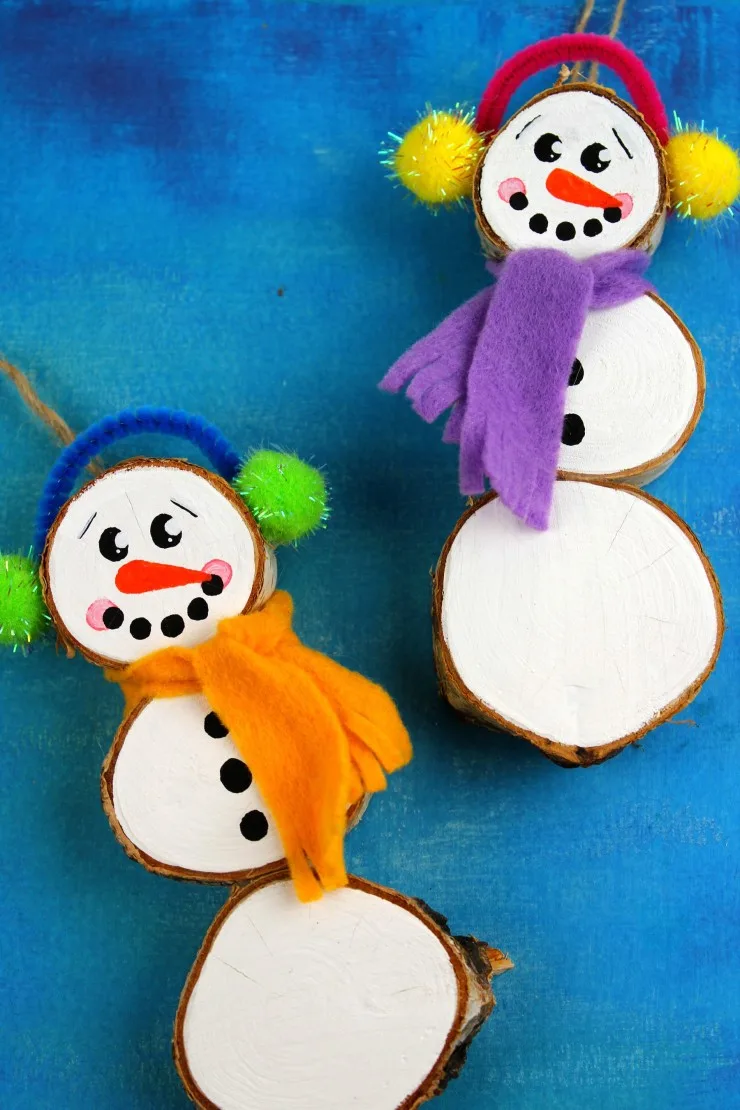
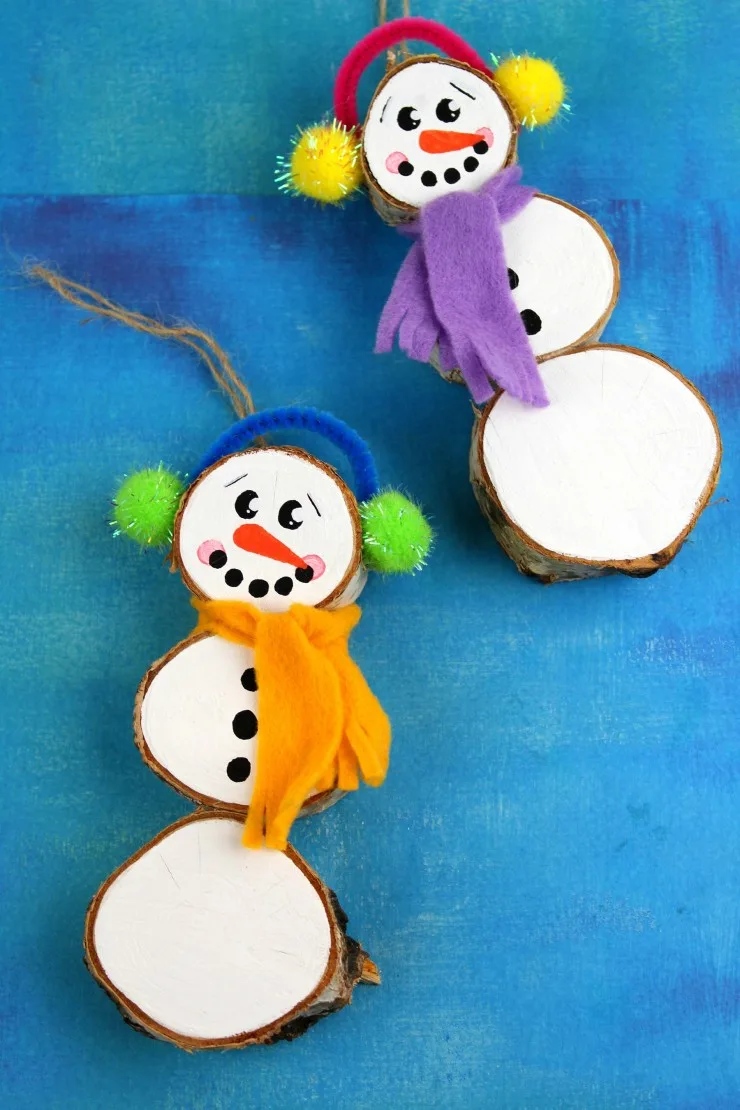
Wood Slice Snowman Ornaments
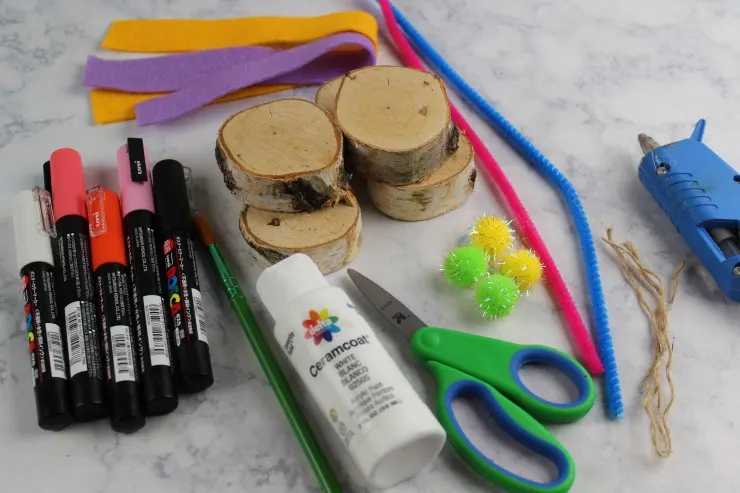
Supplies:
Wood Slices
Felt
Glue
Scissors
Paint Brush
White Paint
Black, Pink, Light Pink, Orange and White Paint Pen
Twine
Pom Poms
Pipe Cleaners
Instructions:

Glue 3 wood slices together, with the smallest slice on top and the largest slice on the bottom.
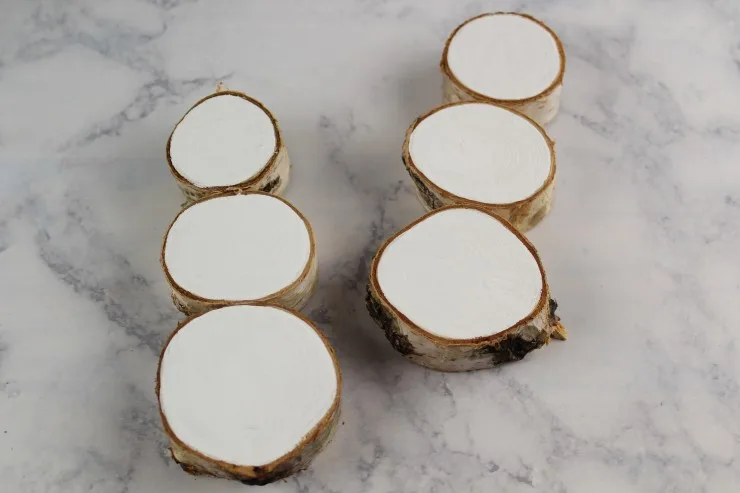
Paint the wood slice snowman white. 1-2 coats. Allow to dry completely.
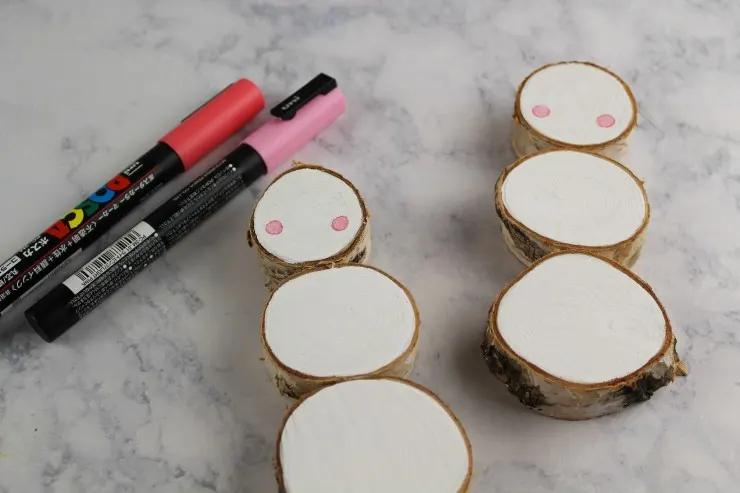
Use pink paint pens to give the snowman pink rosy cheeks.
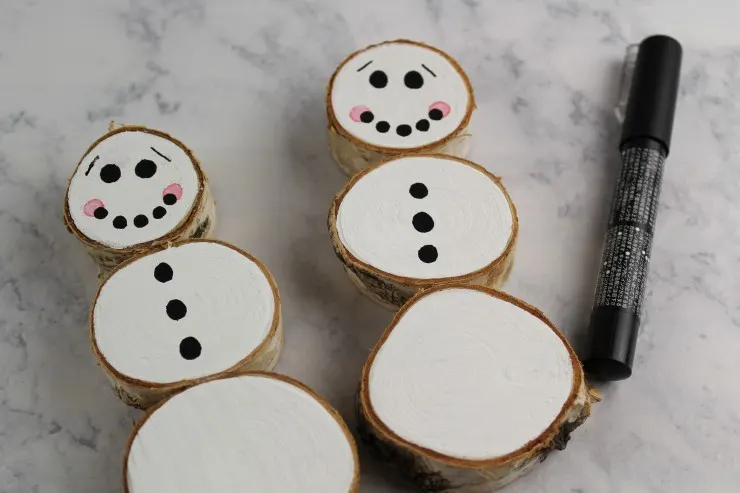
Use a black paint pen to draw on a coal mouth, eyes and buttons. Draw on eyebrows.
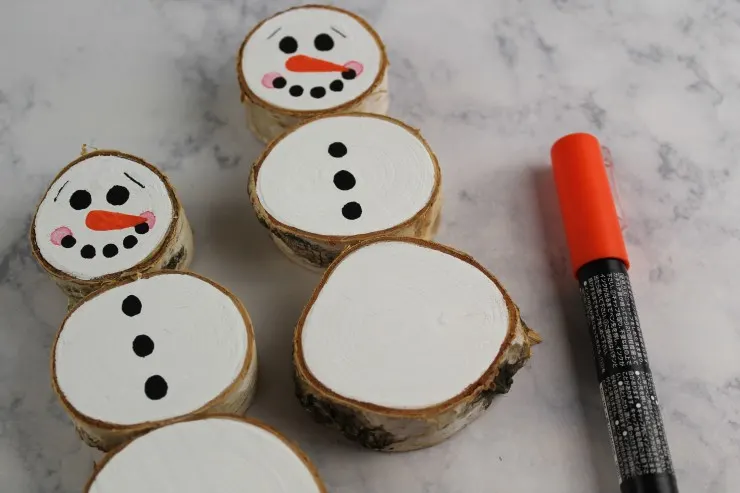
Use an orange paint pen to give the snowman a carrot nose.
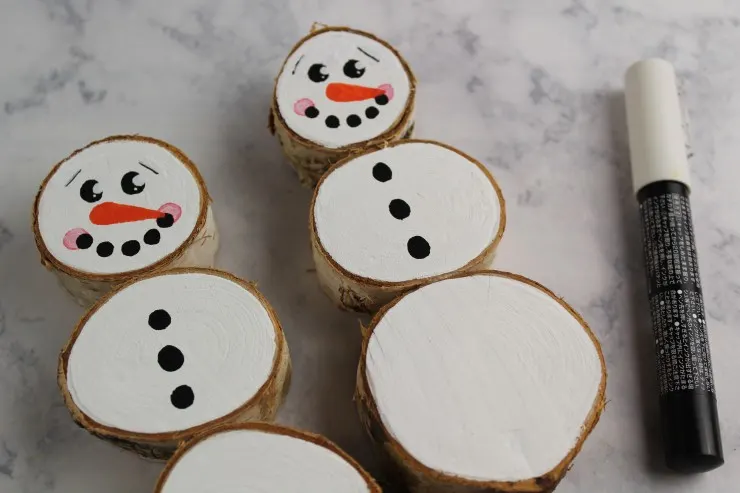
Use a white paint pen to give the eyes some expression. Refer to the photo.
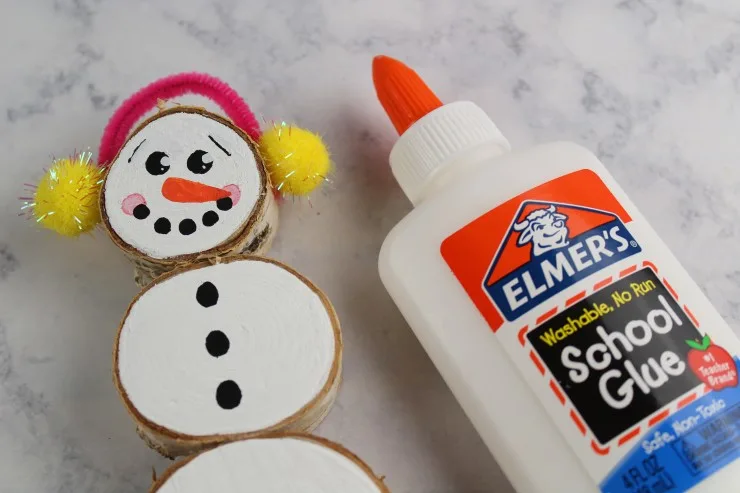
Cut a pipe cleaner large enough to wrap around the snowman’s head, leaving some empty space above his head. Refer to the photo.
Glue a pom pom on each end of the pipe cleaner.
Cut a long thin piece of felt. Tie felt around the snowman’s neck. Glue in place.
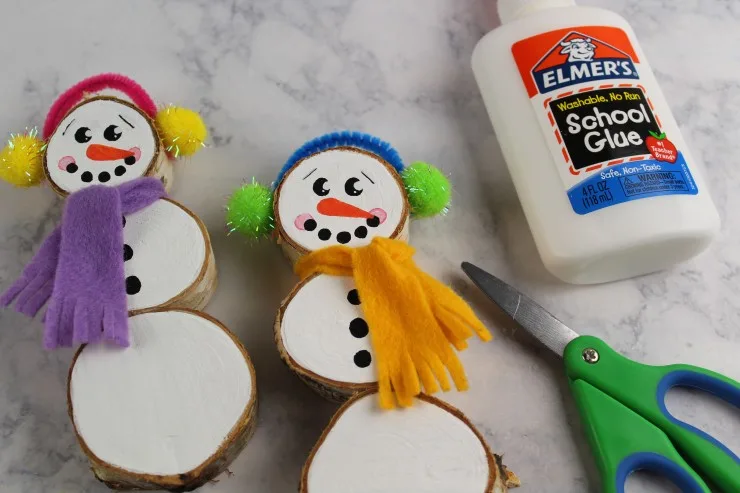
Use scissors to frays the ends of the scarf.
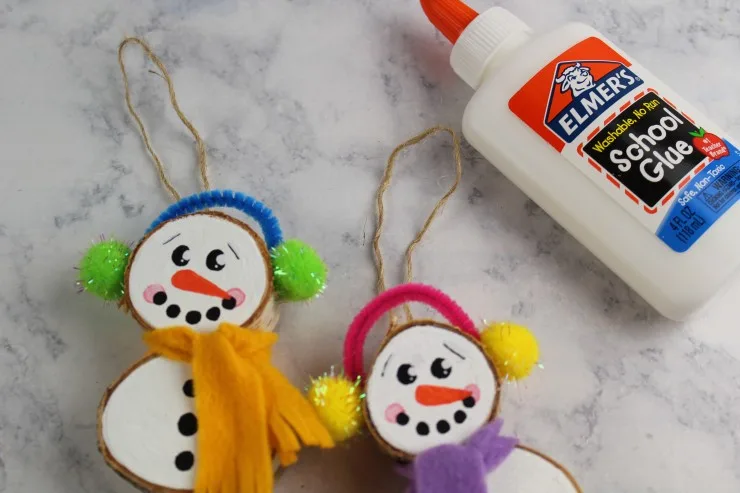
Glue twine onto the back of the snowman for hanging on a tree.
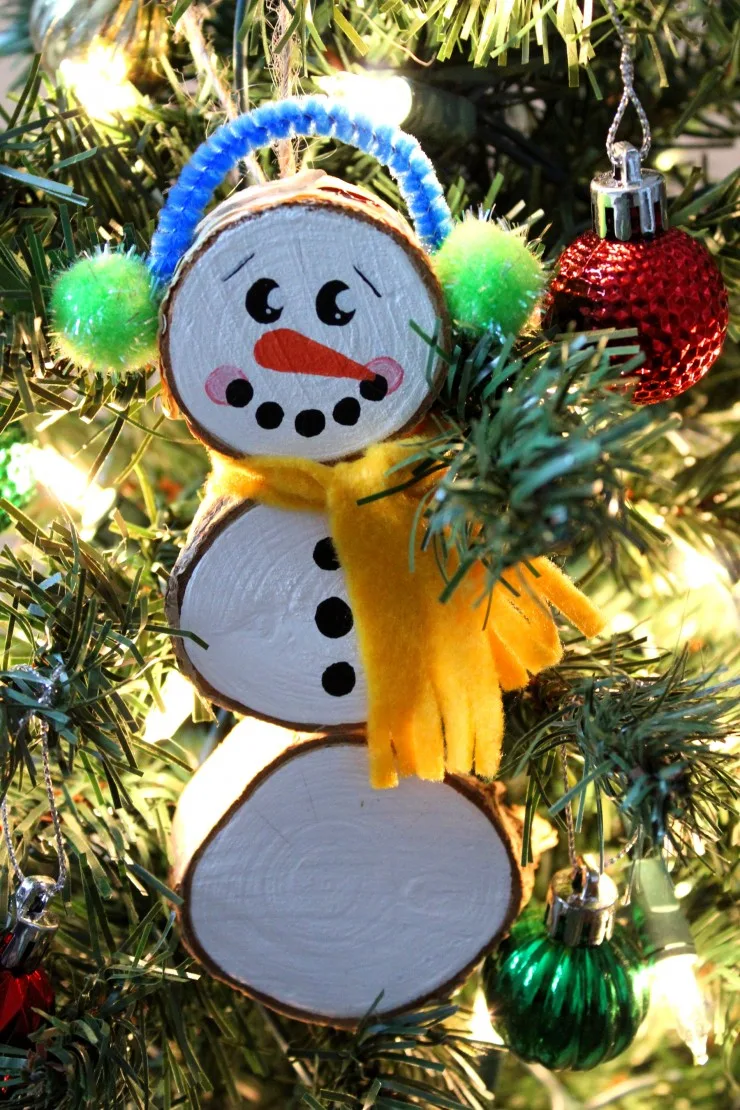
Your ornament is finished.
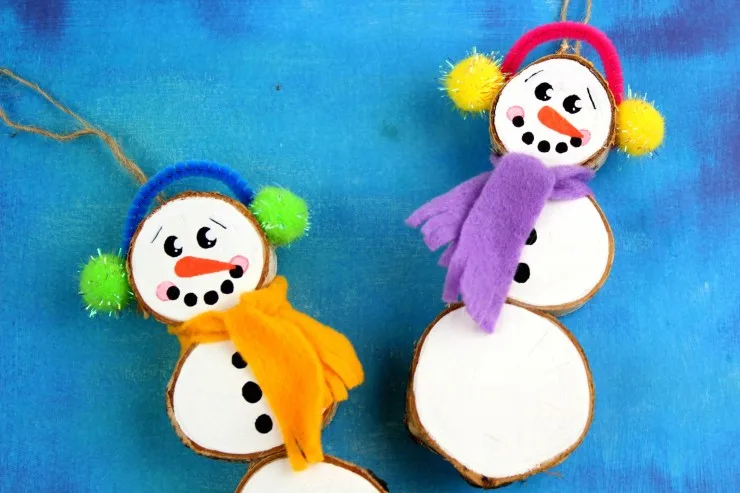
These would make wonderful family gifts from children!

Elizabeth Lampman is a coffee-fuelled Mom of 2 girls and lives in Hamilton, Ontario. She enjoys travelling, developing easy recipes, crafting, taking on diy projects, travelling and saving money!
