After Keira was born and eventually brought home I started to get to work on decorating her nursery. I know its a bit backwards to get started on that after the baby arrives but you have to remember that Keira arrived 3 months early and we had just moved in to our current house. I made her letter blocks with her name, and I painted a Letter “K” with Jungle animals among other personal touches.
Fast forward to the present time with baby Ava. Ava doesn’t even have a nursery and sleeps in my bedroom. She is an awful snorer, just like her Dad. We are moving in a couple weeks to a larger house so that Ava will have her own bedroom and I finally get to decorate her nursery. (Yay!) I decided I wanted another Letter craft but that I didn’t want to paint another letter.
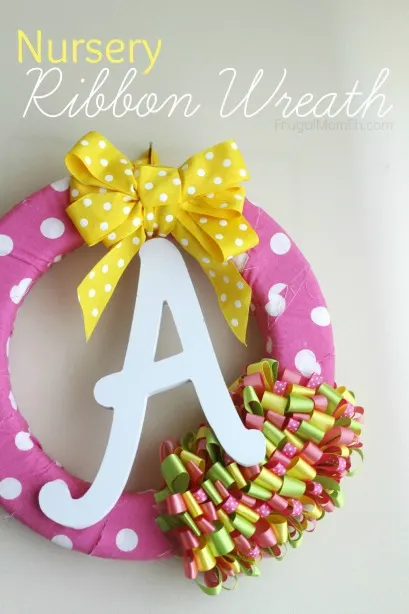
I decided it would be fun to use the letter in a wreath for her nursery so I got some fabric I liked and co-coordinating ribbons to come up with a cute ribbon wreath for her nursery.
Materials:
Fabric ( I used about 1/3 of a yard)
Wreath Form (Mine was 12″)
Wide Ribbon
Wood Letter
Co-Ordinating Ribbon (I used 4 spools)
Fabric Scissors
Glue Gun & Glue Sticks
Directions:
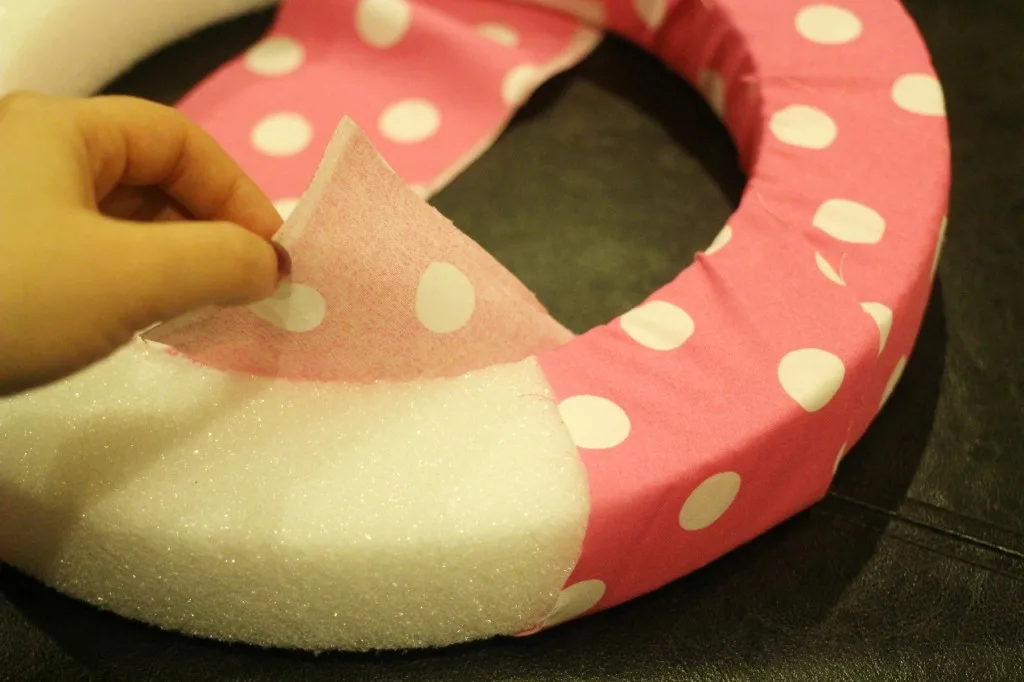
Cut the fabric into thin strips about 2 inches wide.
Glue one end of the fabric strip to the wreath form and start wrapping the fabric around the wreath. It helps to pull the fabric tightly.
Once the entire wreath form is covered, secure the strip of fabric with a dab of hot glue.
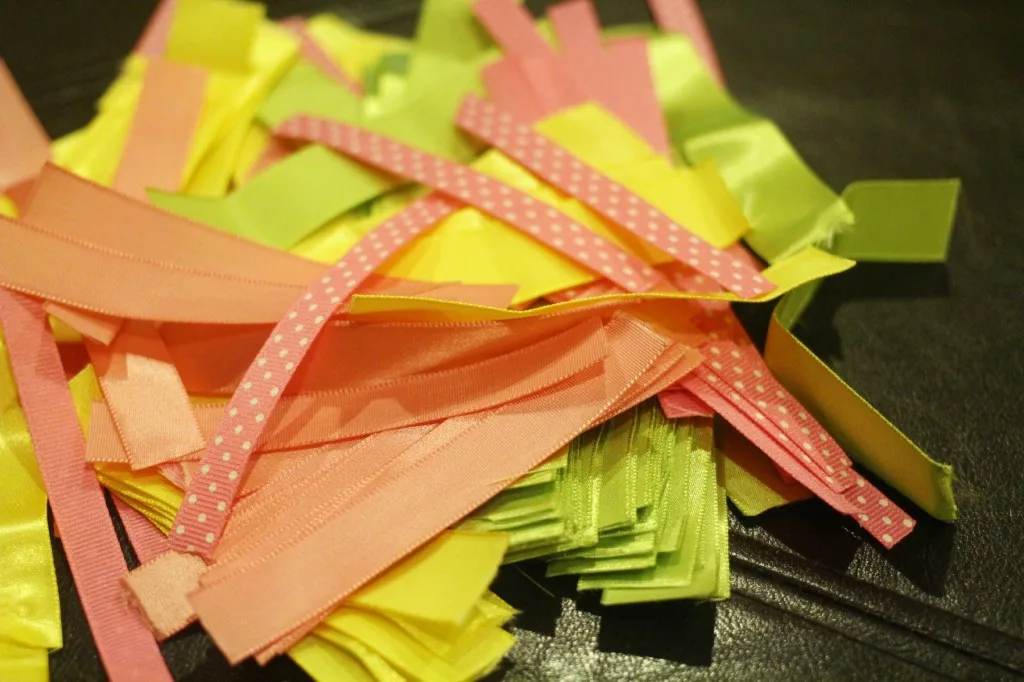
Next cut the co-ordinating ribbons into equal length pieces. Mine were about 2 inches in length so that the loops ended up about an inch tall.
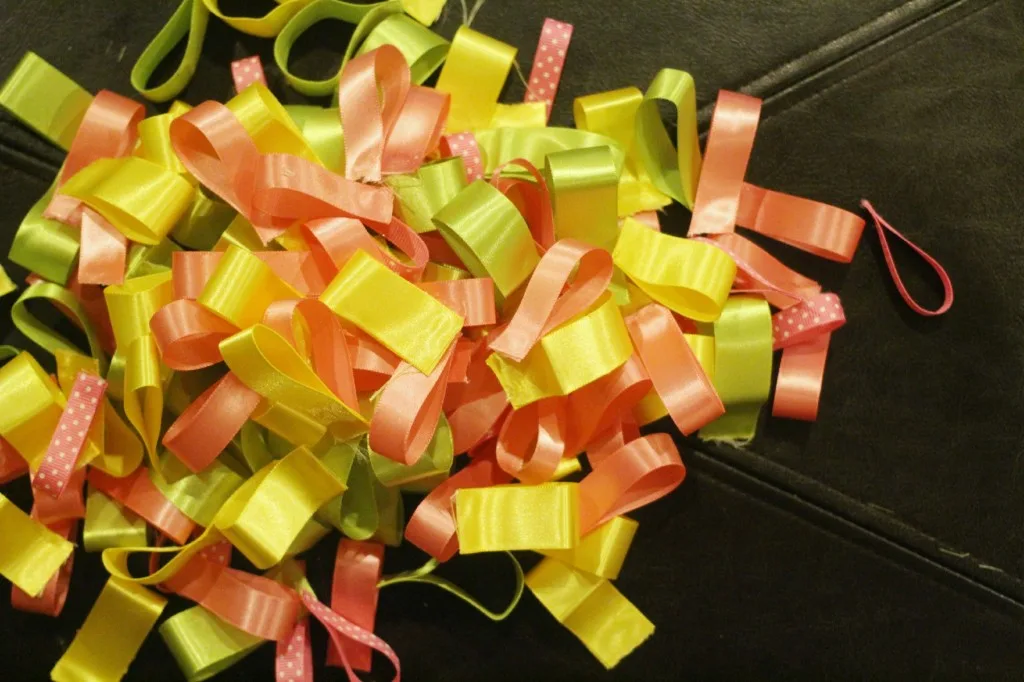
Use a dab of hot glue on the ends of the ribbon strips to create loops.
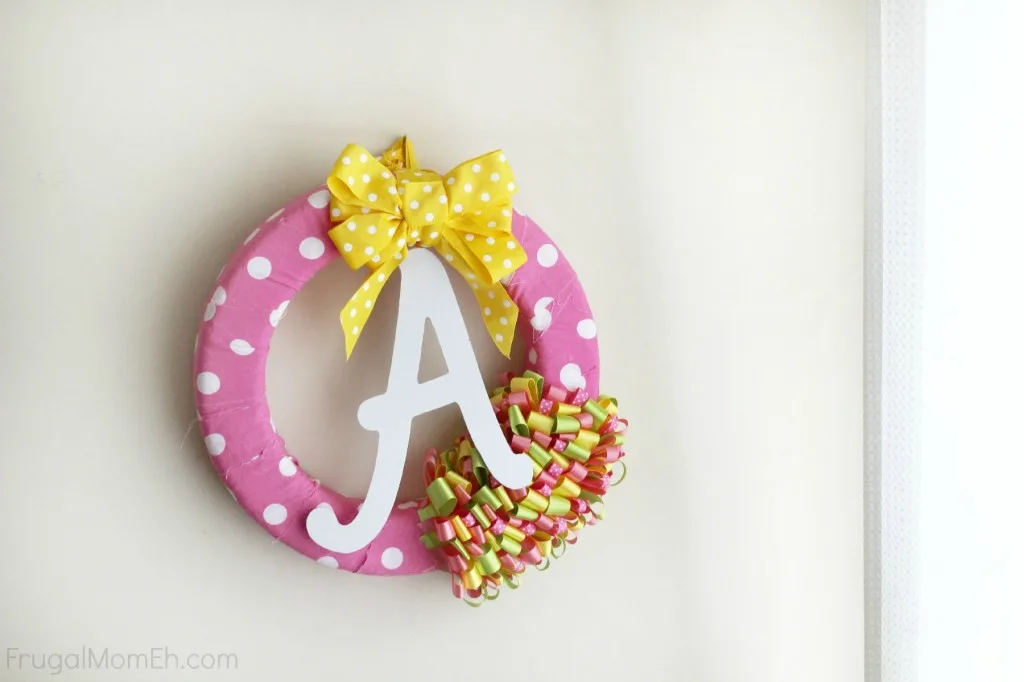
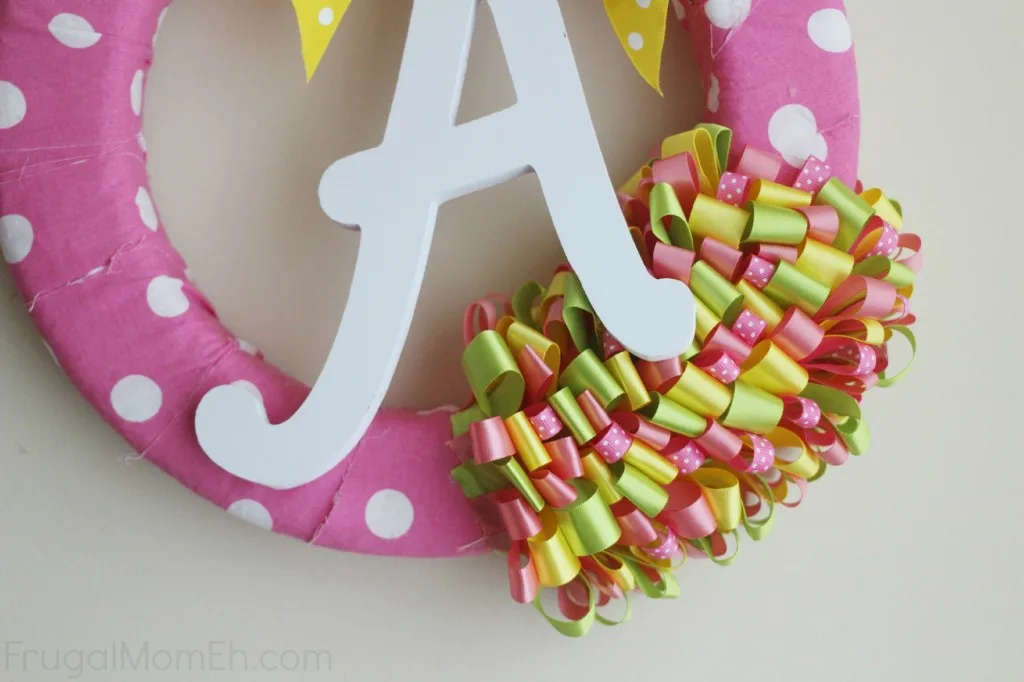
Glue the ribbon loops onto the fabric covered wreath. I chose to cover only a small portion but make sure it is off centre from where you plan to place the ribbon and hang the letter. It just looks better. Just dab glue on to the end and place on your wreath, overlapping and changing the colours as you go.
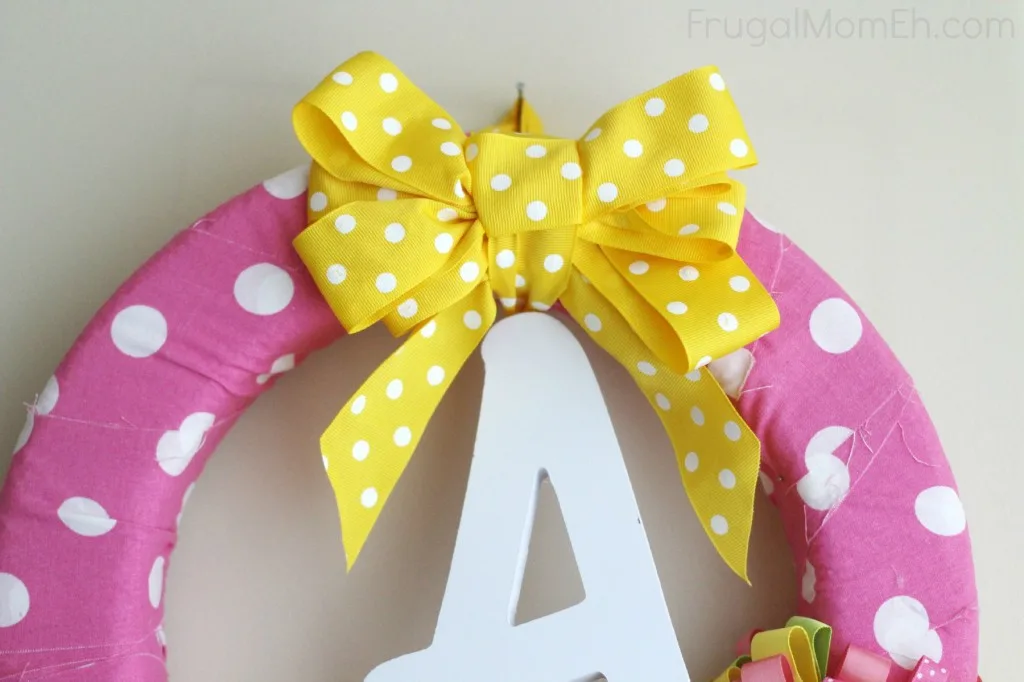
Use your wide ribbon to tie a florist bow. Wired ribbon is super easy to do this with. I couldn’t find any in a patter I liked so I had to work with what I had. There are tons of tutorials online for tying ribbons. I would suggest just playing with it to achieve the look you want.
The letter I purchased had a plastic hook for hanging at the end of it already so I secured it and the bow with part of the ribbon I had left.
There you go! Isn’t it a pretty nursery ribbon wreath? I used the green in the co-coordinating ribbon loops to give me more colours to play with for Ava’s room decor. Plus… matchy matchy is kind boring and the green really makes it pop.
Aren’t those loops pretty?
Here is a close up of the ribbon I tied.
Enjoy!

Elizabeth Lampman is a coffee-fuelled Mom of 2 girls and lives in Hamilton, Ontario. She enjoys travelling, developing easy recipes, crafting, taking on diy projects, travelling and saving money!


Heather
Wednesday 8th of February 2017
Very cute! I love the colors you used!
Elizabeth Matthiesen
Wednesday 9th of September 2015
This is absolutely gorgeous, you are so talented with all these crafts :-)
kathy downey
Saturday 14th of March 2015
Love the colors on that wreathe going to make one for Easter
kathy downey
Friday 23rd of January 2015
My friend had a baby yesterday and I am going too make this over the weekend for the nursery
kristy e
Friday 5th of December 2014
This is a great idea! might do this in a christmas theme for my kids