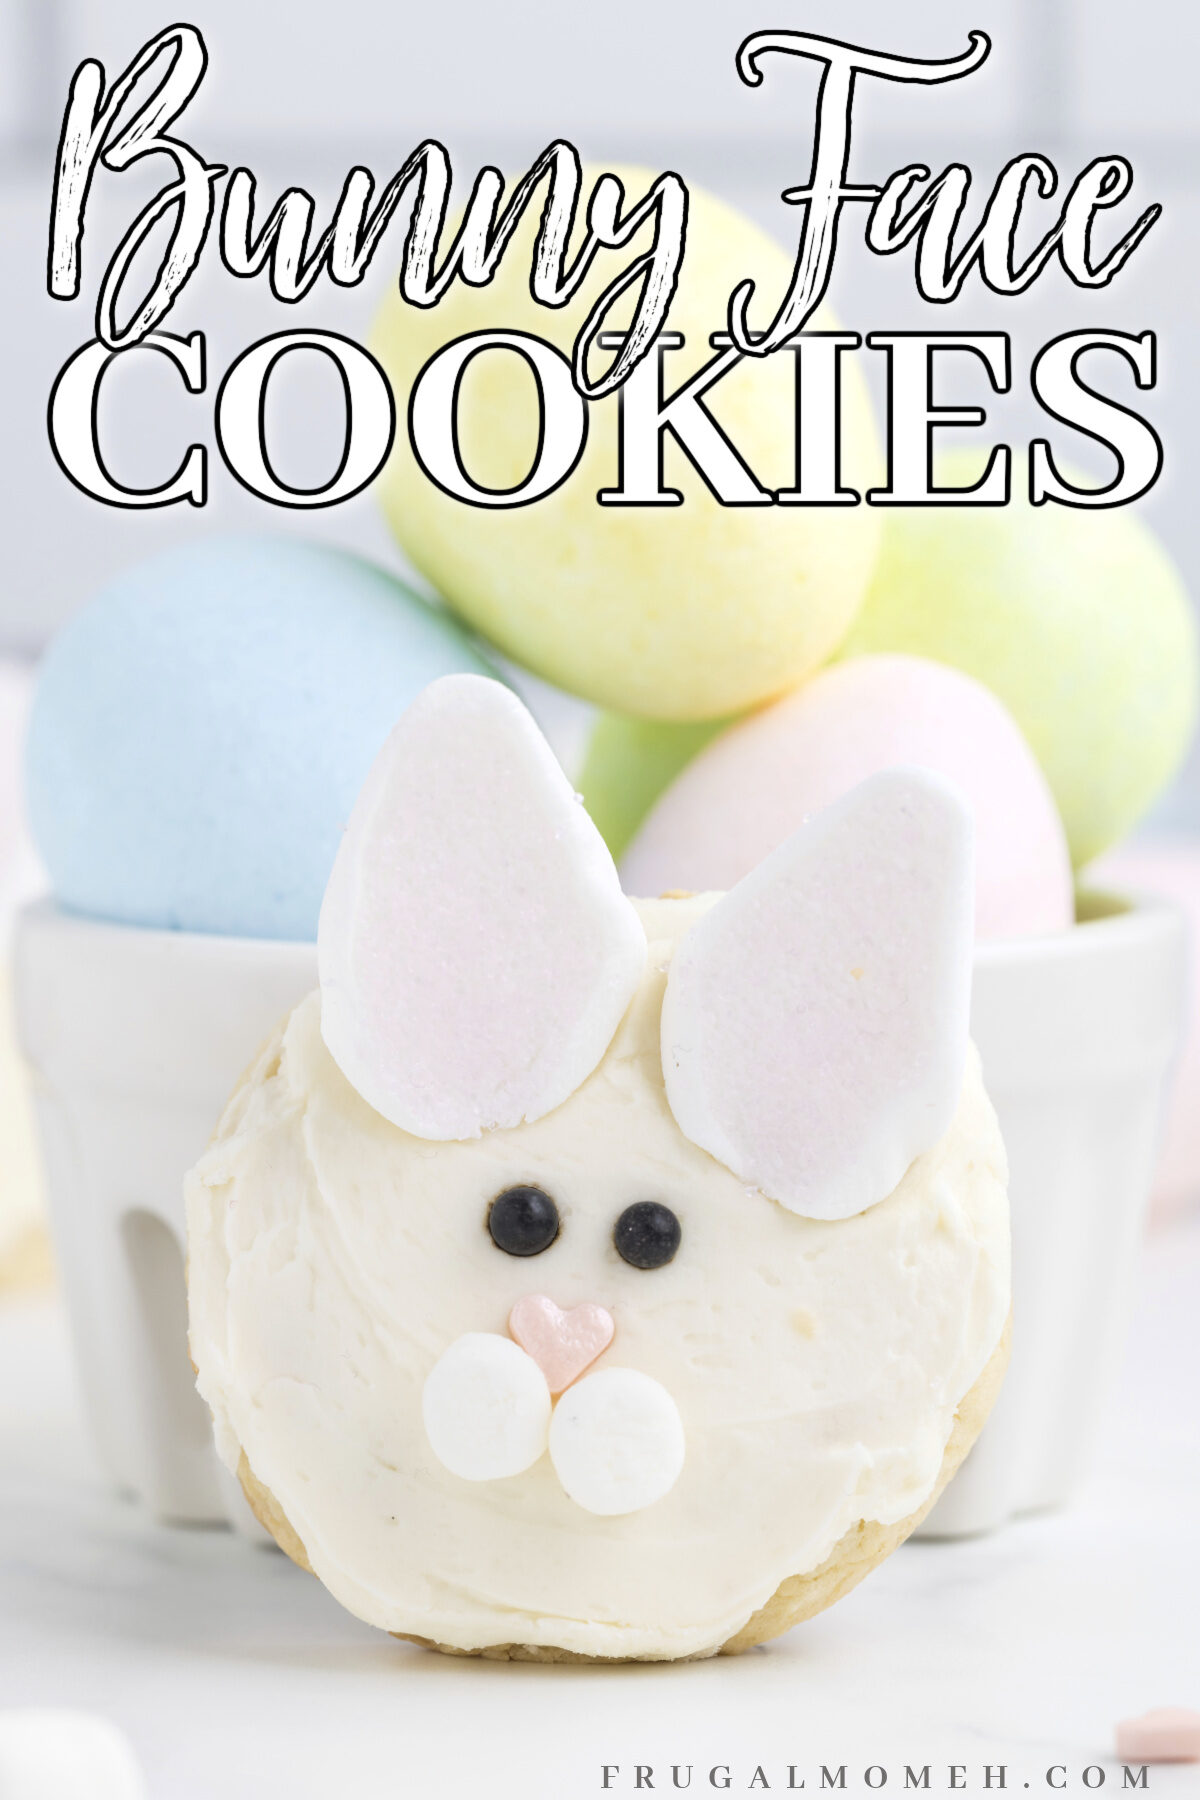
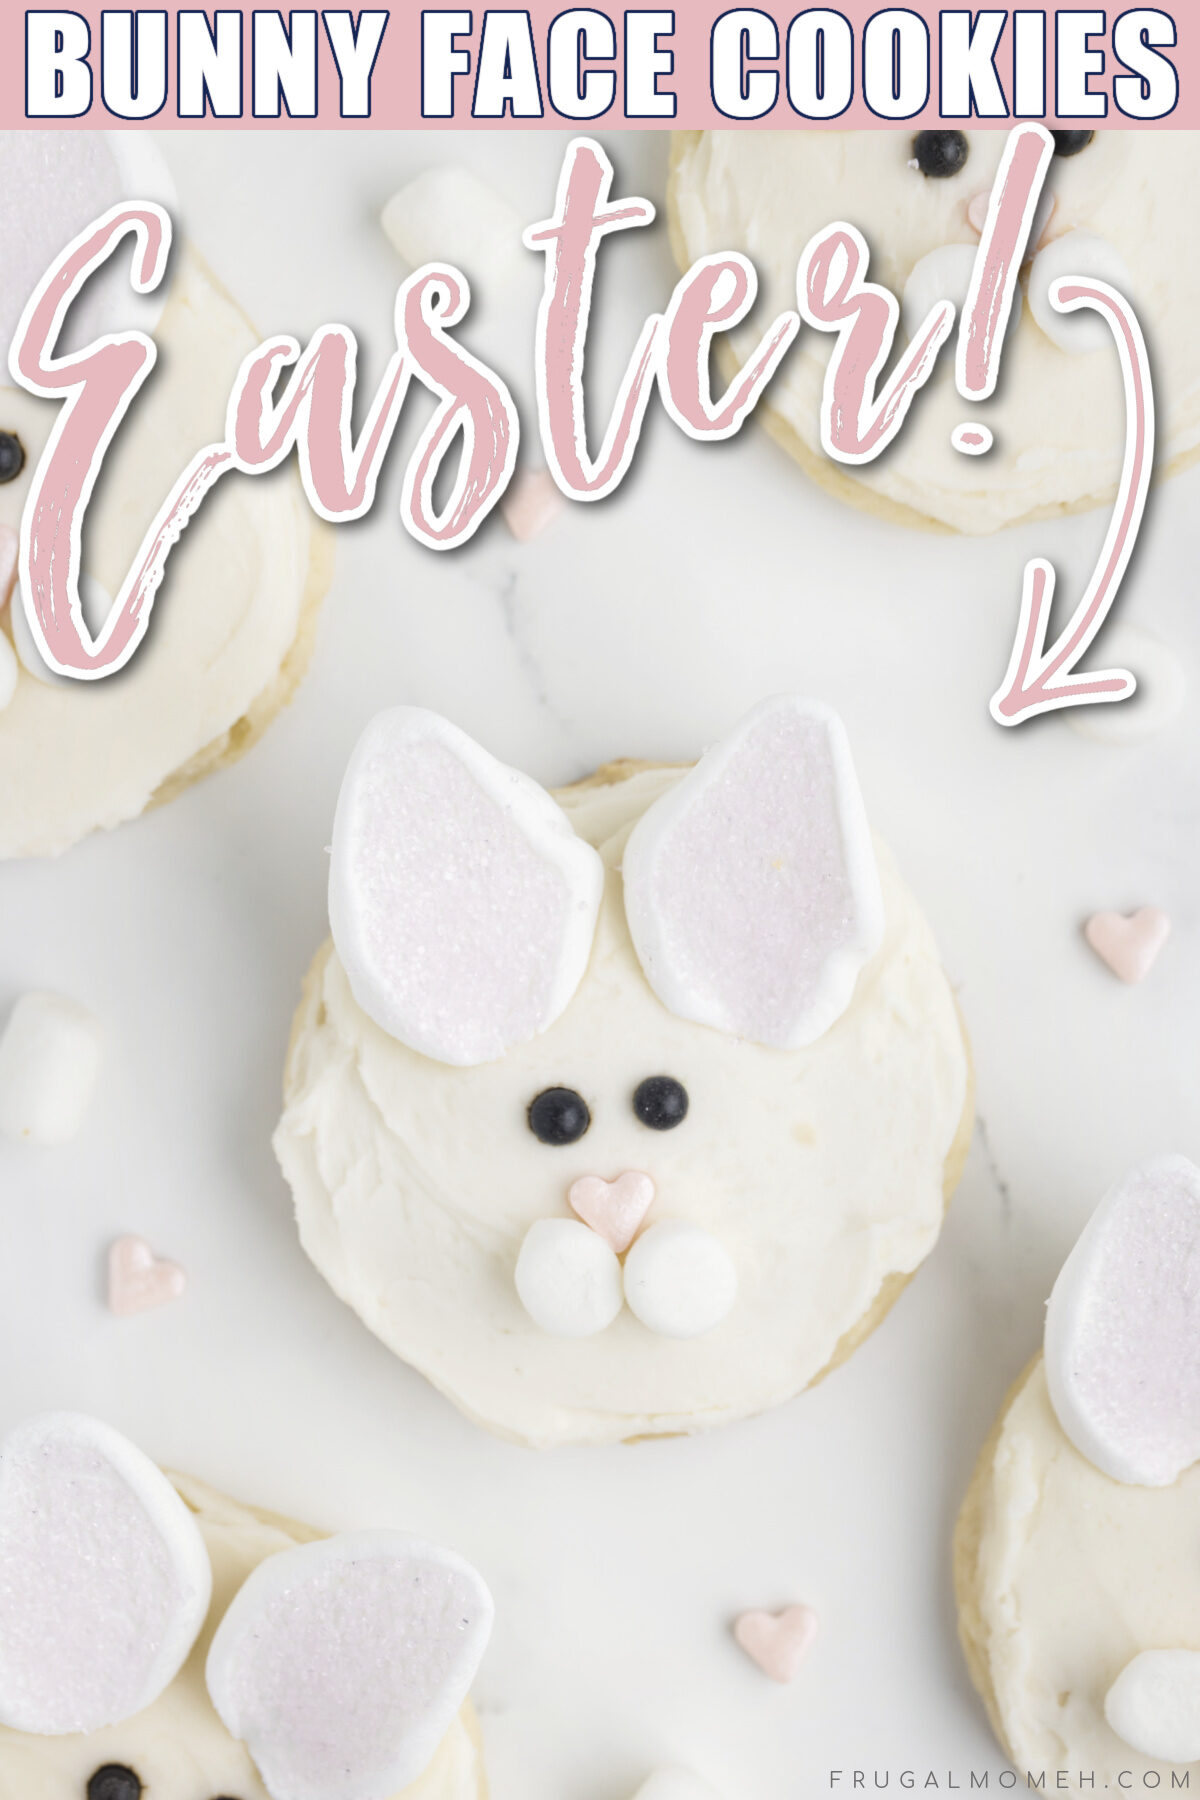
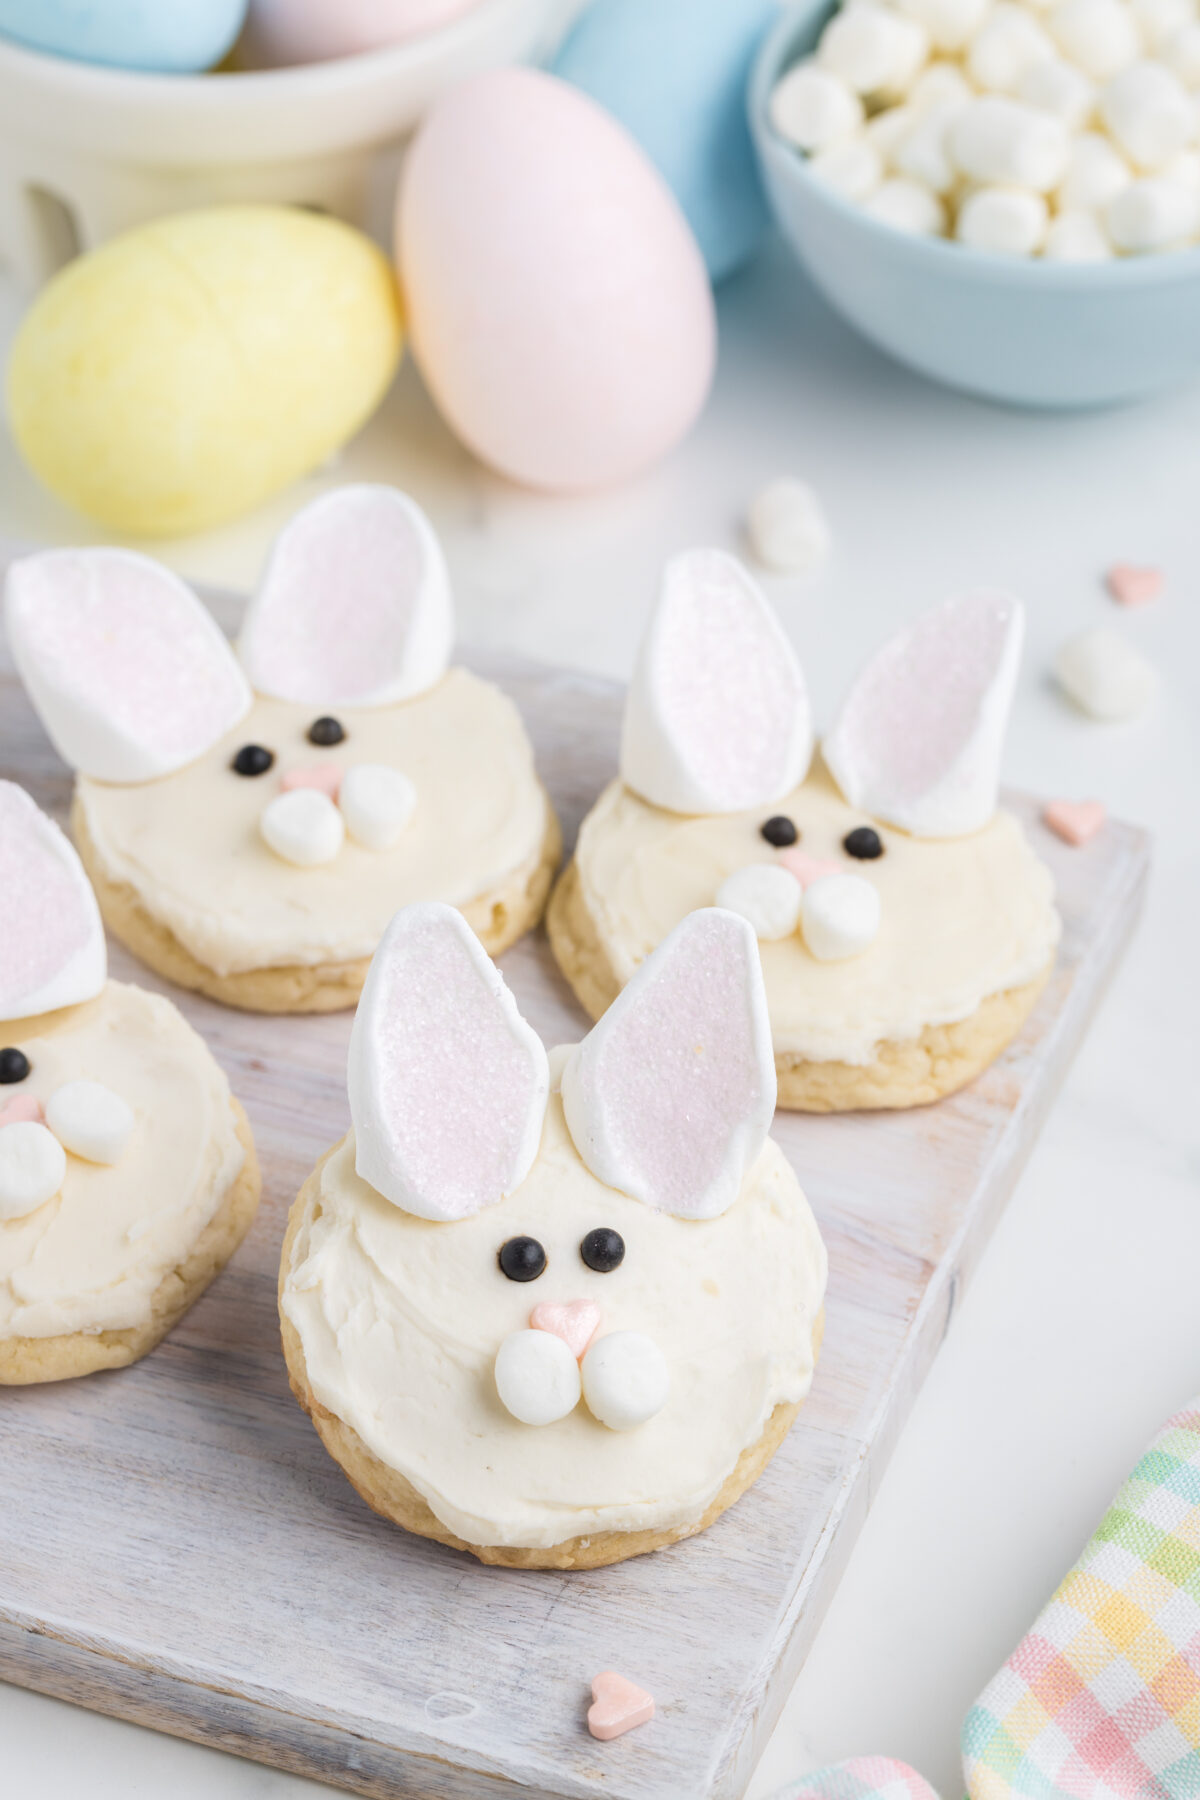
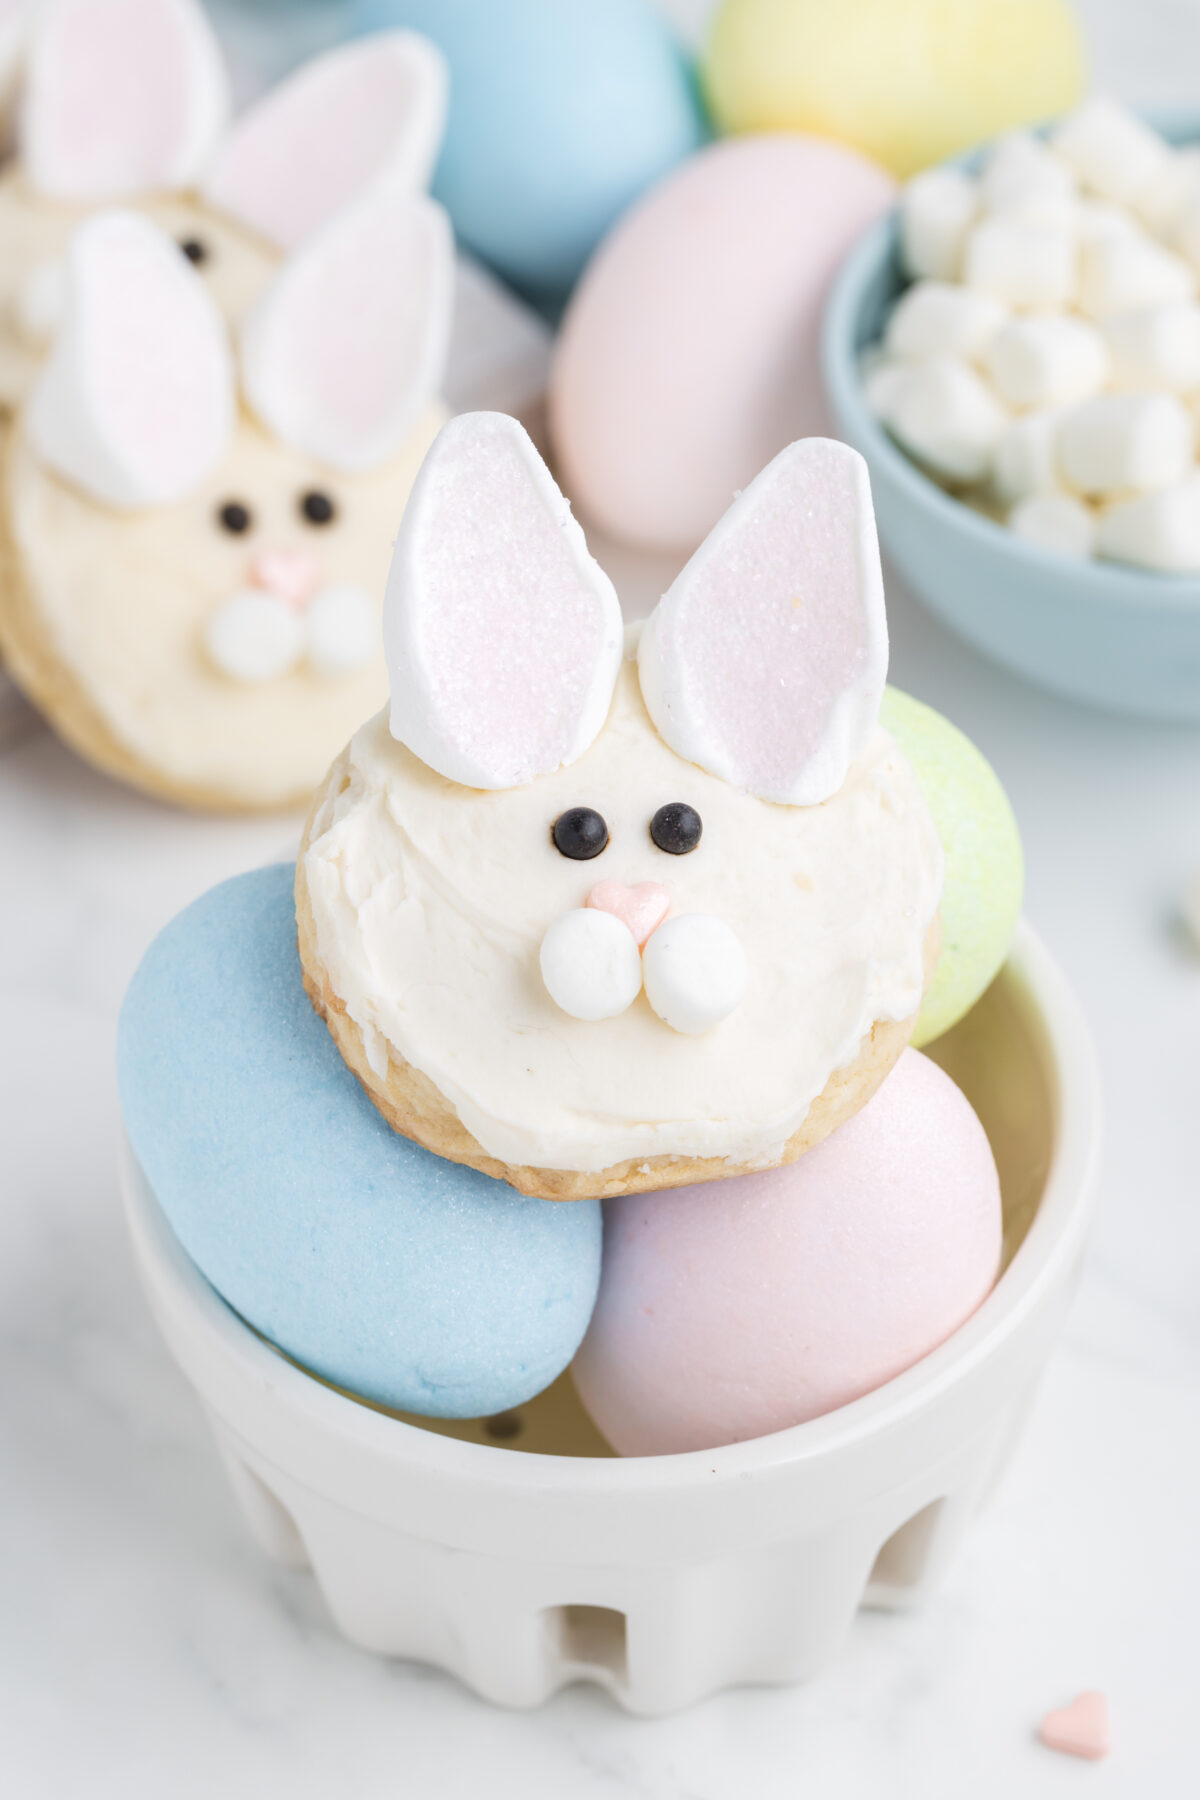
Bunny Face Cookies
Bring a smile to your children’s’ faces with this easy and fun recipe for Bunny Face cookies – perfect for Easter, birthdays or just because!
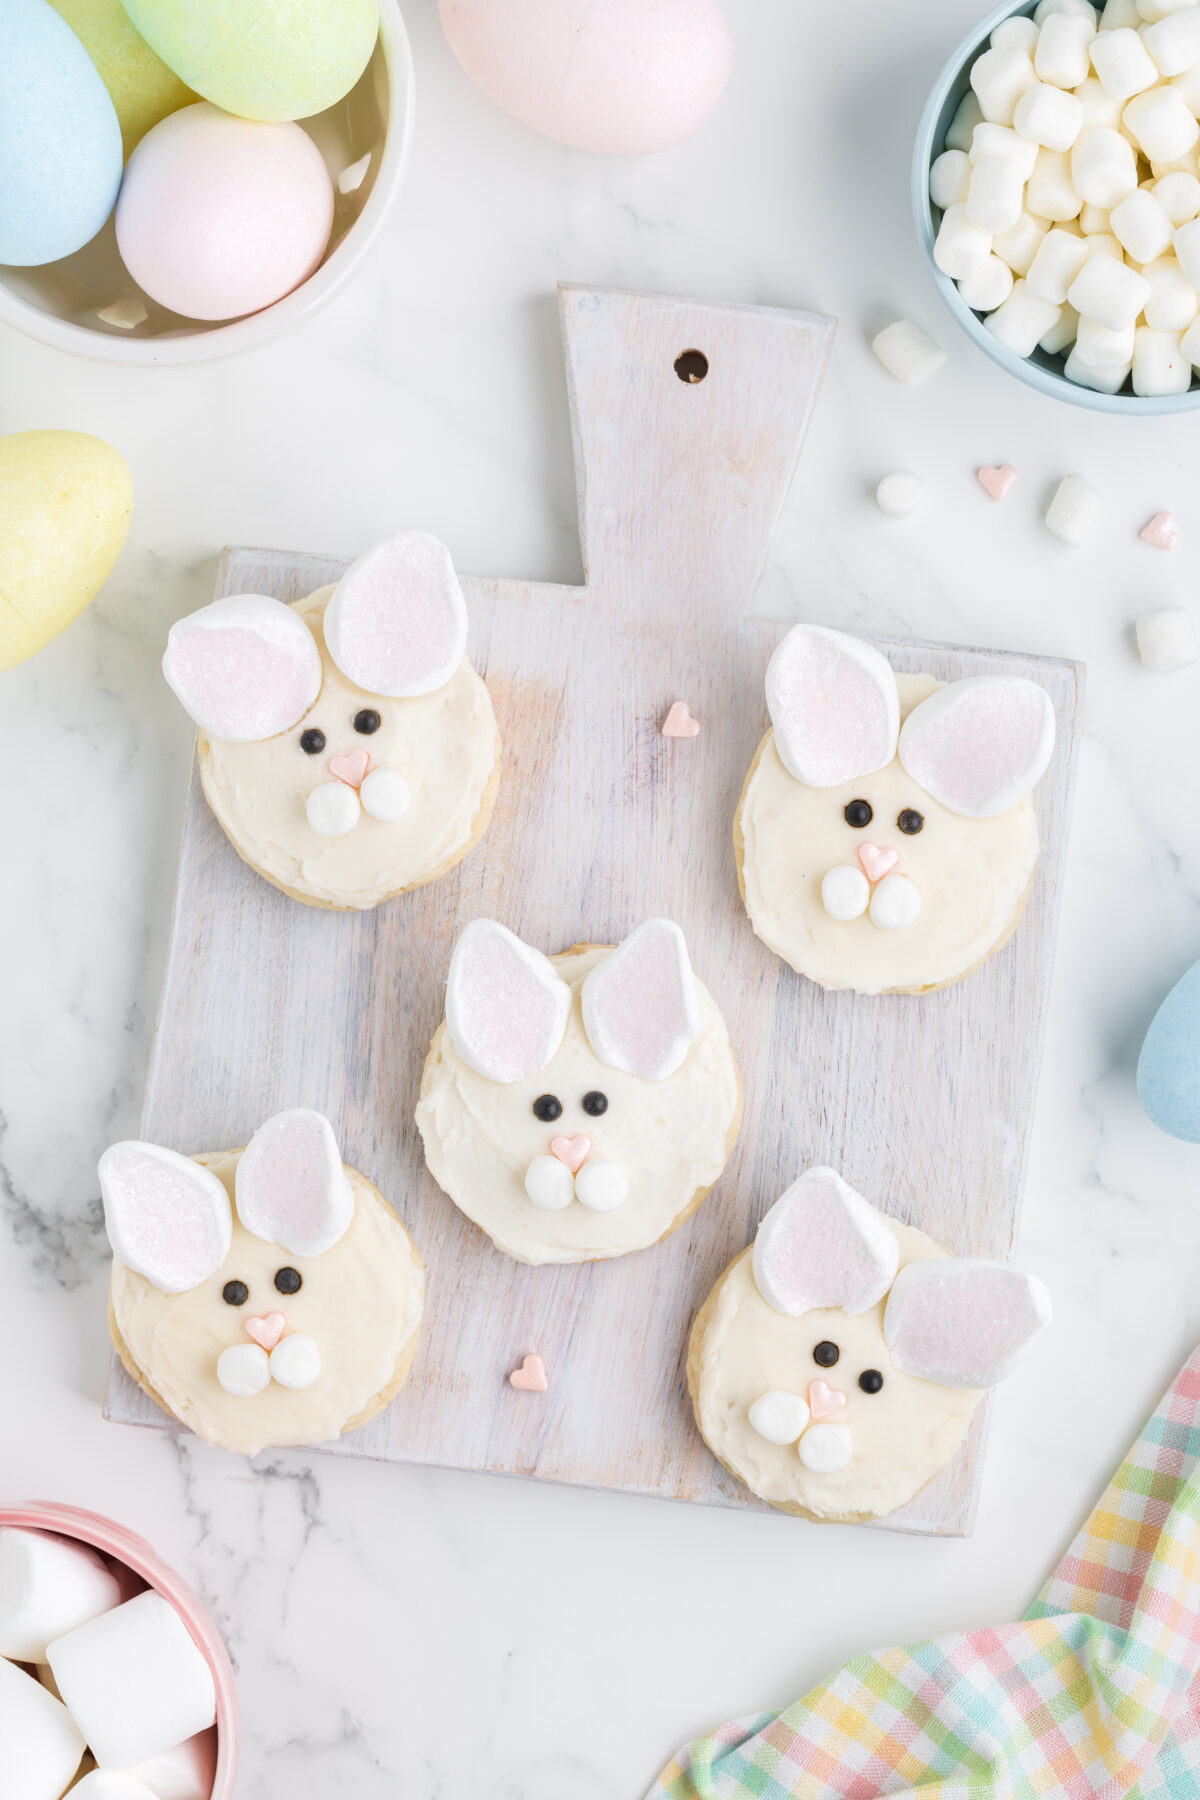
Are you looking for a creative and egg-citing way to surprise the little bunnies in your life? Look no further than this adorable Bunny Face Cookies Recipe!
Bursting with flavour and fun, these cookies are sure to put smiles on all the faces of your Easter guests.
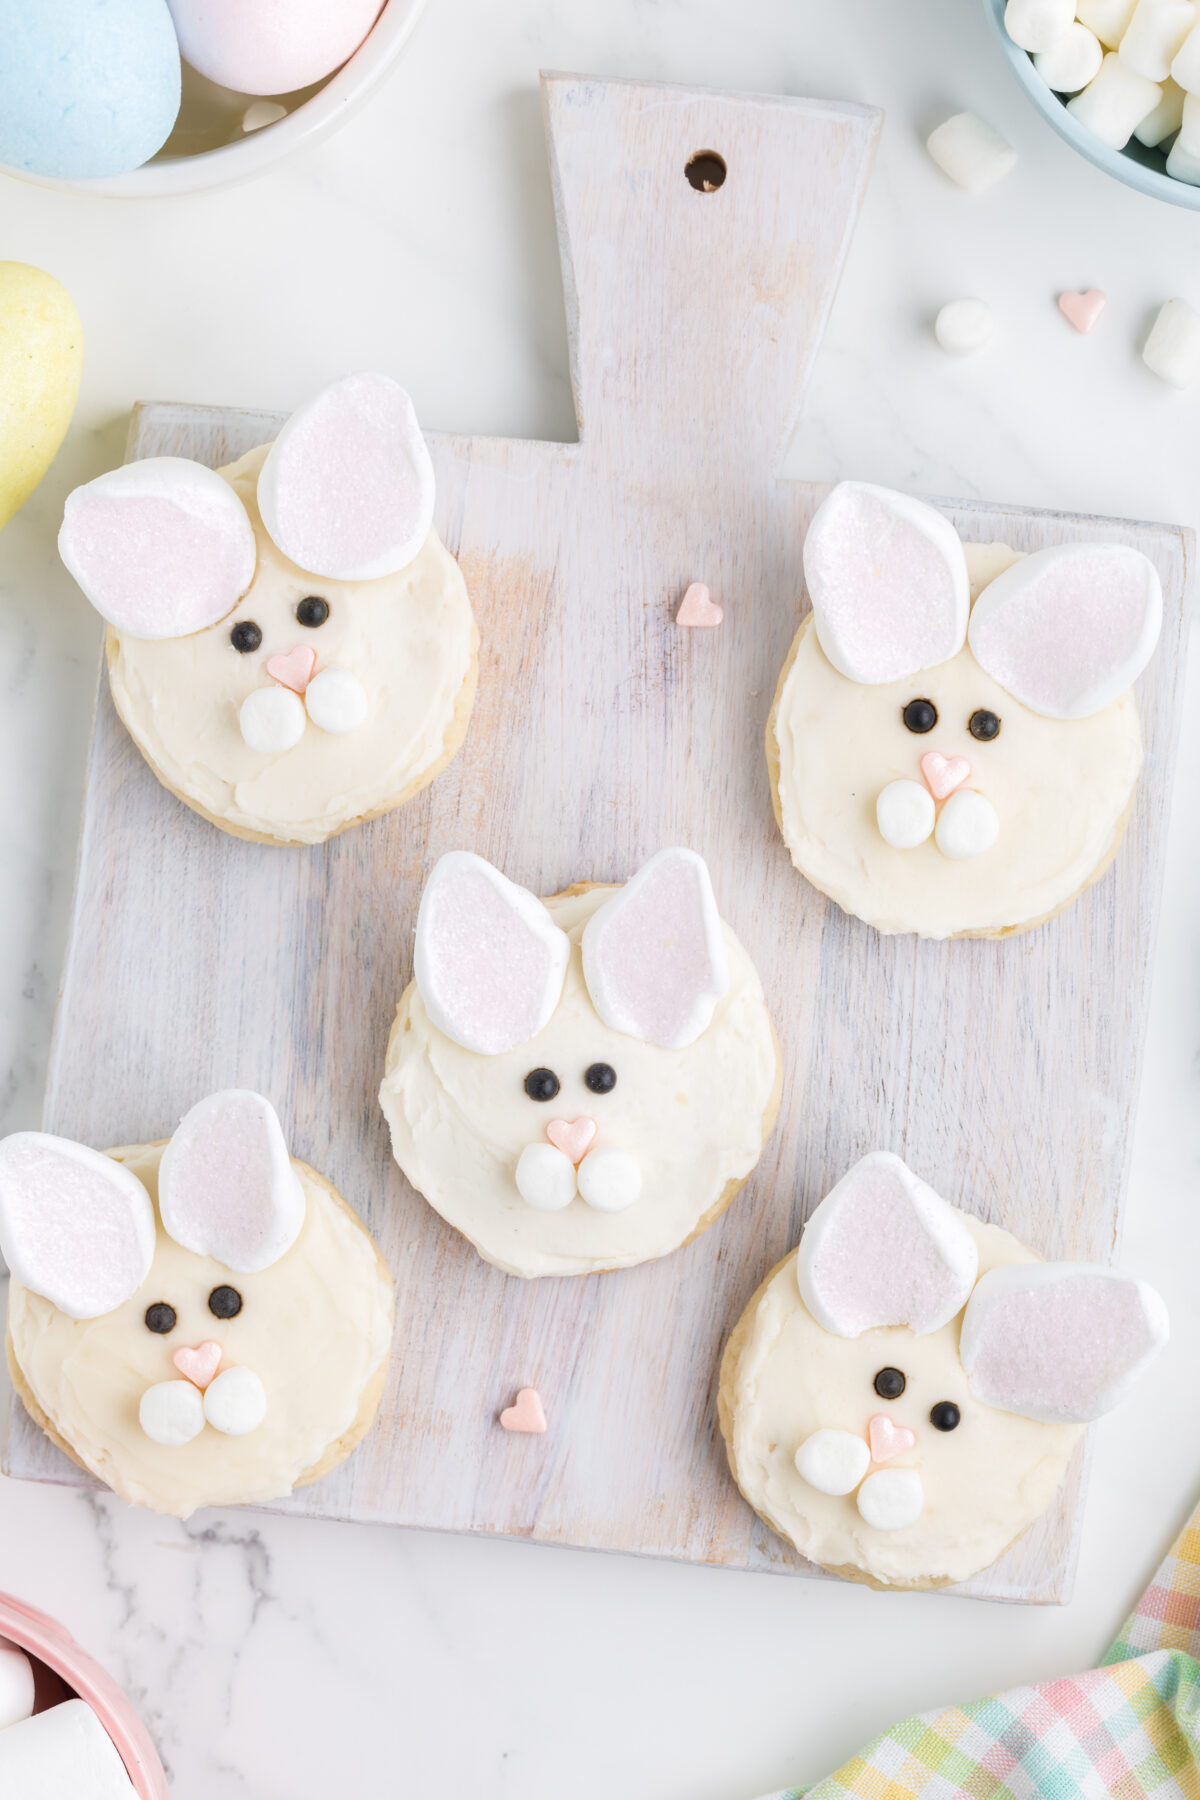
With only a few ingredients you’ll be able to whip up these works of edible art in no time!
Plus, they are perfect for birthdays and baby showers as well – so get ready to learn how to create these cuteness overloads right at home!
Why You Will LOVE These Bunny Head Cookies
- Easy to make for any skill level
- No cookie decorating skills required.
- Requires basic, easy to find ingredients.
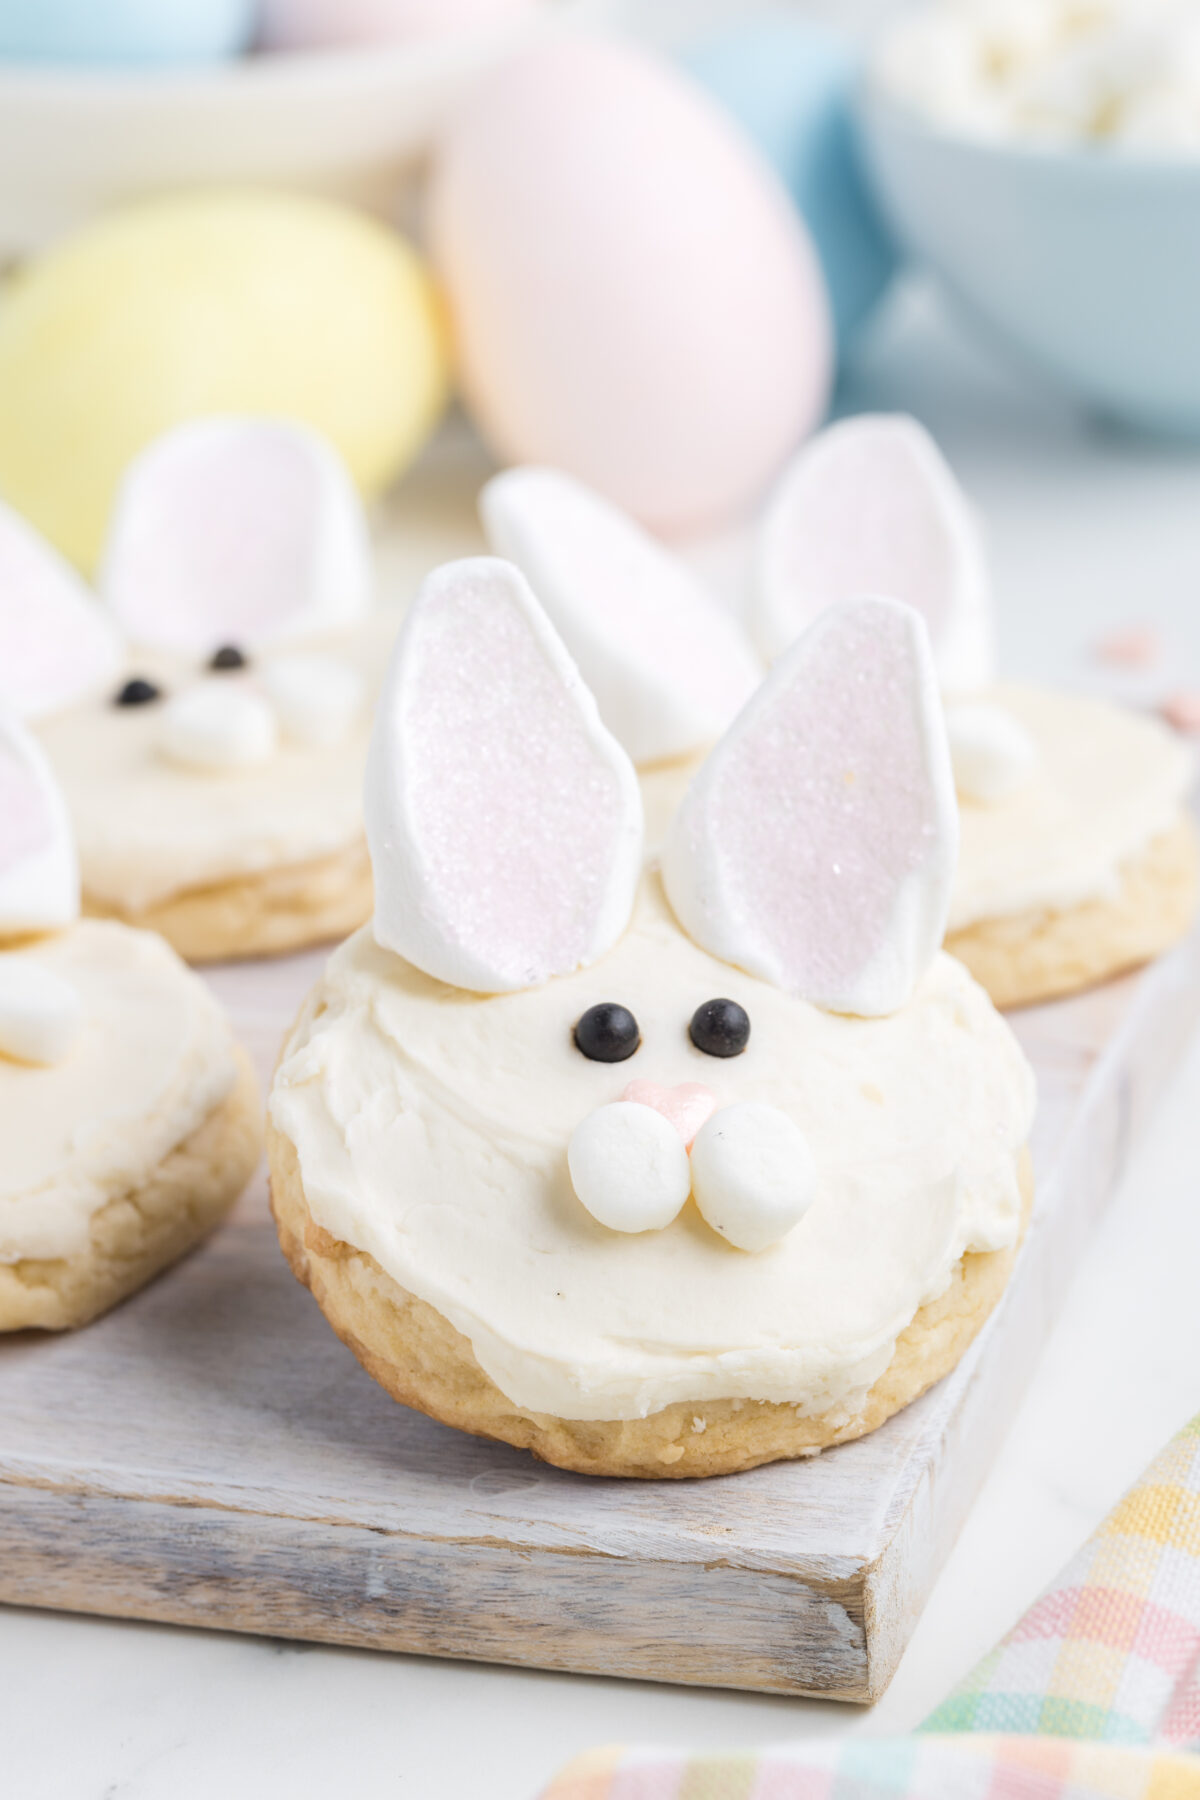
- These cake batter cookies have a soft and chewy texture with crisp edges.
- Less measuring than traditional cookies.
- Can modify the colour scheme for any occasion
- Adorable cookies!
- Perfect for Easter, baby showers, and birthdays.
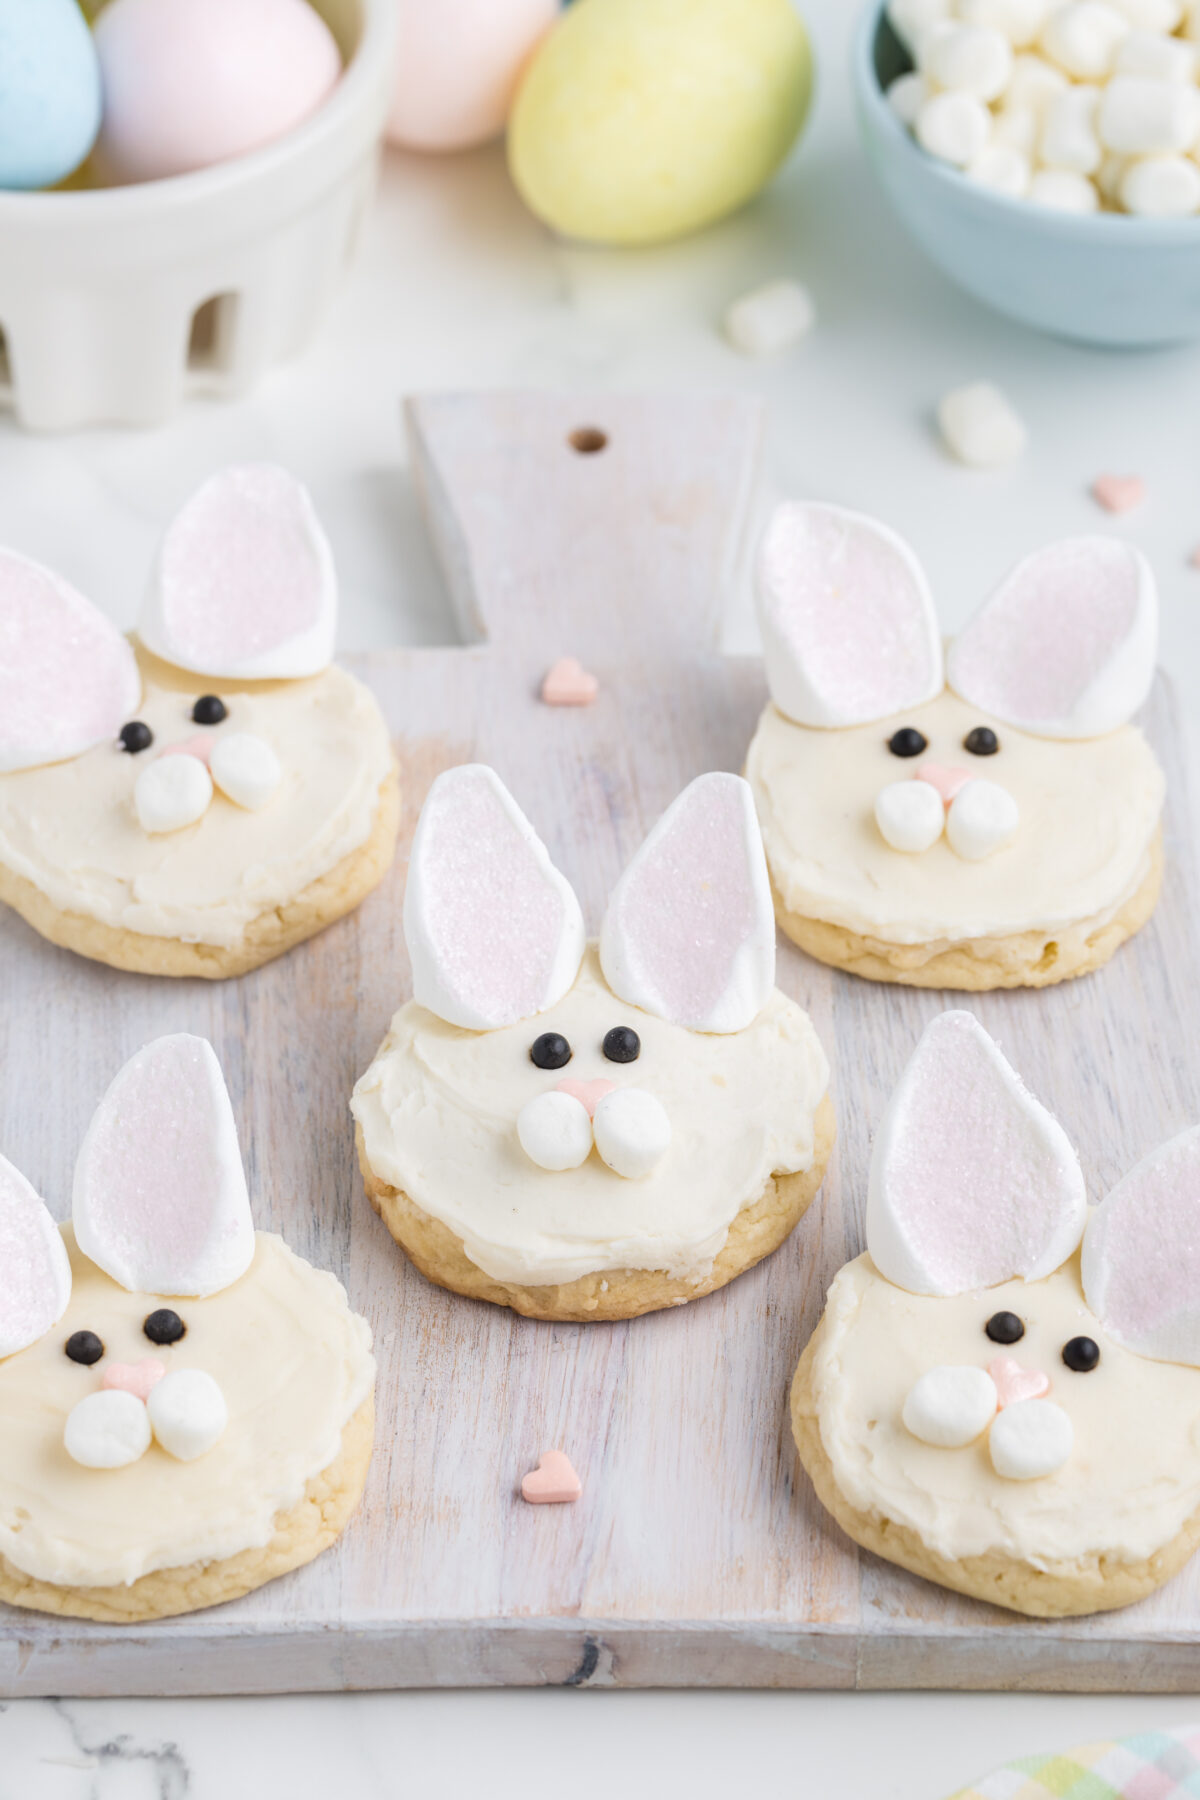
Bunny Head Cookie Variations
- You can colour the frosting pink, yellow or blue to create different coloured bunnies. Match the bunny nose colour with your frosting.
- You can substitute the cake mix cookies for homemade or store-bought sugar cookies. You want the cookies to be around 3 inches in diameter.
- Change up the cake mix flavours. Chocolate cake mix for brown bunnies, strawberry cake mix for pink bunnies, or lemon cake mix for yellow bunnies.
Best Cake Mix Flavours for Cookies
There are many different flavors of cake mix available, so you can use whichever one suits your fancy to make different cookie flavours!
It doesn’t matter if you use Betty Crocker or Duncan Hines, or any other variety just as long as you’re using a 15 oz box of cake mix, this recipe will work perfectly regardless of flavour except for angel food cake mix which has an entirely different composition.
Try some of these flavours out! Just omit the lemon extract.
- Red Velvet Cake Mix
- Spice Cake Mix
- German Chocolate Cake Mix
- Butter Pecan Cake Mix
- Yellow Cake Mix
- Cherry Chip Cake Mix
- Dark Chocolate Cake Mix
- White Cake Mix
- Devil’s food Cake Mix
- Carrot Cake Mix
- Strawberry Cake Mix
- Funfetti Cake Mix (Birthday Cake Mix)
Tips for Making the Best Cake Mix Cookies
- Use room temperature eggs.
- Do not follow the instructions on the box, or use the called-for ingredients. Use only the ingredients listed here.
- Mix the dough until just combined, do not over-mix.
- If the dough is sticky, chill in the fridge for about 30 mins to an hour before forming the dough balls.
- Bake time will vary from oven to oven. I found just a little over 9 minutes was best but it may be different for you.
- Don’t allow the cookies to brown or they won’t be soft. The edges should just be starting to brown and the tops set when they are done.
- Don’t frost the cookies until they are completely cooled.
- Be sure to decorate the cookies while the frosting is still wet so that everything sticks.
How to Store Bunny Head Cookies
Store leftovers in a single layer in an airtight container at room temperature for up to three days.
For longer storage, freeze the cookies in a single layer in an airtight container for up to three months. To thaw, place them on a plate or baking sheet and let sit at room temperature until they reach desired consistency.

Electric Mixer – Use either a handheld mixer or a stand mixer to make the frosting. You can also go with a whisk and a mixing bowl if you prefer.
Mixing Bowl – For combining the cookie dough you will want a medium mixing bowl, and another medium bowl for the frosting.
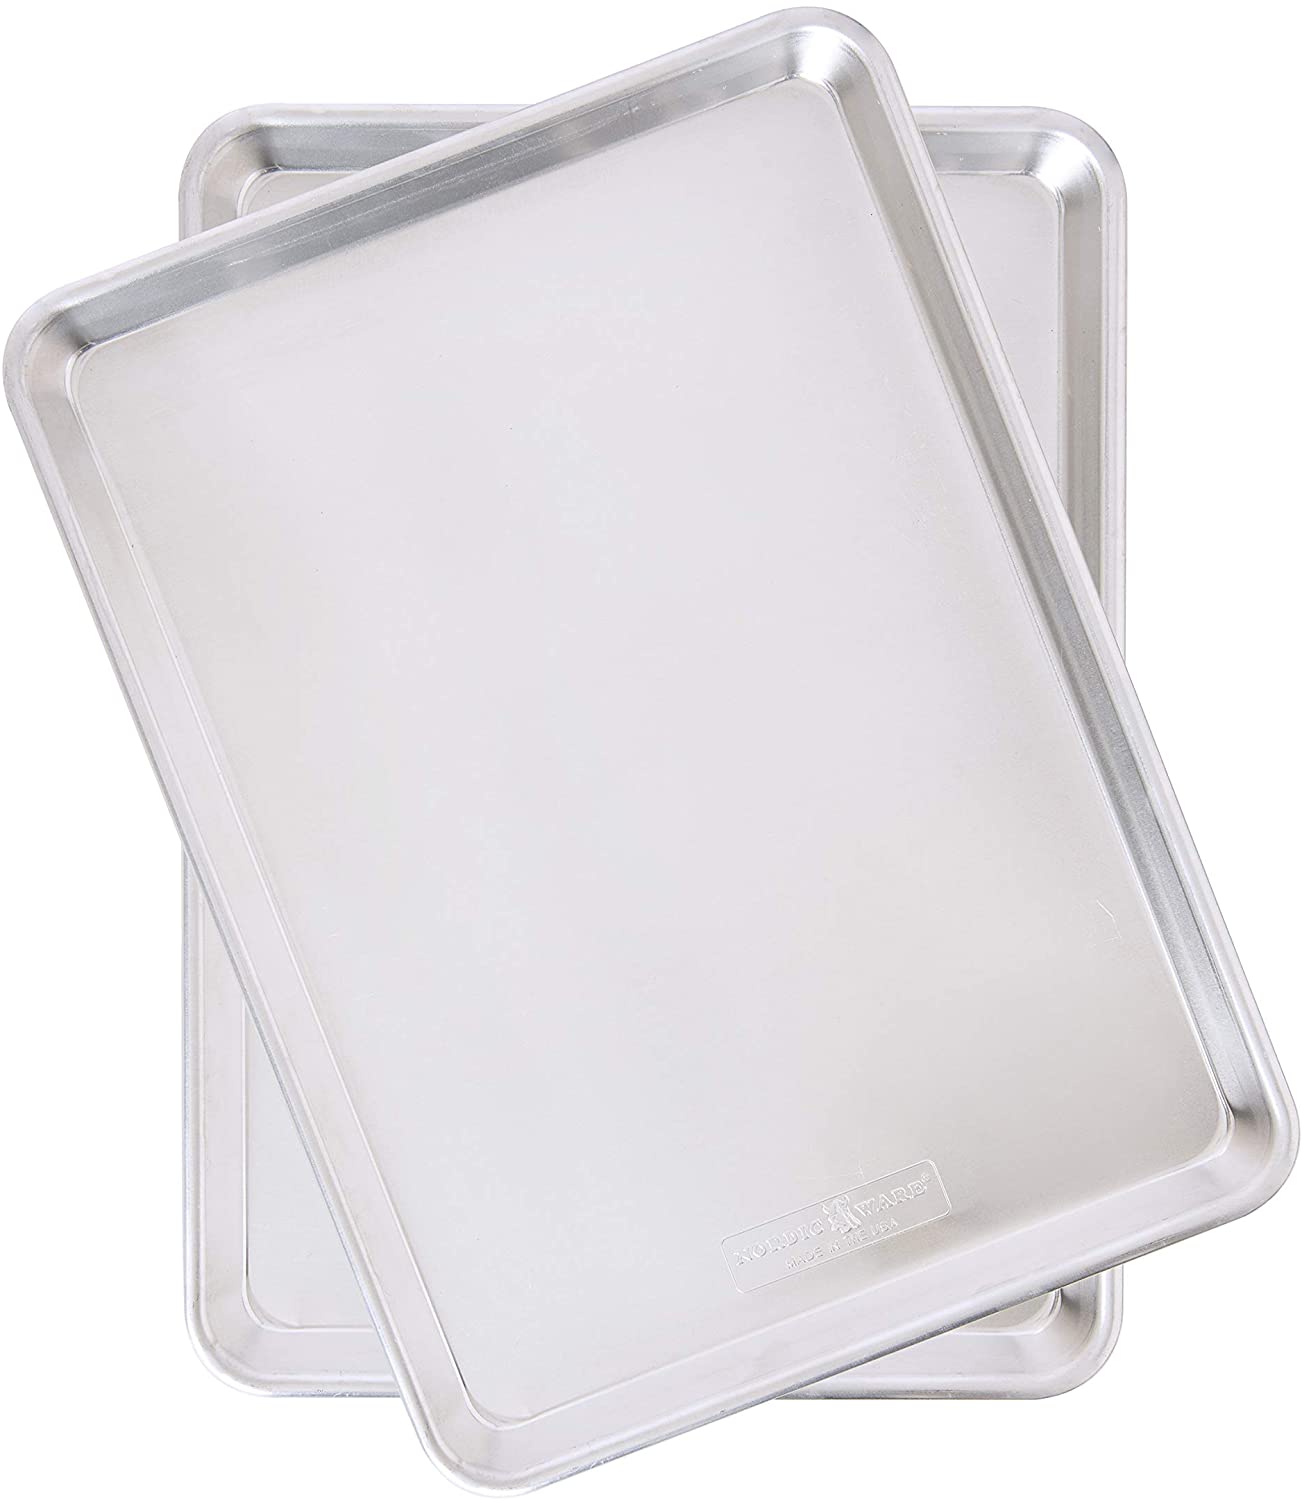
Baking sheets – These cookies don’t spread much but you still want room so use some large baking sheets.
Parchment paper – Use either parchment paper or a silicone baking mat.
Cooling rack – For cooling off the cookies.
Offset spatula – The easiest way to frost the cookies is with a small offset spatula or butter knife (a knife with no serrations).
Medium cookie scoop – A medium cookie scoop will make perfect 3 inch diameter cookies. Each scoop is about 1.5 tablespoons of dough.
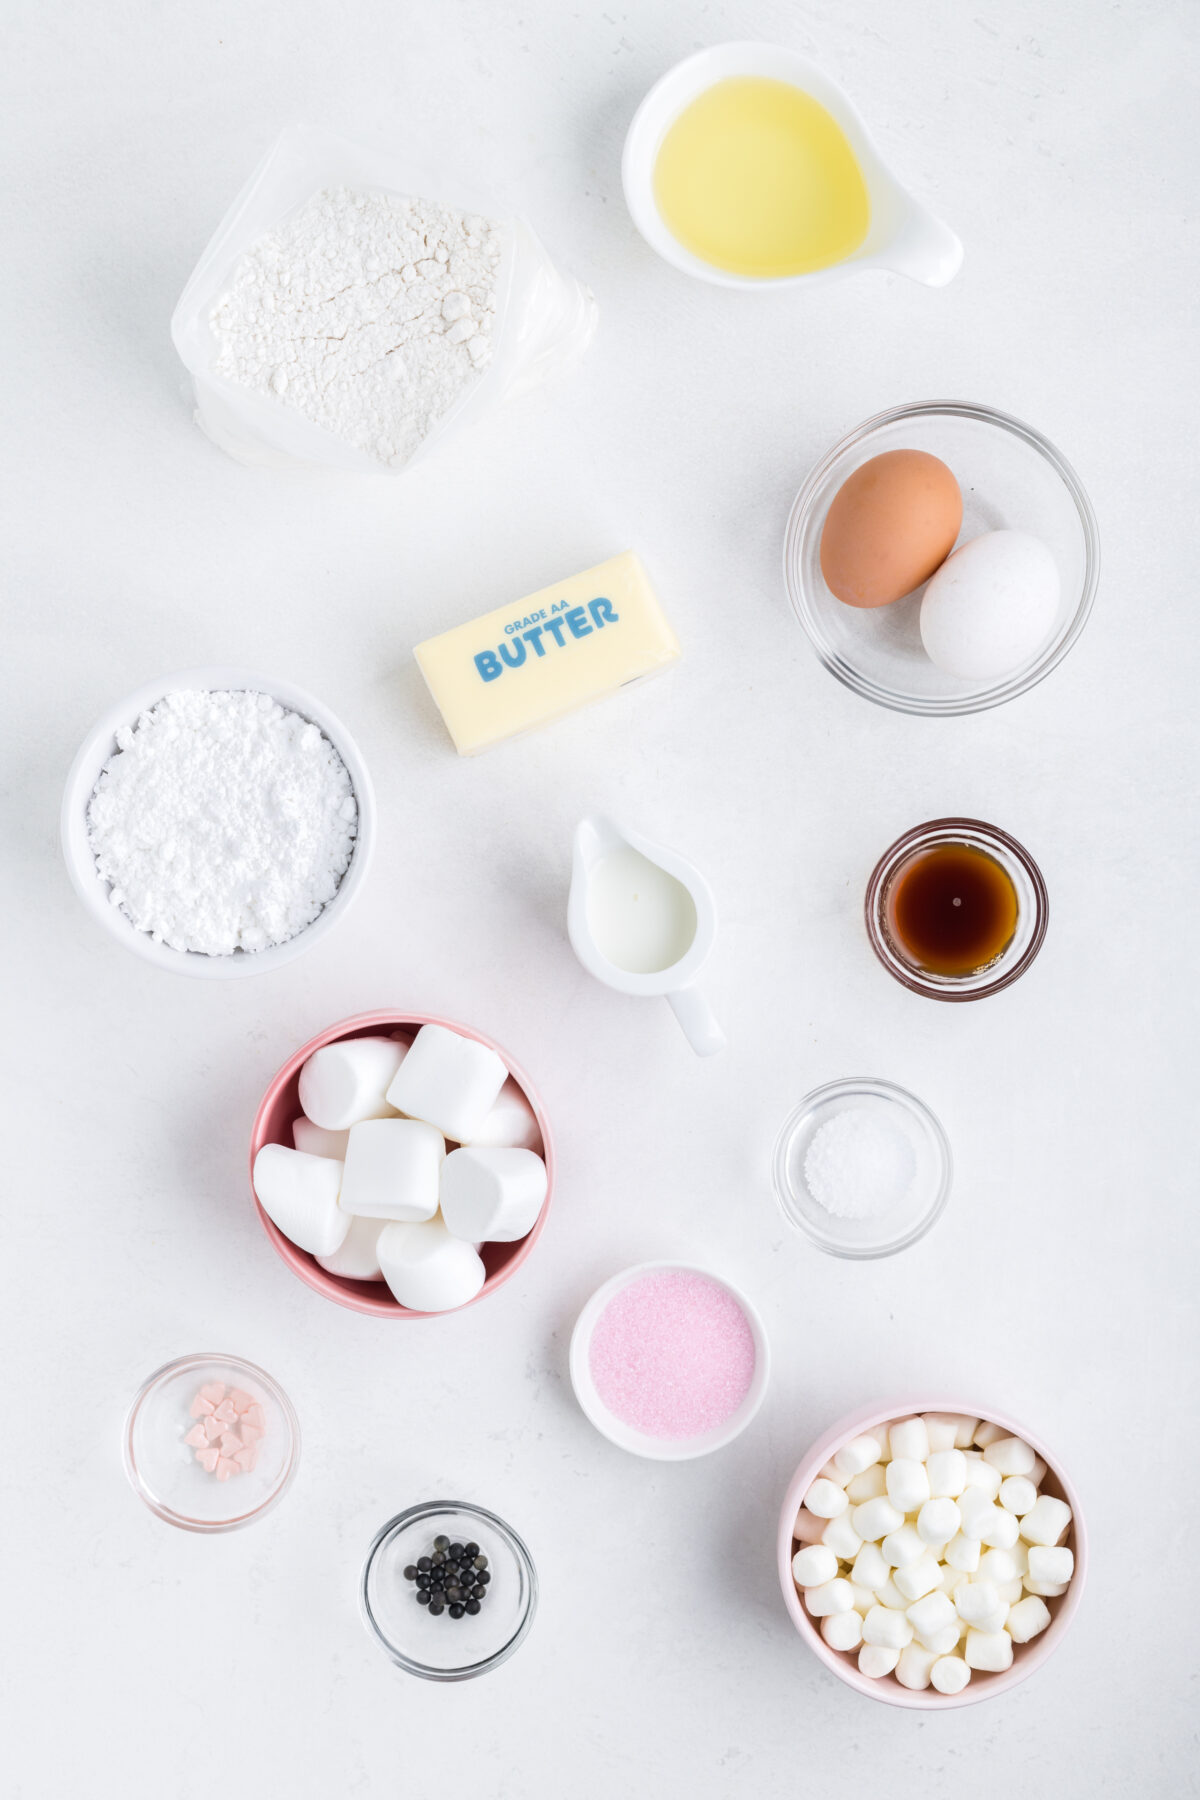
About the Ingredients for Bunny Face Cookies
Cake mix – Vanilla or white cake mix is best but you can use any cake mix you like aside from angel food cake mix.
Eggs – Use room temperature eggs for the best results.
Oil – Any neutral flavoured oil is fine. You can also used melted butter if you like.
Butter – Use unsalted butter for the best results. You may use salted butter instead but then you will need to halve the additional salt.
Sugar – You will need powdered sugar or icing sugar to make the cookie frosting.
Vanilla extract – Use real vanilla extract for the best results, but artificial vanilla is just fine instead.
Milk – You can use any milk or cream you have on hand to thin out the frosting.
Marshmallows – You will need 16 regular marshmallows for the bunny ears, and 16 mini marshmallows for the bunny cheeks.
Sanding sugar – The pink coloured sanding sugar coats the bunnies ears.
Sprinkles – You will need large pink heart sprinkles for the bunny noses, and black pearl sprinkles for the eyes. Pink M&Ms, jelly beans, or sixlets can be used in place of the heart sprinkle to create the bunny nose. You can substitute the black pearl sprinkles for mini candy eyes if you prefer.

Looking for More Tasty Easter Dessert Recipes?
Check out more of my favourite Easter desserts!
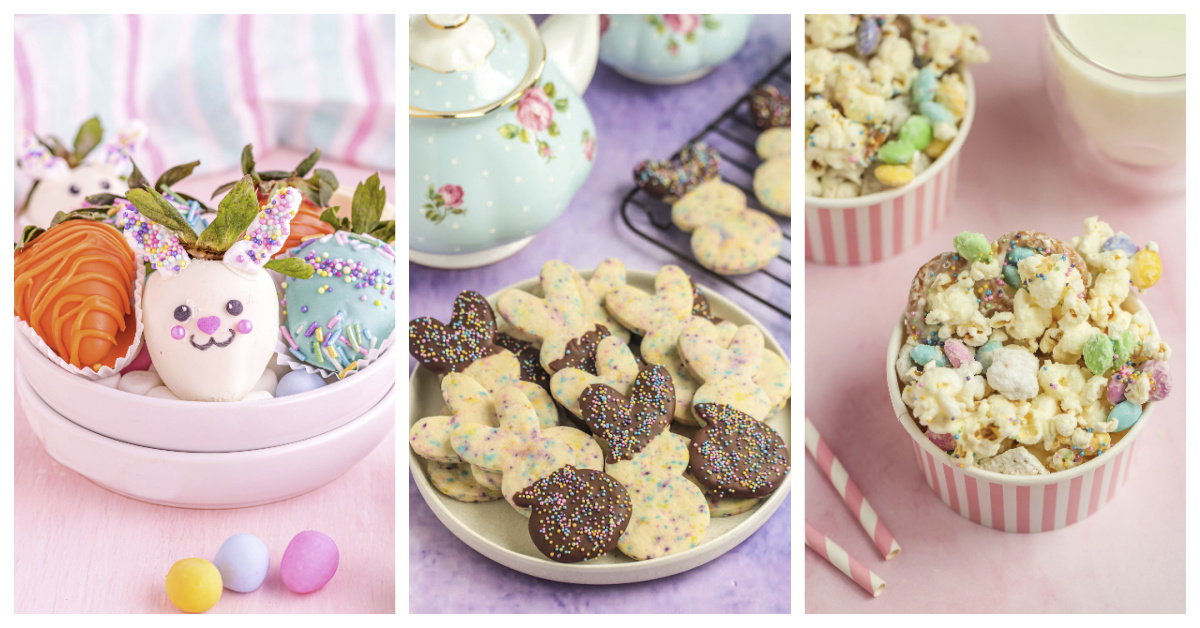
Looking for a delicious and easy Easter dessert? Check out our step-by-step guide to making Easter chocolate covered strawberries.
Delicious chocolate dipped Easter bunny sugar cookies complete with sprinkles that are the perfect addition to your Easter dessert table.
This bunny bait recipe is a tasty Easter snack mix made with popcorn, pastel M&M’s, pretzels, white chocolate, sprinkles, and muddy buddies.
How to Make Bunny Face Cookies
Yield: 16 cookies | Prep time: 20 minutes | Cook time: 8 minutes
Ingredients:
For the Cookies:
- 1 (15.25 ounce) box vanilla or white cake mix
- 2 large eggs
- ½ cup vegetable oil
For the Frosting:
- ¾ cup unsalted butter, room temperature
- 2 ½ cups powdered sugar
- 1 ½ teaspoons vanilla extract
- Pinch of salt
- 2-4 tablespoons milk
Decorations
- 16 regular marshmallows
- 2 tablespoons pink sanding sugar
- 16 mini marshmallows
- 16 large heart sprinkles
- 32 black pearl sprinkles
Directions:
For the Cookies:
Preheat your oven to 350 degrees Fahrenheit. Line two cookie sheets with parchment paper and set aside.
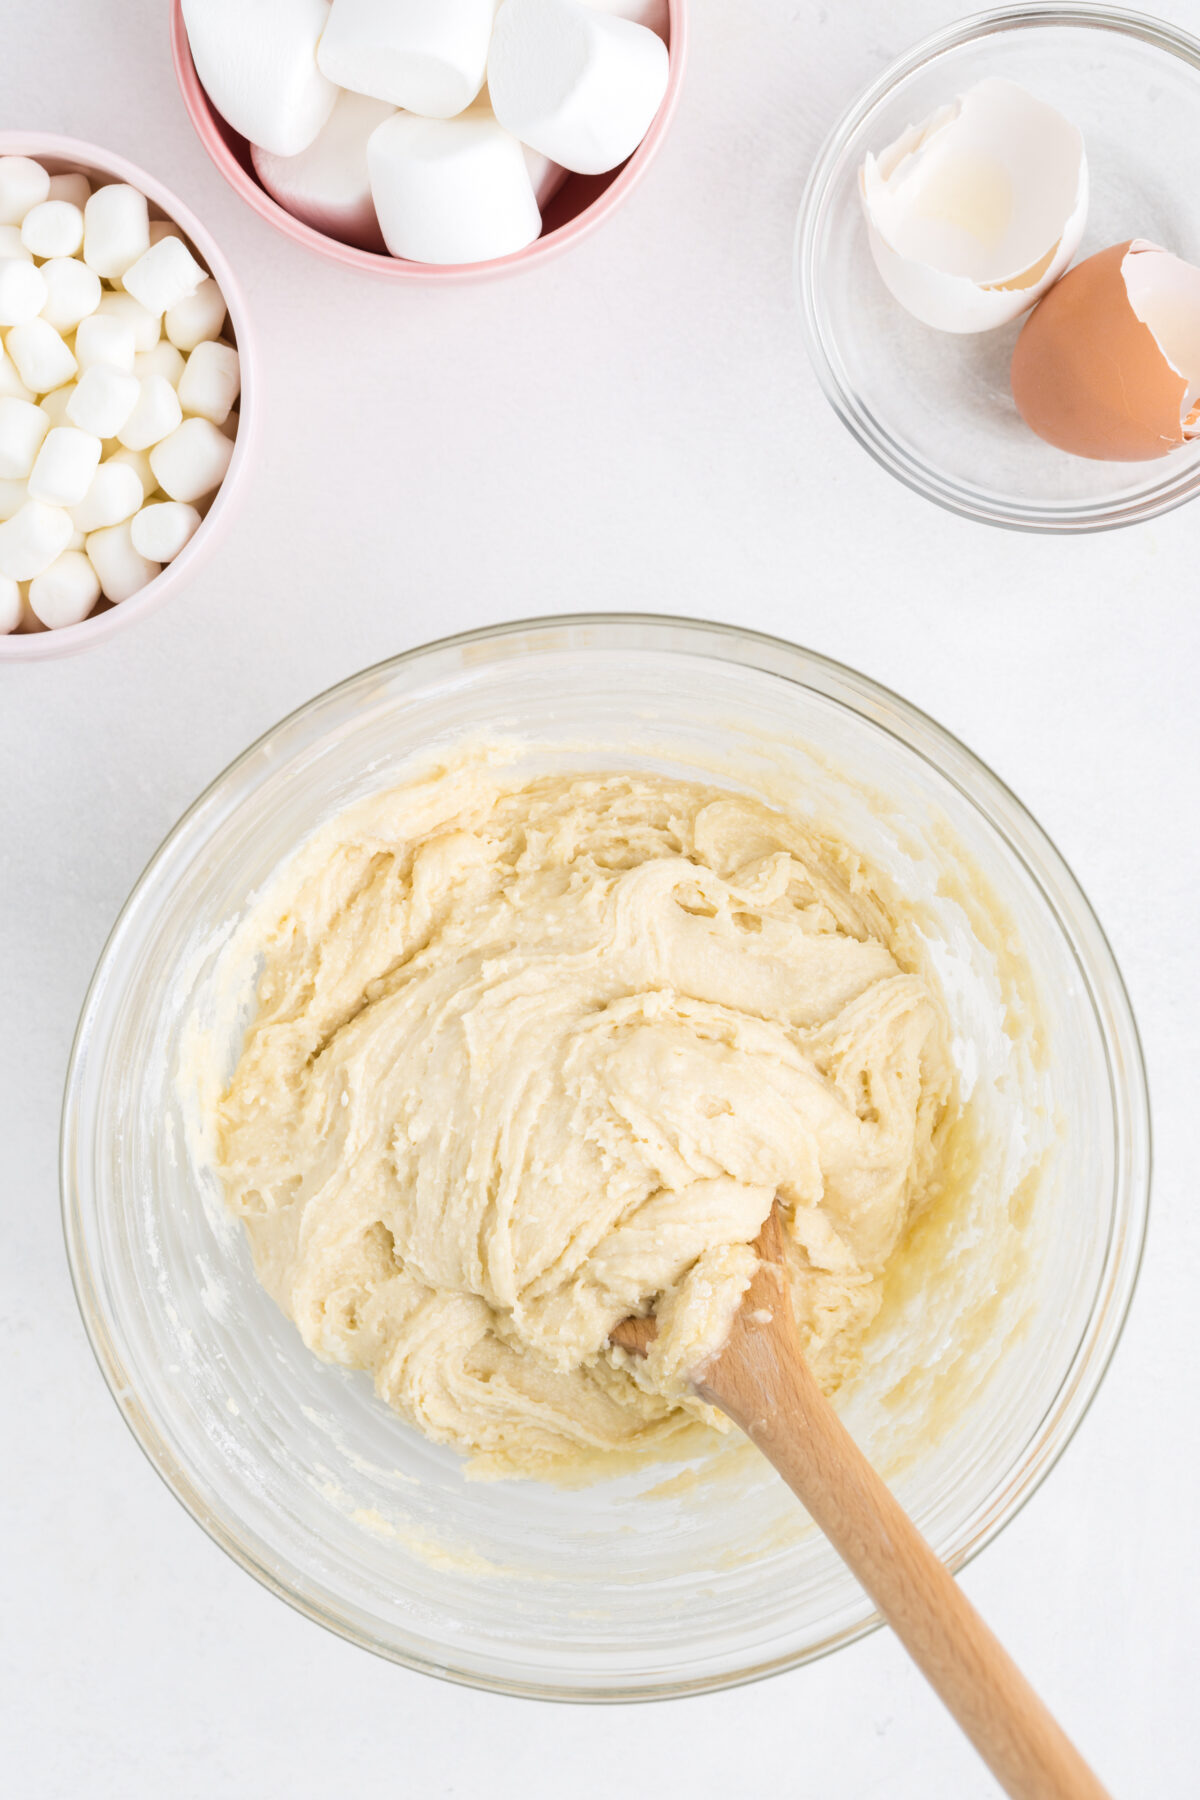
In a medium mixing bowl mix cake mix, eggs, and oil until well combined.
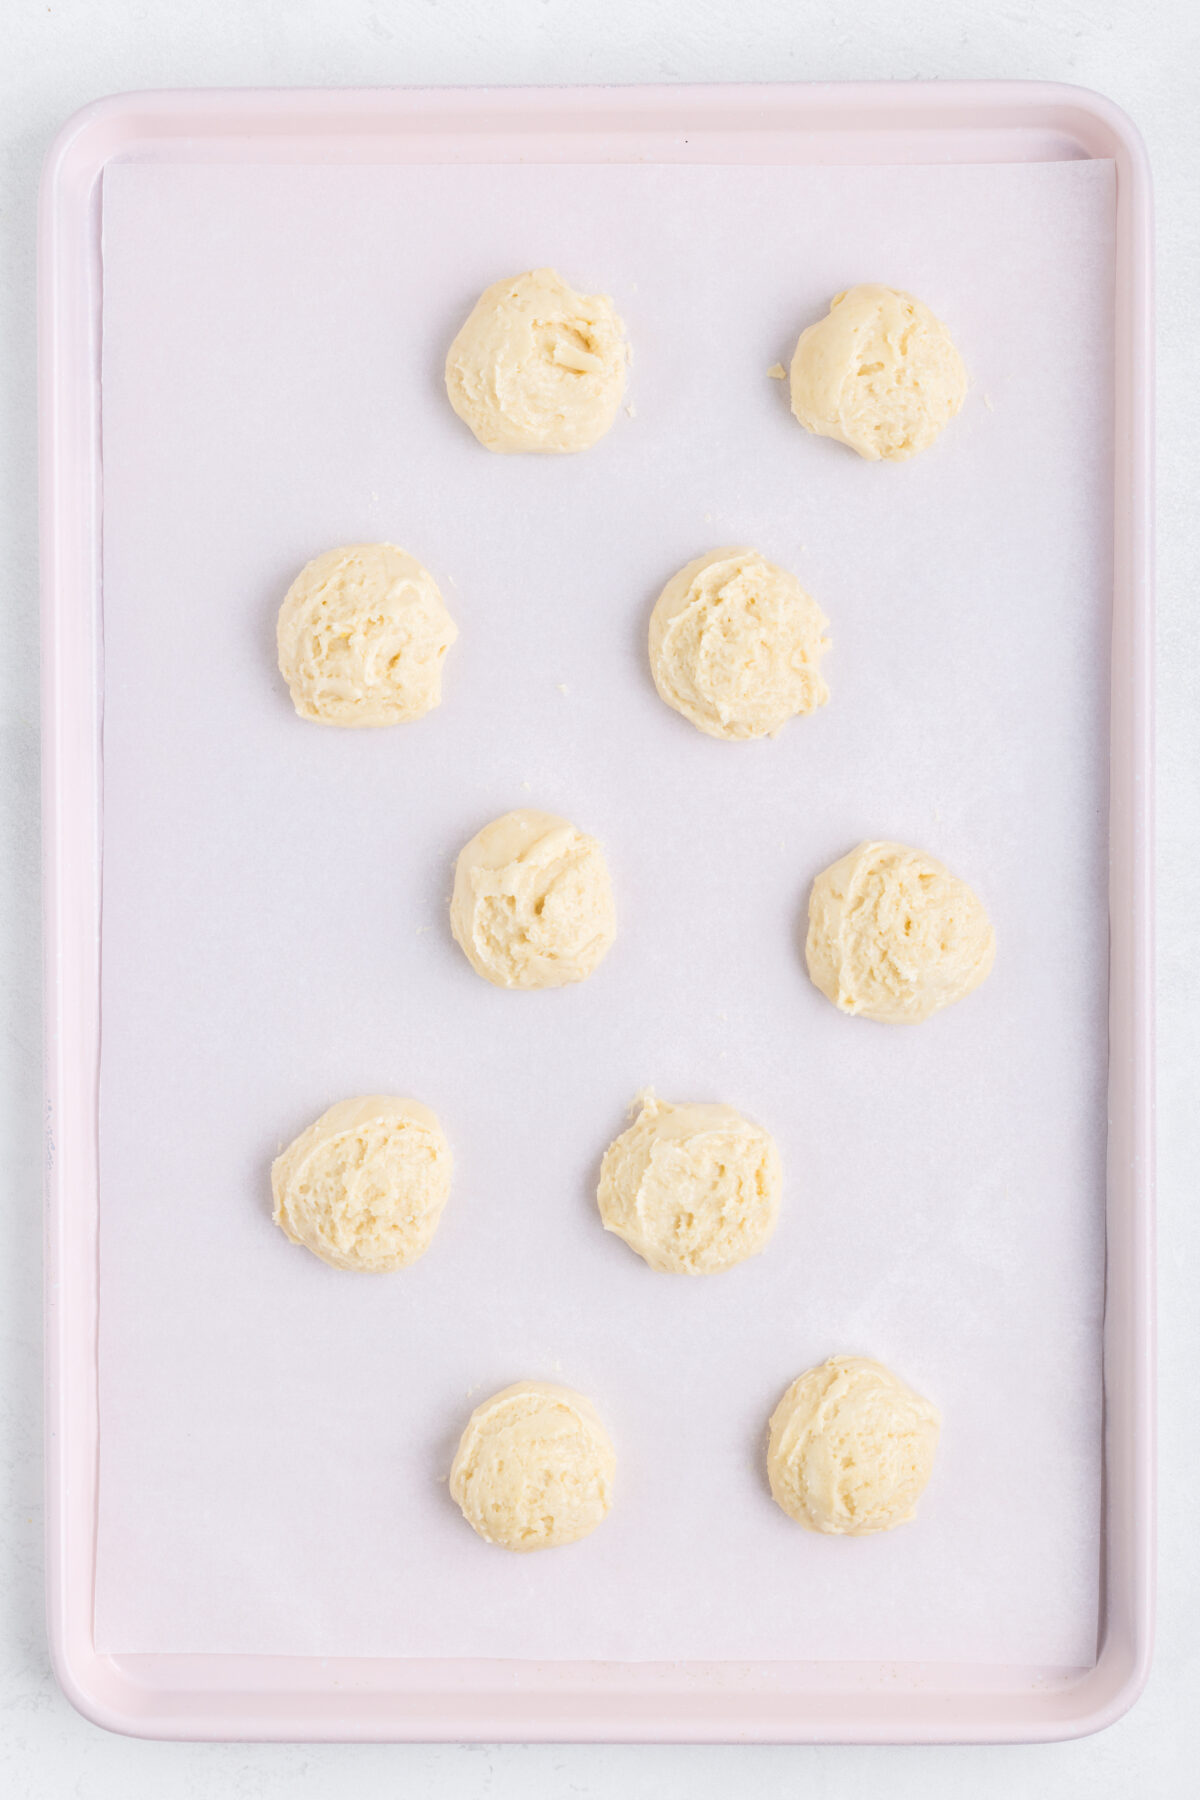
Drop the cookie dough onto the parchment-lined cookie sheets using a medium scoop leaving at least 2 inches between scoops.
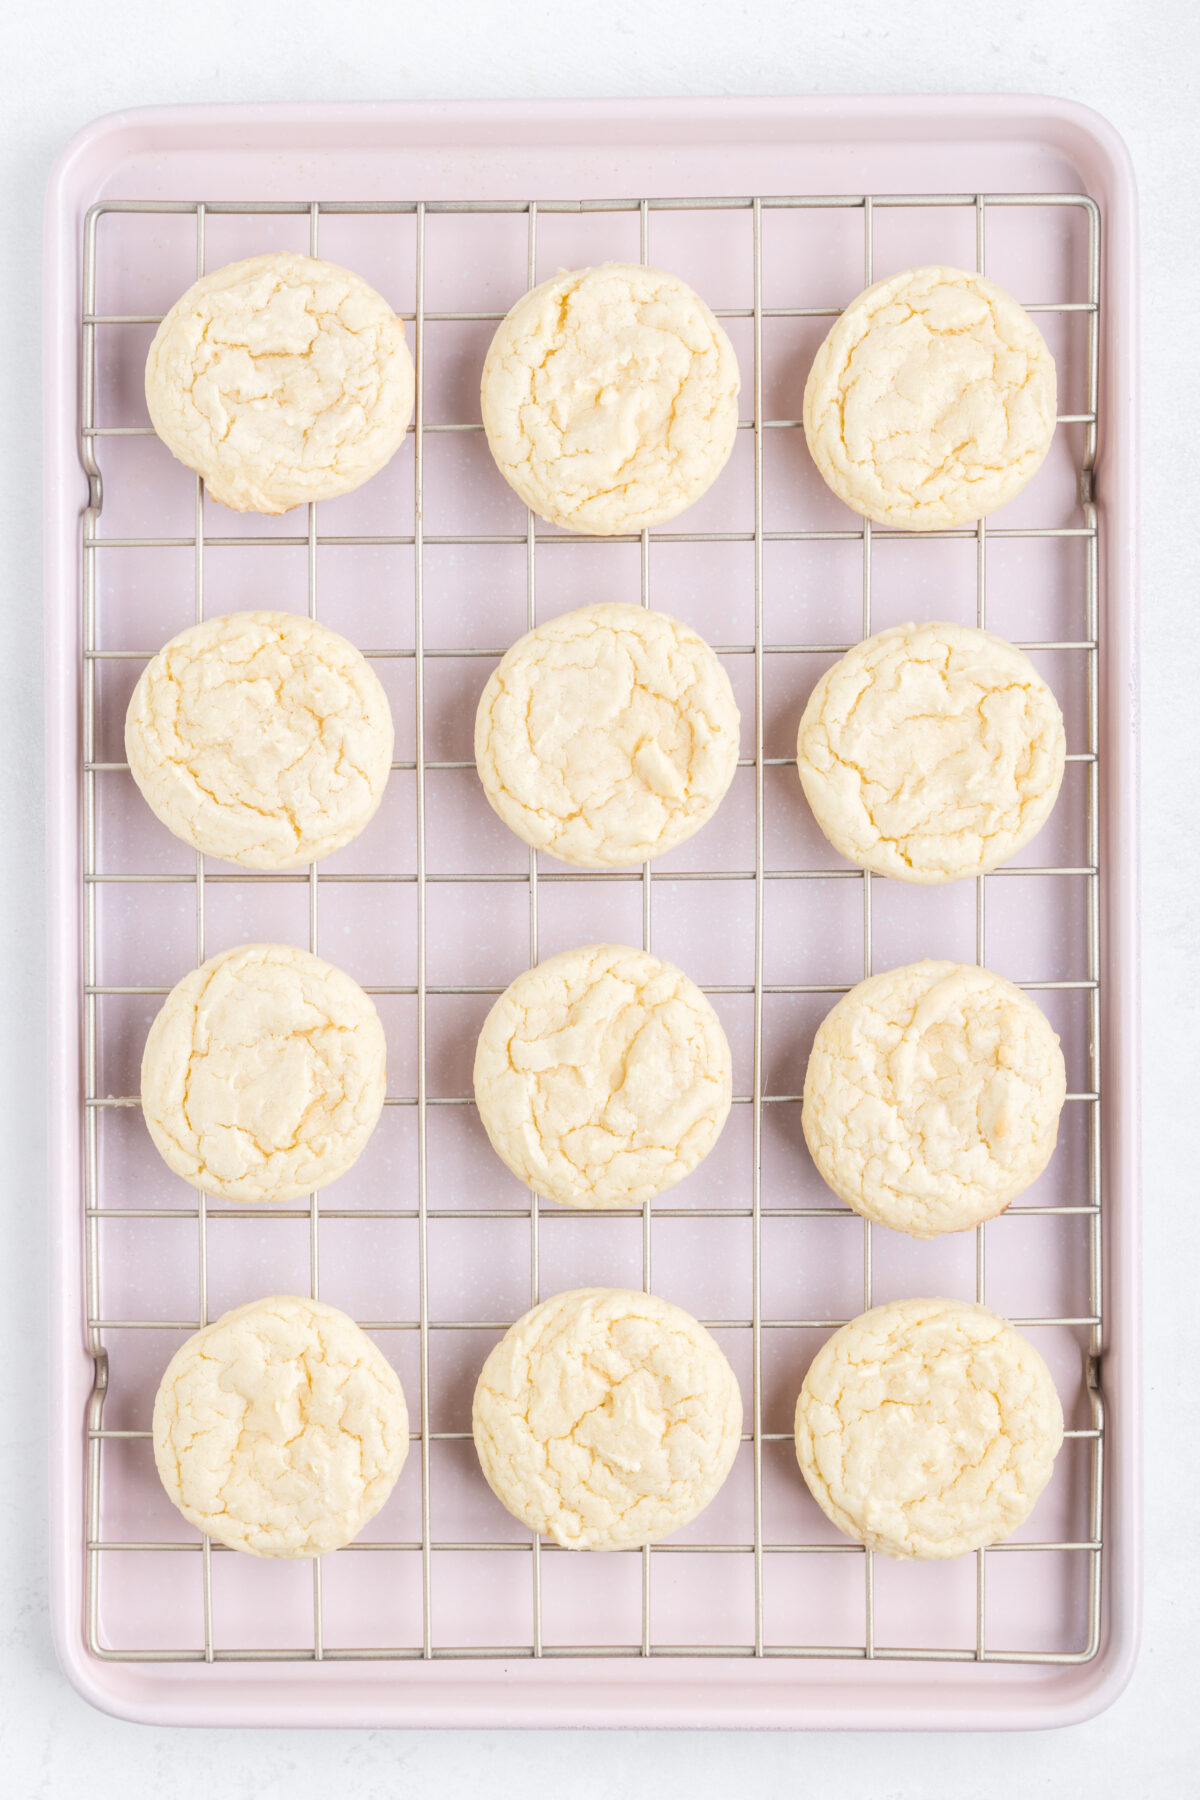
Bake for 8-10 minutes or until the edges are just starting to turn golden.
Allow the cookies to cool on the cookie sheets for 5 minutes before transferring to a wire rack to finish cooling.
For the Frosting:
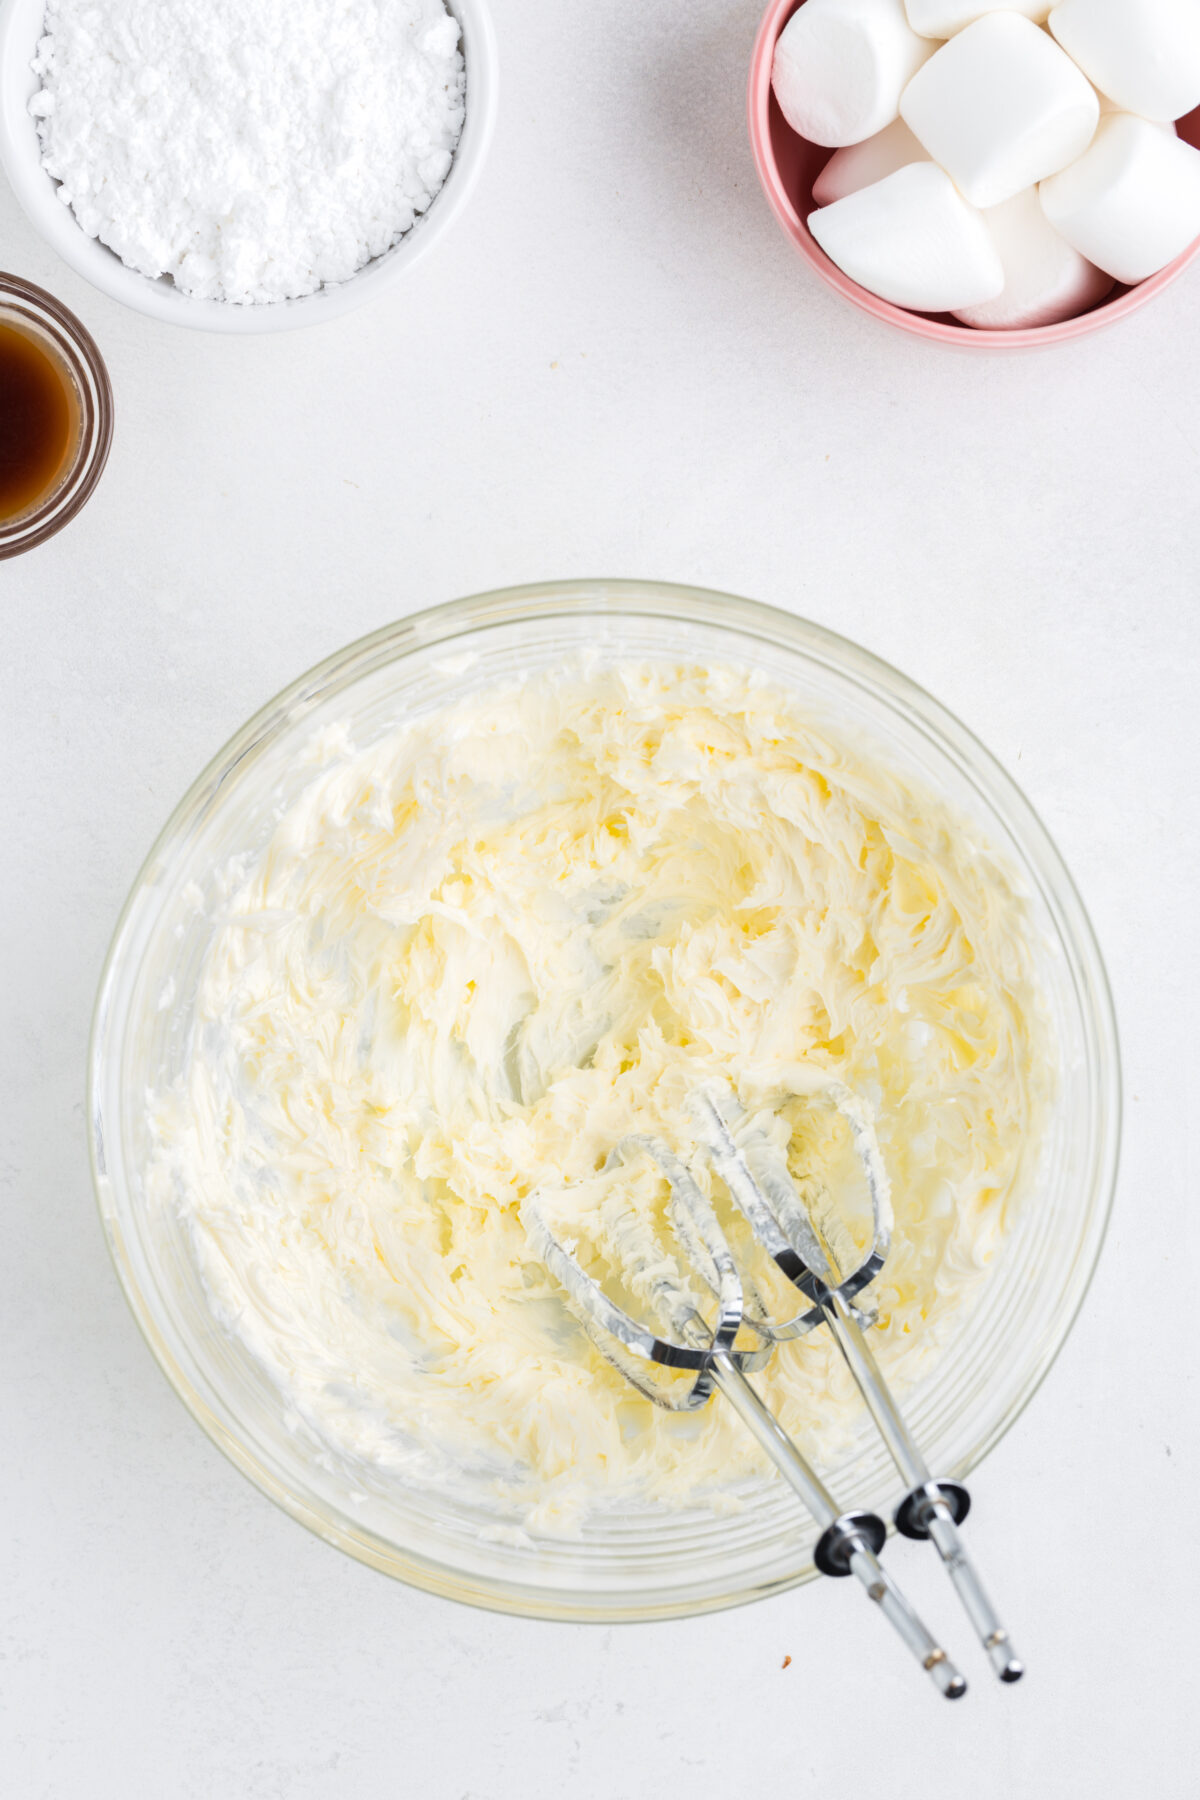
In a medium bowl beat the butter with a hand or stand mixer until light and fluffy.
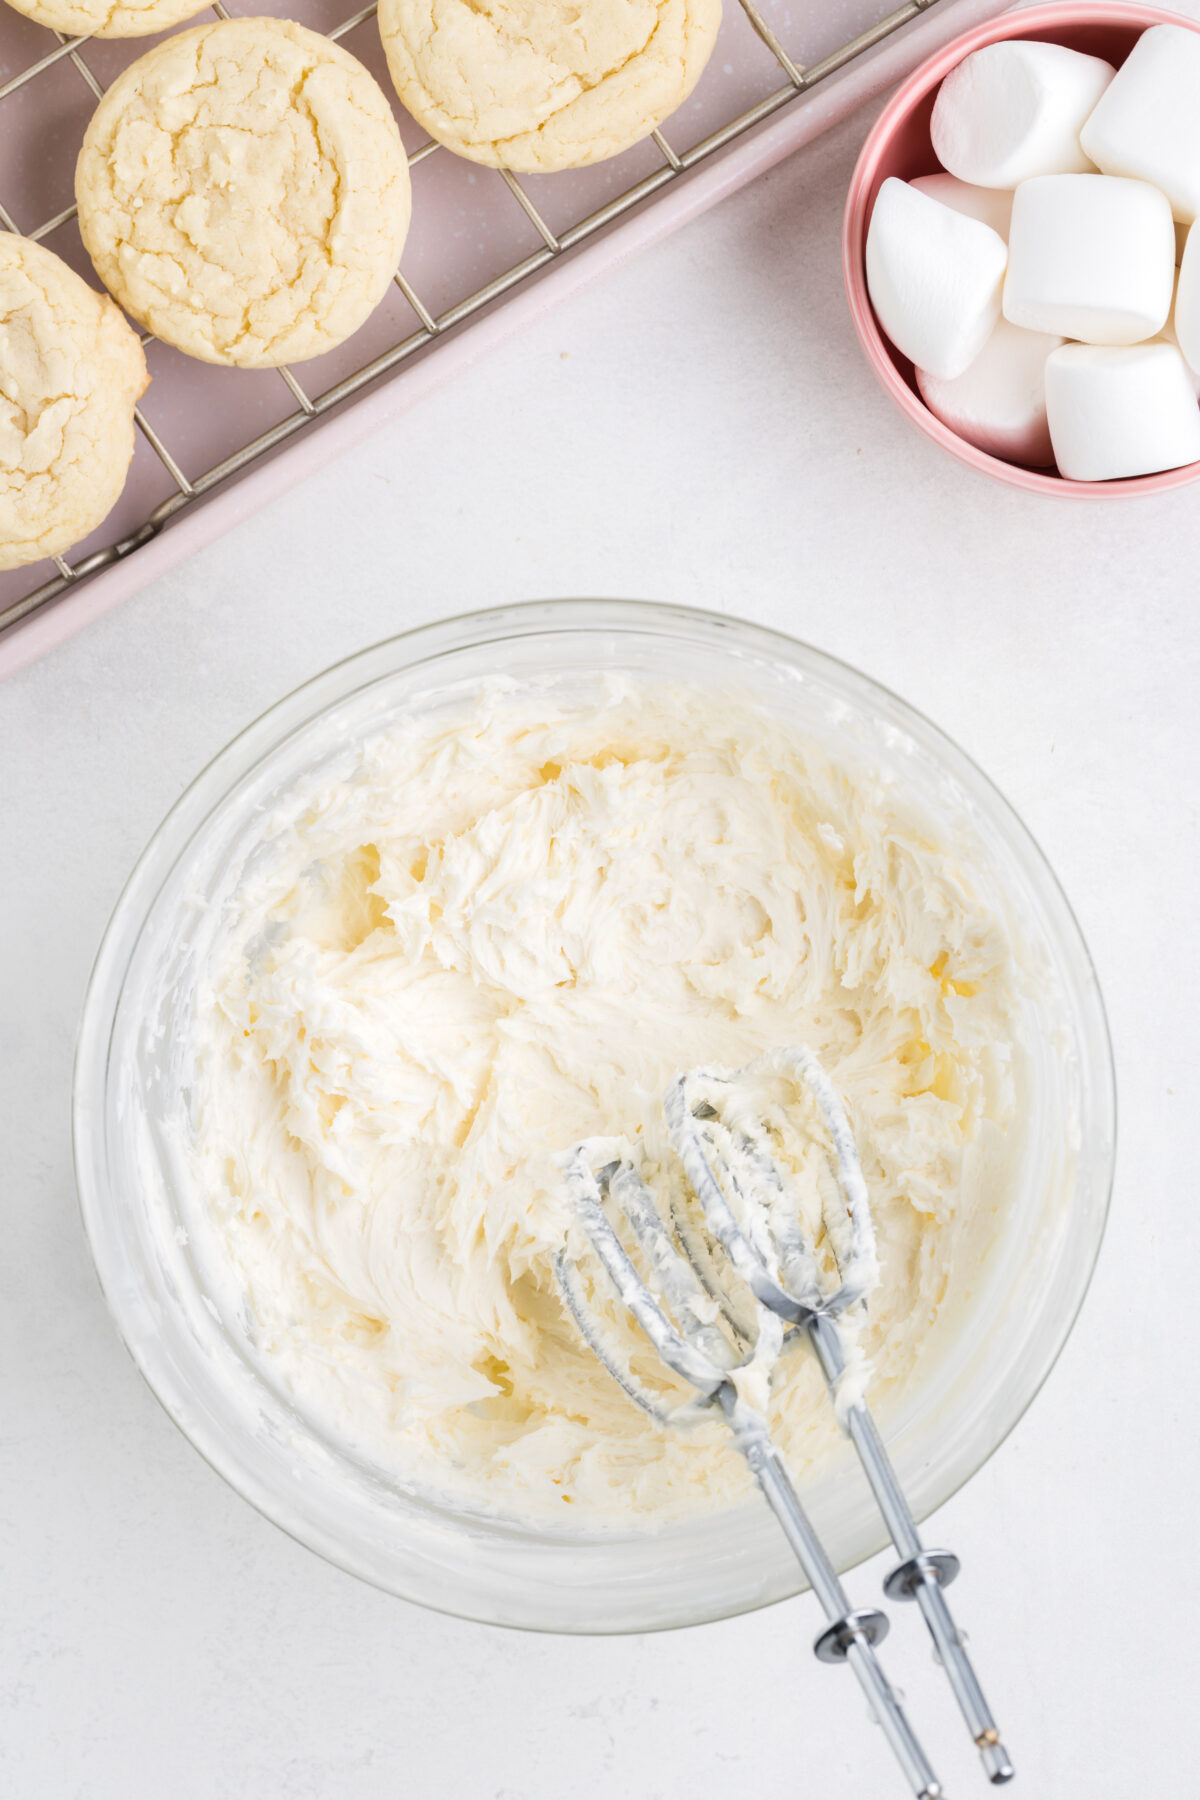
Add the powdered sugar, vanilla, salt, and 1 tablespoon of milk and beat until well combined. Add more milk ½ tablespoon at a time until the frosting reaches a consistency where it can easily be spread, but still holds its shape.
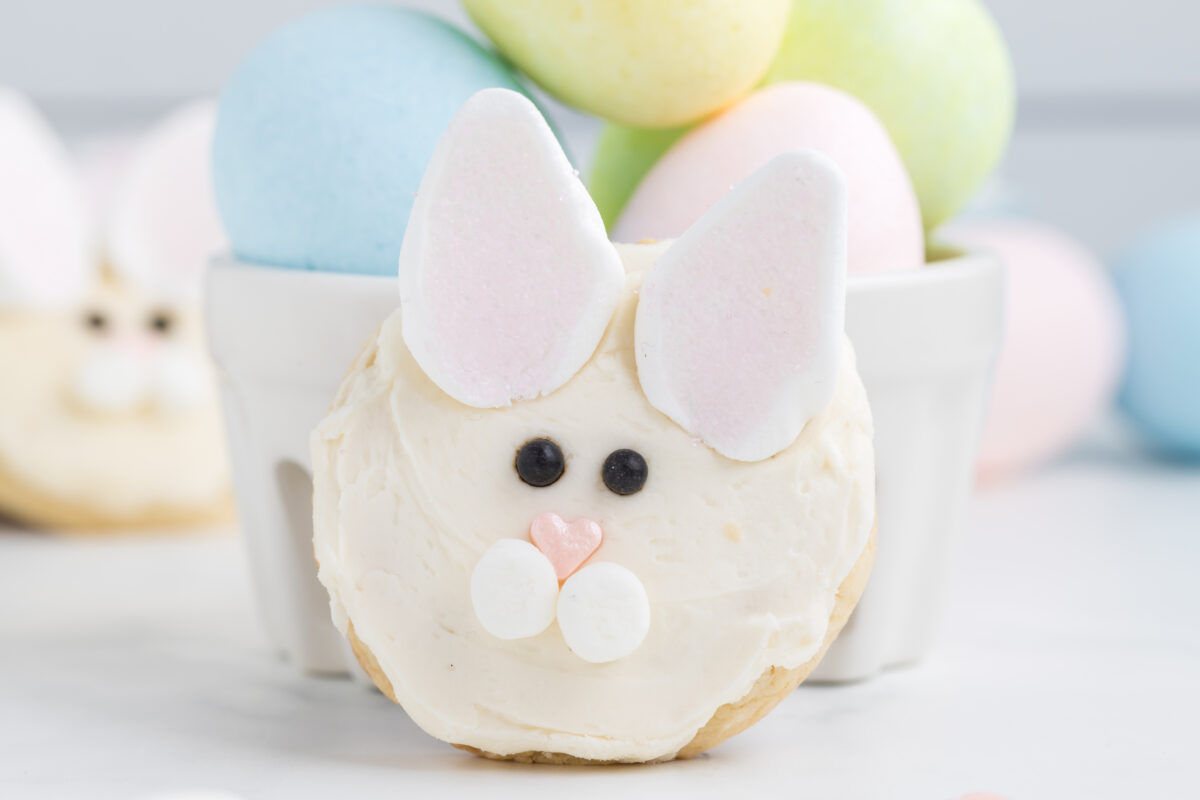
Assembly:
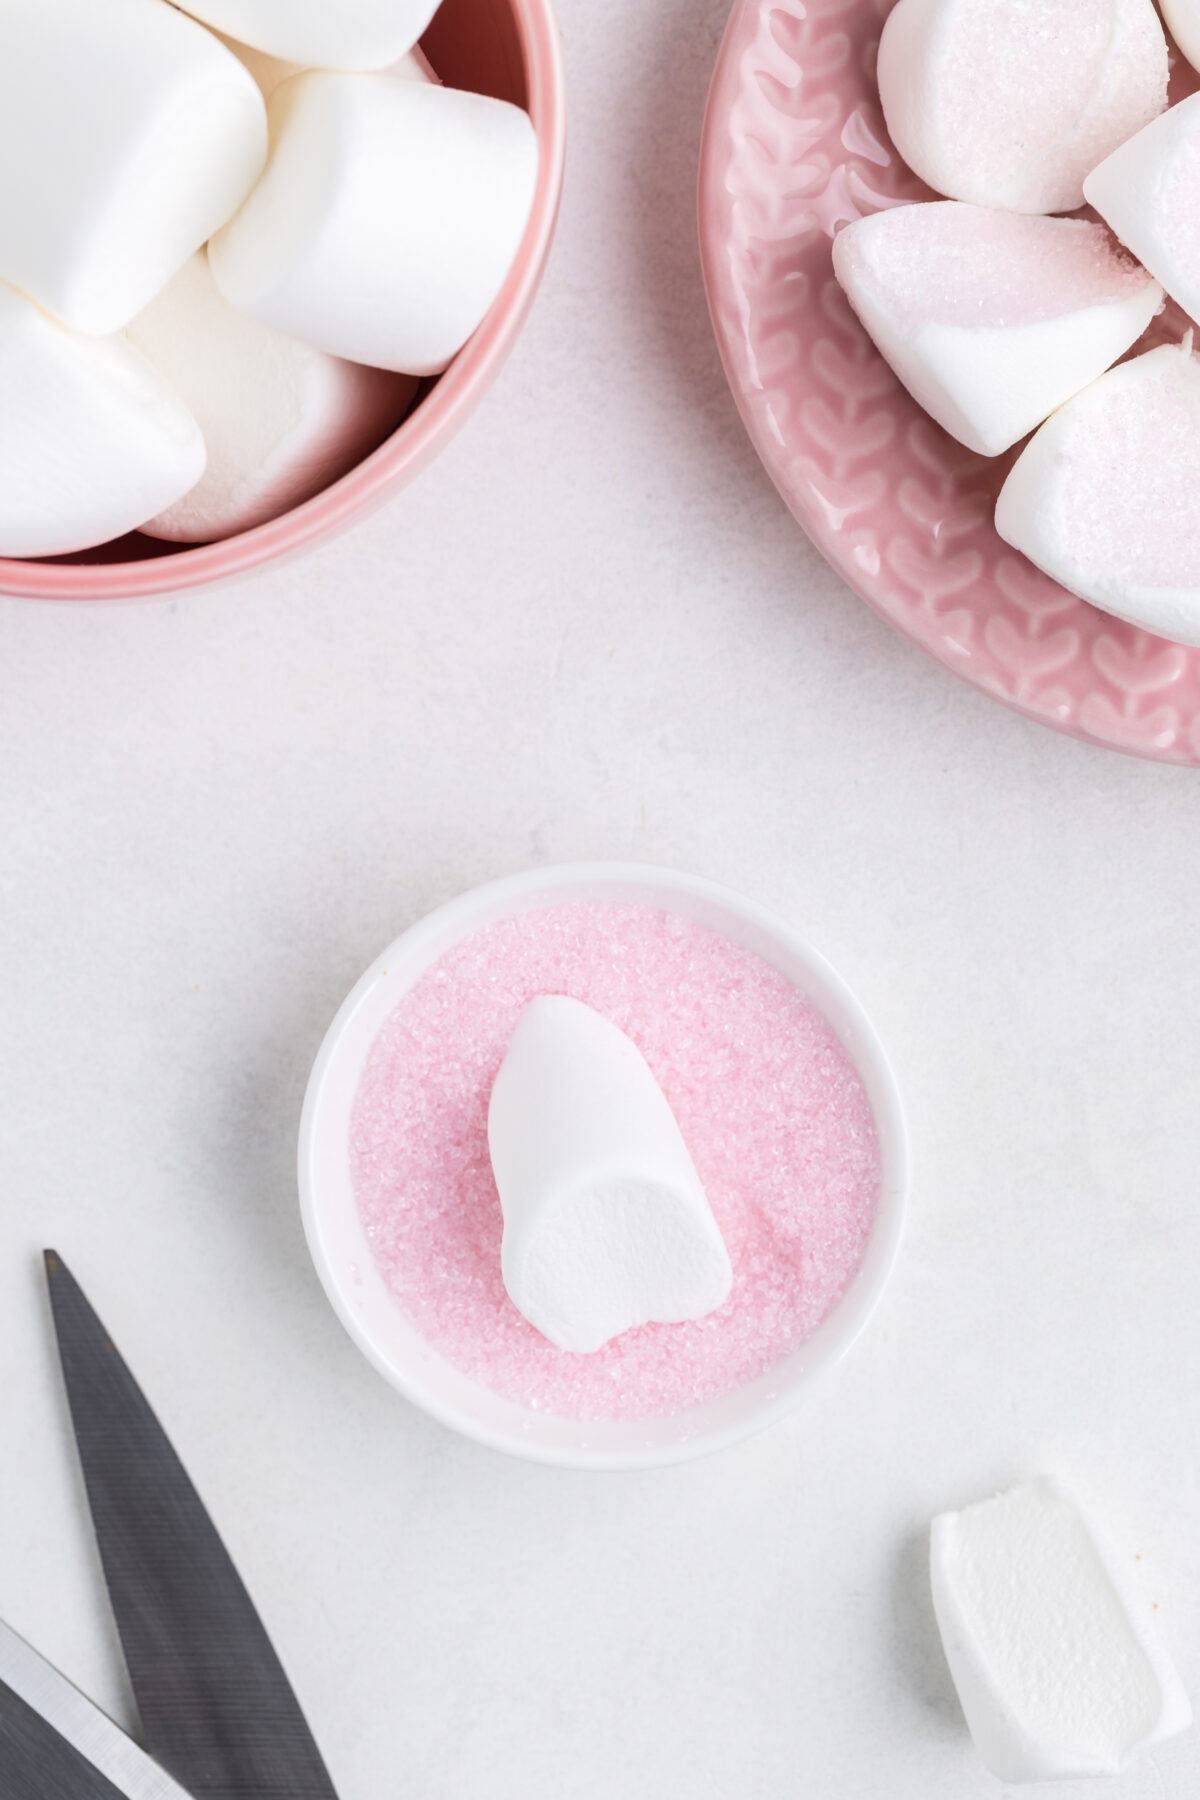
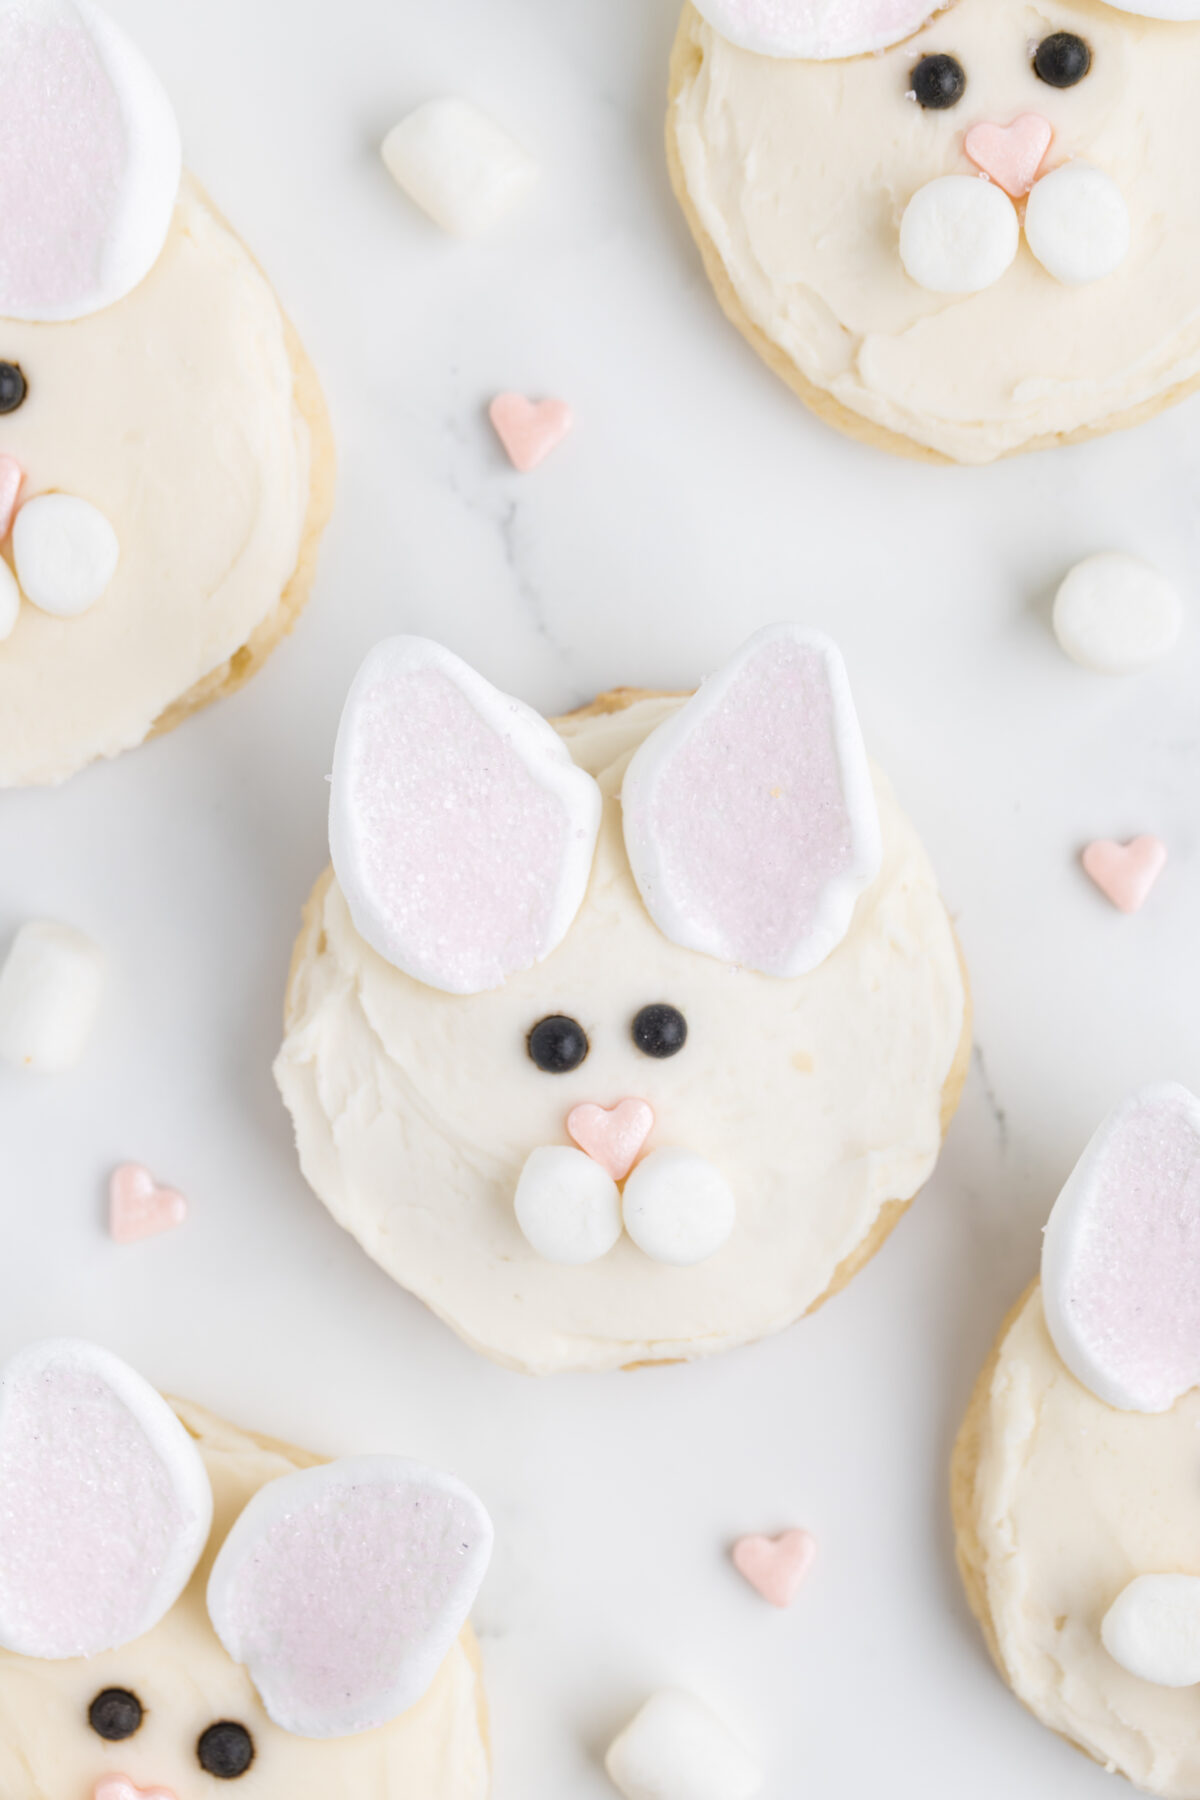
Cut the large marshmallows in half diagonally using sharp kitchen sheers or a knife. Dip the sticky, freshly cut side of each marshmallow in the sanding sugar to create the bunny ears.
Cut each mini marshmallow in half crosswise to create the bunny muzzle.
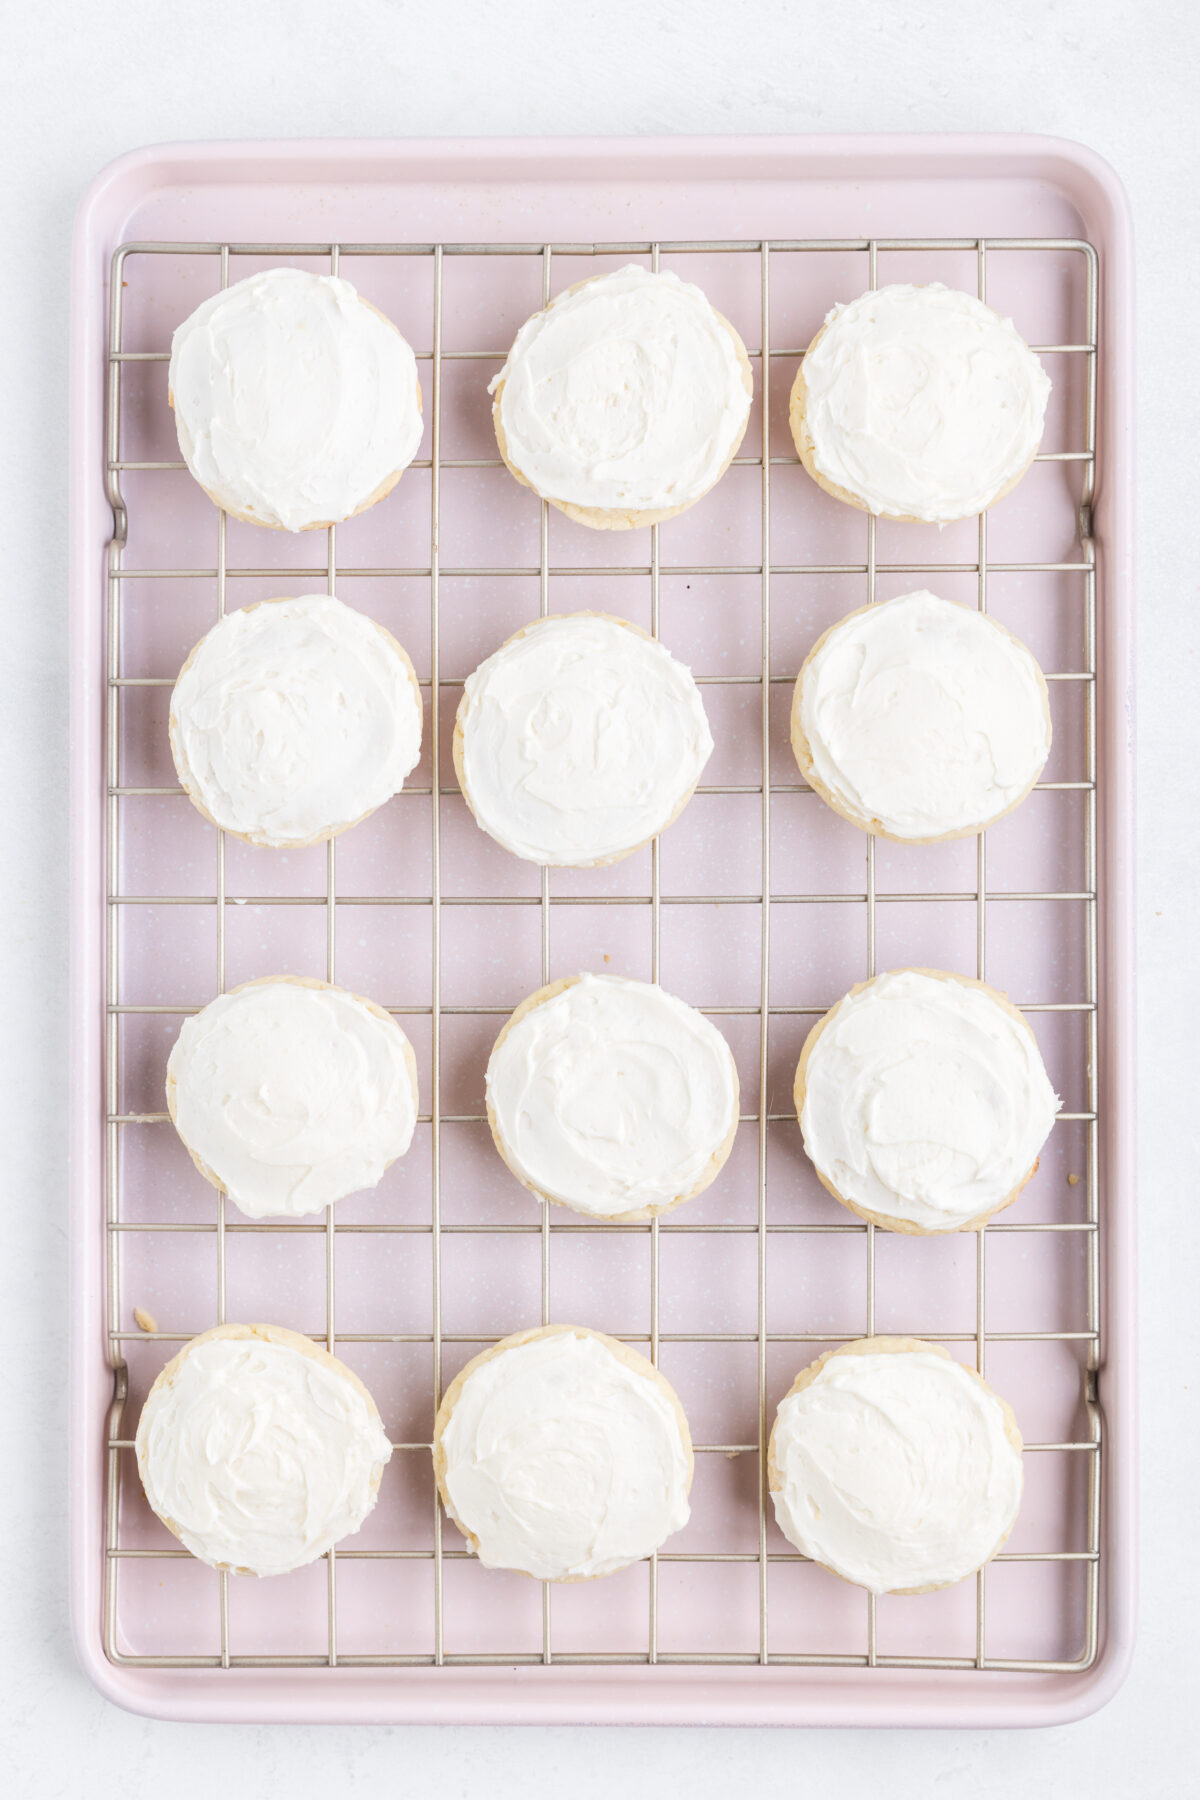
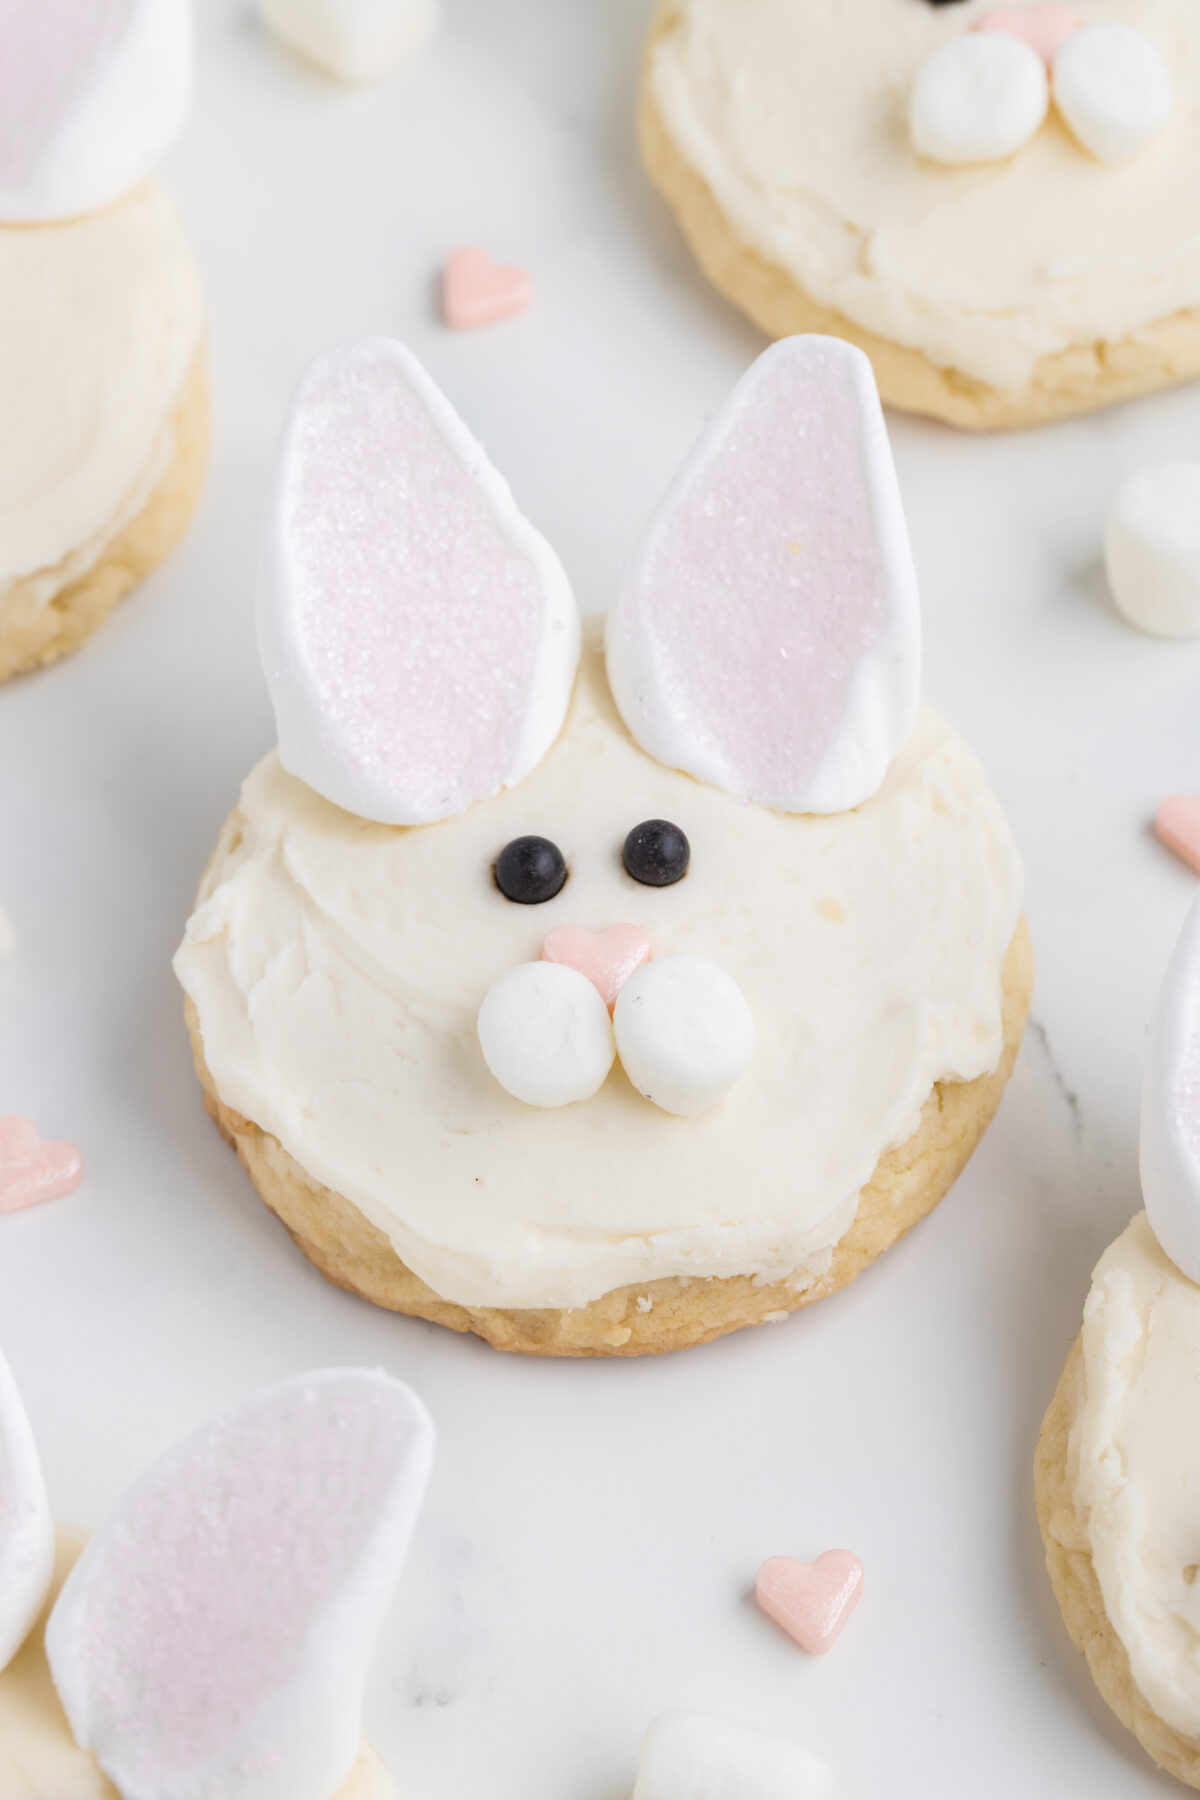
Frost the completely cooled cookies with a layer of frosting.
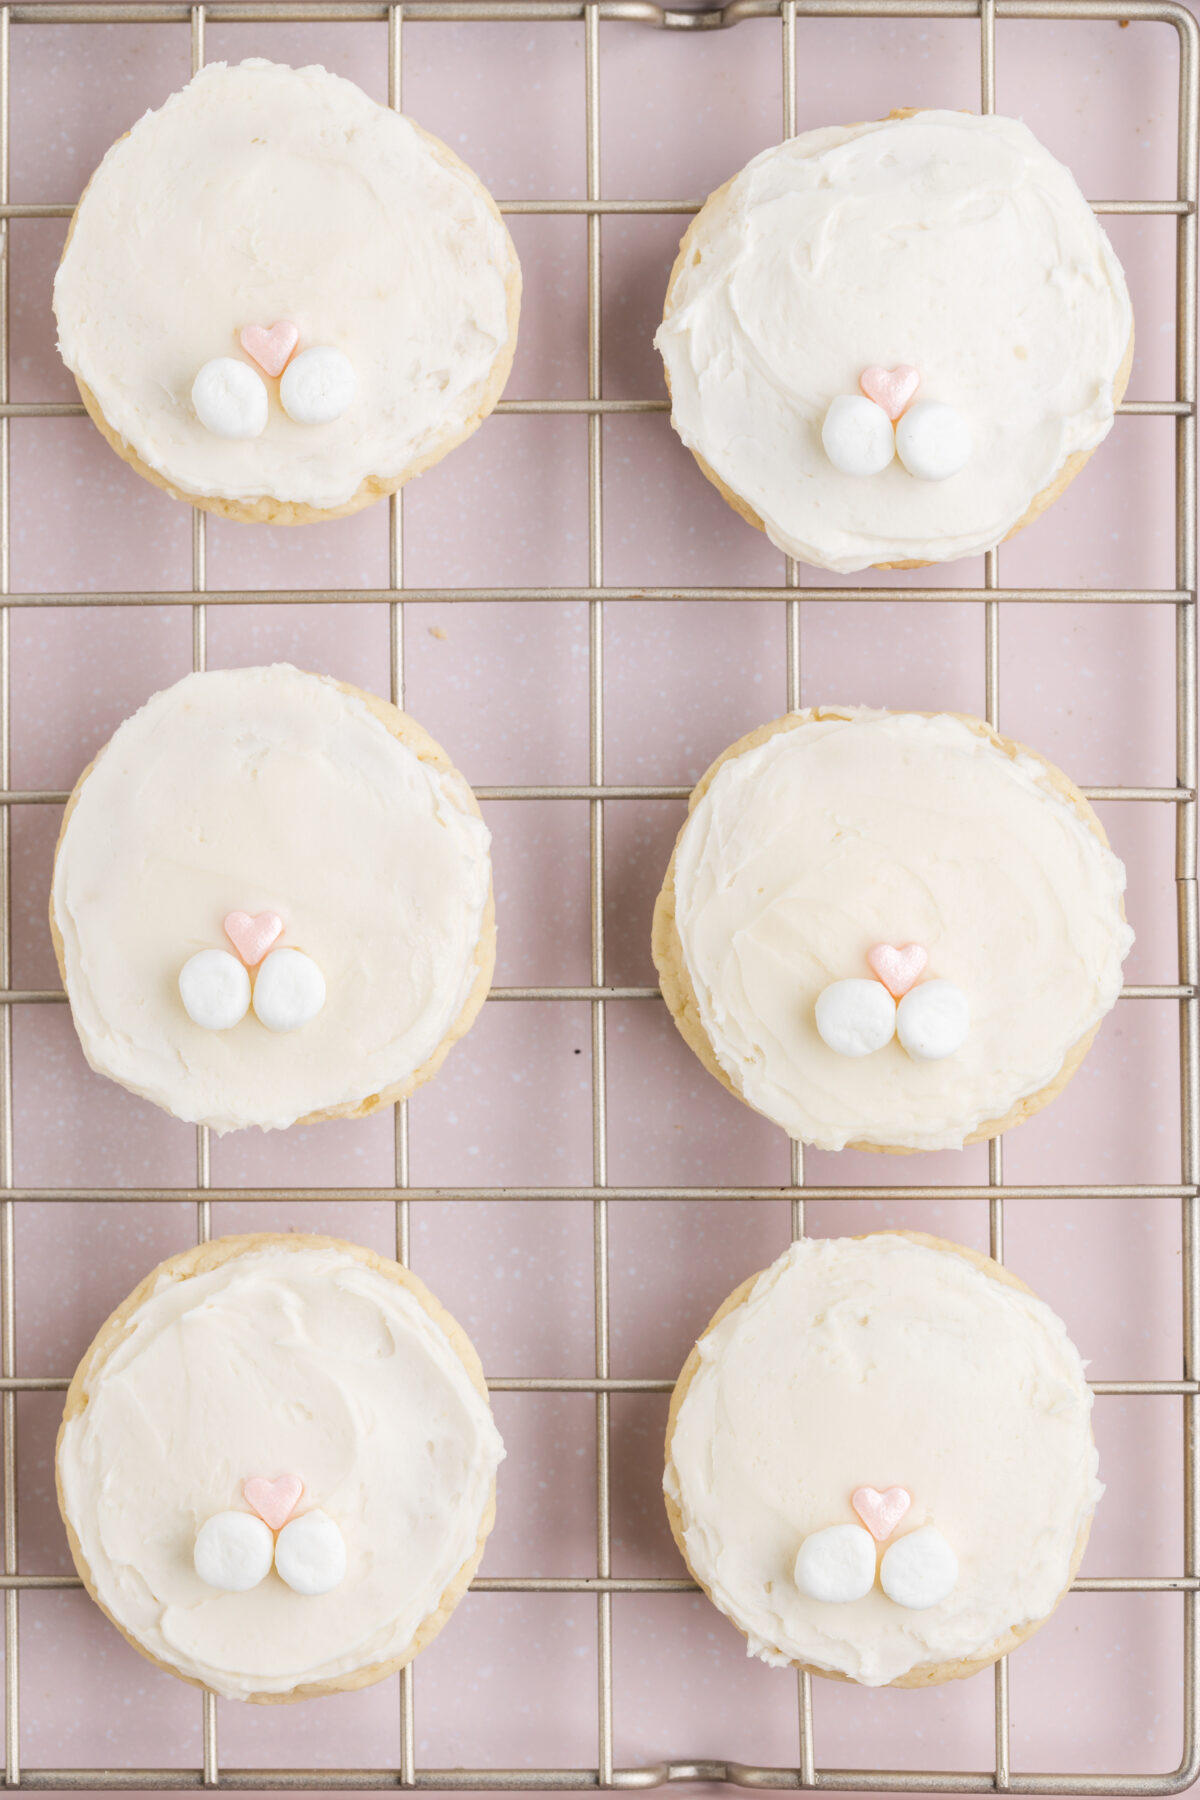
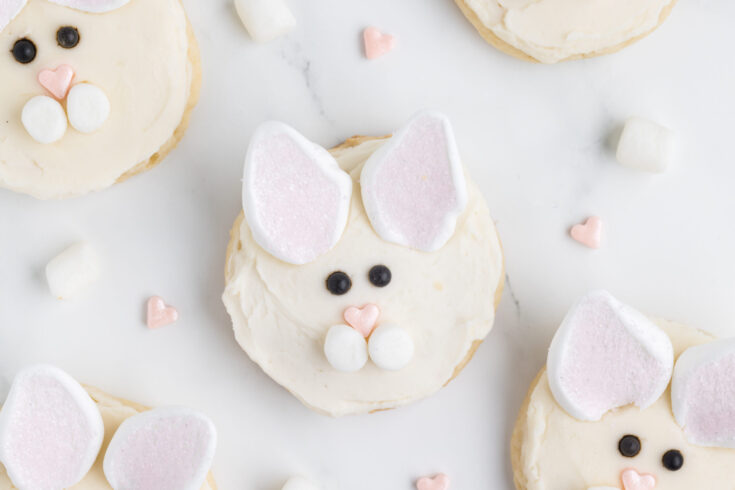
While the frosting is still wet, place a heart-shaped sprinkle in the center of the bottom ⅓ of the cookie to create the nose.
Add two of the mini marshmallows halves directly below the heart to create the muzzle.
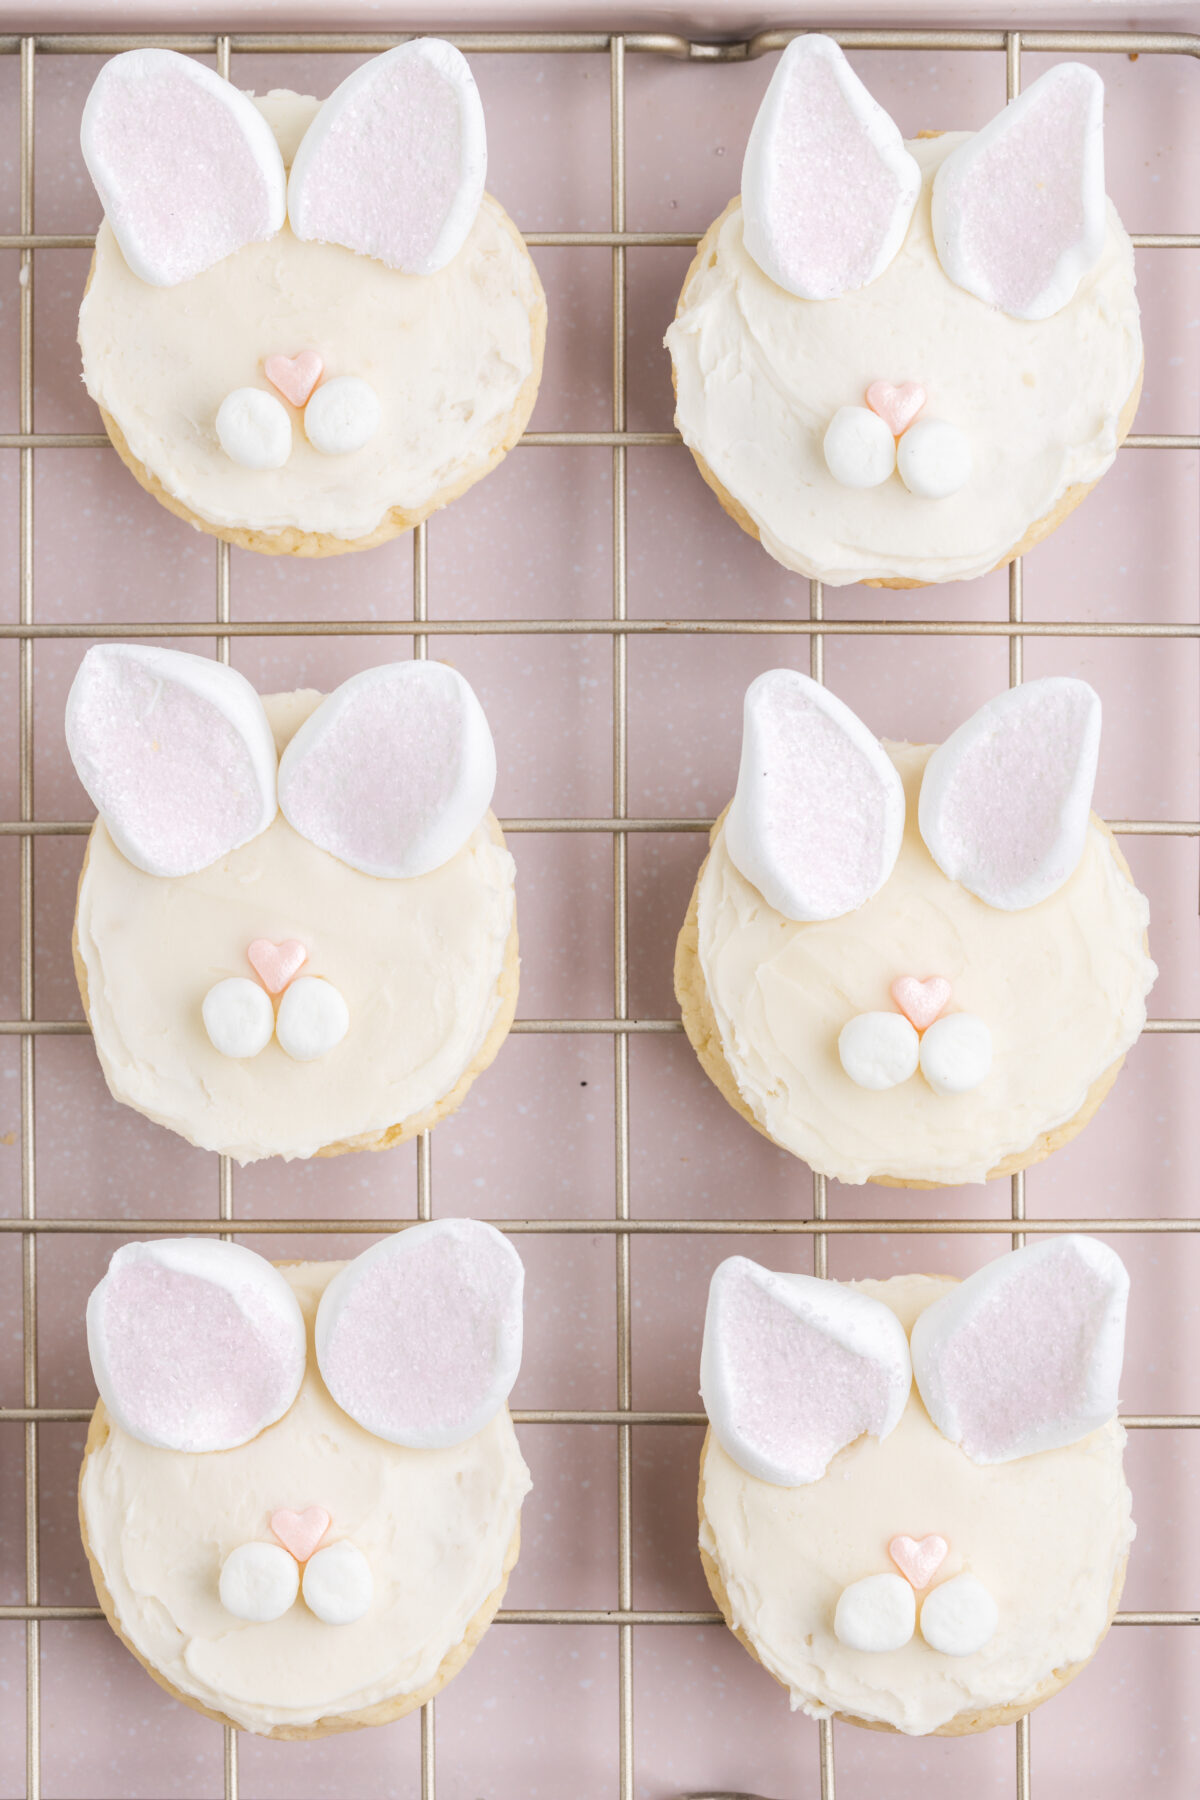
Place two of the larger marshmallow halves at the top of the cookie to create the ears.
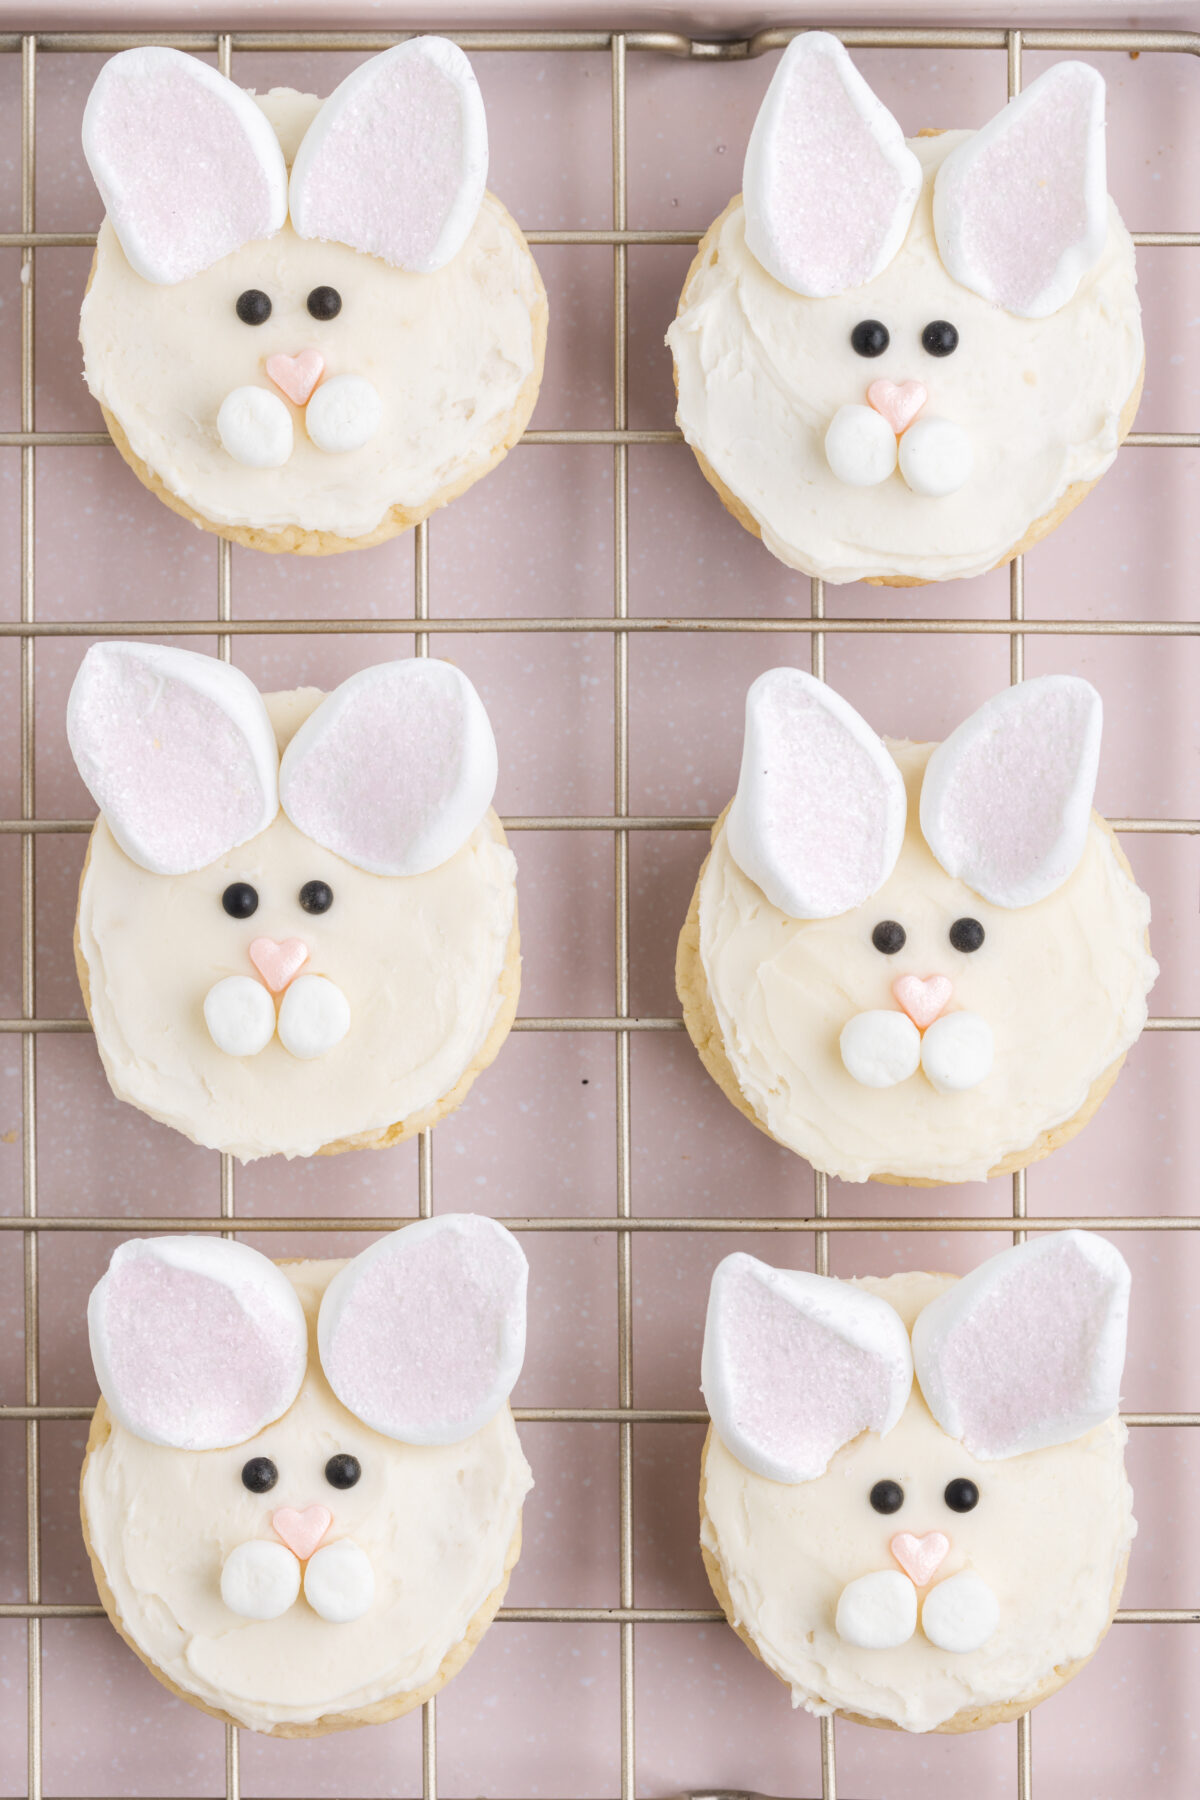
Place two black pearl sprinkles between the ears and the nose to create the bunny eyes.
Allow the frosting to set before serving the cookies.
Bunny Face Cookies
Bring a smile to your children’s’ faces with this easy and fun recipe for Bunny Face cookies – perfect for Easter, birthdays or just because!
Ingredients
For the Cookies:
- 1 (15.25 ounce) box vanilla or white cake mix
- 2 large eggs
- ½ cup vegetable oil
For the Frosting:
- ¾ cup unsalted butter, room temperature
- 2 ½ cups powdered sugar
- 1 ½ teaspoons vanilla extract
- Pinch of salt
- 2-4 tablespoons milk
Decorations
- 16 regular marshmallows
- 2 tablespoons pink sanding sugar
- 16 mini marshmallows
- 16 large heart sprinkles
- 32 black pearl sprinkles
Instructions
For the Cookies:
- Preheat your oven to 350 degrees Fahrenheit. Line two cookie sheets with parchment paper and set aside.
- In a medium mixing bowl mix cake mix, eggs, and oil until well combined.
- Drop the cookie dough onto the parchment-lined cookie sheets using a medium scoop leaving at least 2 inches between scoops.
- Bake for 8-10 minutes or until the edges are just starting to turn golden.
- Allow the cookies to cool on the cookie sheets for 5 minutes before transferring to a wire rack to finish cooling.
For the Frosting:
- In a medium bowl beat the butter with a hand or stand mixer until light and fluffy.
- Add the powdered sugar, vanilla, salt, and 1 tablespoon of milk and beat until well combined. Add more milk ½ tablespoon at a time until the frosting reaches a consistency where it can easily be spread, but still holds its shape.
Assembly:
- Cut the large marshmallows in half diagonally using sharp kitchen sheers or a knife. Dip the sticky, freshly cut side of each marshmallow in the sanding sugar to create the bunny ears.
- Cut each mini marshmallow in half crosswise to create the bunny muzzle.
- Frost the completely cooled cookies with a layer of frosting.
- While the frosting is still wet, place a heart-shaped sprinkle in the center of the bottom ⅓ of the cookie to create the nose.
- Add two of the mini marshmallows halves directly below the heart to create the muzzle.
- Place two of the larger marshmallow halves at the top of the cookie to create the ears.
- Place two black pearl sprinkles between the ears and the nose to create the bunny eyes.
- Allow the frosting to set before serving the cookies.
Recommended Products
As an Amazon Associate and member of other affiliate programs, I earn from qualifying purchases.


Nutrition Information:
Yield:
16Serving Size:
1 CookieAmount Per Serving: Calories: 348Total Fat: 20gSaturated Fat: 7gTrans Fat: 0gUnsaturated Fat: 13gCholesterol: 47mgSodium: 47mgCarbohydrates: 42gFiber: 0gSugar: 35gProtein: 2g
This information is provided as a courtesy and for entertainment purposes only. This information comes from online calculators. Although frugalmomeh.com attempts to provide accurate nutritional information, these figures are only estimates.