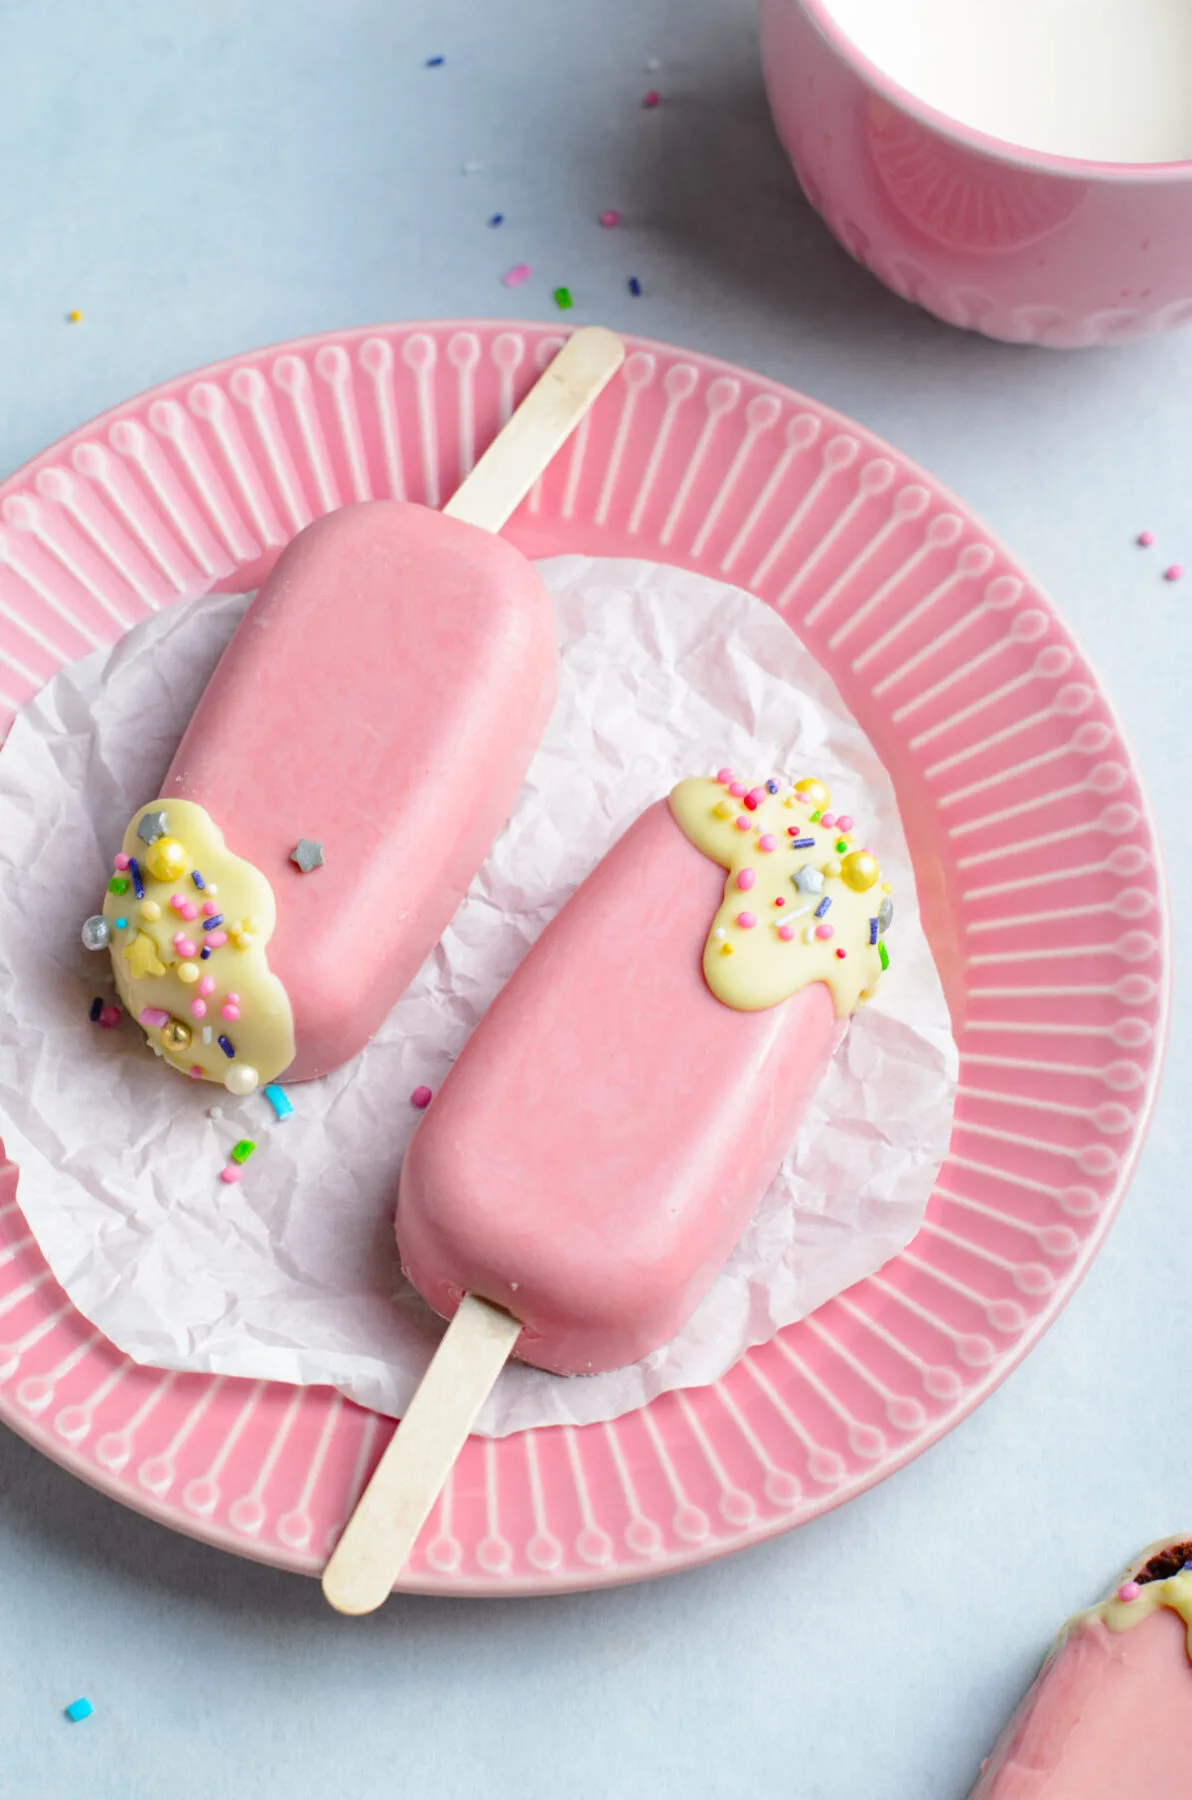
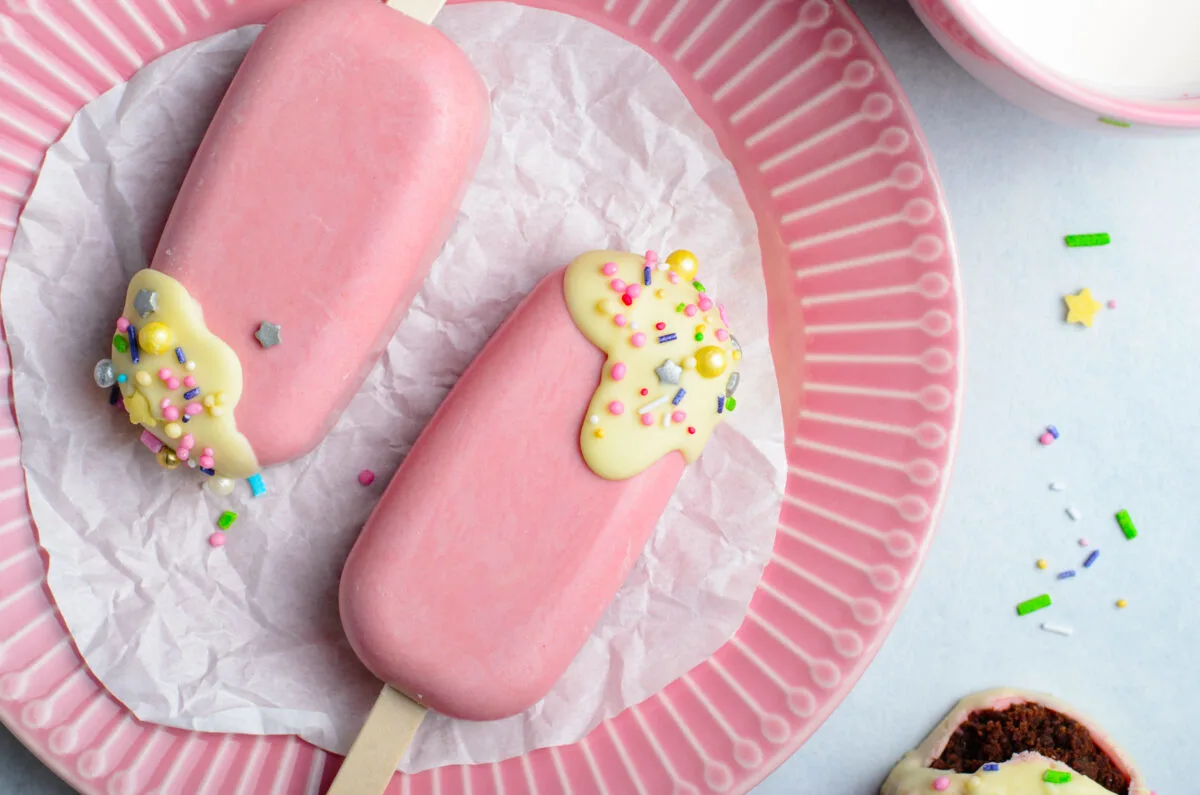
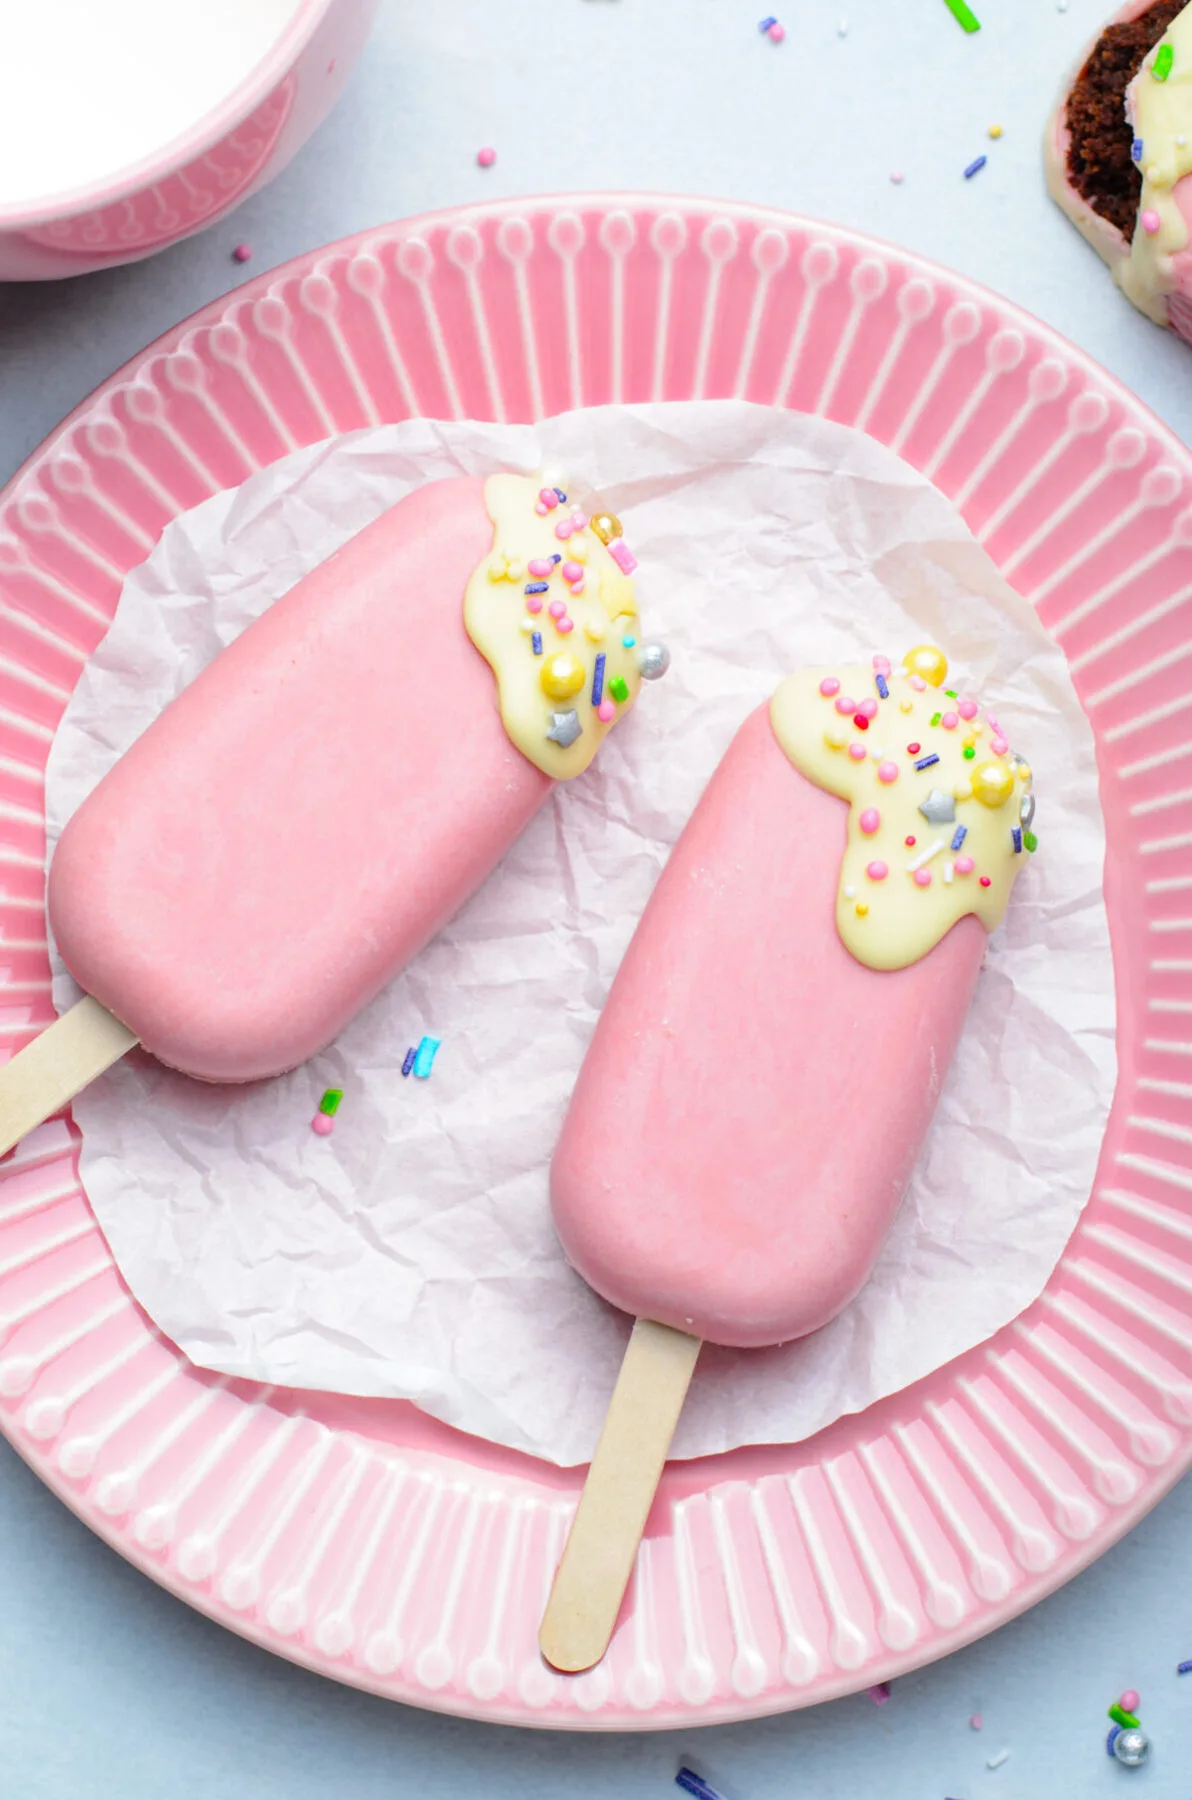
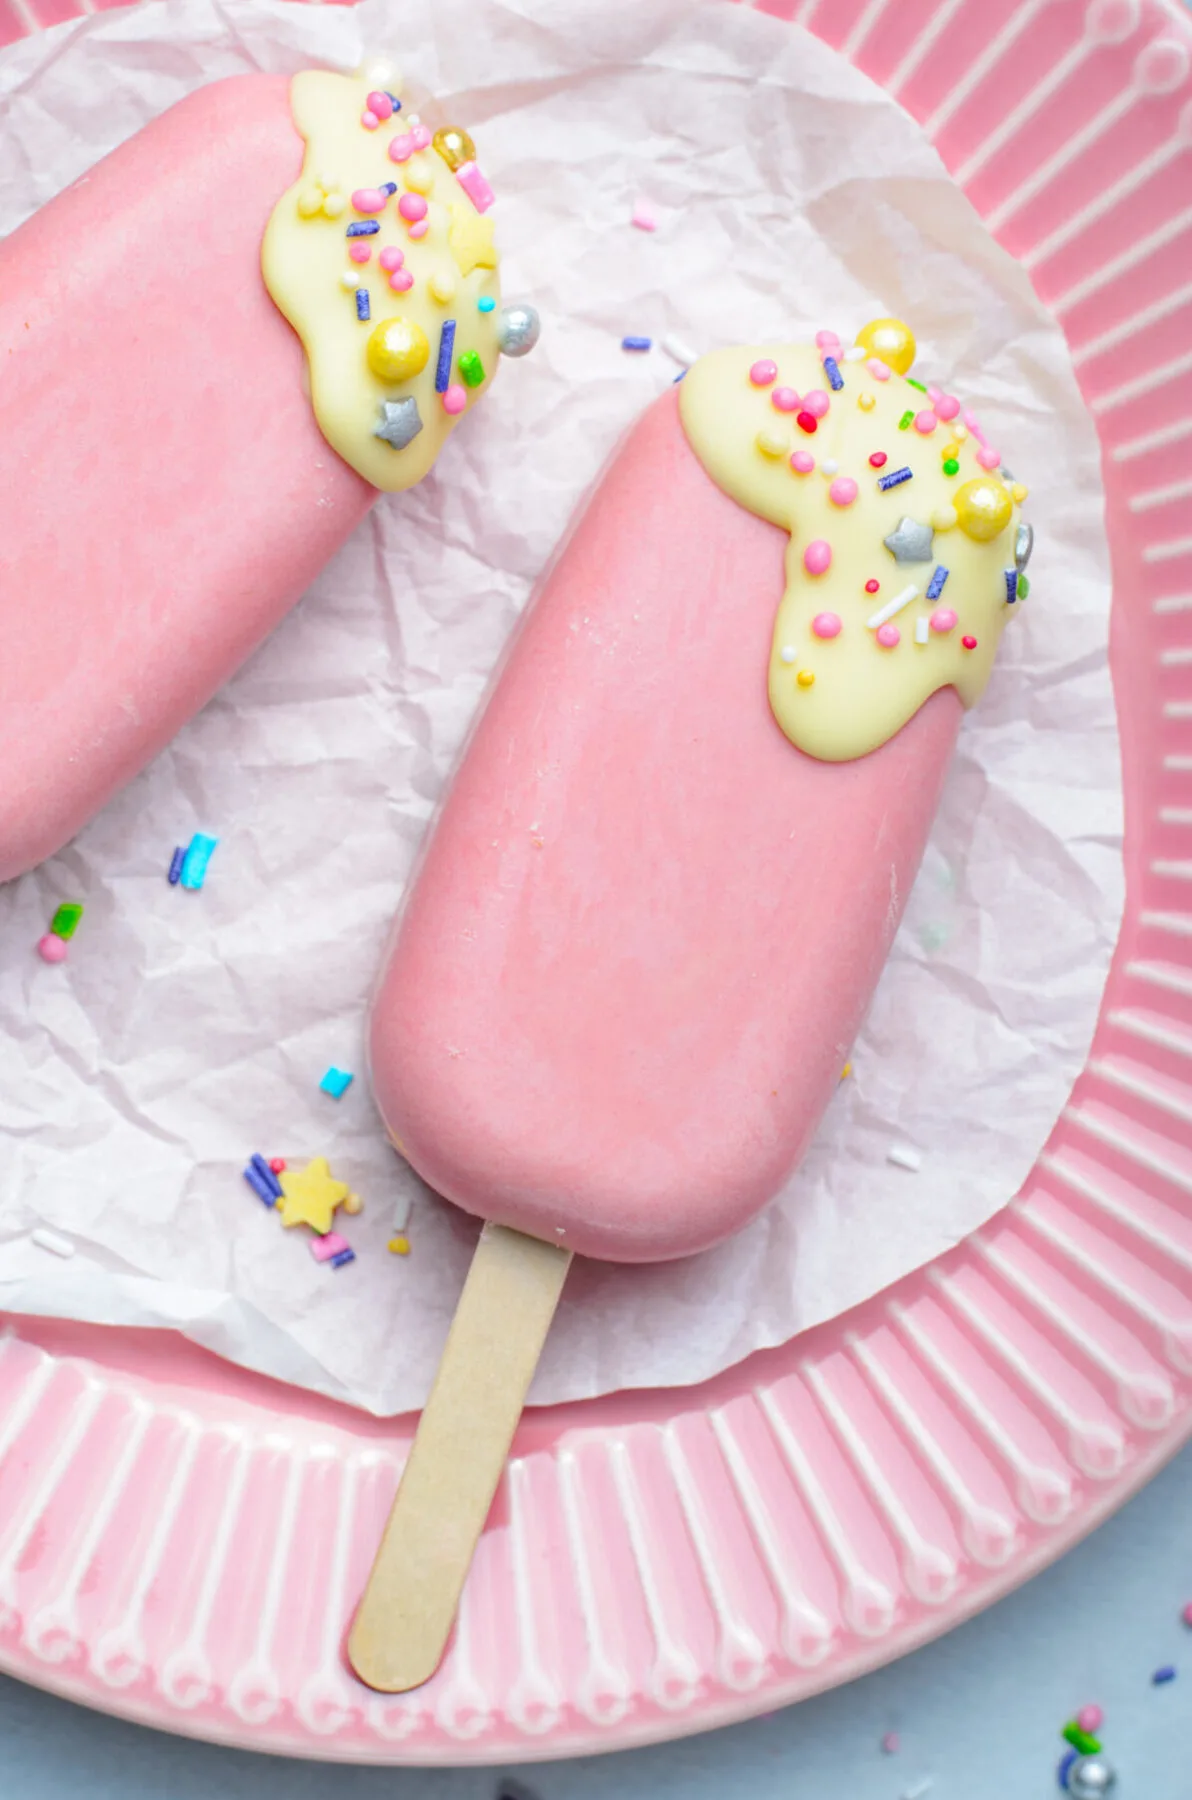
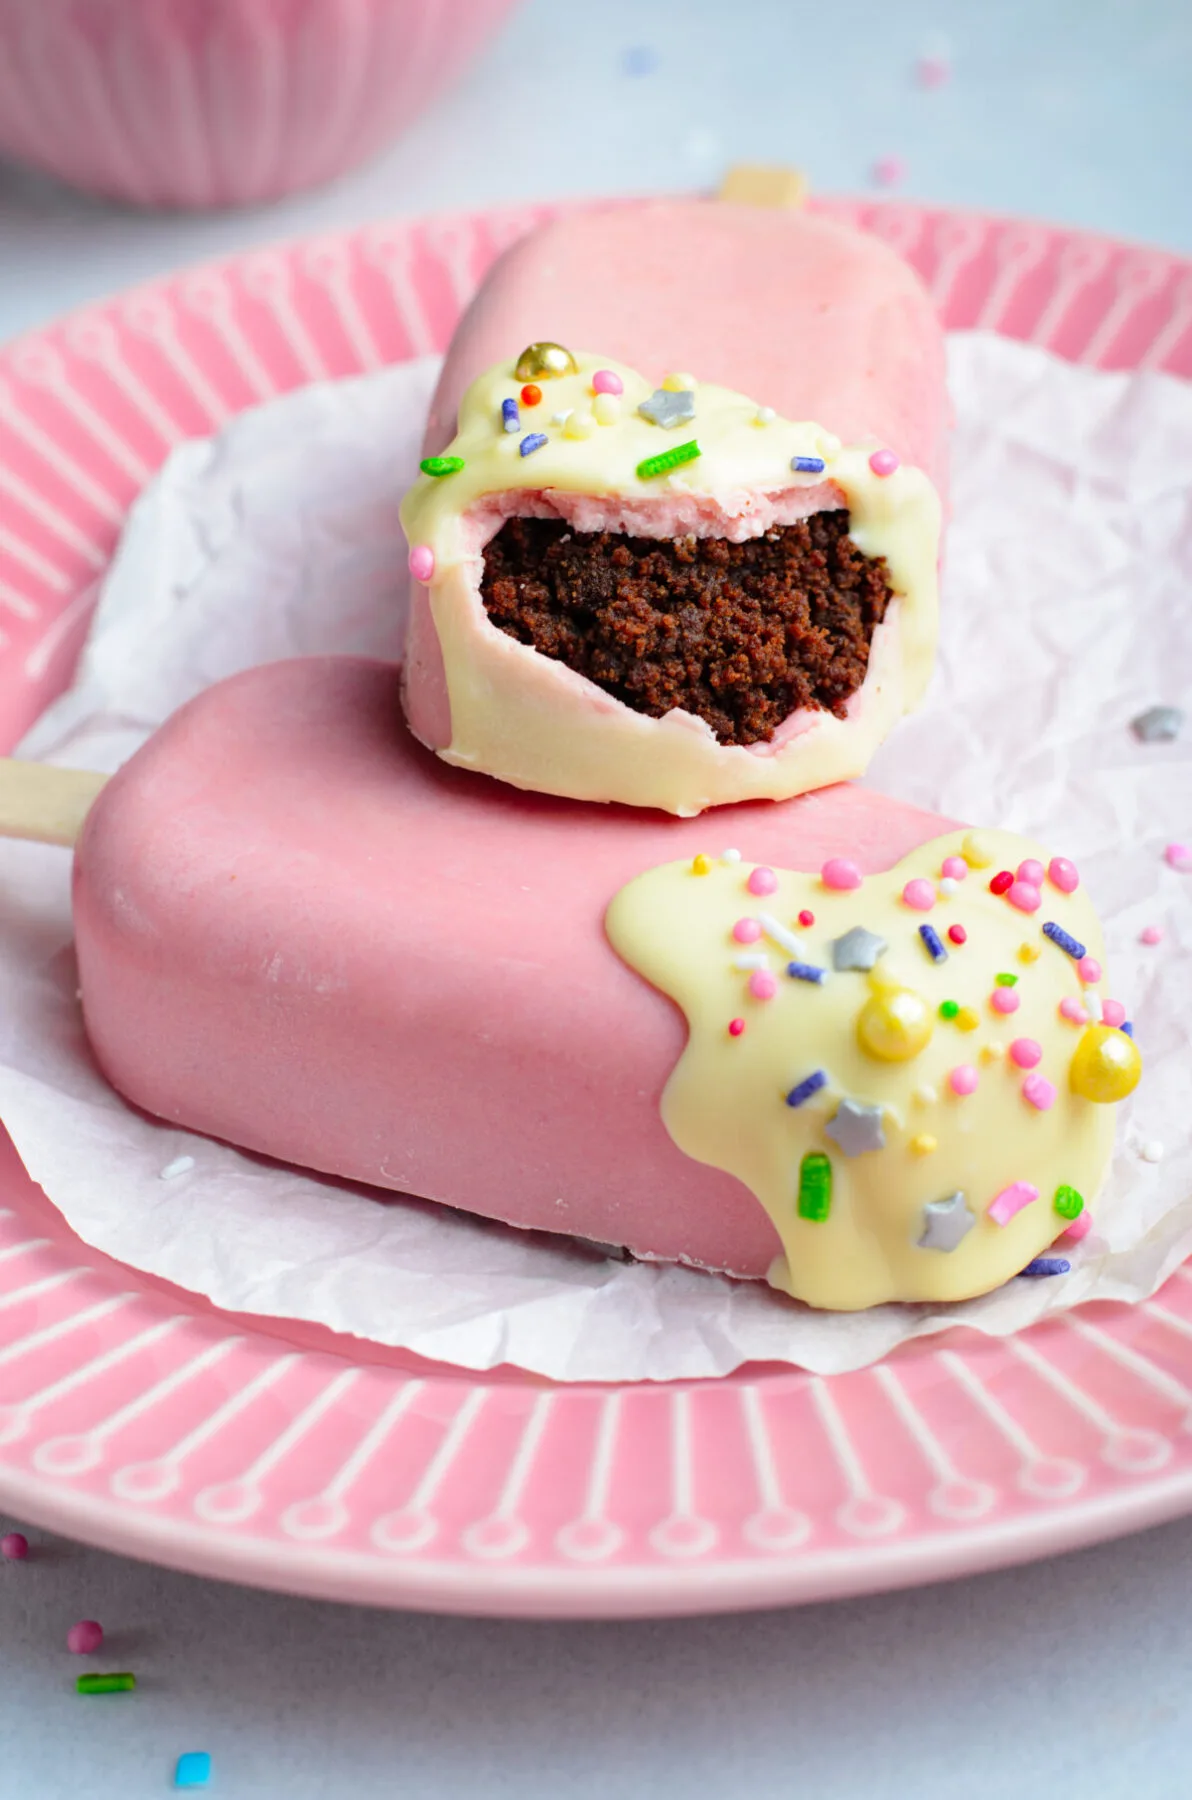
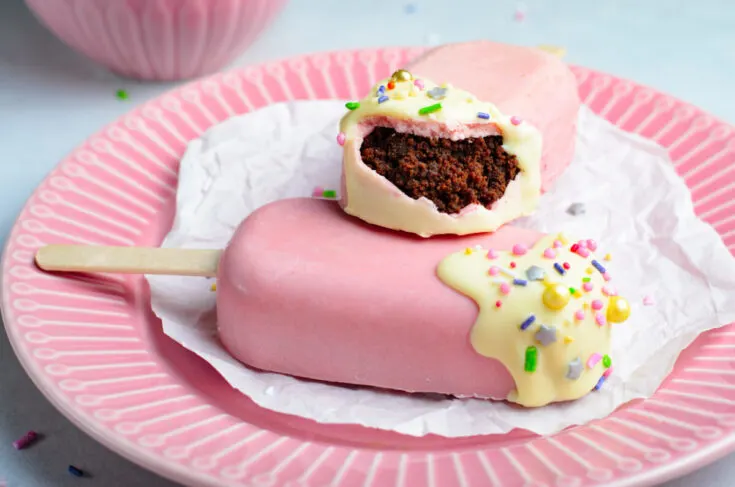
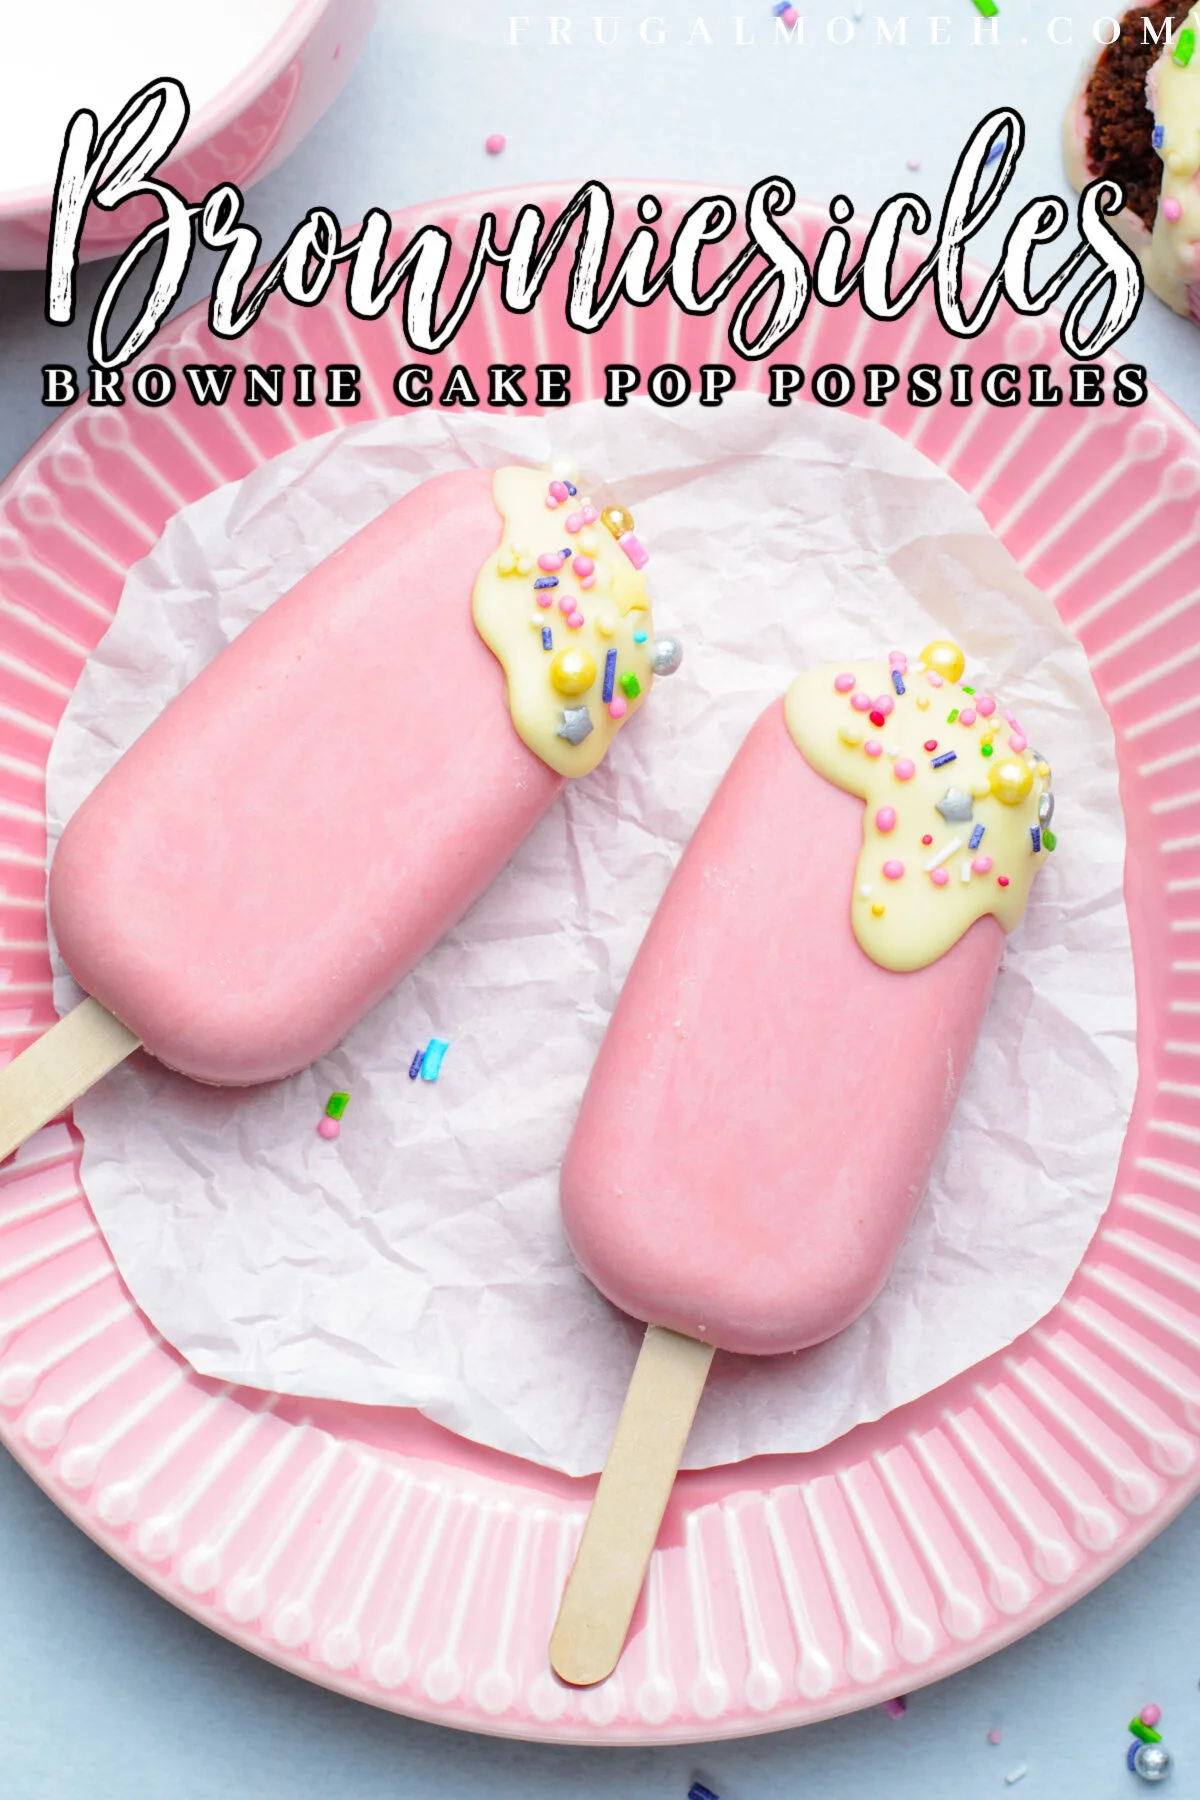
Try this recipe for browniesicles, a delicious twist on cake pops. They’re shaped like pink “popsicles” with colourful sprinkles.
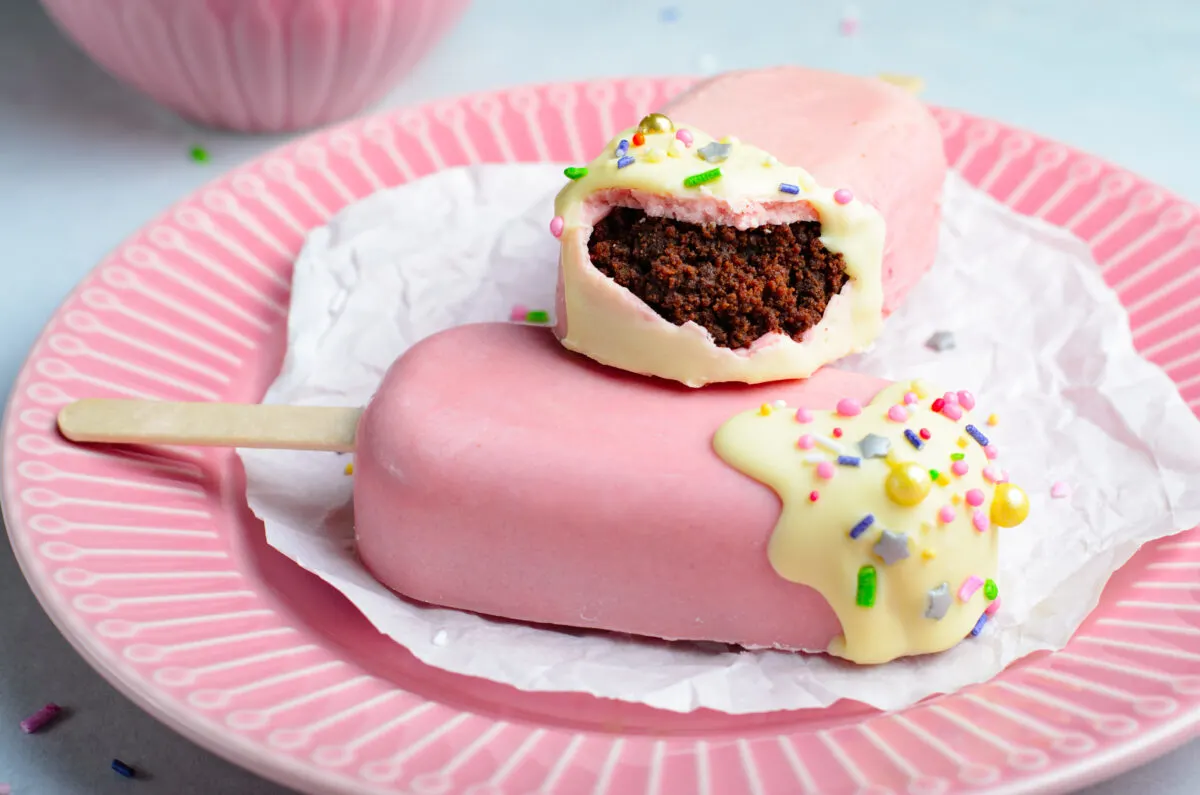
Did you know that you can turn your favourite brownie recipe into Brownie Cake Pop popsicles?
These decadent home-made Browniesicles are the perfect summer party treat and they’re easy to make. All it takes is a little bit of time and patience!
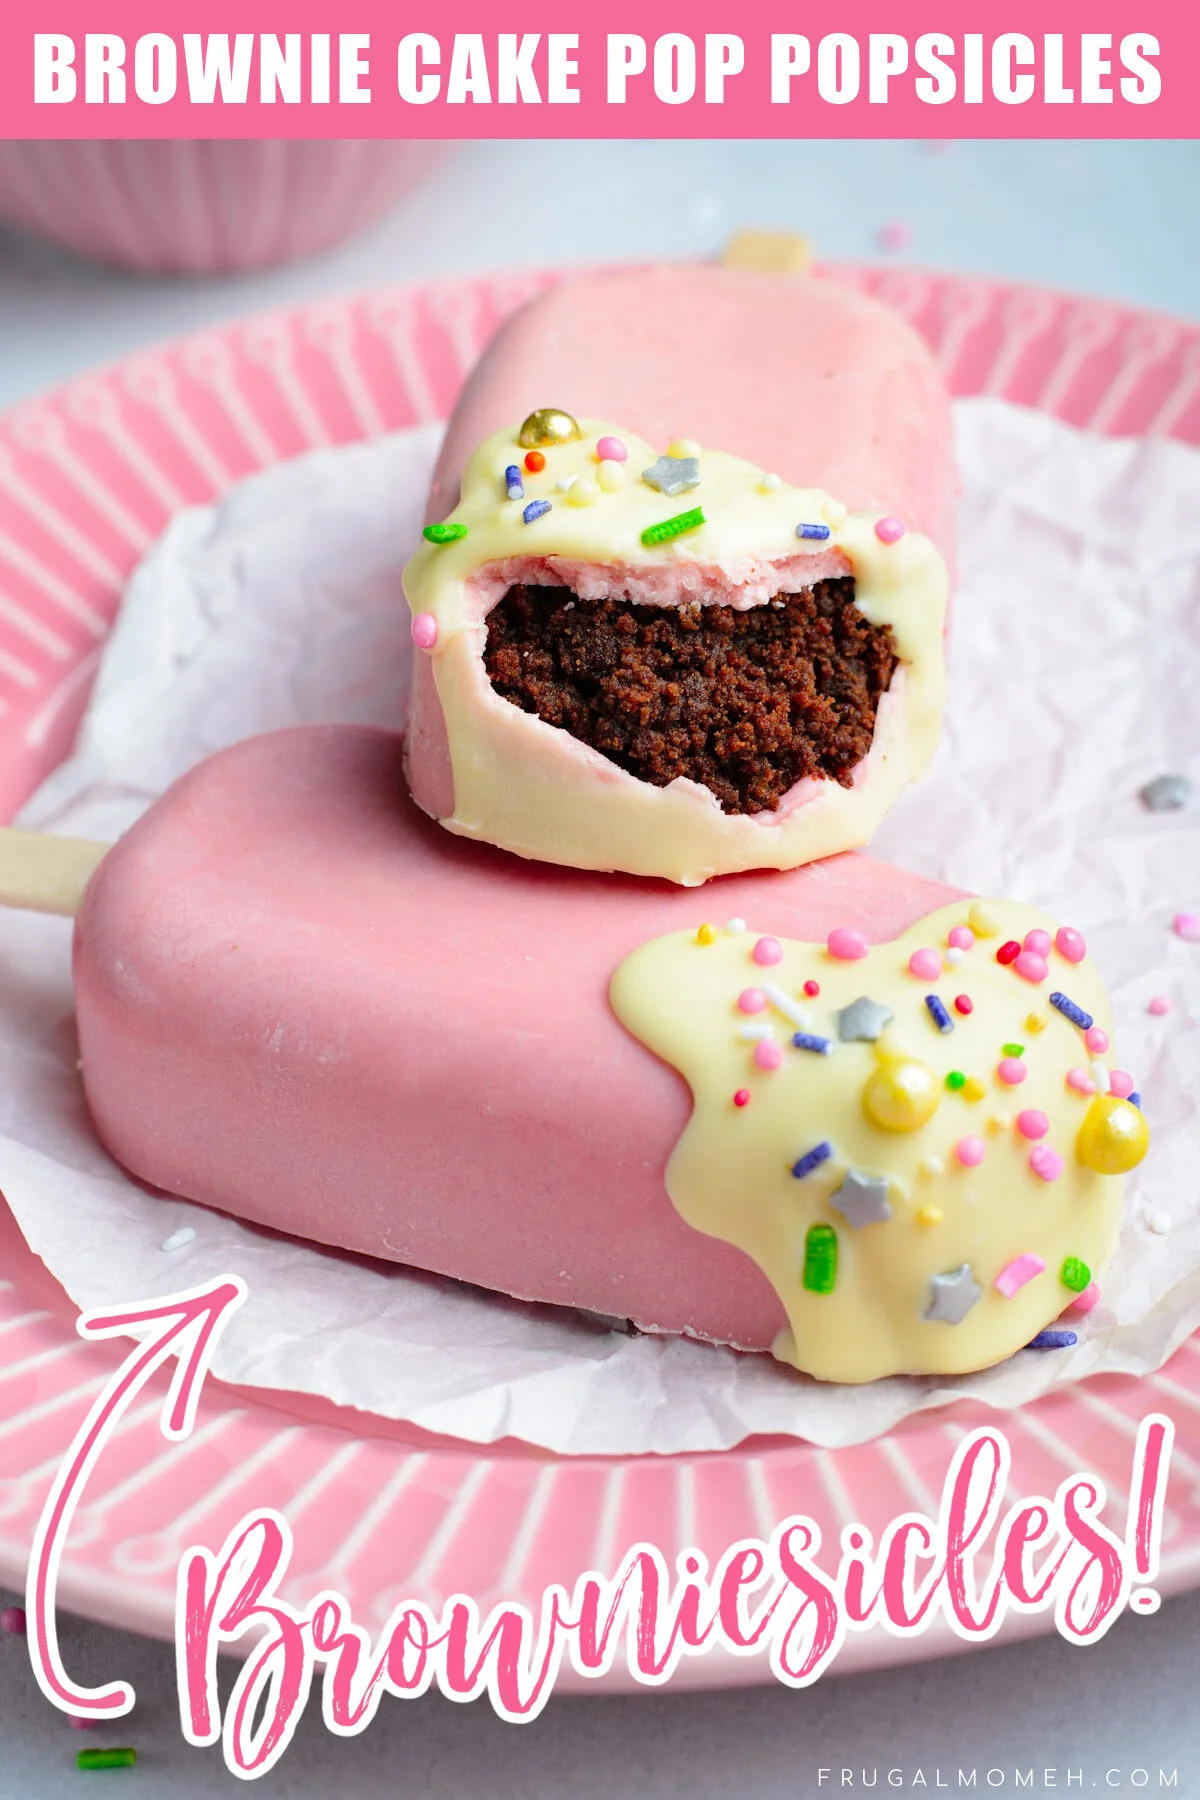
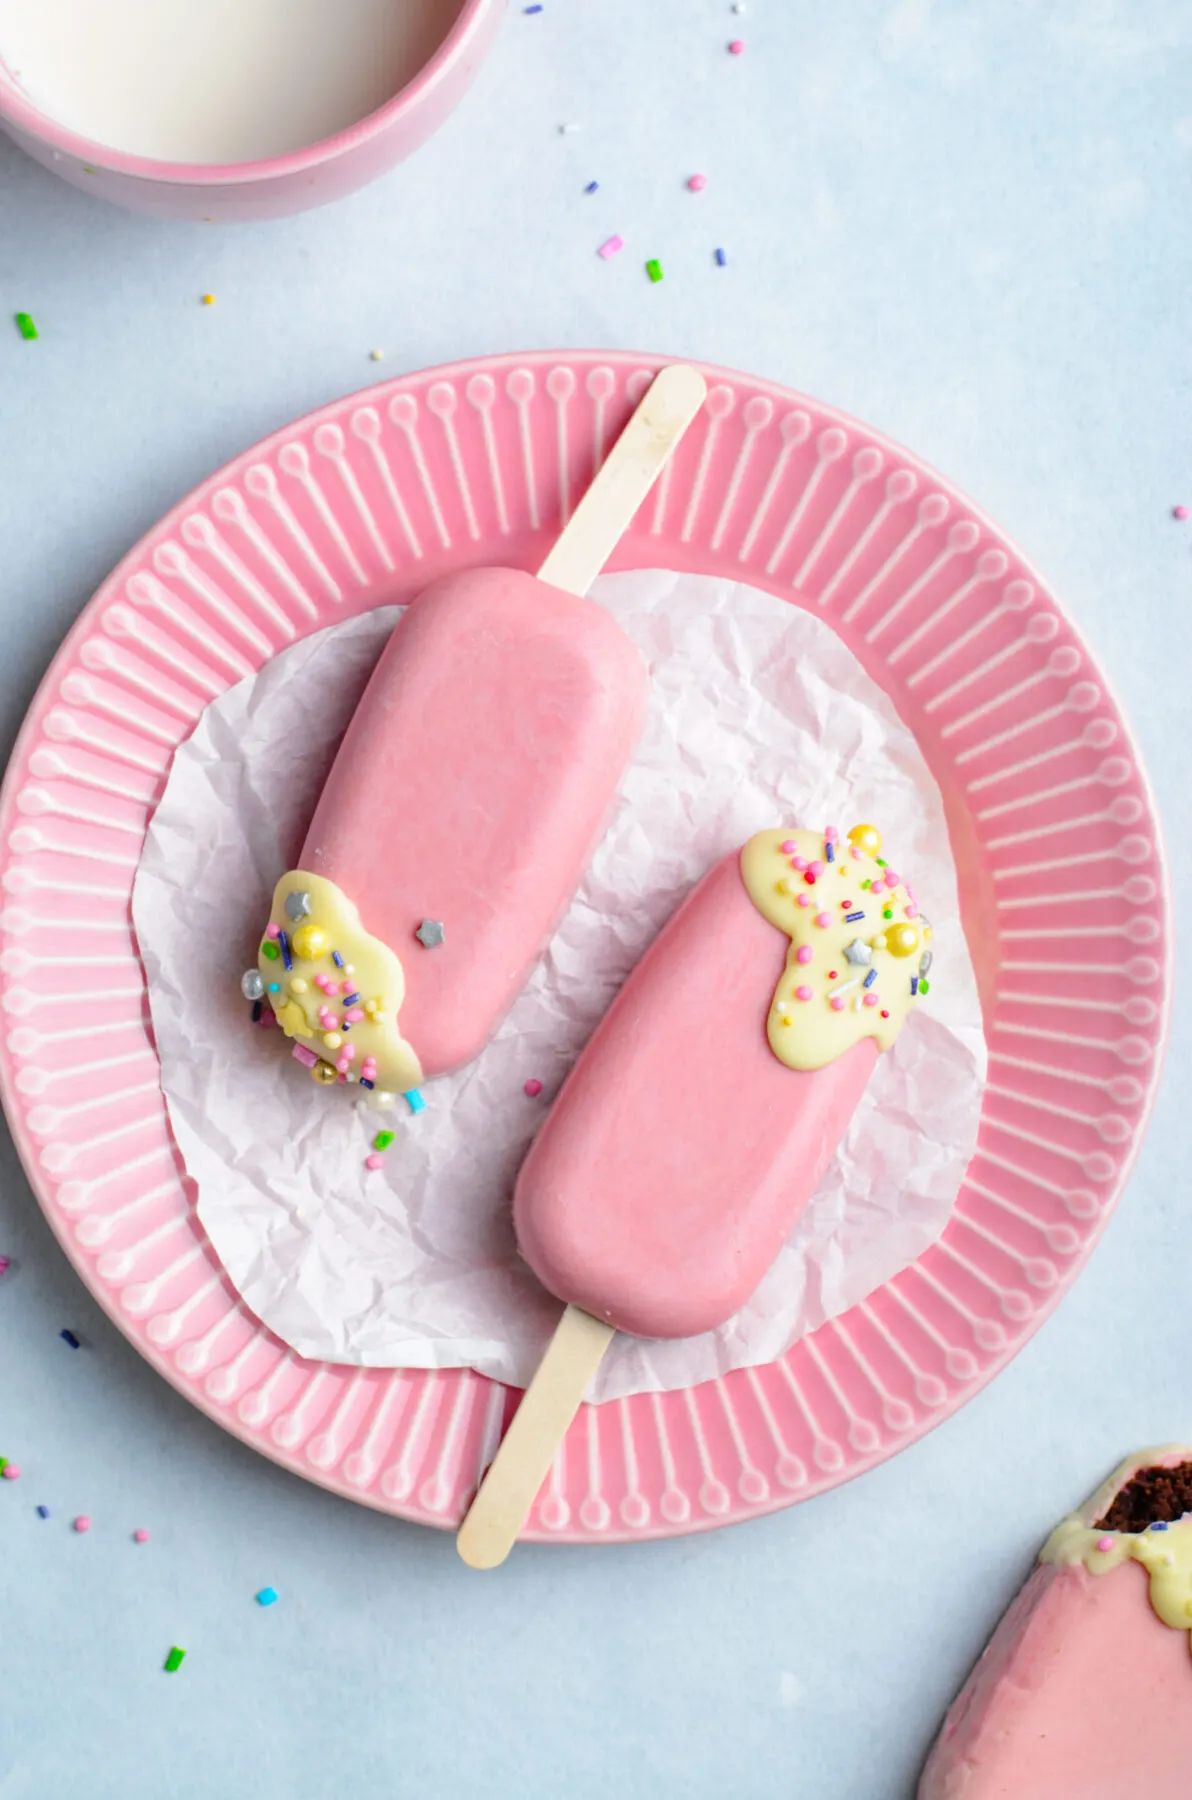
What is a Cakesicle? (Browniesicle)
We have all heard of cake pops, cakesicles are just cake pops in the form of a popsicle. If you’ve ever struggled to get them to stay on the stick or get them dipped, you will love how easy cakesicles are to make.
Unlike cake pops which are made by dipping the cake and frosting filling into chocolate, a cakesicle is made by coating a popsicle mould in chocolate, then filling the hardened shell with the cake and frosting mixture.
They out super cute too, don’t you think?
This version uses a homemade brownie recipe for the “cake” combined with chocolate frosting to make Browniesicles.
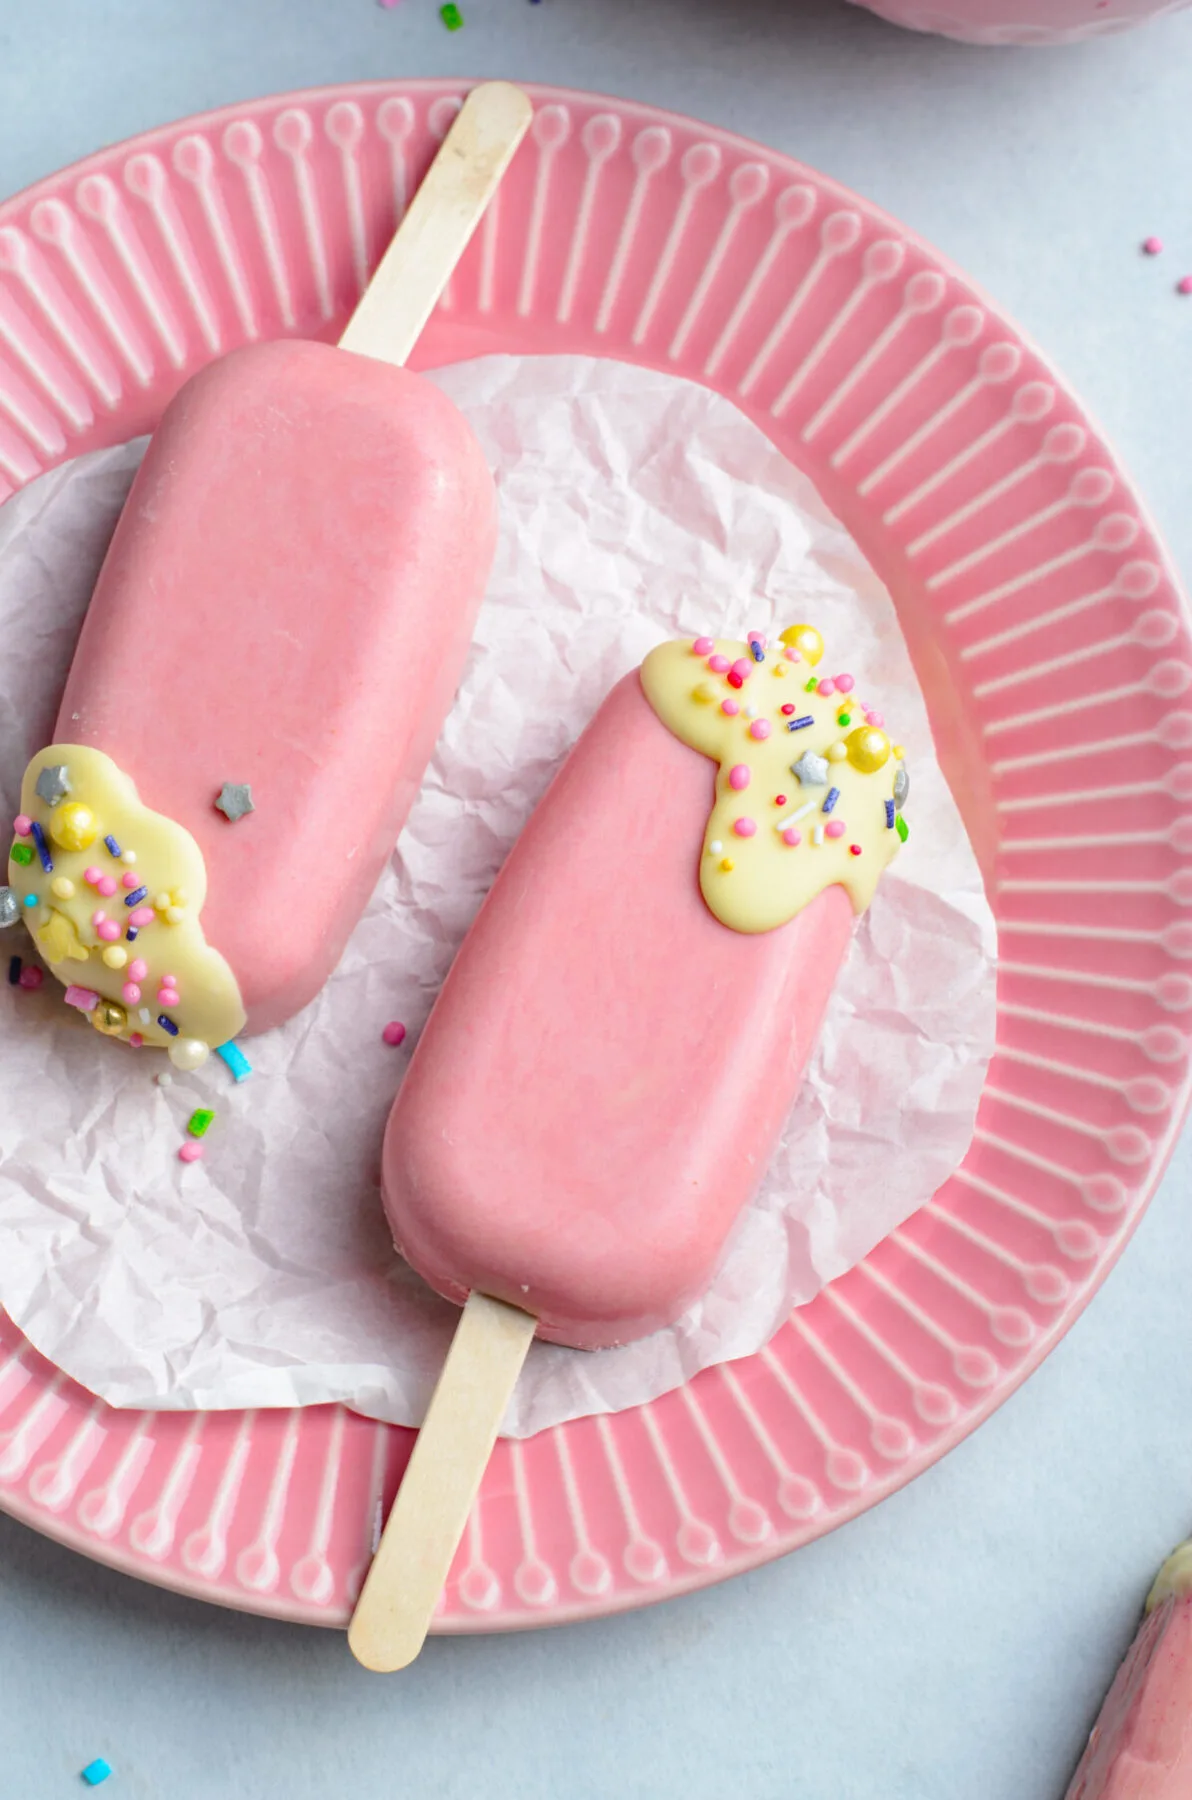
Can I use other Moulds to make Cakesicles?
I think these are super cute decorated like this, but you can use any silicone popsicle mould which really opens up the potential for creativity! Check out these:
- Fruit Moulds
- Foot Moulds (Perfect for a baby shower!)
- Heart Moulds (Think Valentines day!)
- Snowman Moulds (Christmas!)
- Bunny Moulds (So cute for Easter!)
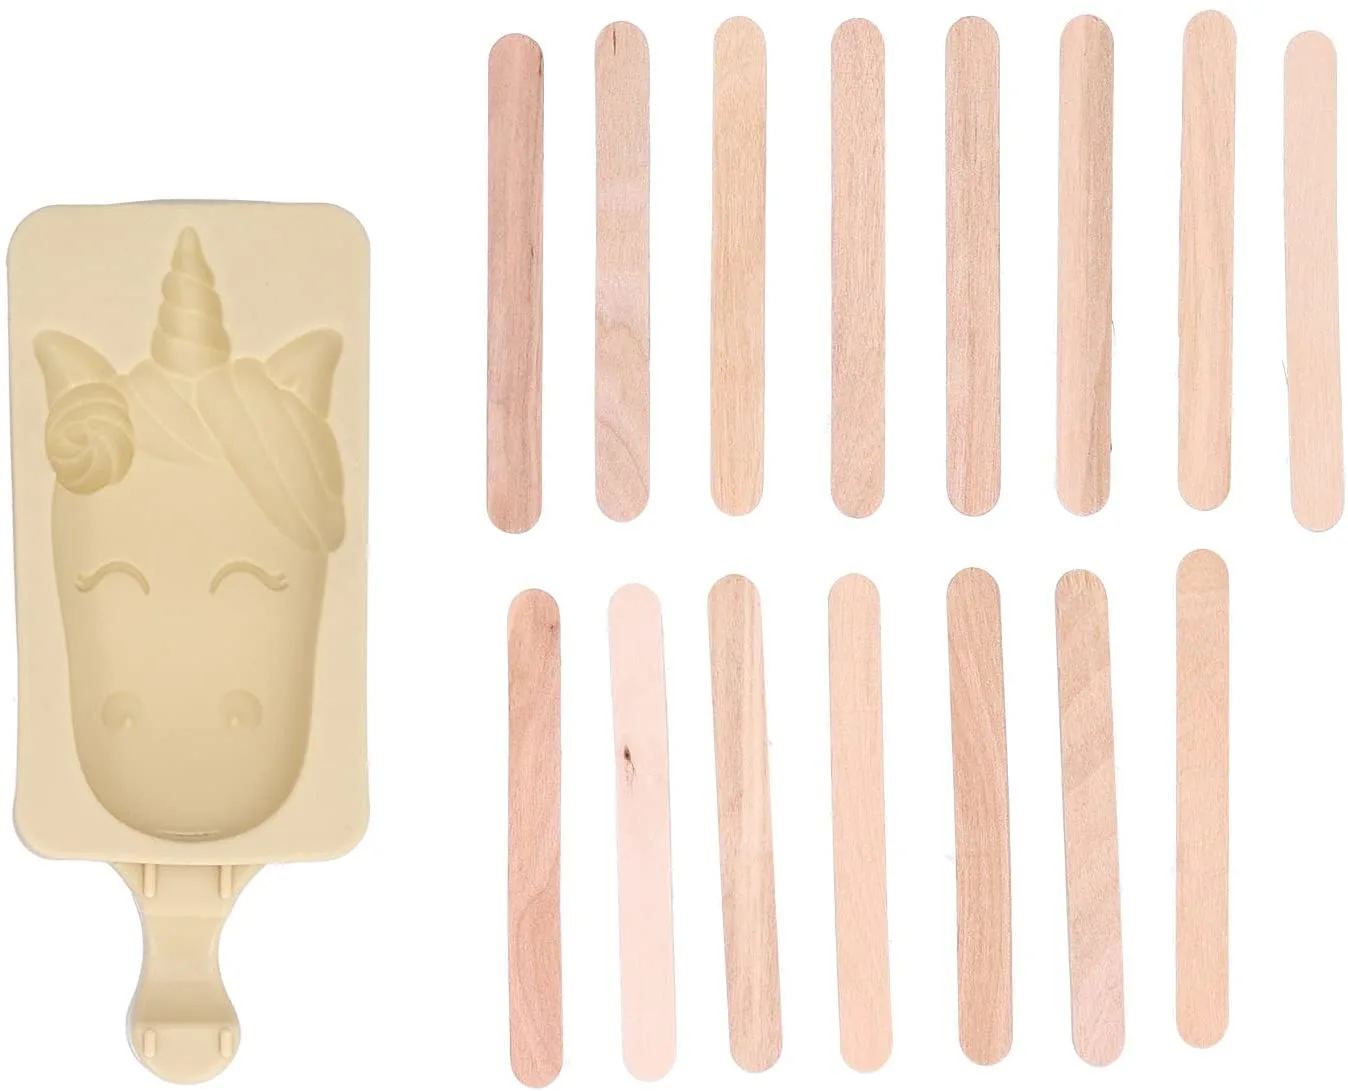
- Unicorn Moulds
Special Tools Needed to Make Cakesicles
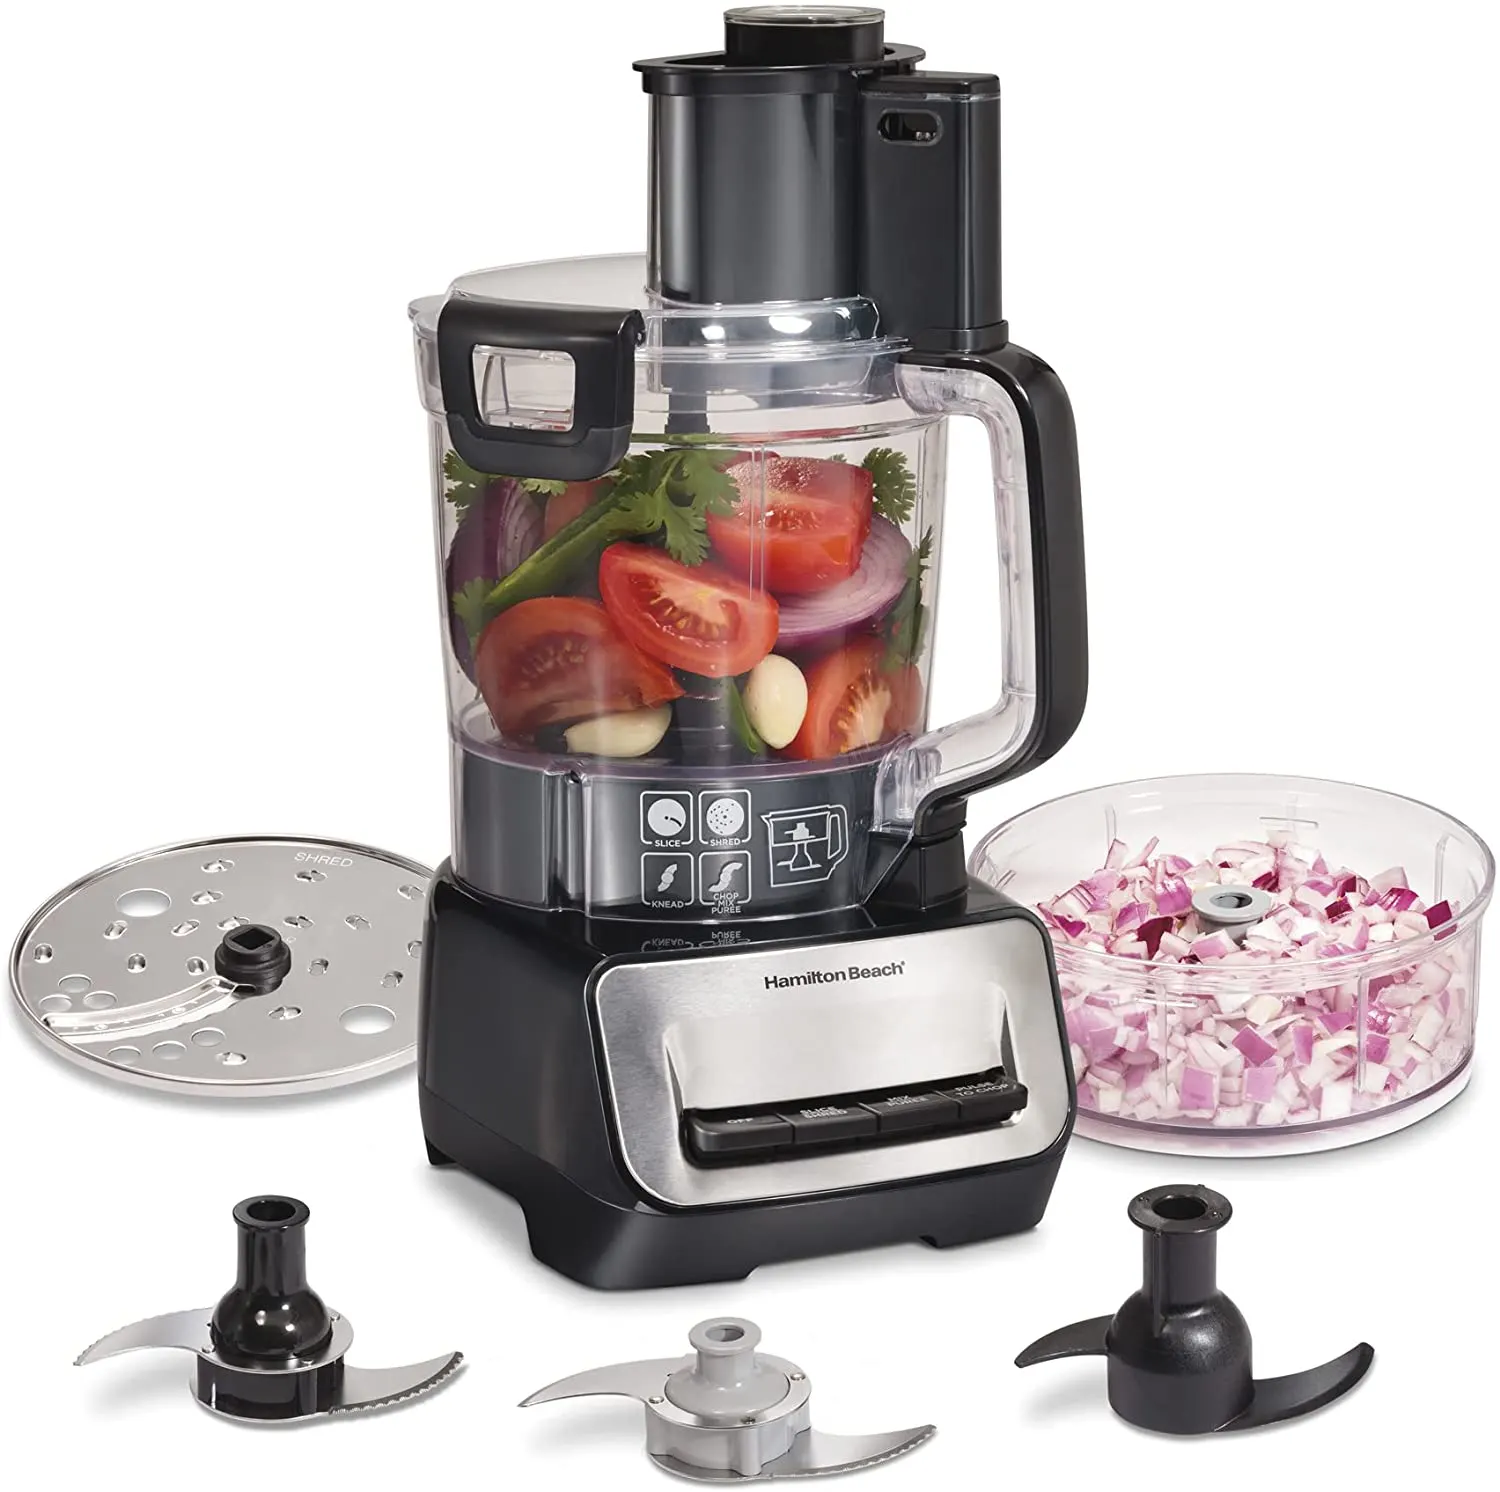
Food Processor – Using a food processor to crumble the brownie is so much faster than doing it by hand, but this is optional of course if speed is not a concern.
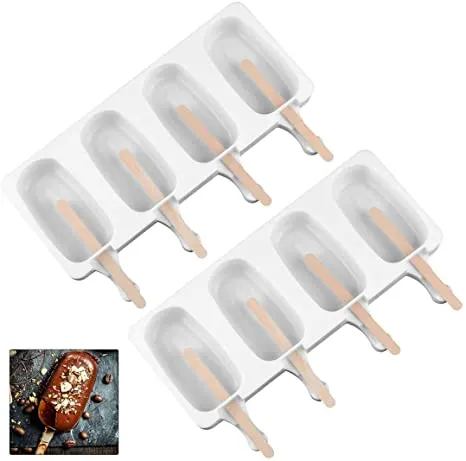
Silicone cakesicle mould – You will need a silicone popsicle mould in order to get these cake pops in the right shape.
Food grade Wooden sticks – You can’t have a cakesicle if its not on a stick. Make sure they are food grade!
How to Store Brownie Cake Pop Popsicles
You can make the brownie a day ahead of time, cover and keep at room temperature until ready to make the brownie pops.
You can also freeze the finished brownie cake pops for up to 6 weeks once the coating has fully set. Thaw overnight in the refrigerator when ready to serve.
You can also store at room temperature in an airtight container for up to 2 days.
About the Ingredients for Brownie Cake Pops
Sugar – Just use plain old granulated sugar.
Butter – It is best to use unsalted butter, but if you only have salted on hand, simply omit the additional salt.
Eggs – Make sure your eggs are at room temperature before starting.
Chocolate Chips – I used semi sweet chocolate chips, but you could use dark chocolate chips instead. Avoid milk chocolate as that will make the pops overly sweet.
Cocoa Powder – Make sure you are using unsweetened cocoa powder and not hot chocolate mix. It’s not the same thing.
Salt – Helps to balance all the flavours and make them shine.
Melting Chocolate – You will want pink melting chocolate either by using pink candy melts or by adding a little pink gel food colouring into white melting chocolate. You also need additional white melting chocolate for decorating.
Frosting – Chocolate frosting. You can use your own recipe for buttercream frosting or use store bought. Make sure you add the frosting slowly so that you get the right texture.
Sprinkles – Colourful sprinkles for decorating.
Looking for more Cute Dessert Ideas?
Ice Cream Sundae Cupcakes! Pretty cupcakes featuring a dense funfetti cupcake and rich vanilla buttercream, decorated to look like an ice cream sundae!
These Lemon Beehive Cupcakes are as delicious as they are stunning. A perfect additon to any party – they make a yummy treat for baby showers, themed birthdays, picnics and more!
Soft and sweet, these Gooey Cake Batter Bars are super easy to throw together – just cake mix and a few other simple ingredients.
How to Make Brownie Cakesicles
Yields: 8 Cakesicles | Prep Time: 35 mins | Cook Time: 40 mins | Total Time: 1 hour 15 mins
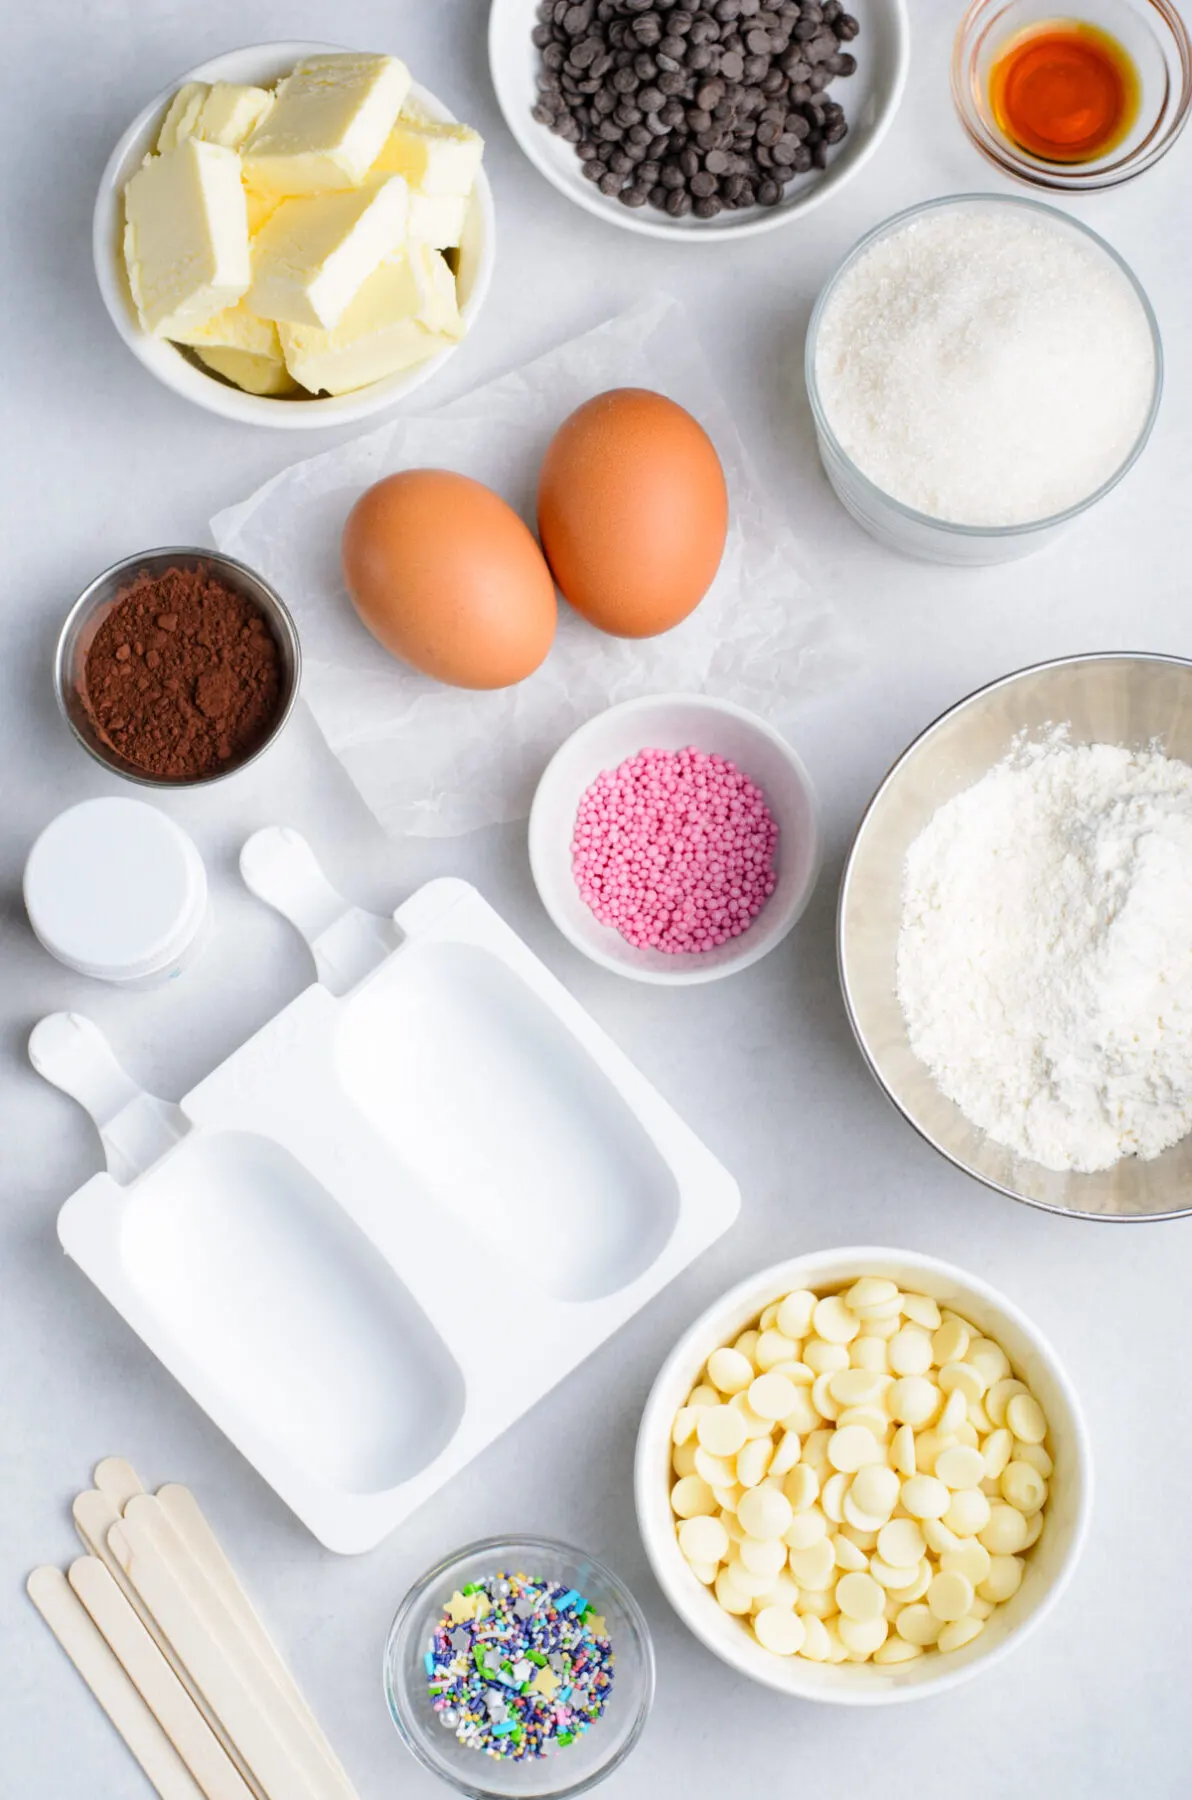
Ingredients:
2/3 cup All-purpose flour
1 cup sugar
1/2 cup + 2 tablespoons unsalted butter, room temperature
2 eggs, room temperature
7 oz semi-sweet chocolate chips
1 tablespoon unsweetened cocoa powder
1/2 teaspoon salt
2 cups white melting chocolate or pink candy melts
1/2 cup white melting chocolate for decorating
1/4 cup chocolate frosting
pink gel food coloring (if using white chocolate)
sprinkles
Special Tools:
silicone cakesicle mold and wooden sticks
Directions:
1. Preheat the oven to 350ºF. Line a 9×9-inch pan with parchment paper, then grease the parchment paper with cooking spray.
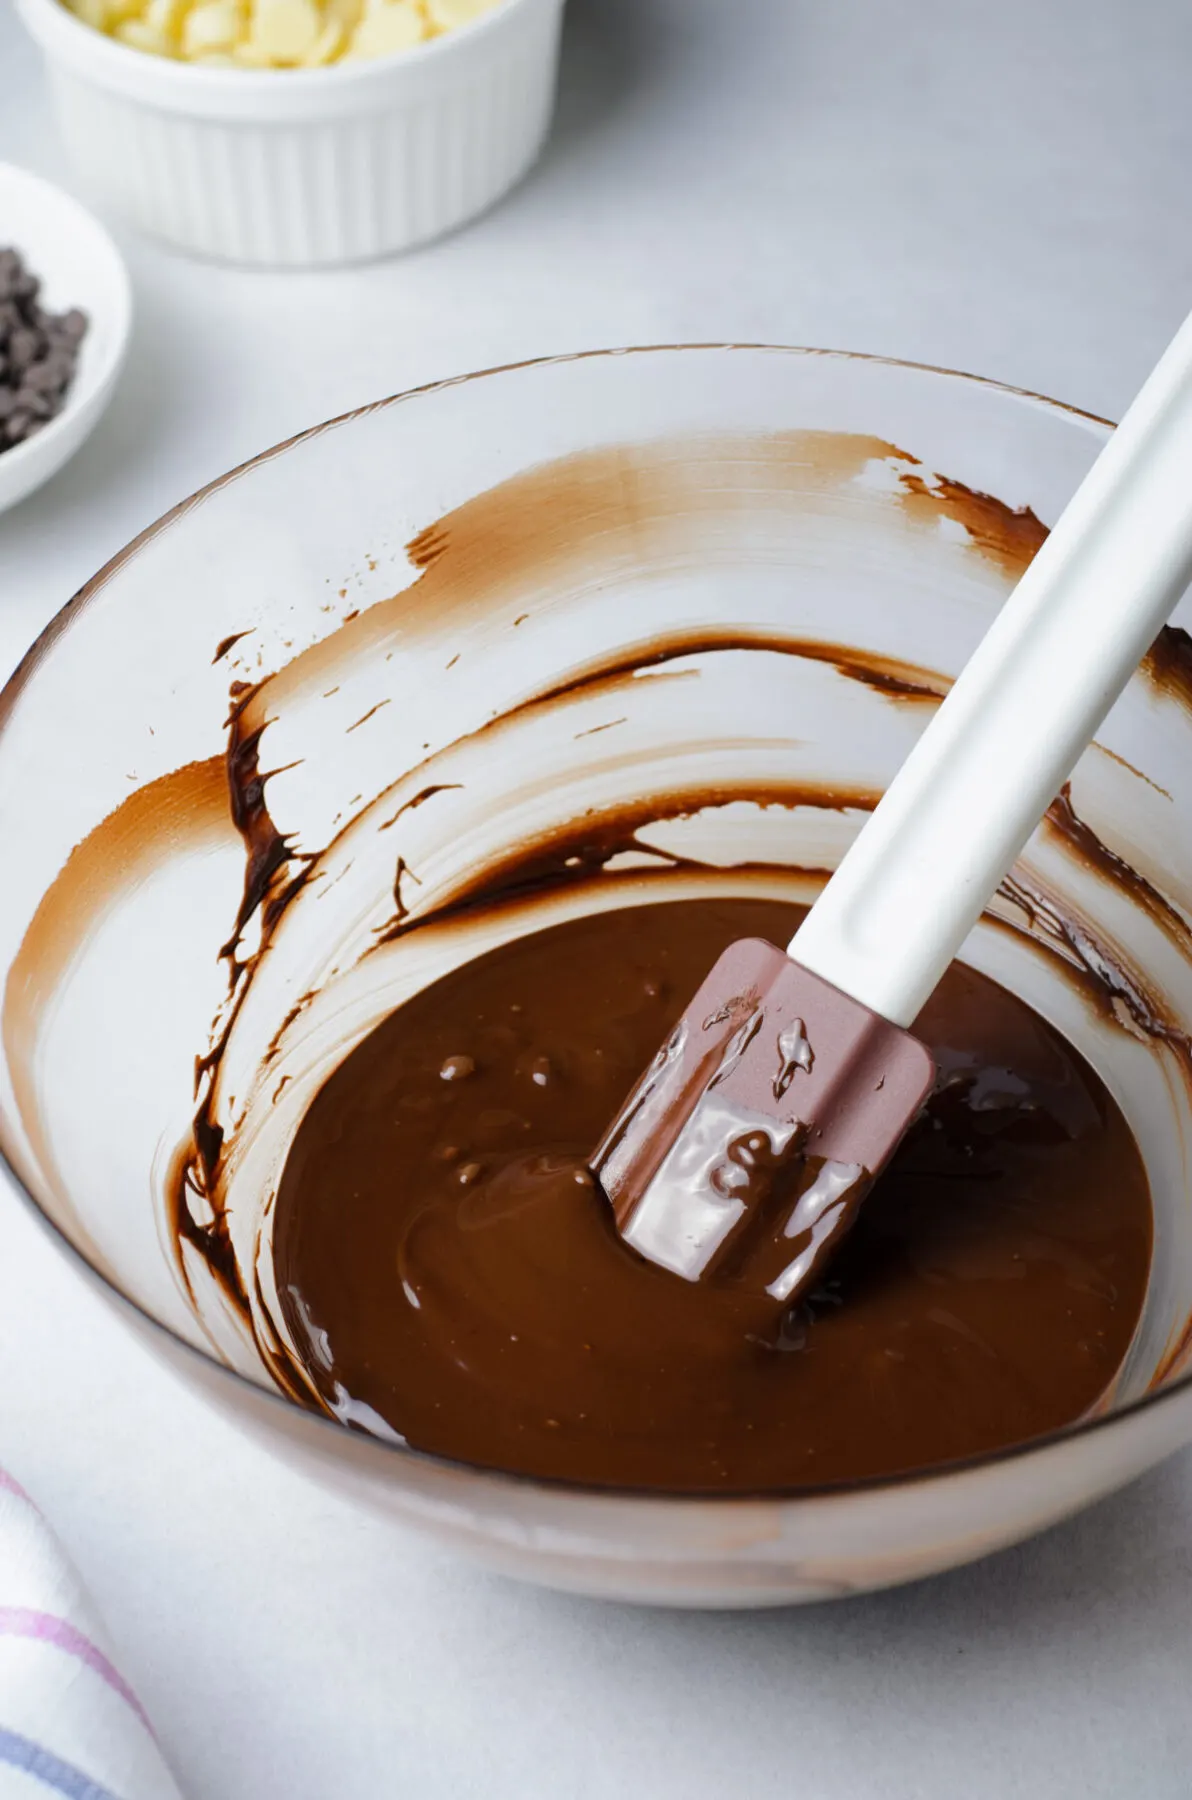
2. Place the semi-sweet chocolate chips in a microwave-safe bowl. Microwave for 30 seconds. Stir well and continue to microwave in 15-second intervals until the chocolate is completely melted.
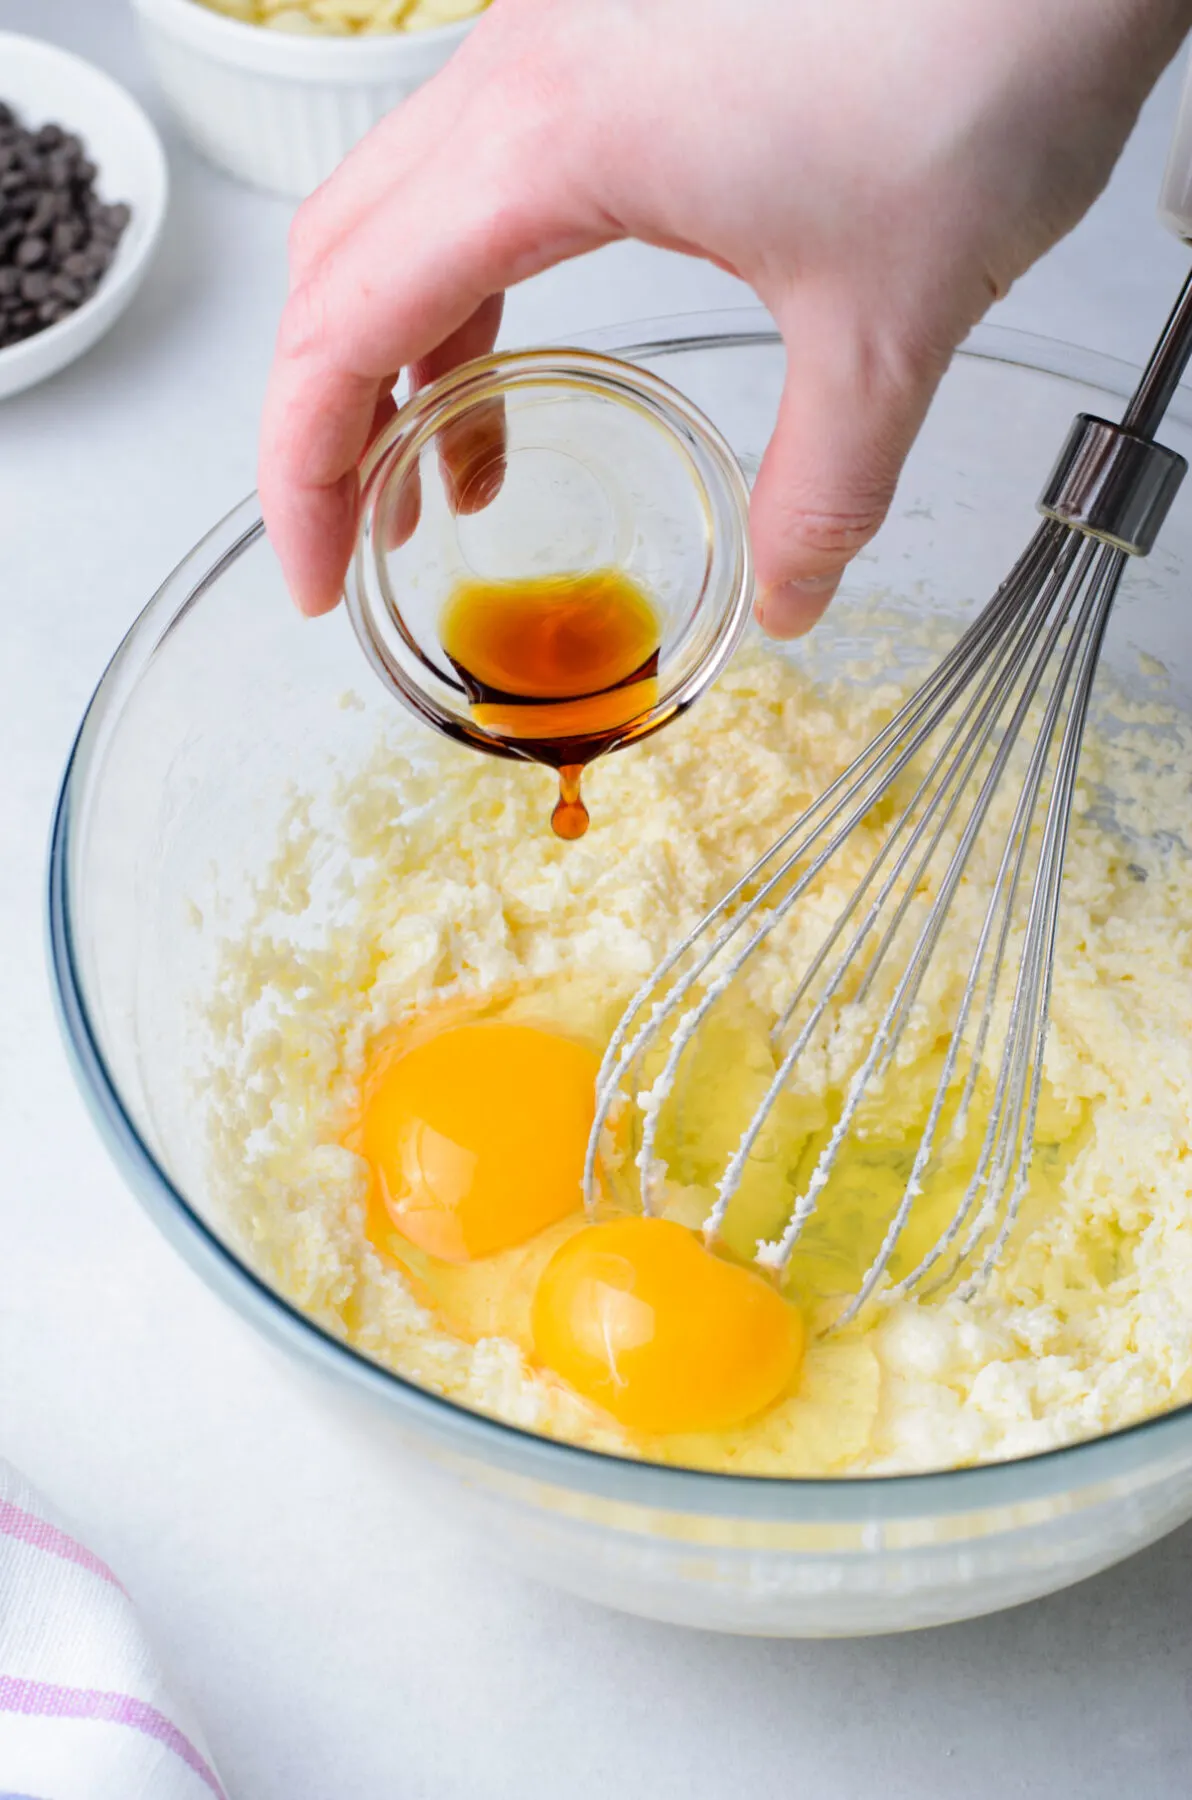
3. In a large bowl, beat butter and sugar until light and fluffy. Add in eggs and vanilla. Mix for about 2-3 minutes.
4. Add the melted chocolate.
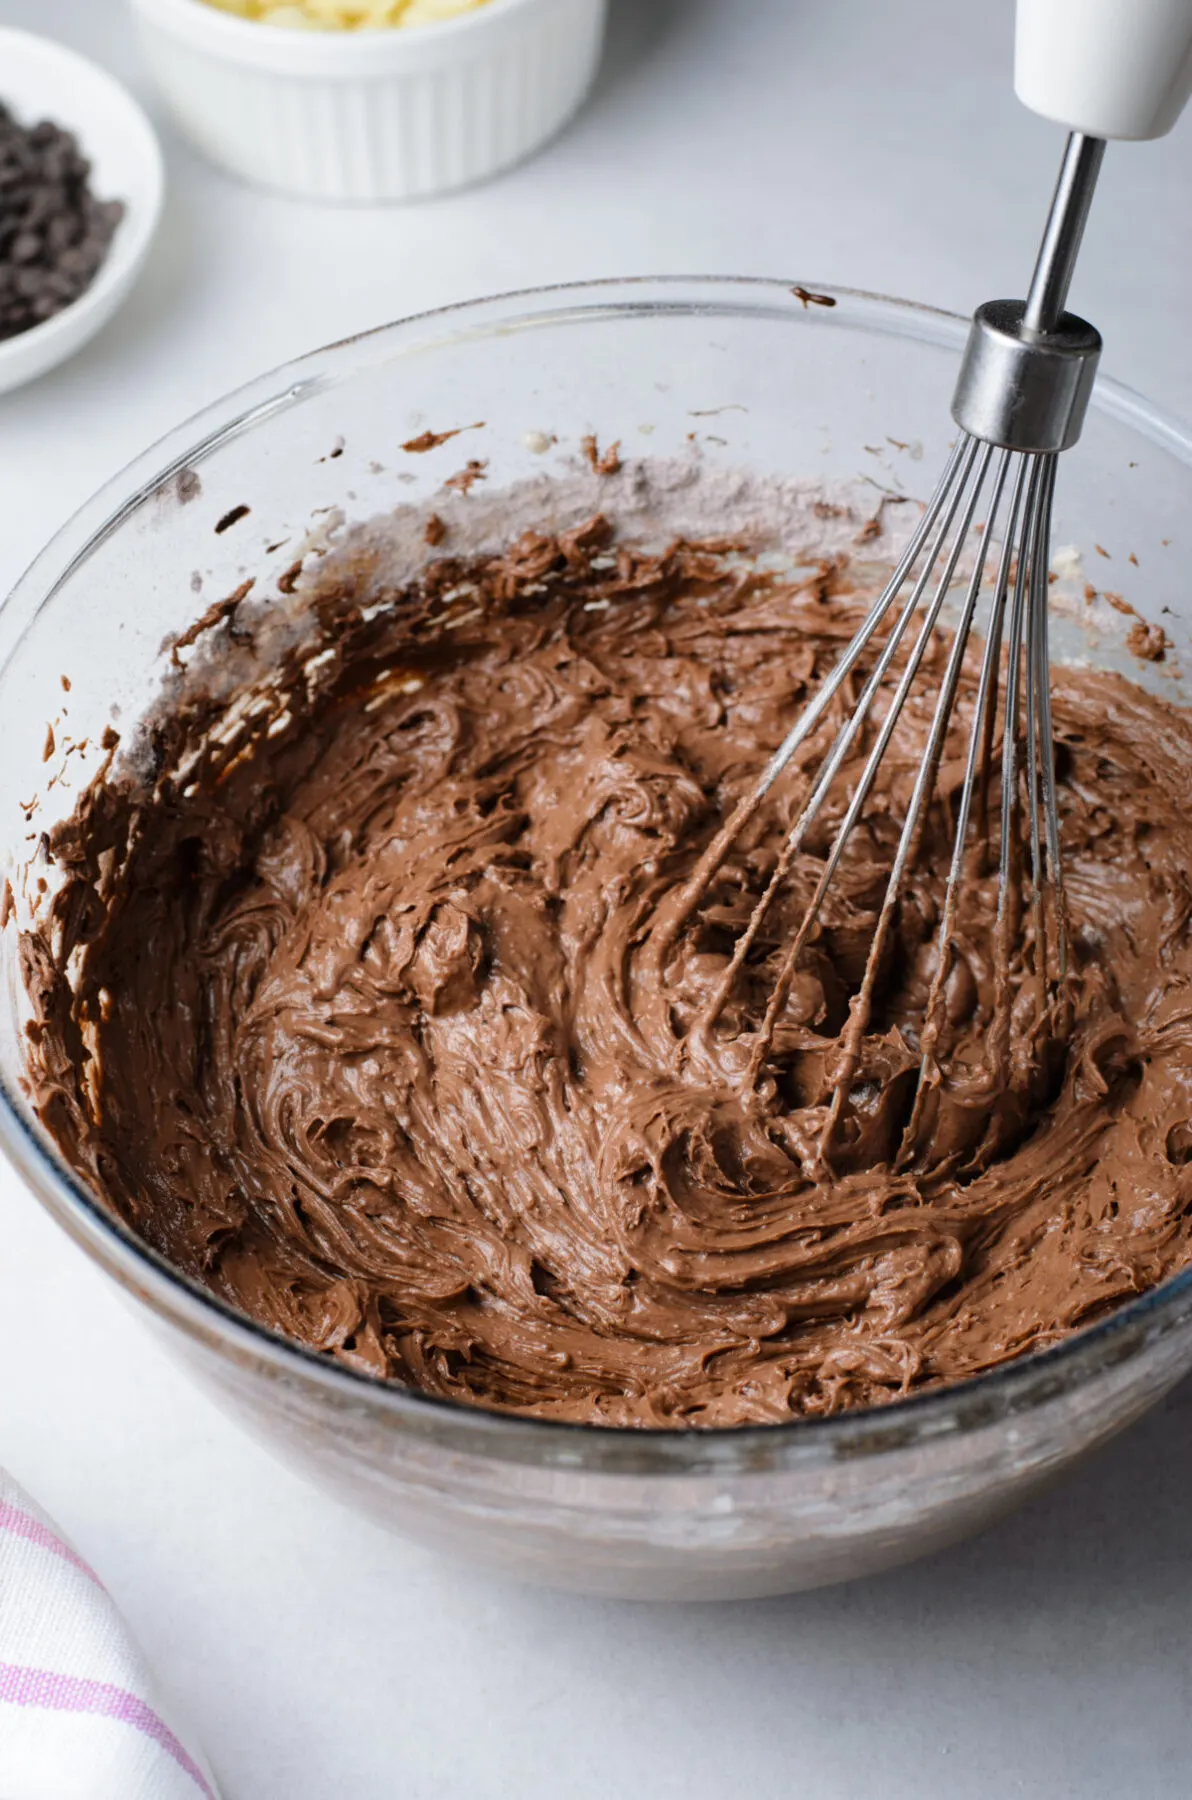
5. Add flour, salt, and cocoa powder. Mix until just combined.
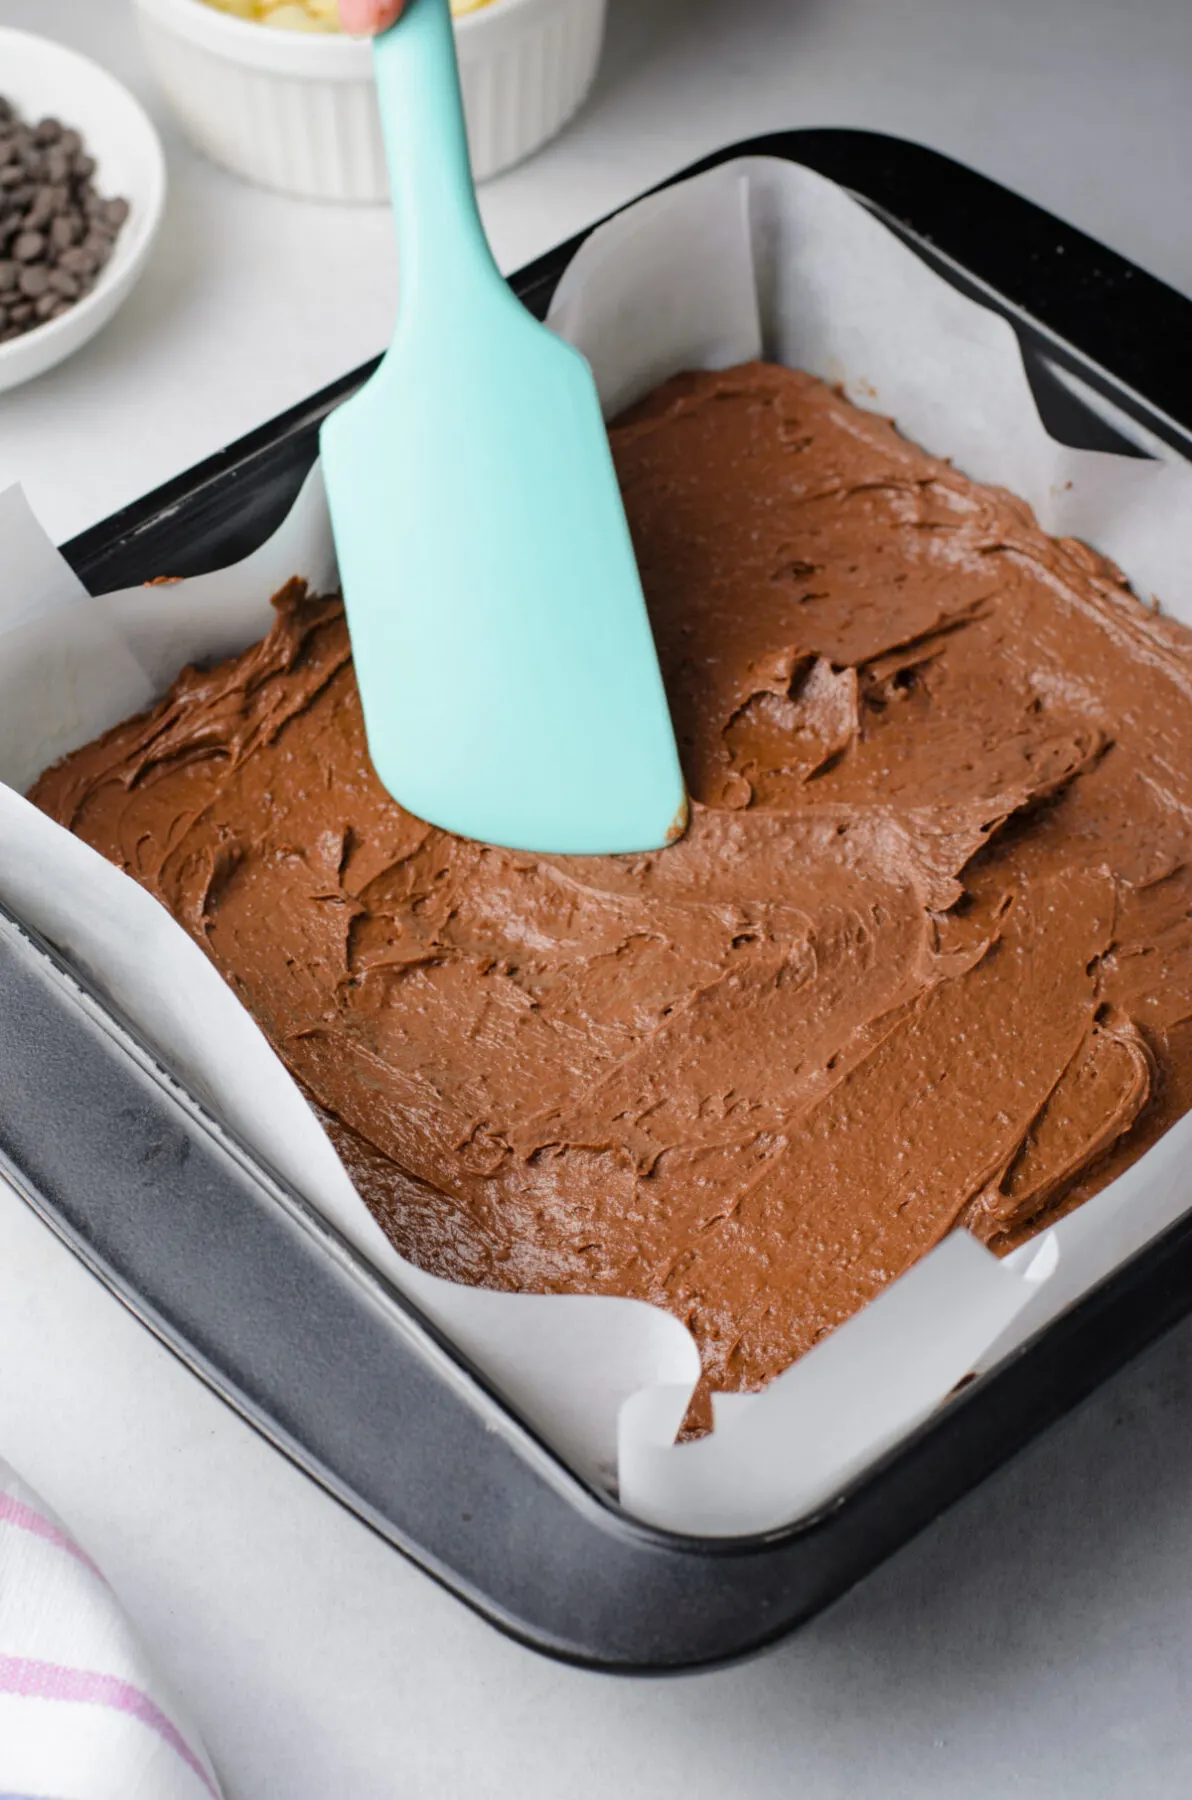
6. Pour batter into prepared pan. Bake for 35-40 minutes. Allow to cool on a wire rack.
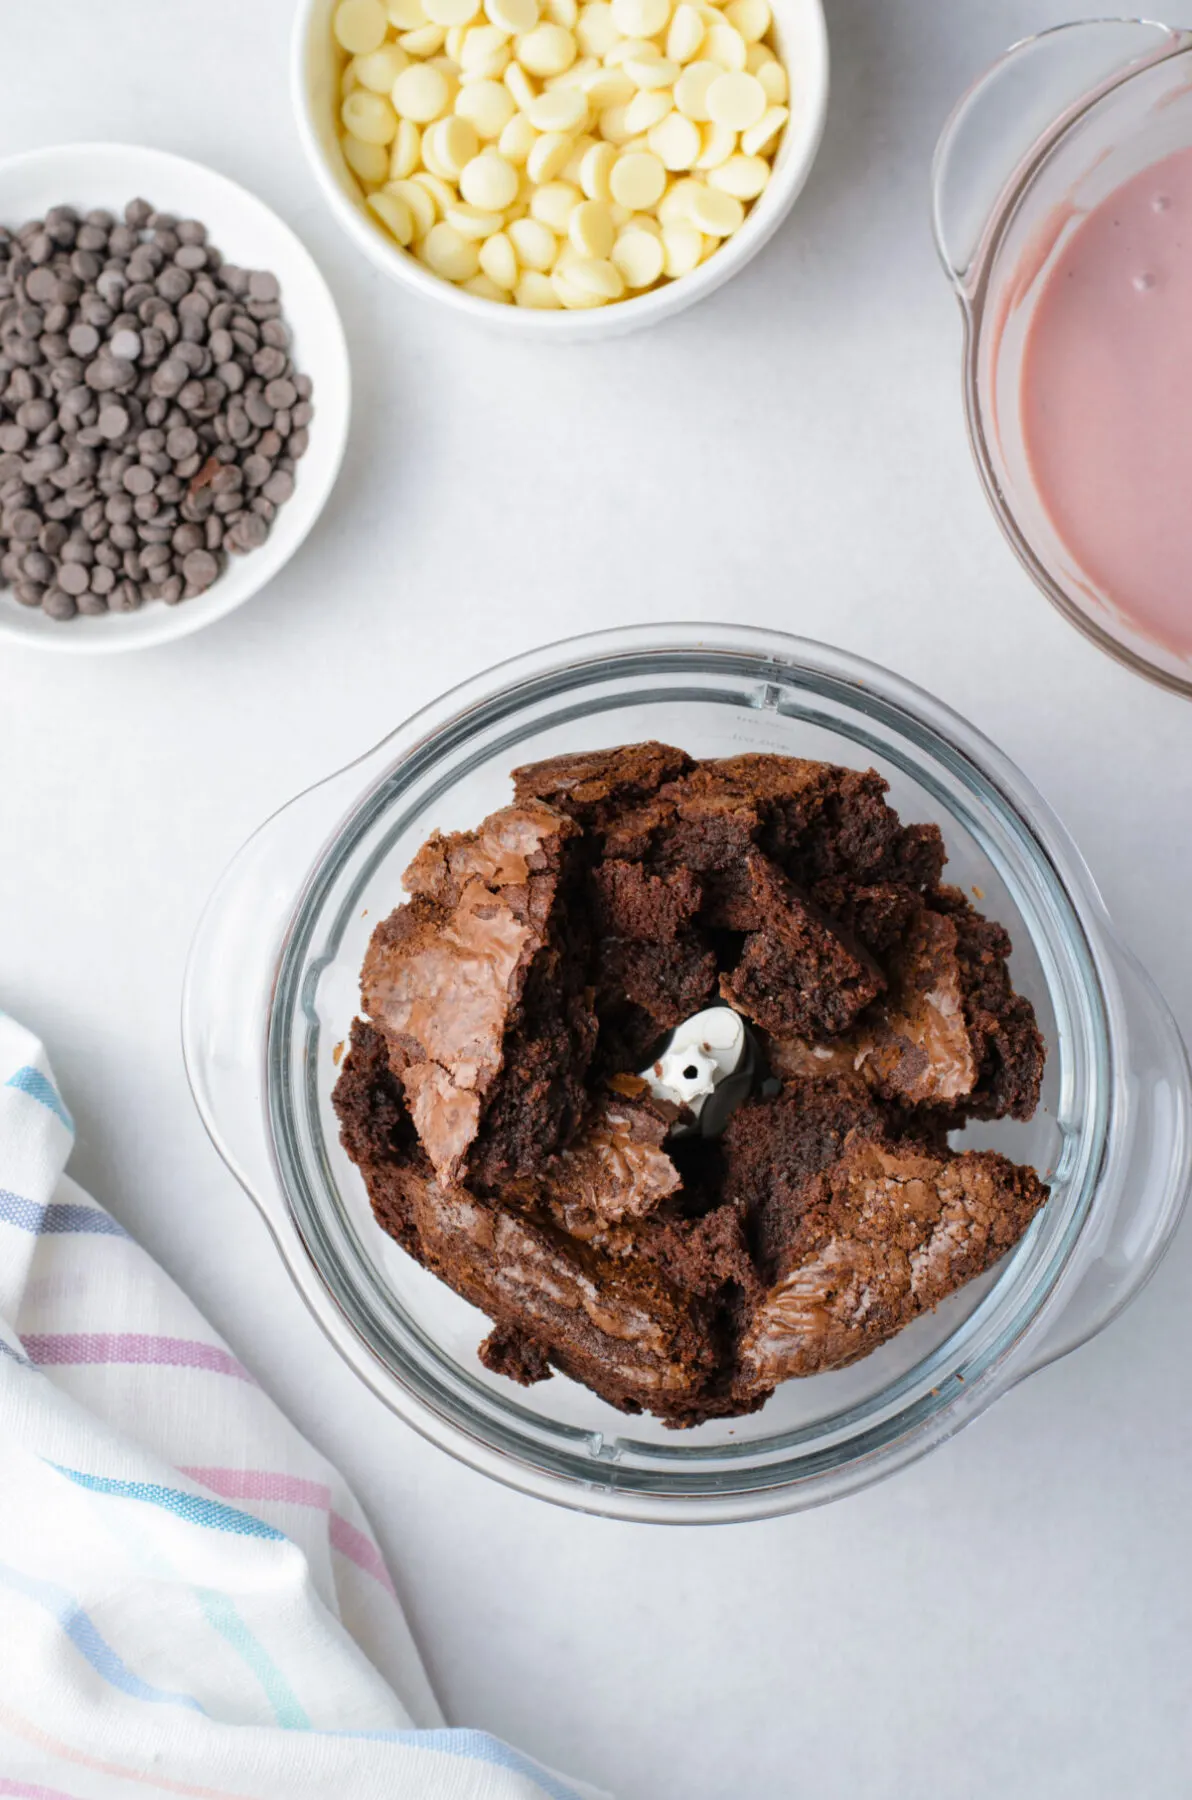
7. Use a food processor to turn the brownie into a breadcrumb consistency. You can also crumble by hand.
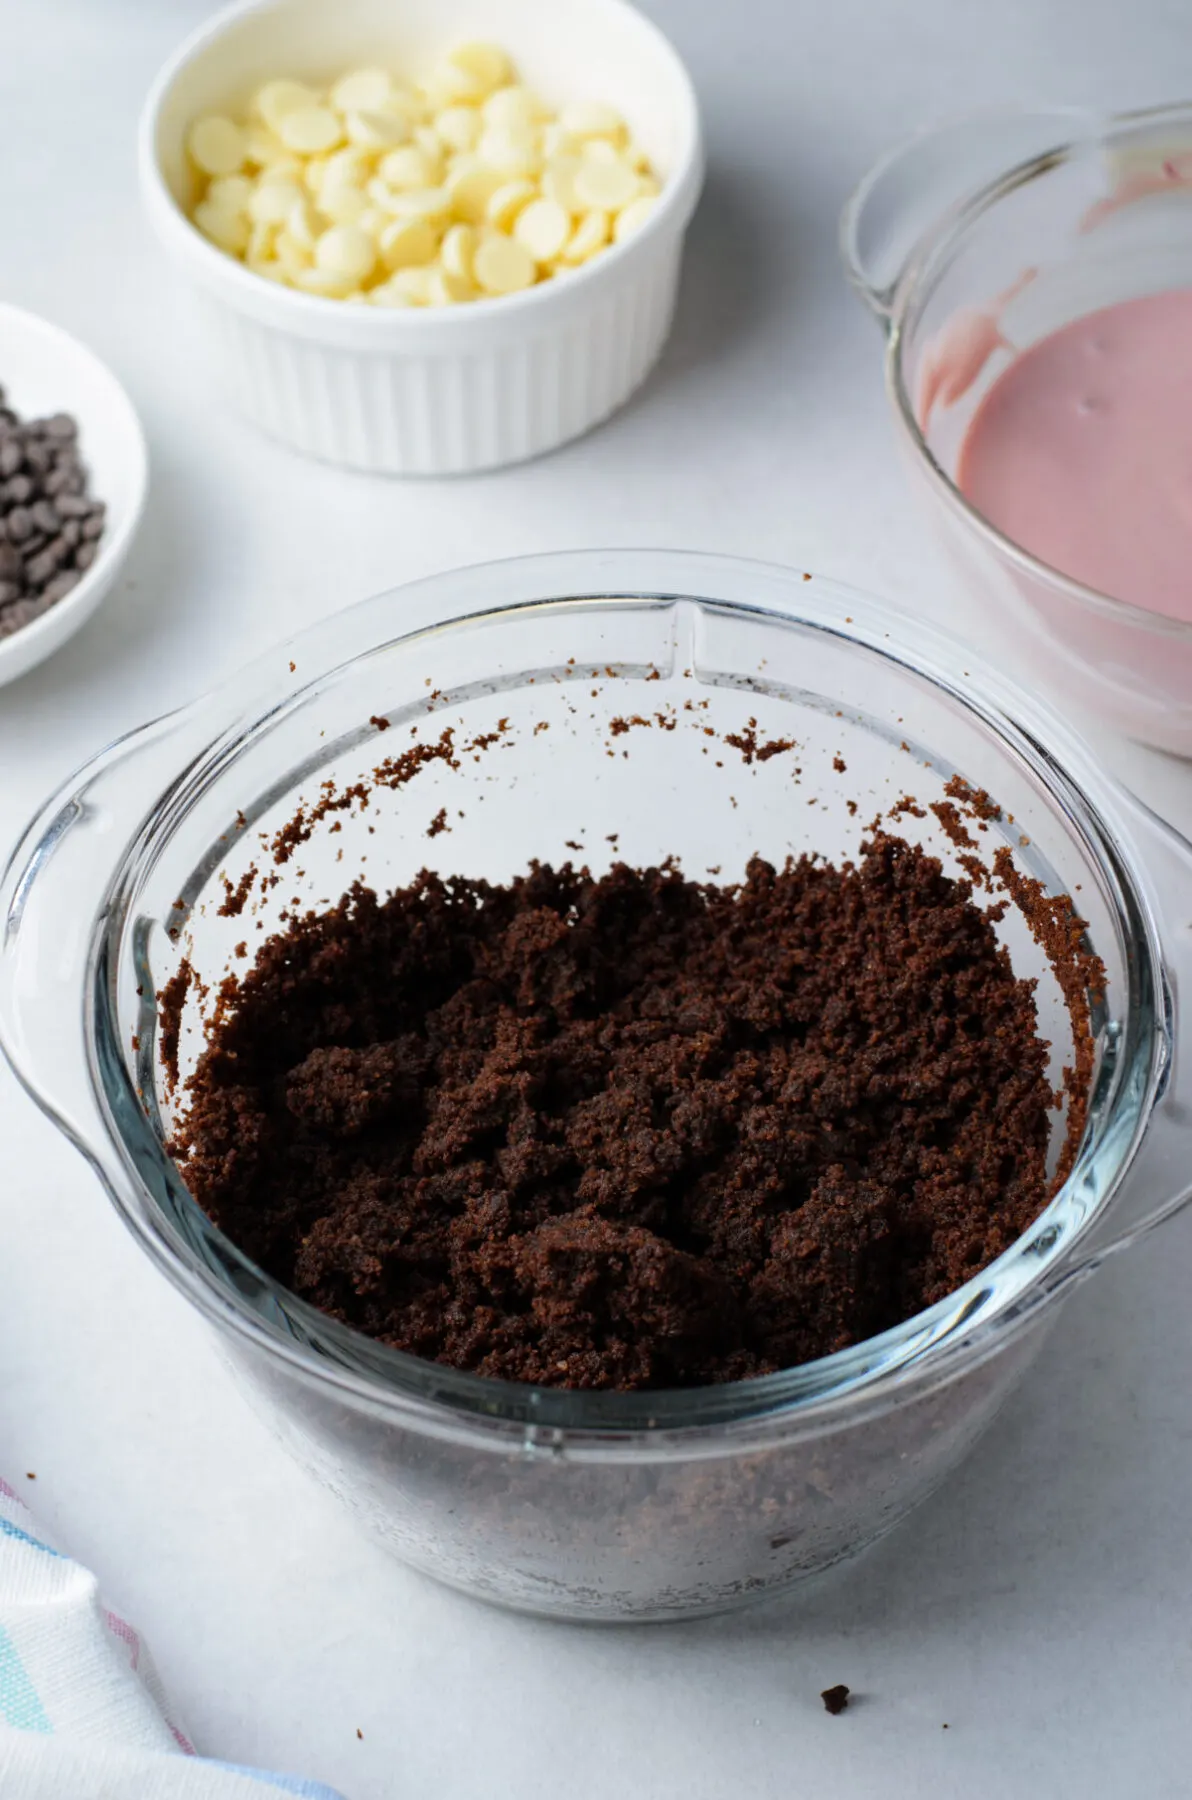
8. Add the chocolate frosting to the crumbs. Stir well. If necessary, add additional frosting 1 tablespoon at a time and remix until desired constancy. The ideal filling will hold together when you pinch it, but not be gooey or sticky.
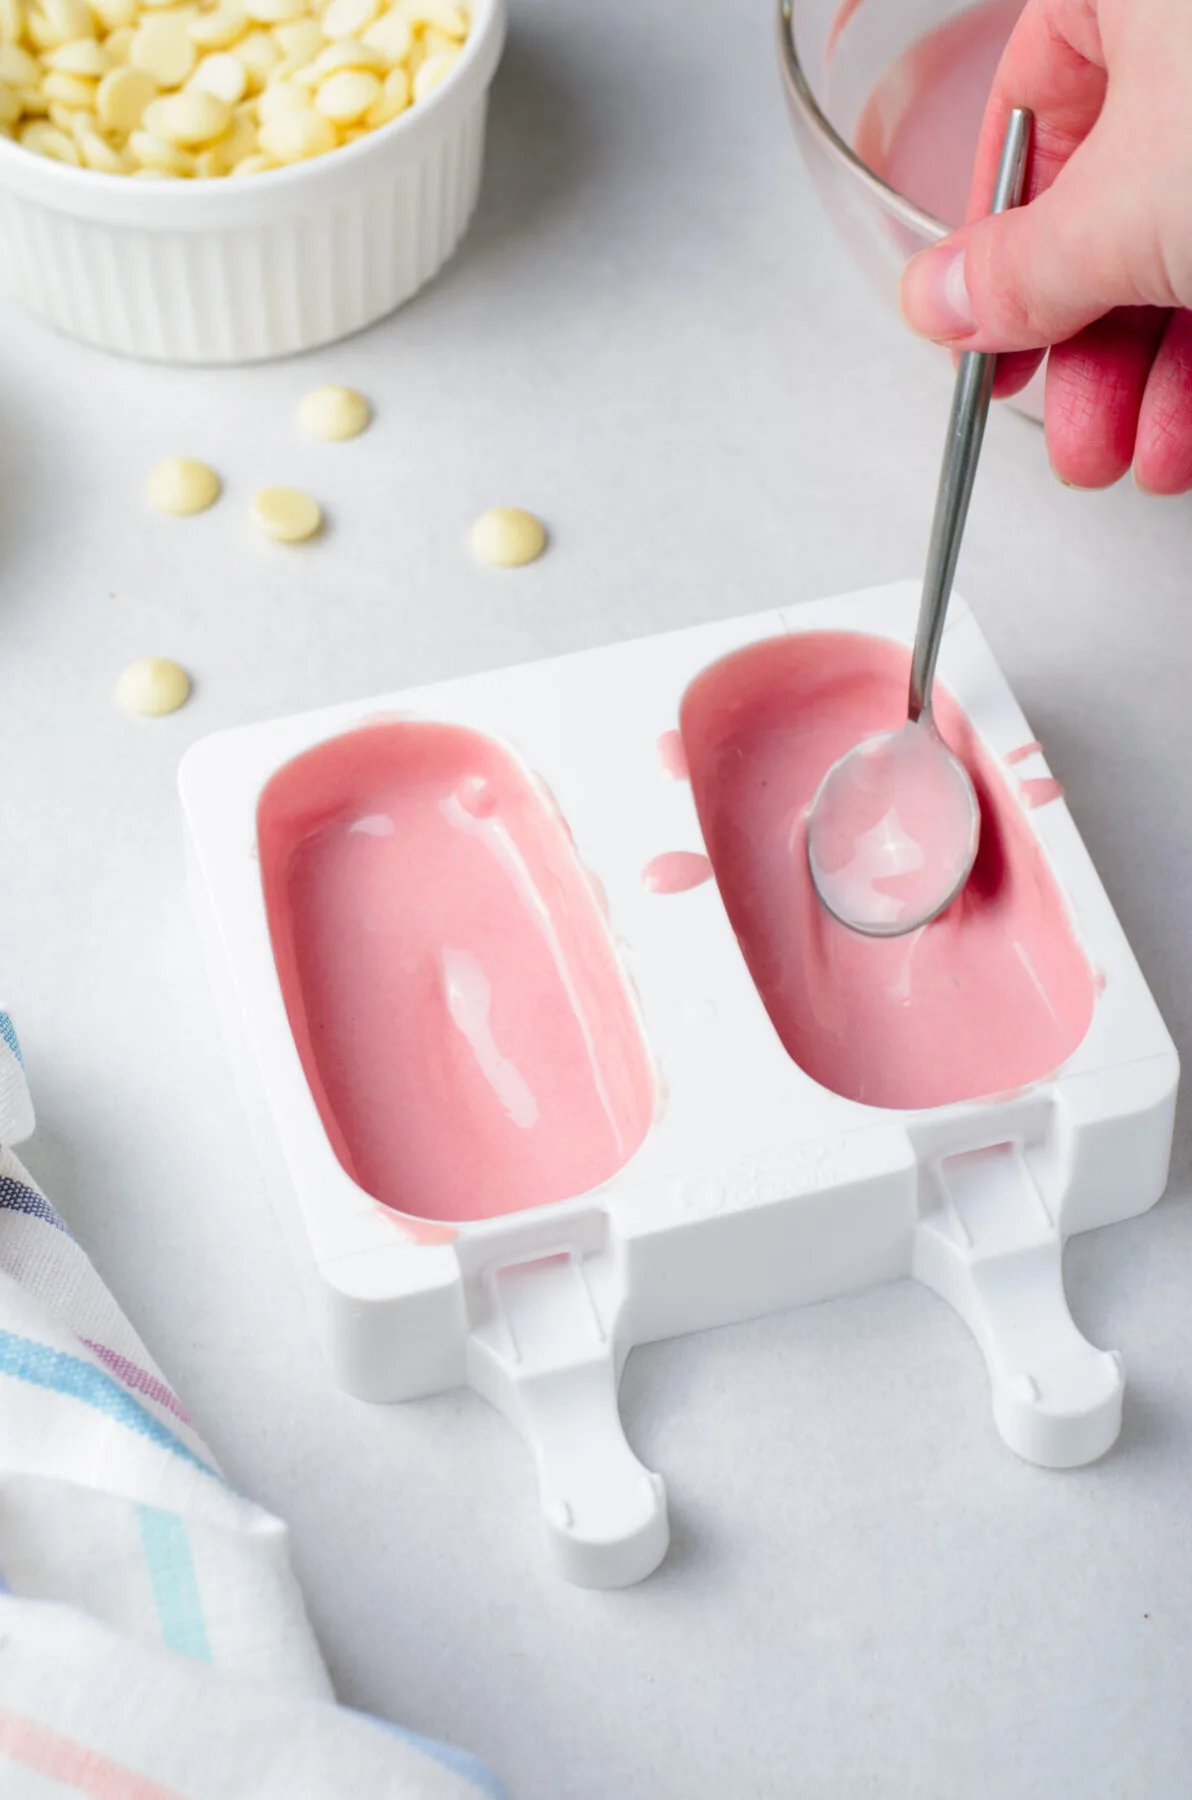
9. Melt 2 cups of white chocolate in the microwave, stirring at 30-second intervals until smooth. Mix with several drops of pink gel food colouring. And about a tablespoon of melted chocolate to the moulds. Using a spoon, spread the chocolate around the sides of the mould, making sure it is thick along the sides. If it’s too thin or doesn’t cover everywhere, the chocolate can crack when you remove the cakesicle.
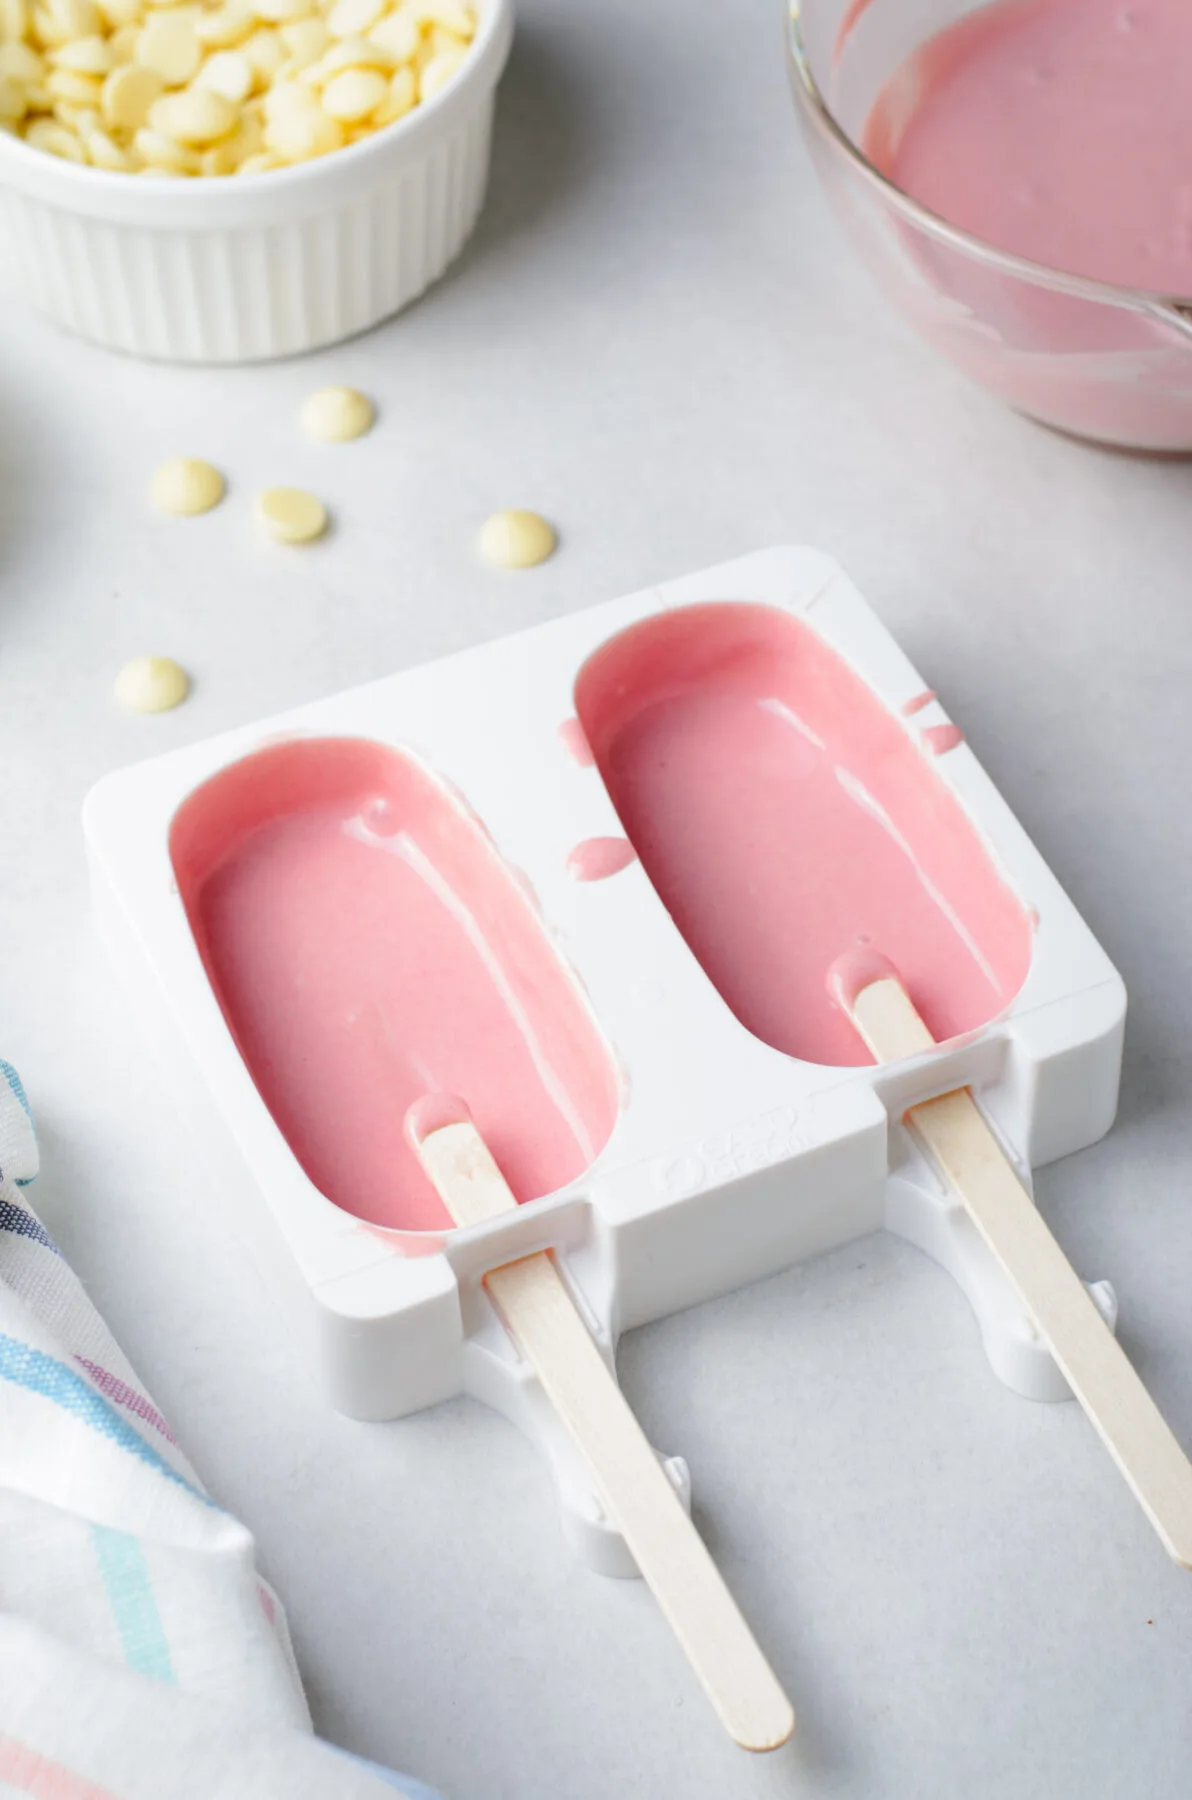
10. Add and remove the popsicle stick to the mould to clear out any chocolate. You can also keep the stick partly in the mould while the chocolate sets. Let the chocolate harden in the fridge for 5-10 minutes. You can add another teaspoon or two of chocolate around the edges and let harden in the fridge for another 5 minutes.
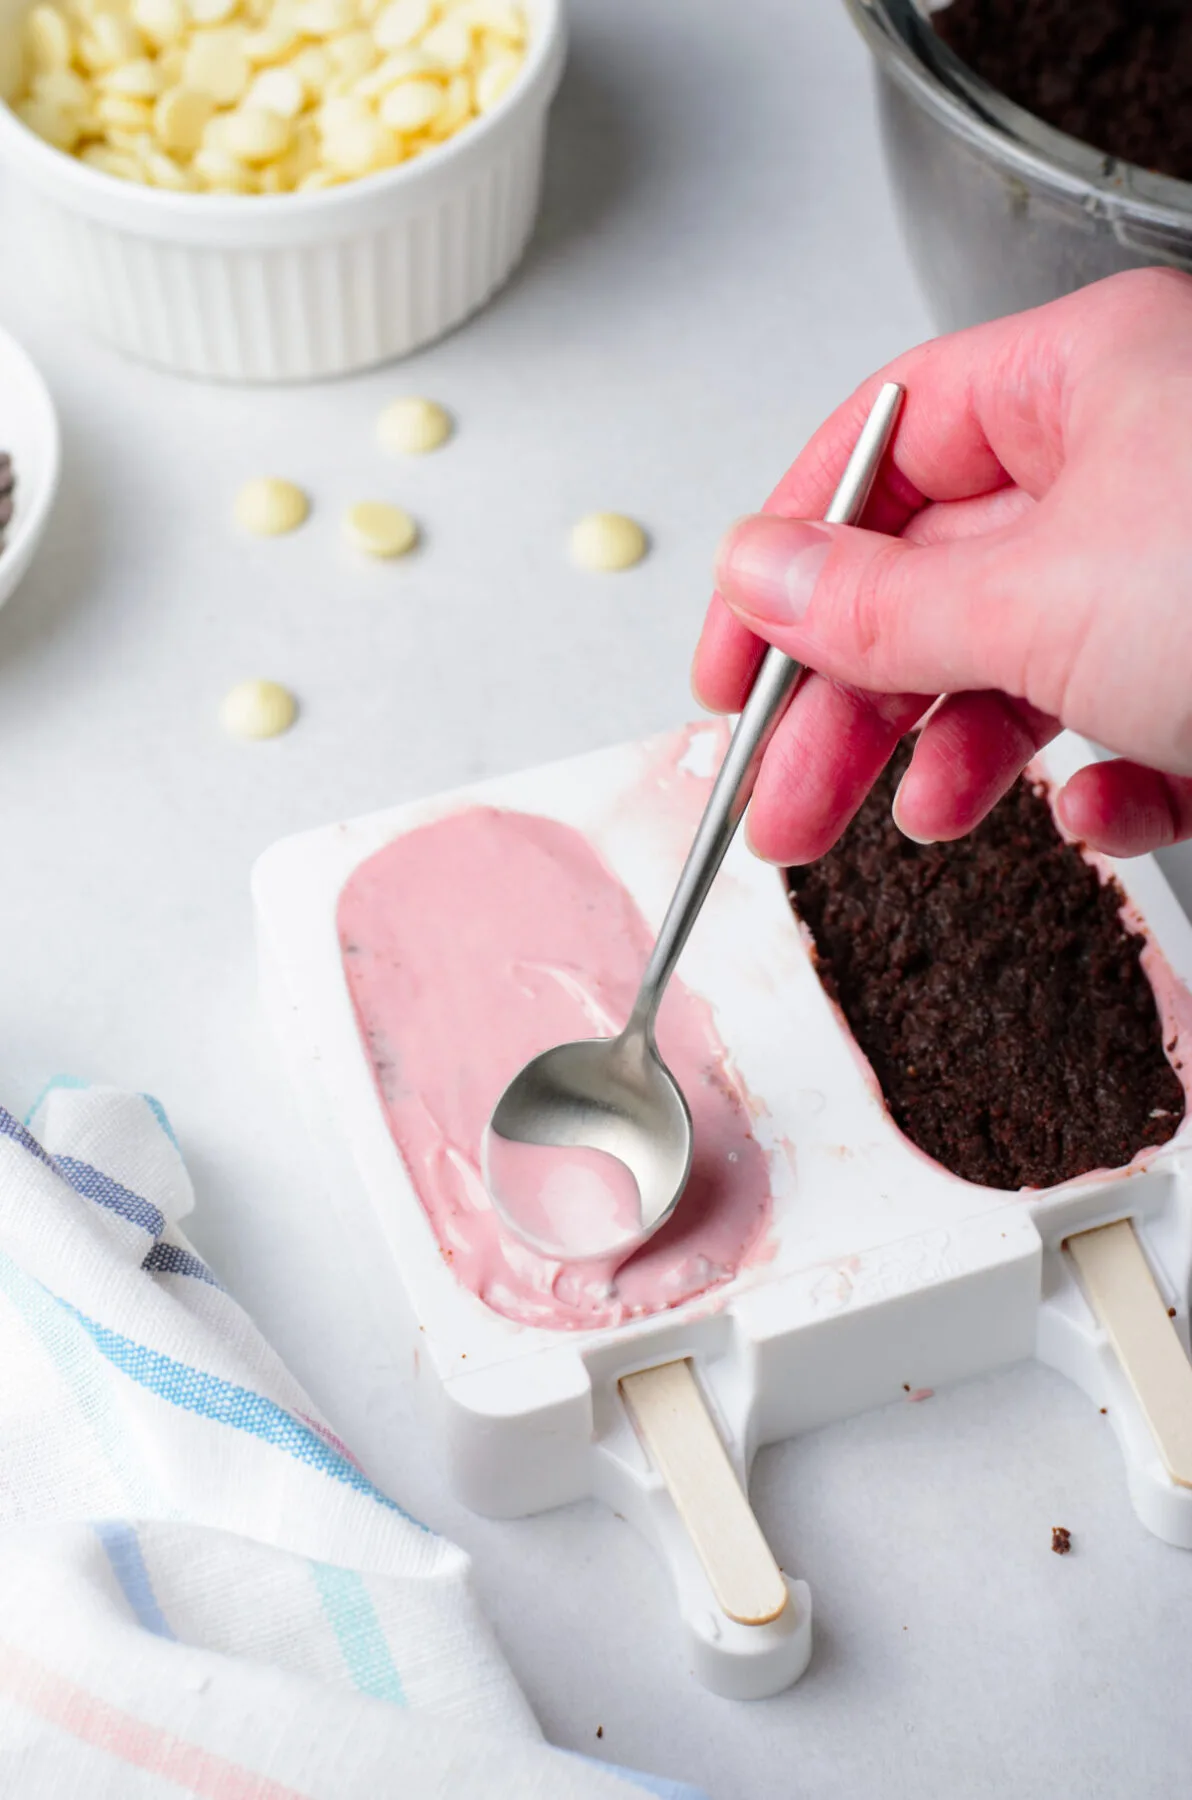
11. Remove from fridge and add about 2 tablespoons of brownie filling to the molds. Gently push in the popsicle stick.
12. Add another tablespoon of chocolate. Using a knife or cake spatula, drag the chocolate over the filling. Re-scrape if needed. Let harden in the fridge. Gently remove the cakesicle from the mold.
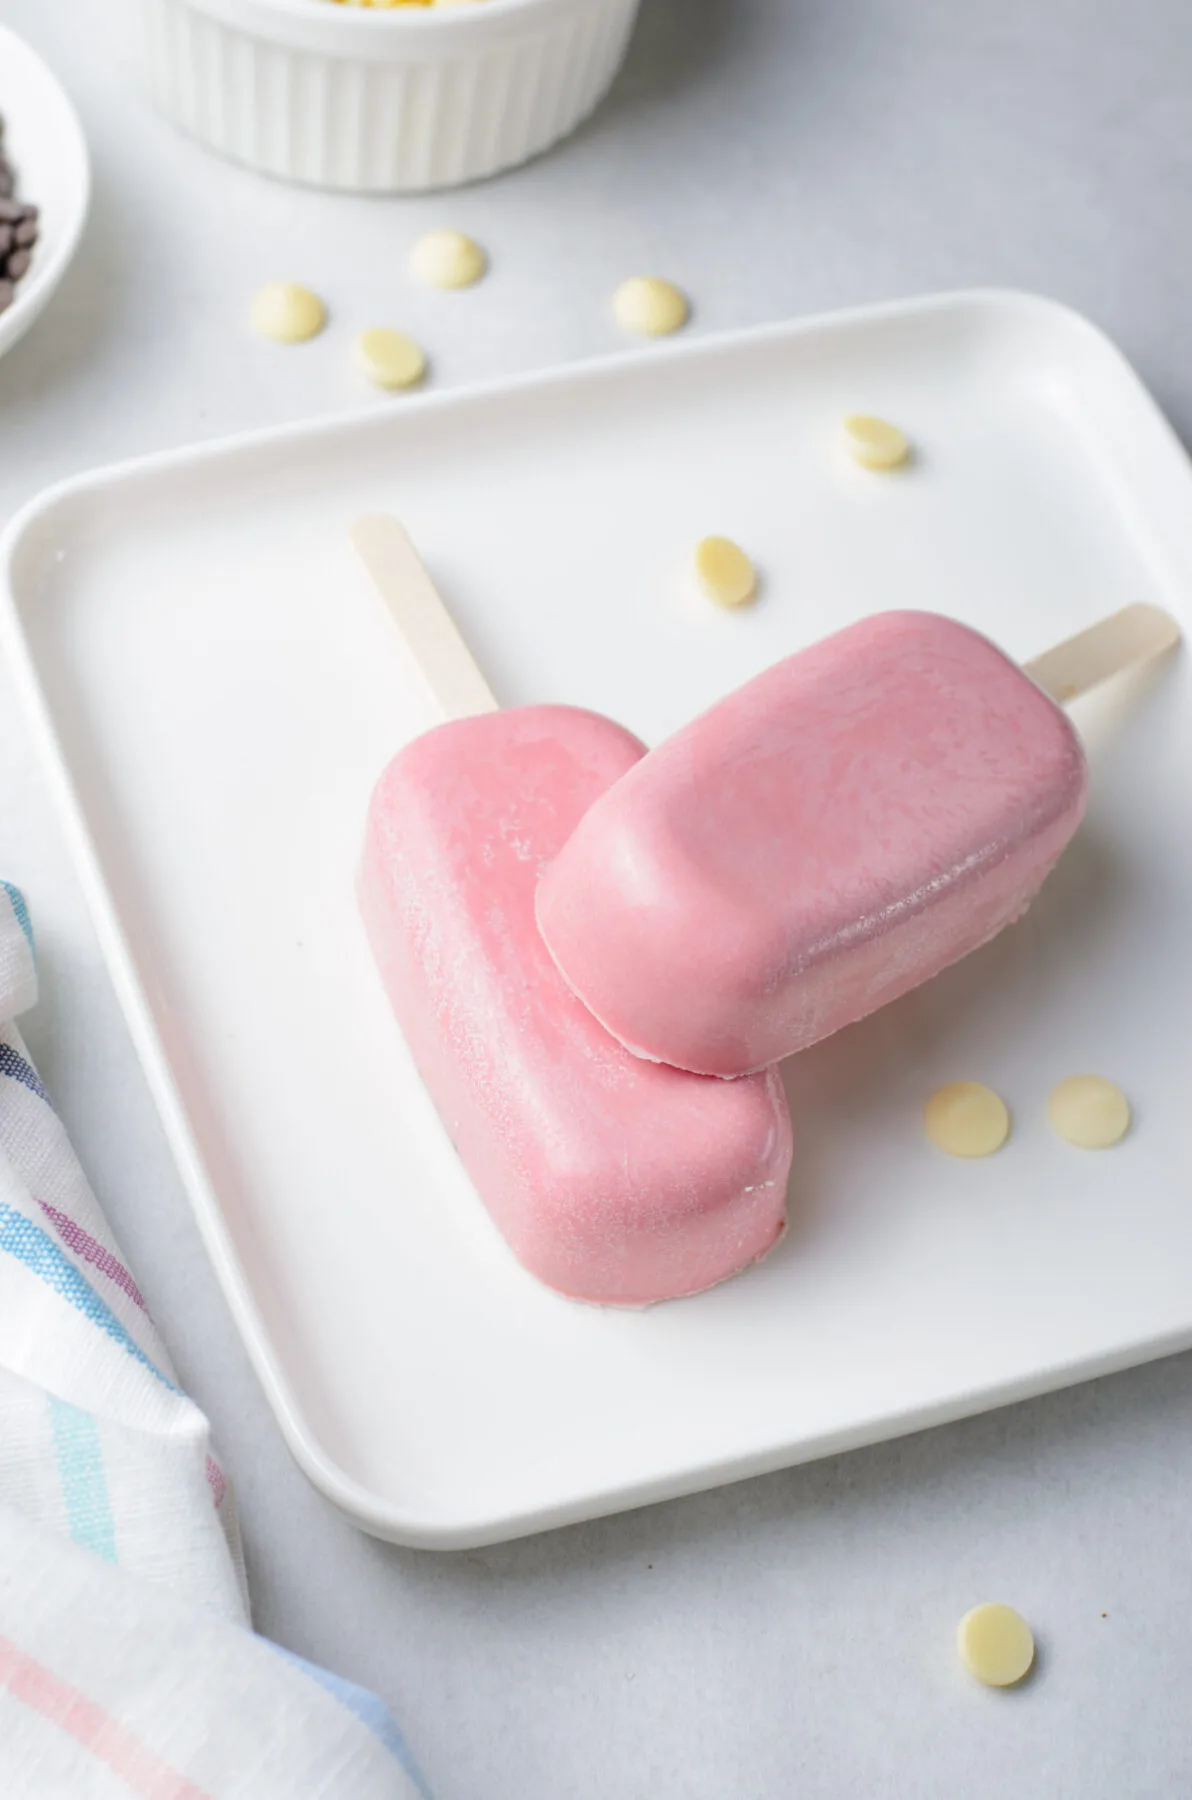
13. Melt 1/2 cup of white chocolate. Cover the tops of cakesicles with the melted chocolate, creating drips. Top with sprinkles.
Enjoy!
Brownie Cake Pop Popsicles
Try this recipe for browniesicles, a delicious twist on cake pops. They’re shaped like pink “popsicles” with colourful sprinkles.
Ingredients
- 2/3 cup All-purpose flour
- 1 cup sugar
- 1/2 cup + 2 tablespoons unsalted butter, room temperature
- 2 eggs, room temperature
- 7 oz semi-sweet chocolate chips
- 1 tablespoon unsweetened cocoa powder
- 1/2 teaspoon salt
- 2 cups white melting chocolate or pink candy melts
- 1/2 cup white melting chocolate for decorating
- 1/4 cup chocolate frosting
- pink gel food coloring (if using white chocolate)
- sprinkles
Instructions
1. Preheat the oven to 350ºF. Line a 9×9-inch pan with parchment paper, then grease the parchment paper with cooking spray.
2. Place the semi-sweet chocolate chips in a microwave-safe bowl. Microwave for 30 seconds. Stir well and continue to microwave in 15-second intervals until the chocolate is completely melted.
3. In a large bowl, beat butter and sugar until light and fluffy. Add in eggs and vanilla. Mix for about 2-3 minutes.
4. Add the melted chocolate.
5. Add flour, salt, and cocoa powder. Mix until just combined.
6. Pour batter into prepared pan. Bake for 35-40 minutes. Allow to cool on a wire rack.
7. Use a food processor to turn the brownie into a breadcrumb consistency. You can also crumble by hand.
8. Add the chocolate frosting to the crumbs. Stir well. If necessary, add additional frosting 1 tablespoon at a time and remix until desired constancy. The ideal filling will hold together when you pinch it, but not be gooey or sticky.
9. Melt 2 cups of white chocolate in the microwave, stirring at 30-second intervals until smooth. Mix with several drops of pink gel food colouring. And about a tablespoon of melted chocolate to the moulds. Using a spoon, spread the chocolate around the sides of the mould, making sure it is thick along the sides. If it’s too thin or
doesn’t cover everywhere, the chocolate can crack when you remove the cakesicle.
10. Add and remove the popsicle stick to the mould to clear out any chocolate. You can also keep the stick partly in the mould while the chocolate sets. Let the chocolate harden in the fridge for 5-10 minutes. You can add another teaspoon or two of chocolate around the edges and let harden in the fridge for another 5 minutes.
11. Remove from fridge and add about 2 tablespoons of brownie filling to the molds. Gently push in the popsicle stick.
12. Add another tablespoon of chocolate. Using a knife or cake spatula, drag the chocolate over the filling. Re-scrape if needed. Let harden in the fridge. Gently remove the cakesicle from the mold.
13. Melt 1/2 cup of white chocolate. Cover the tops of cakesicles with the melted chocolate, creating drips. Top with sprinkles.
Recommended Products
As an Amazon Associate and member of other affiliate programs, I earn from qualifying purchases.
Nutrition Information:
Yield:
8Serving Size:
1 Brownie Cake PopAmount Per Serving: Calories: 346Total Fat: 14gSaturated Fat: 7gTrans Fat: 0gUnsaturated Fat: 6gCholesterol: 54mgSodium: 173mgCarbohydrates: 57gFiber: 2gSugar: 45gProtein: 4g


Elizabeth Lampman is a coffee-fuelled Mom of 2 girls and lives in Hamilton, Ontario. She enjoys travelling, developing easy recipes, crafting, taking on diy projects, travelling and saving money!

Nita
Friday 7th of April 2023
I will be making these using some of the brownies from a 9"x13" pan.
What is the ratio of brownie crumbles to frosting to form the cakecicles? Would 1 cup of cake crumbs to 1 TBSP frosting sound about right, or would that be too much frosting? I plan to make a least a dozen cakecicles.
Elizabeth Lampman
Friday 7th of April 2023
That sounds about right, just add the frosting a little at a time and adjust as needed. Less frosting is more, if there is too much they will fall apart.
Renee Leet
Monday 16th of May 2022
Where can I purchase the popsicle pan?
Elizabeth Lampman
Thursday 19th of May 2022
Amazon! https://amzn.to/3yO5w0F