
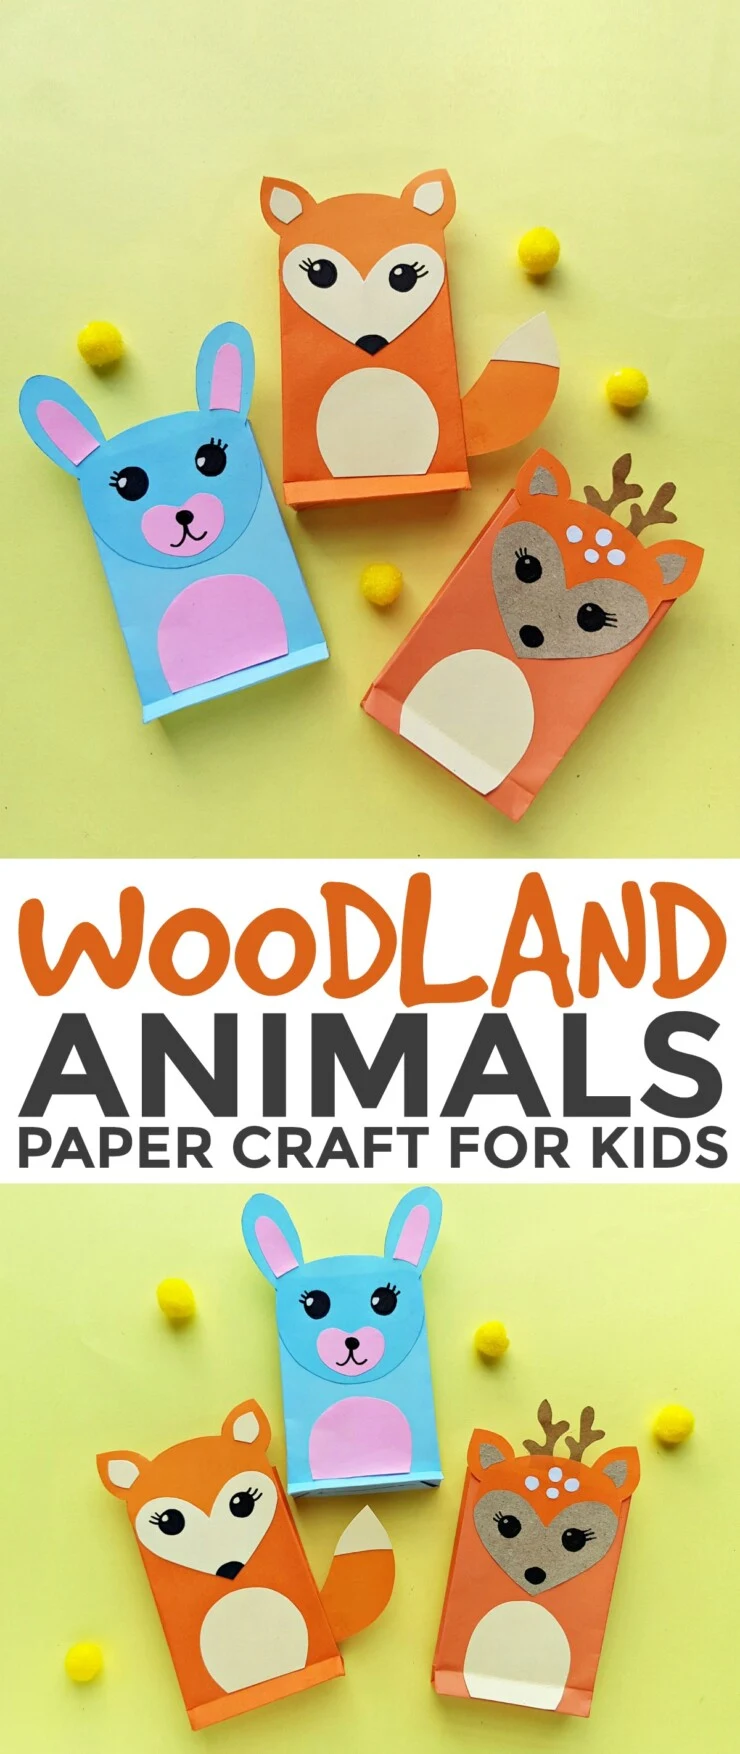
This Woodland Animals Paper Craft is a fun craft for kids – make these at a kids birthday party and use as their treat bags!
Woodland Animals Paper Craft
List of Supplies:
- Coloured craft paper
- Pencil
- Scissors
- Craft glue
- Black sharpie
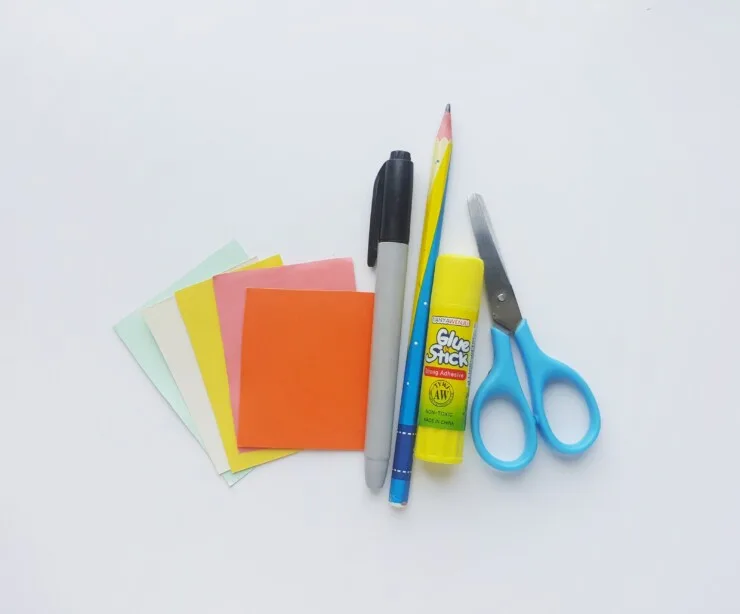
Instructions:
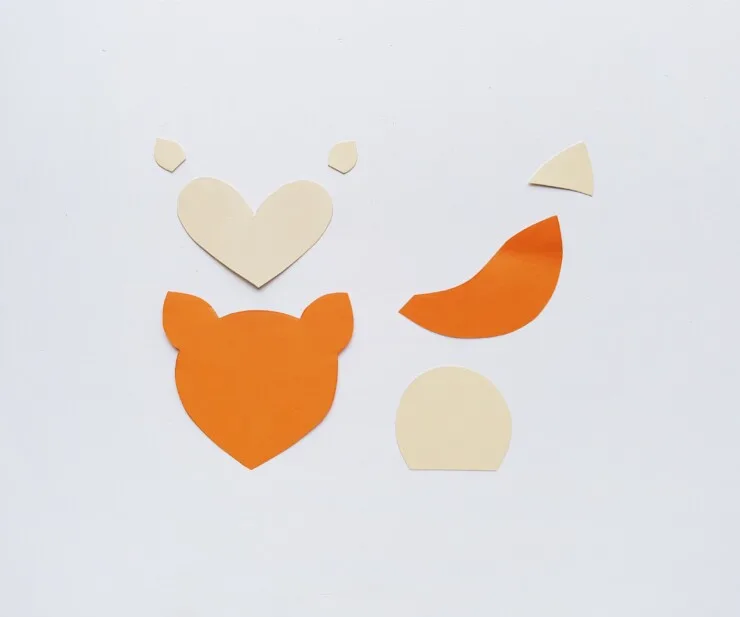
Step 1
Let’s make the paper fox; the rest of the animals can be made following these instructions. Trace the template patterns on the coloured paper of your choice. Cut out the traced patterns with scissors.
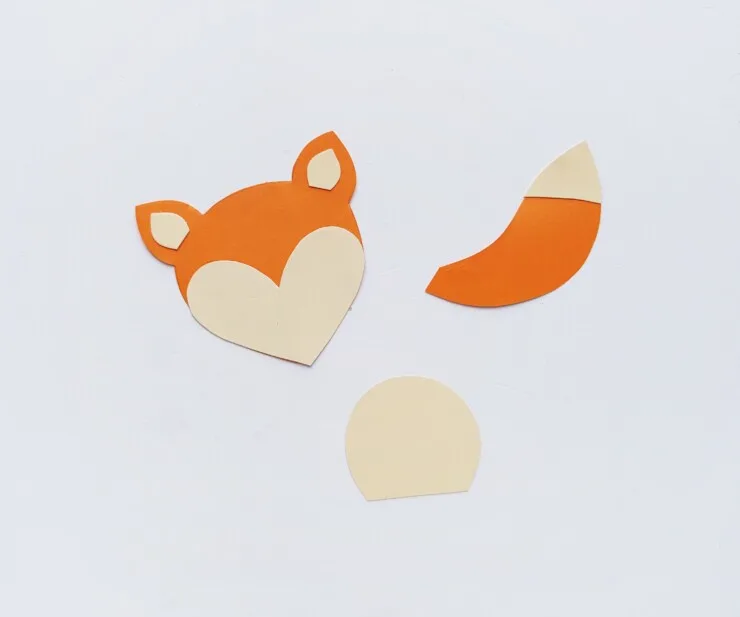
Step 2
Glue the inner ear patterns (2 small triangular pieces) on the ear parts of the fox’s head pattern and glue the heart shaped piece on the bottom side of the head. Glue the small pattern of the tail on the tip of the big tail pattern.
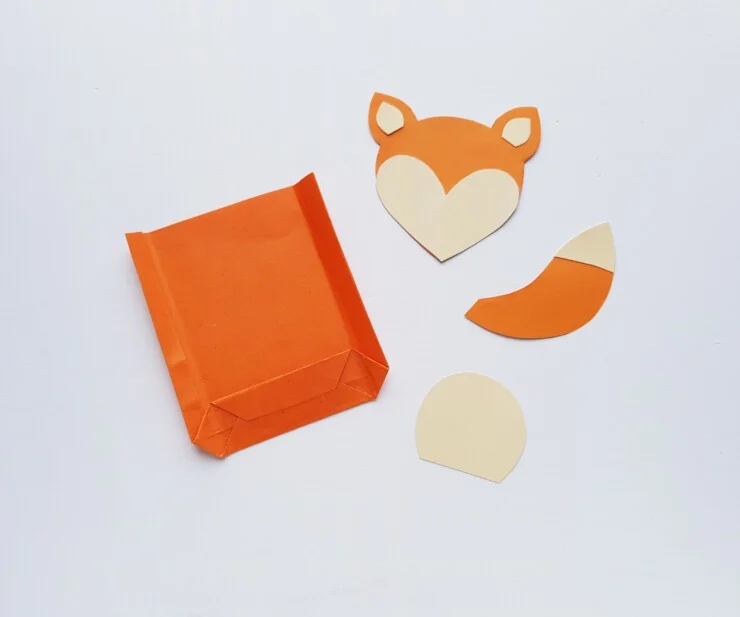
Step 3
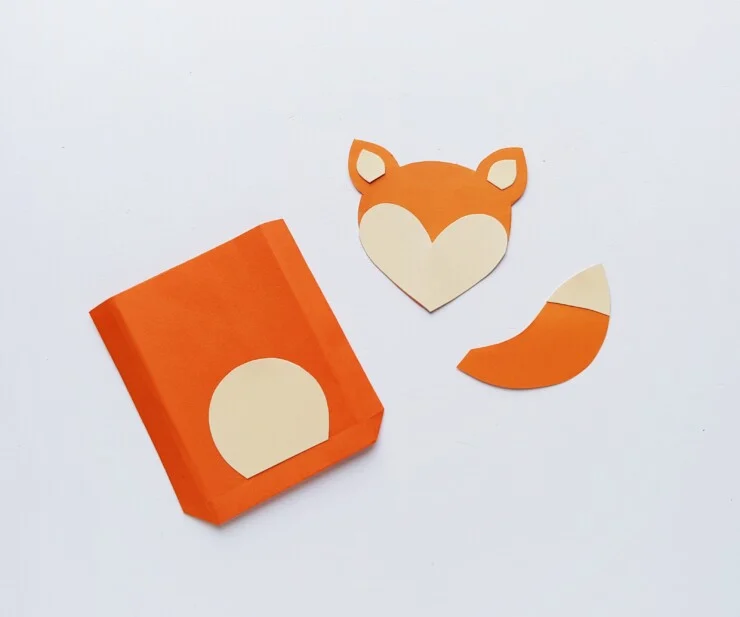
Prepare a paper bag using an 8 inches × 8 inches orange colored craft paper or any colored craft paper you prefer for the fox. You can also use a sheet of paper if you don’t want to make a paper bag fox.
Step 4
Attach the belly pattern of the fox below the head (on the middle part of the bag or paper sheet).
Step 5
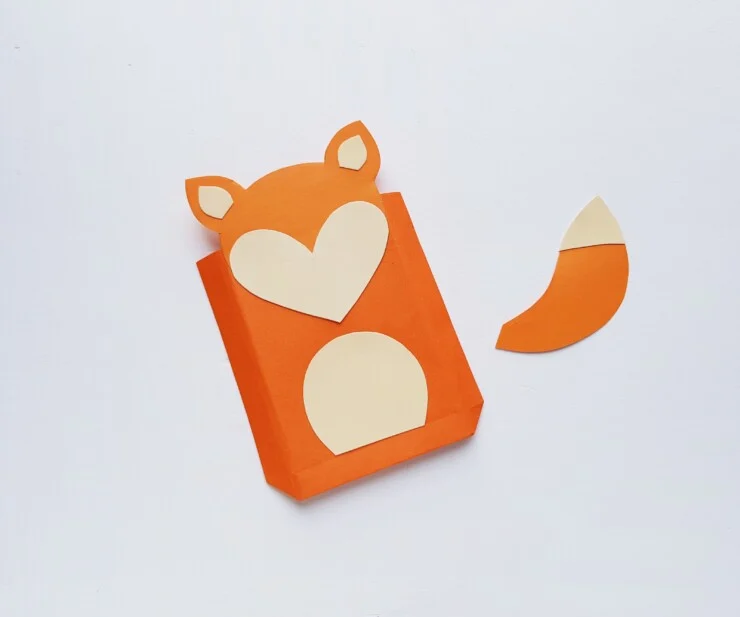
Attach the head pattern of the fox on the top side of the bag, keeping half of the head outside the bag’s top end.
Step 6
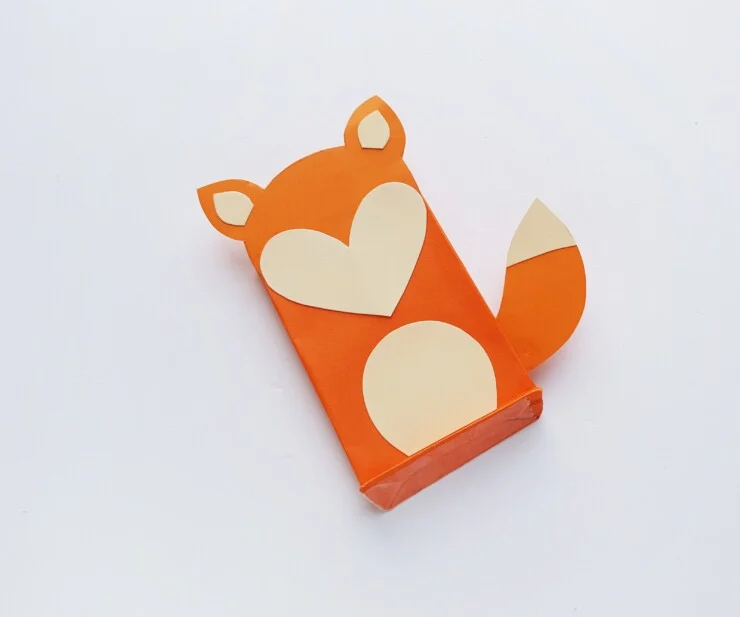
Attach the tail on either side of the bag, in between the side folds of the bag.
Step 7
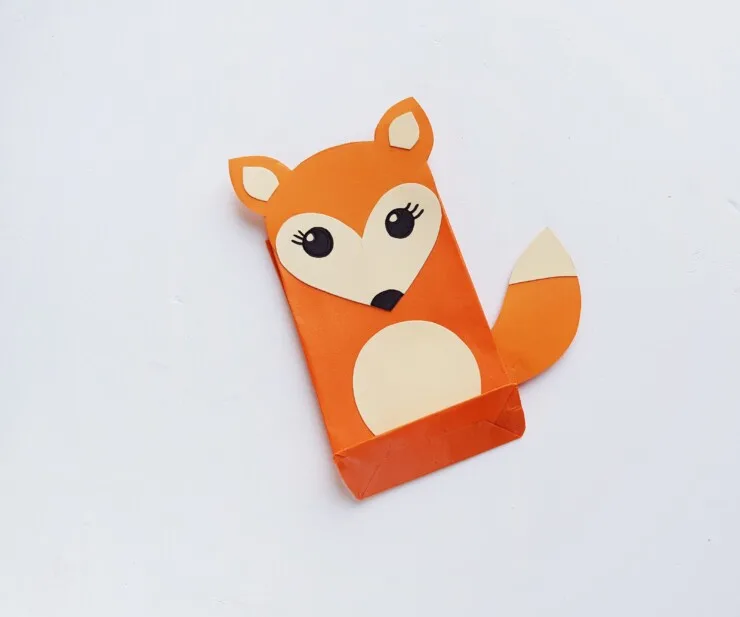
Use a black sharpie to draw the eyes and nose of the fox.
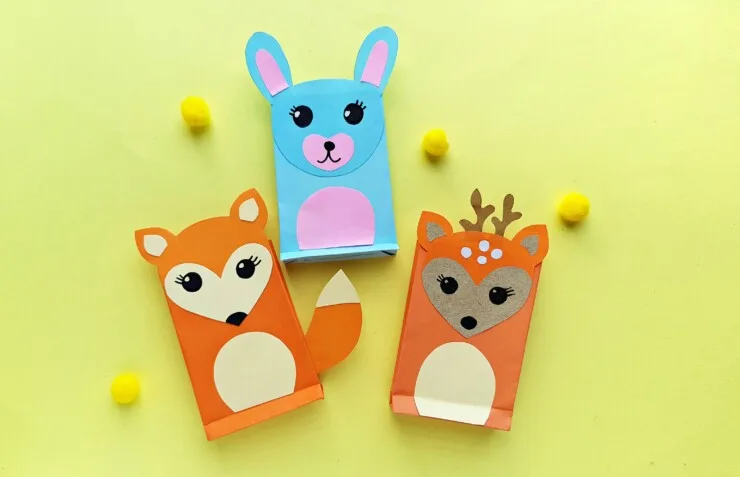
Similarly trace the other animal patterns and craft them as well!

Elizabeth Lampman is a coffee-fuelled Mom of 2 girls and lives in Hamilton, Ontario. She enjoys travelling, developing easy recipes, crafting, taking on diy projects, travelling and saving money!

Mary Brice
Sunday 3rd of November 2019
So many fun ideas for the kids. My little ones love to do crafts, I am sure some of these would be right up their. My kids will love to make some of these animal crafts.