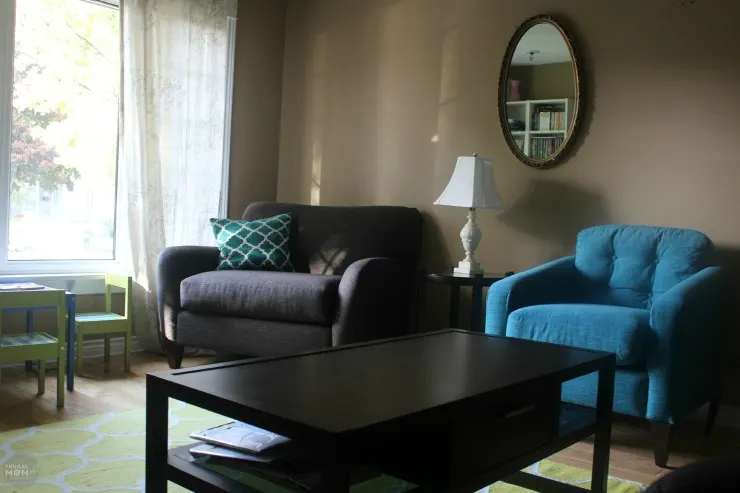
I’ve been slowly decorating my sitting room since we moved in last spring. This DIY Vintage Mirror Makeover project was actually completed in the summer and I’ve been meaning to share it since but sometimes with blogging you have to push things out and sometimes things get forgotten. This project got forgotten until I was spring cleaning my laptop and came across the photos I had taken. Better late than never, right?
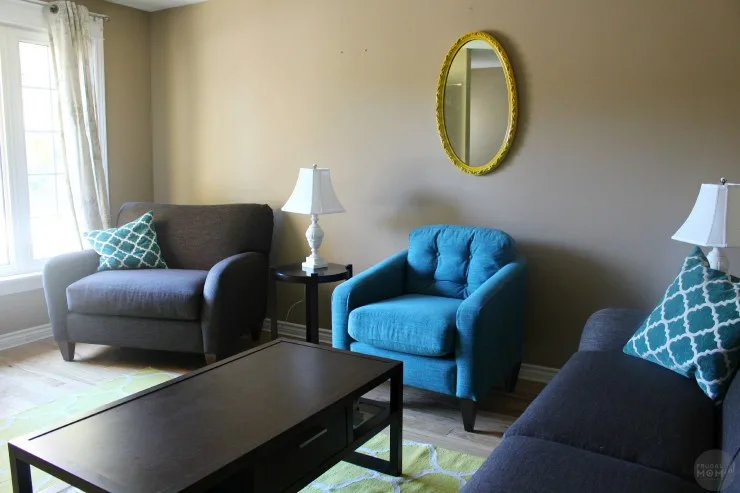
This mirror actually came from my parents house. It always sat in the front hallway by the stairs going to the second level so as you walked down the stairs you could see yourself. As a kid I always felt a bit creeped out by the mirror, I always half expected to look into and find someone standing behind me. Perhaps it was always more about my parents haunted house than the mirror itself as it doesn’t feel that way in my house. Especially now that I took it from metallic to a bold cheery yellow.
My mom was actually going to sell the mirror in a garage sale for $10 until I stepped in and snatched it up. I knew it would be the perfect piece for the look I wanted. I’m going for a modern but classic look and the mirror was an almost perfect fit.
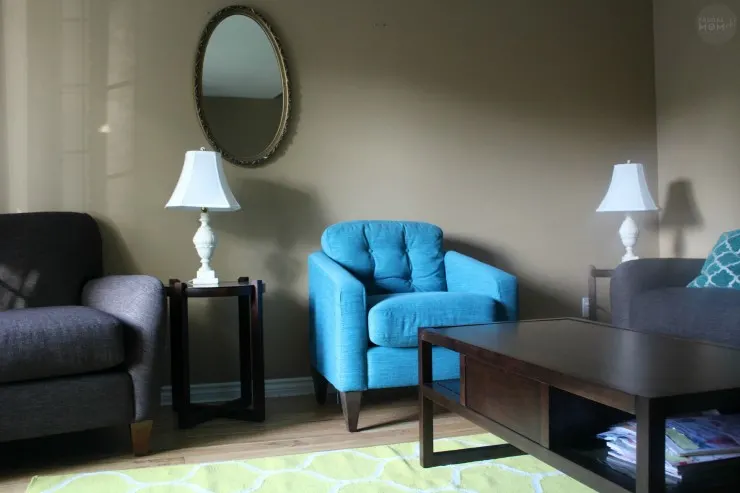
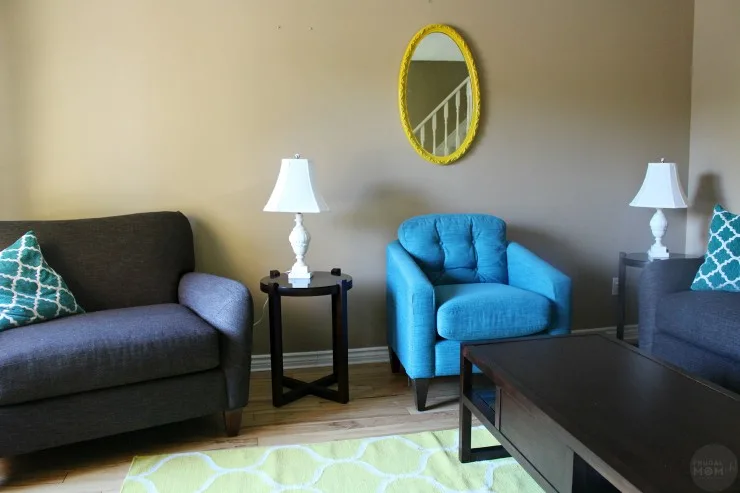
I really felt the room needed some more bright pops of colour to liven it up a bit. The Metallic made the room look and feel a little bit too formal and soulless. I have a gorgeous yellow rug from Ikea and knew I wanted to bring in another pop of yellow to tie it all together. Yellow, Grey, Turquoise, and white is just so dreamy together and I was already committed to that palette so it seemed like a bold but obvious choice to make.
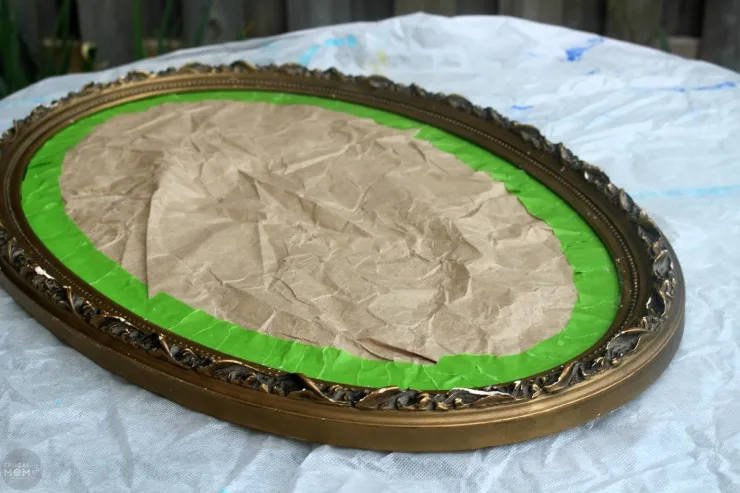
For this project you will need painters tape, wax, scrap paper or newspaper, fine sandpaper and your choice of spray paint. I used Krylon Indoor/Outdoor Aerosol in Sun Yellow but use whatever brand you are most comfortable with. Just be sure to test a small area before proceeding to ensure the paint will stick.
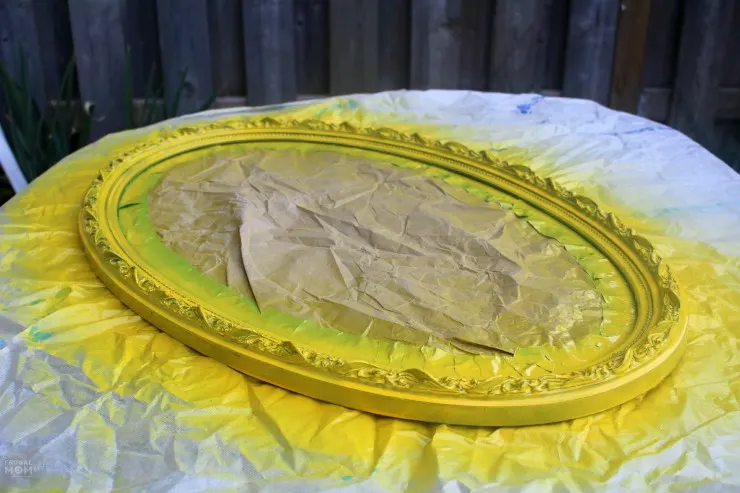
Start off by cutting your scrap paper to cover the actual mirror and protect it from the paint. Carefully tape the paper down so the mirror is completely covered. I was able to slip the take slightly under the frames edge and that worked really well when it came to removing the tape after painting,
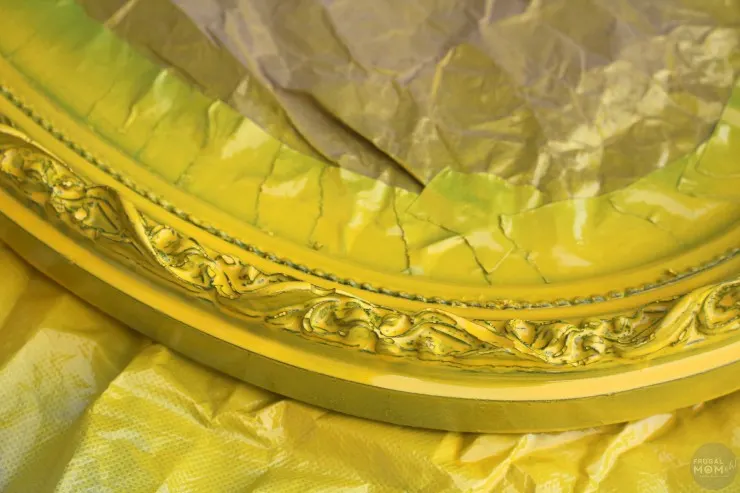
Before applying the first coat take your wax and rub on to any areas you would like to retain the original colour.
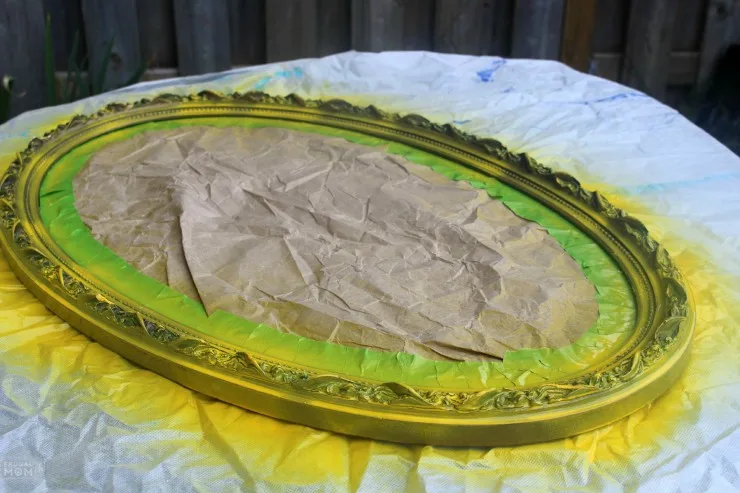
I needed to do 4 different light applications of the paint to get the frame completely covered. Allow to dry in between coats (usually only about 15-20 minutes so this can definitely be completed in an afternoon.)
Once dry take your sandpaper and just lightly rough up the areas with the wax build up in order to bring out the colour underneath. Now for the reveal…
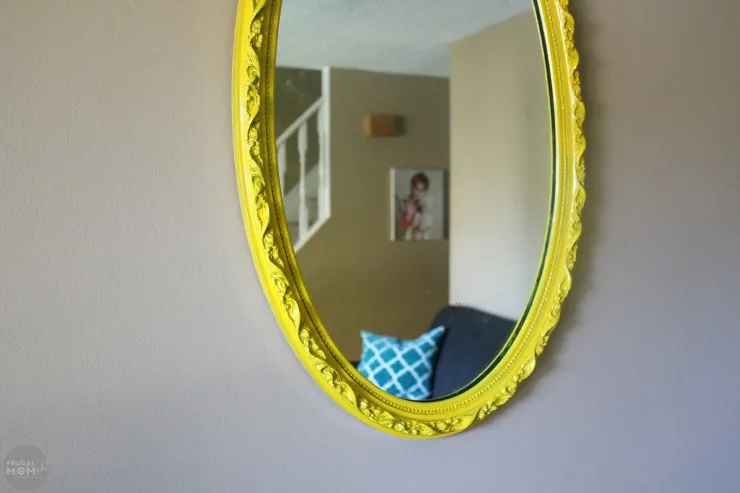
Ta da! Isn’t that yellow just gorgeous?
I am really happy with how much this bright bold mirror brightens up and enlivens the room. It’s really impressive how much one mirror can absolutely change a room.
Was this Vintage Mirror Makeover easy or what?

Elizabeth Lampman is a coffee-fuelled Mom of 2 girls and lives in Hamilton, Ontario. She enjoys travelling, developing easy recipes, crafting, taking on diy projects, travelling and saving money!



Victoria Ess
Monday 12th of October 2015
This is so cute! I love the change!
Meg
Wednesday 2nd of September 2015
A great improvement - can't wait to try this on my IKEA mirror. Now I just need to decide on a fun color. Thanks!
Debbie Bashford
Wednesday 19th of August 2015
a really cool way to add a pop of colour. I love it!
Maggie C
Monday 10th of August 2015
this is beautiful ... i love your DIYs!
kathy downey
Monday 10th of August 2015
I love the yellow you choose for the mirror,it really makes a statement and shows the blue chair up so well.