True North Strong & Free Button Art with Free Printable Template
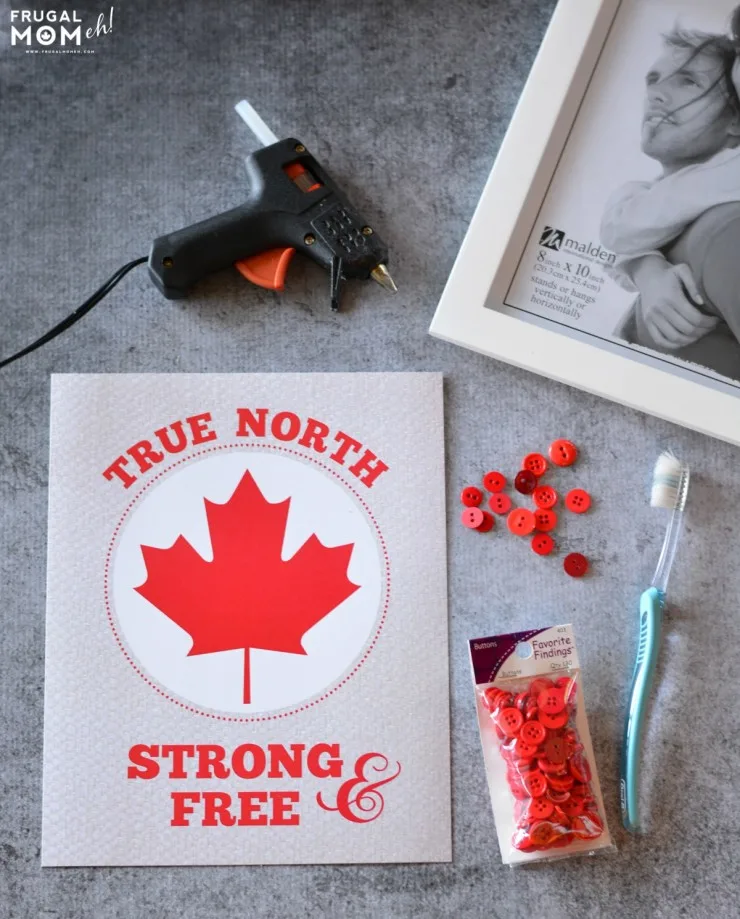
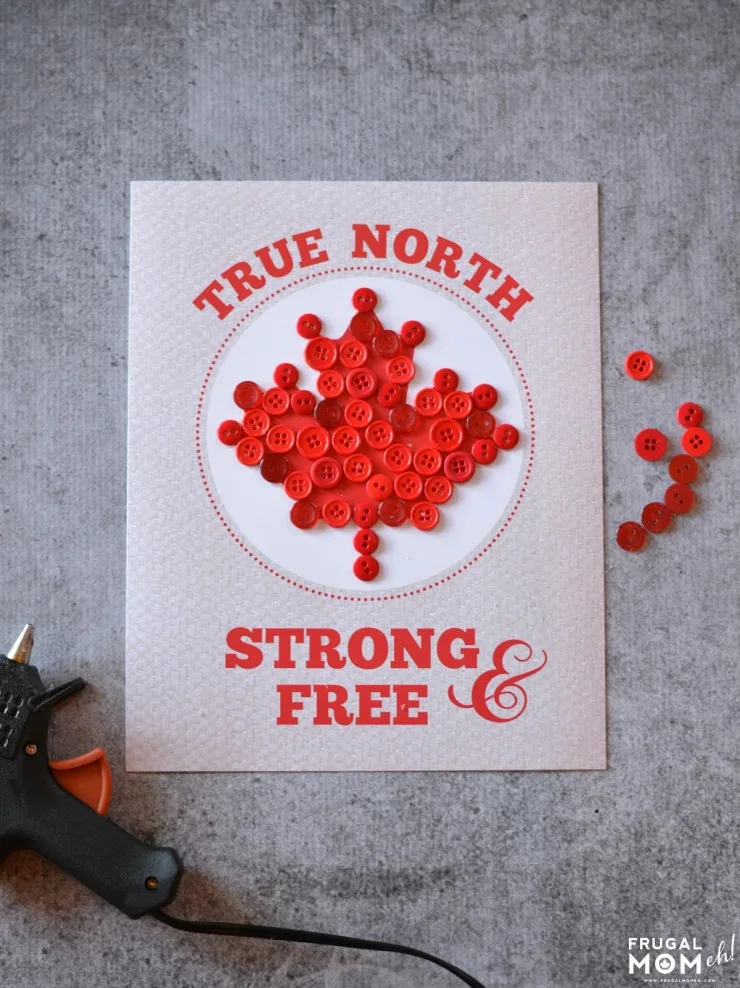
1 package (130 count) Favourite Findings Buttons in red. (Order them from Joann.com, Also found at Walmart)
Hot glue
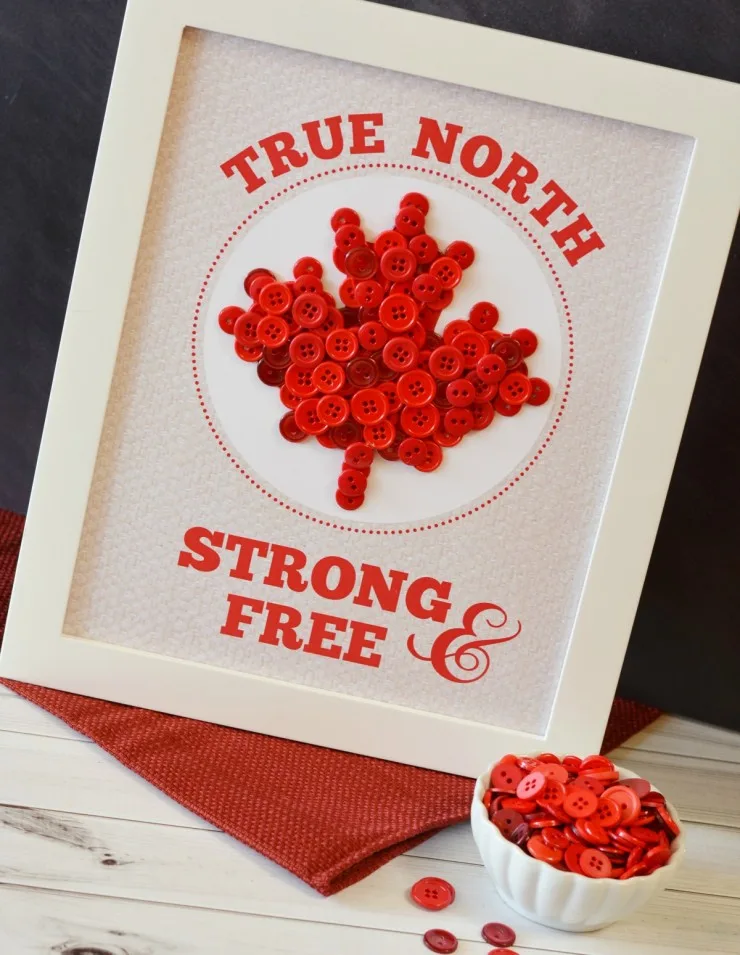
8×10 frame of your choice
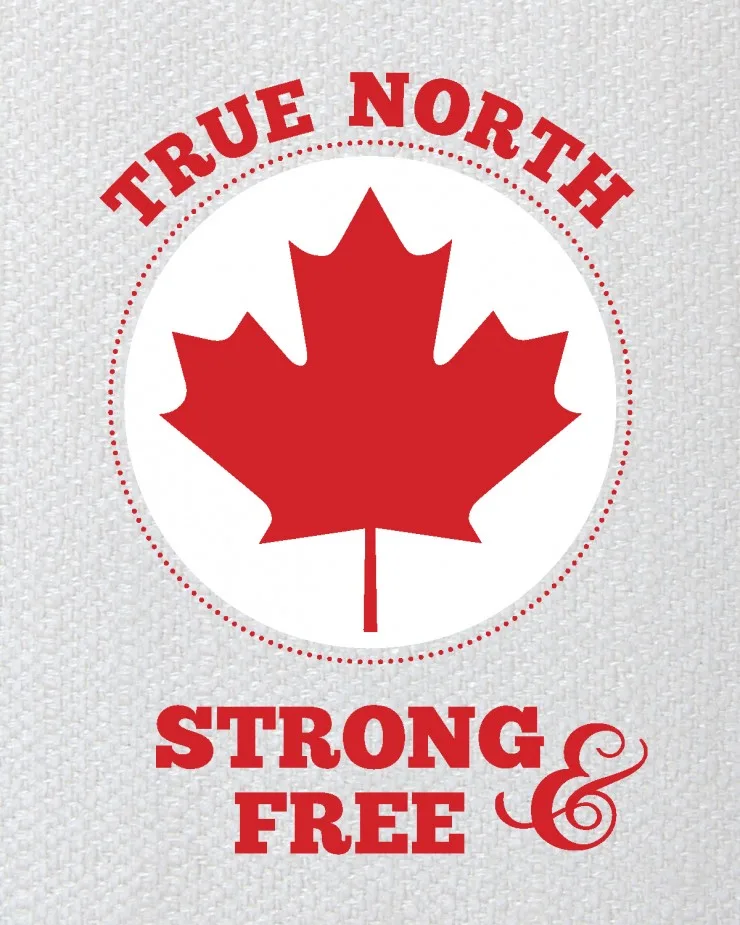
Printable – printed and cut to 8×10
Directions:
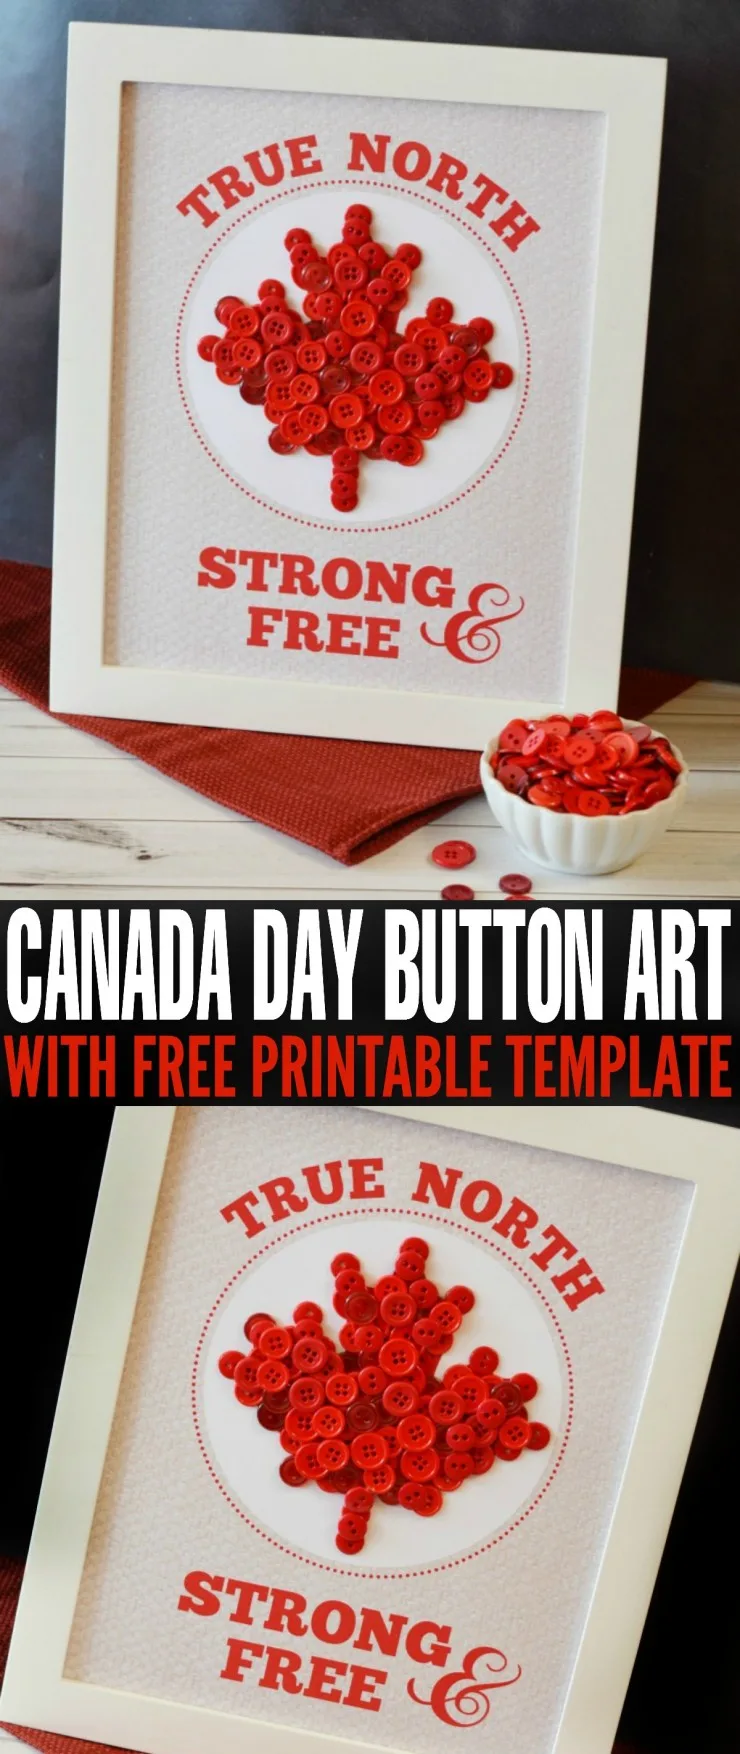
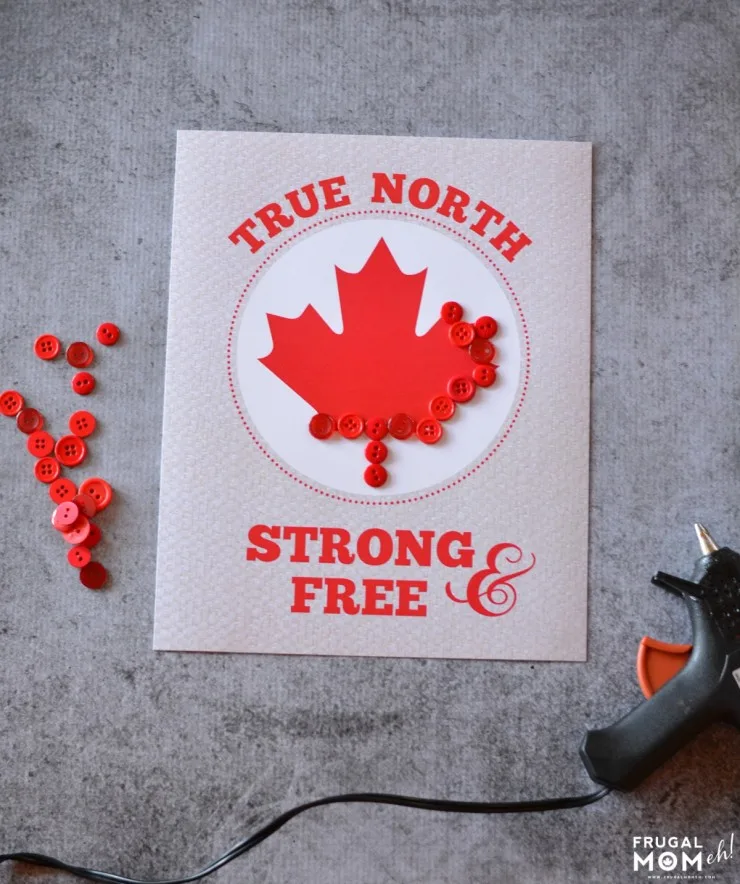
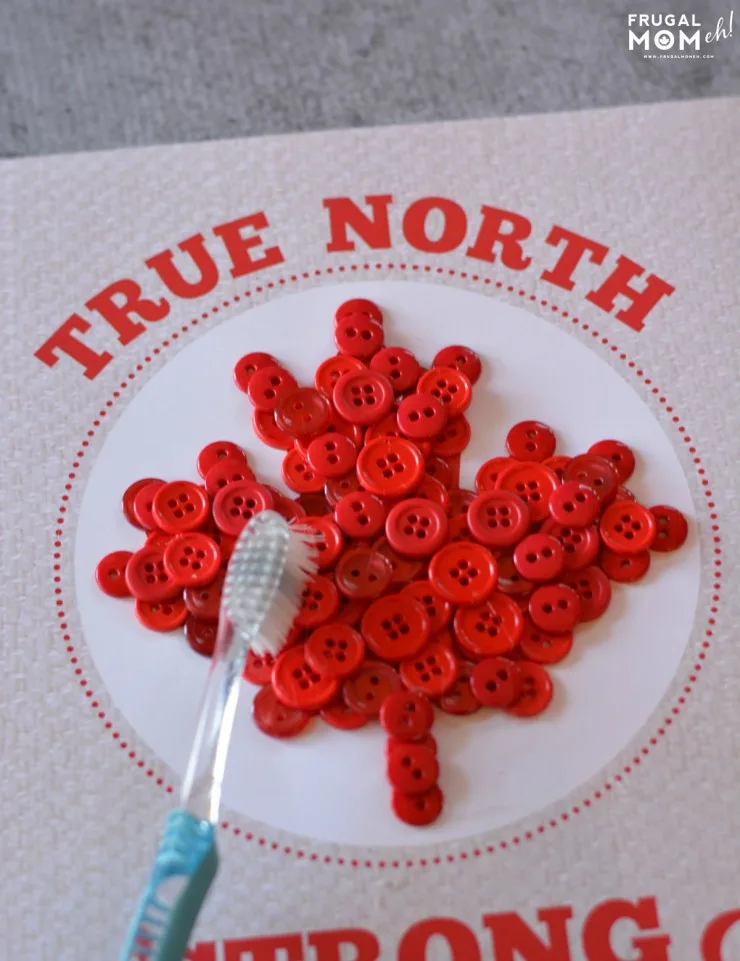
On a flat surface, hot glue red buttons onto the maple leaf. Begin with the outline and extend the button about 1/2 of the way beyond the leaf outline. If you feel more comfortable, place all buttons and then glue them rather than gluing as you go.
Once the outline is complete, you’ll want to fill the centre of the leaf with red buttons. I find that there are a lot of the same buttons in the package so I put those in the centre because they will be covered up with the second layer. Don’t worry about all of the buttons filling the space. There can be gaps as long as you have a button to cover it!
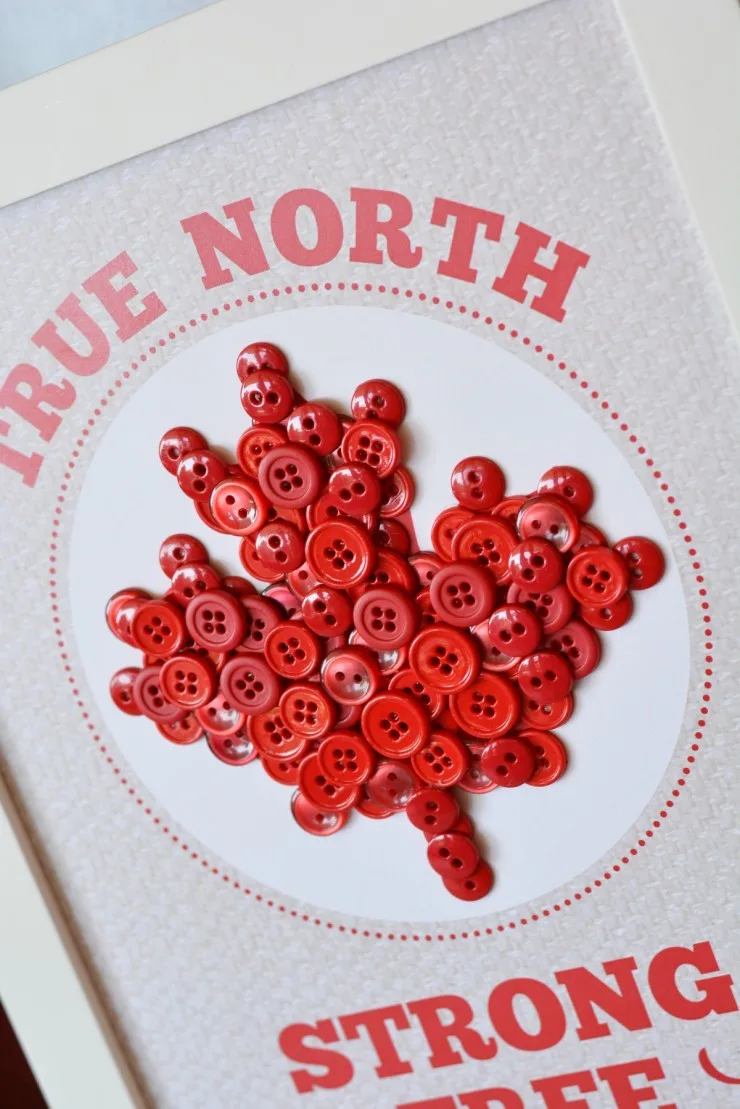
Begin on the second layer and fill the gaps and add buttons. You can add a third layer of buttons or simply place a few here and there to add dimension to your project.
To assemble:
Open your frame and remove glass. Place your Maple leave in the frame, place the glass behind it and put the frame back together. Display as desired!

Elizabeth Lampman is a coffee-fuelled Mom of 2 girls and lives in Hamilton, Ontario. She enjoys travelling, developing easy recipes, crafting, taking on diy projects, travelling and saving money!


Sarah
Tuesday 8th of August 2017
This is so cute! I love it!
Debbie White Beattie
Tuesday 13th of September 2016
This artwork is really nice - It's something simple but I would never have thought of it
Victoria Ess
Monday 14th of December 2015
This is a great idea! I love it!
Debbie Bashford
Sunday 6th of September 2015
so cool I love it!!
Emily Marie
Wednesday 17th of June 2015
This looks great! Mmakes me want to scrounge up some red buttons!