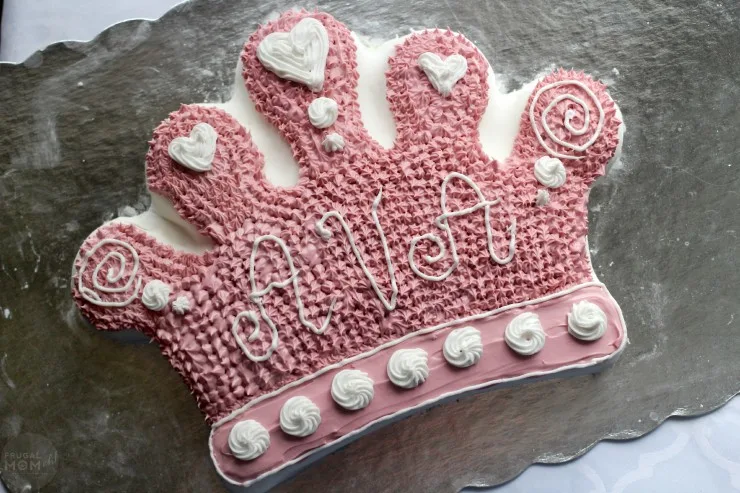
This is another old project I’ve had sitting around waiting to be published. The first cake up is a Royal Princess Crown Cake that I made for Ava’s first birthday. It is also my first attempt at using fondant which was actually a lot easier to use than I thought.
Start by baking your cake in the Wilton Crown Cake Pan (available at Amazon.ca and Amazon.com) and allowing it to fully cool.
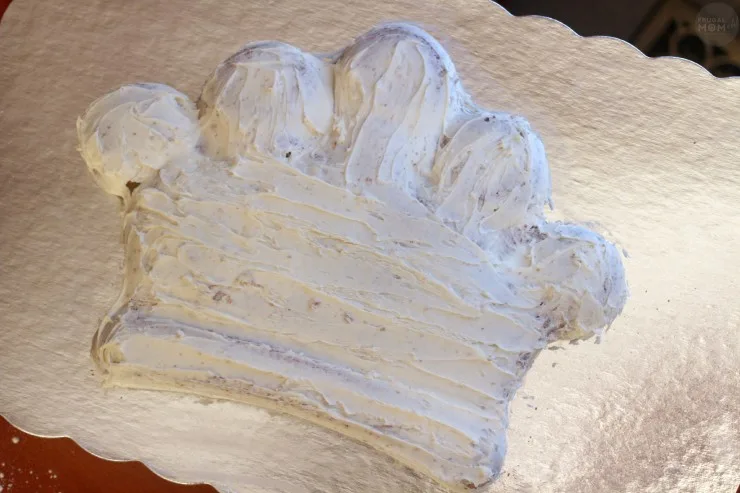
Crumb coat your cake in buttercream icing then put in the fridge for about 30 minutes before proceeding. If you happen to break part of the cake off while removing from the pan, simply use buttercream to glue it back in place.
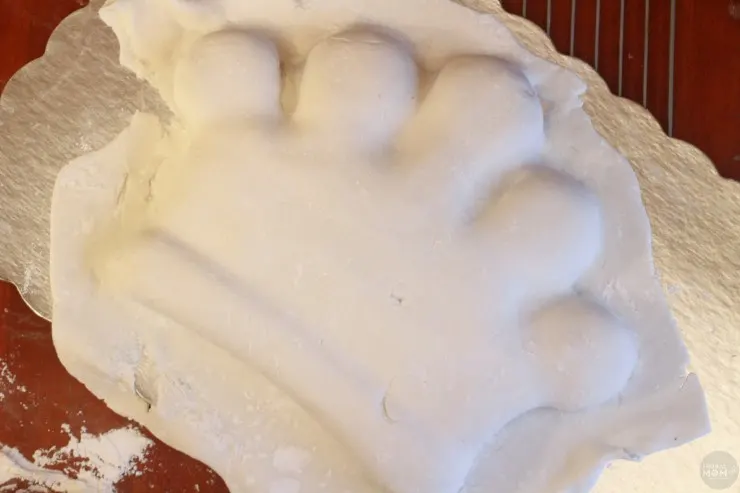
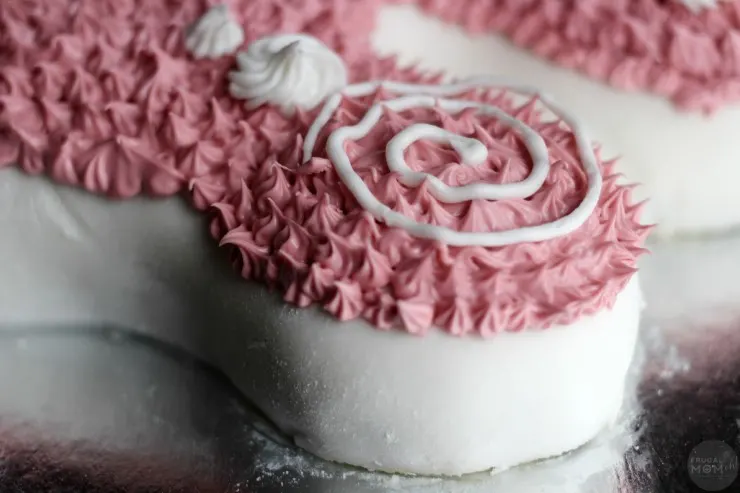
Roll out your fondant so it is even in thickness and large enough to cover the entire cake. Carefully set the fondant over the cake and use your fingers to kind of tuck it in around the shape of the cake.
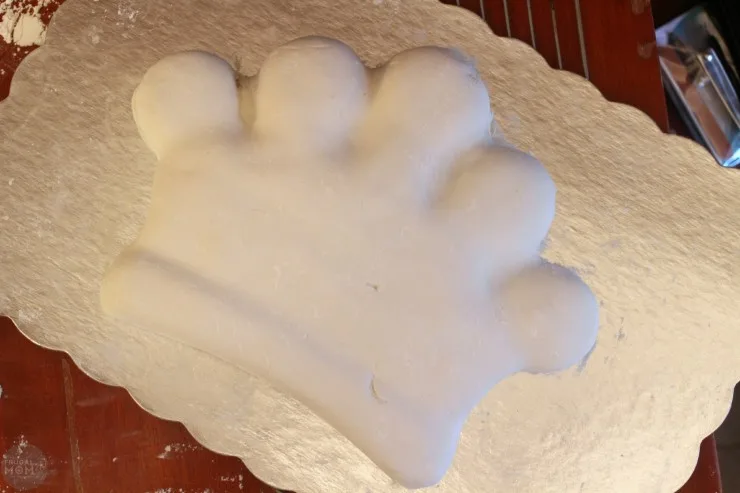
Next carefully cut the scraps away from the cake. Ta da! Now have a much less fussy canvas to pipe on than if you did it straight off the crumb coat.
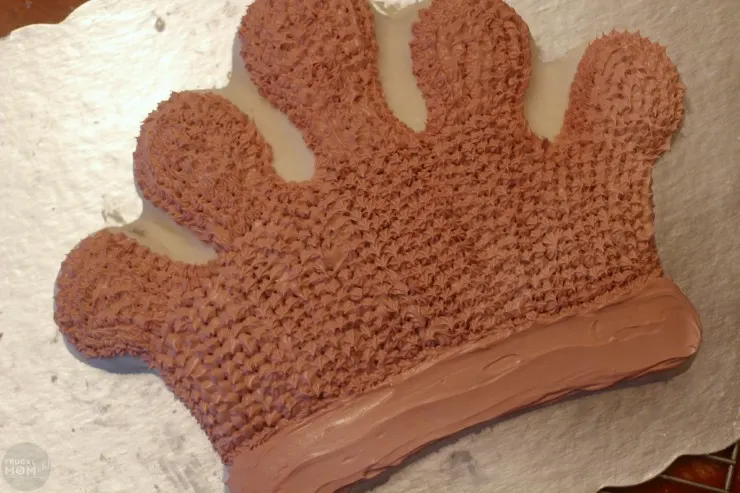
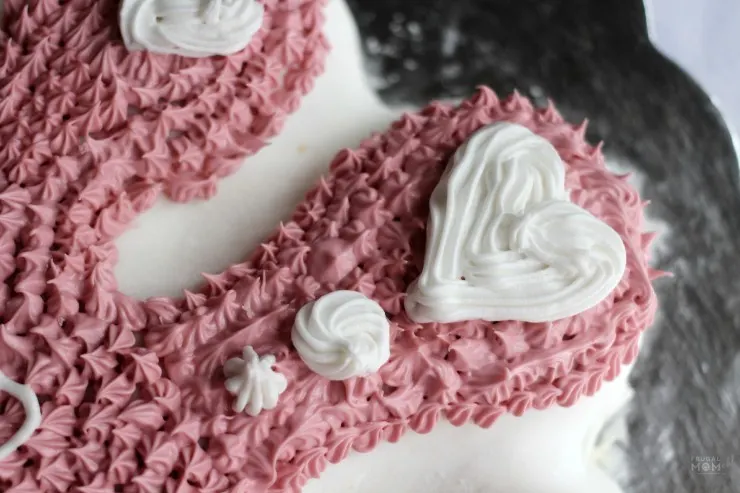
Use a number 16 star tip to cover the cake in little stars. I used a rose coloured buttercream – it was several drops of pink with a drop of blue. Use a butter knife to smooth out the buttercream and create the band at the bottom of the cake.
Use tip 21 and white frosting to create rosettes along the bottom of the crown and along the tips as well as the heart.
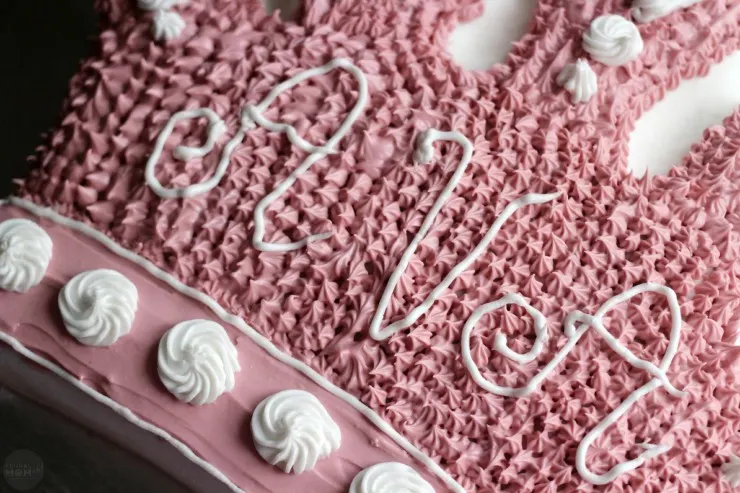
The swirls and her name was written using tip number 5 and more white frosting along with the outline of the bottom of the crown.
When piping all those stars I found it was better to add small amounts of buttercream at a time to the piping bag as it does take awhile to cover the cake and the buttercream will start to melt because of your body heat on the bag.
Isn’t it pretty?
This cake is super easy to customize too. It could easily be made into a King’s Crown just by changing the colour.
Keira absolutely adores Frozen. I am fairly certain thoughts of Frozen run through her head at all times. I usually braid my hair before bed if it is not straightened to keep my curls from knotting in my sleep. Every single morning she asks if she can touch my “pretty Queen Elsa’s hair”.
It doesn’t stop there either. When I asked her what I should carve on our Halloween pumpkin she told me she wanted me to carve Queen Elsa. So I did.
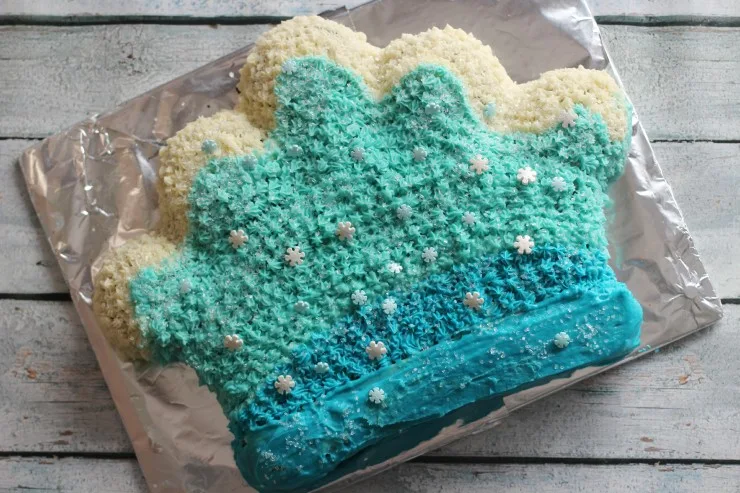
Then when I asked her what kind of cake she wanted for her birthday it should be no surprise that she asked for “Queen Elsa’s Hat”. So I did that too.
Mind you I was recovering from a virus so it didn’t turn out as awesome as I had hoped but I am sure you can see where I was going with this. Not bad for a complete cake decorating newb anyway.
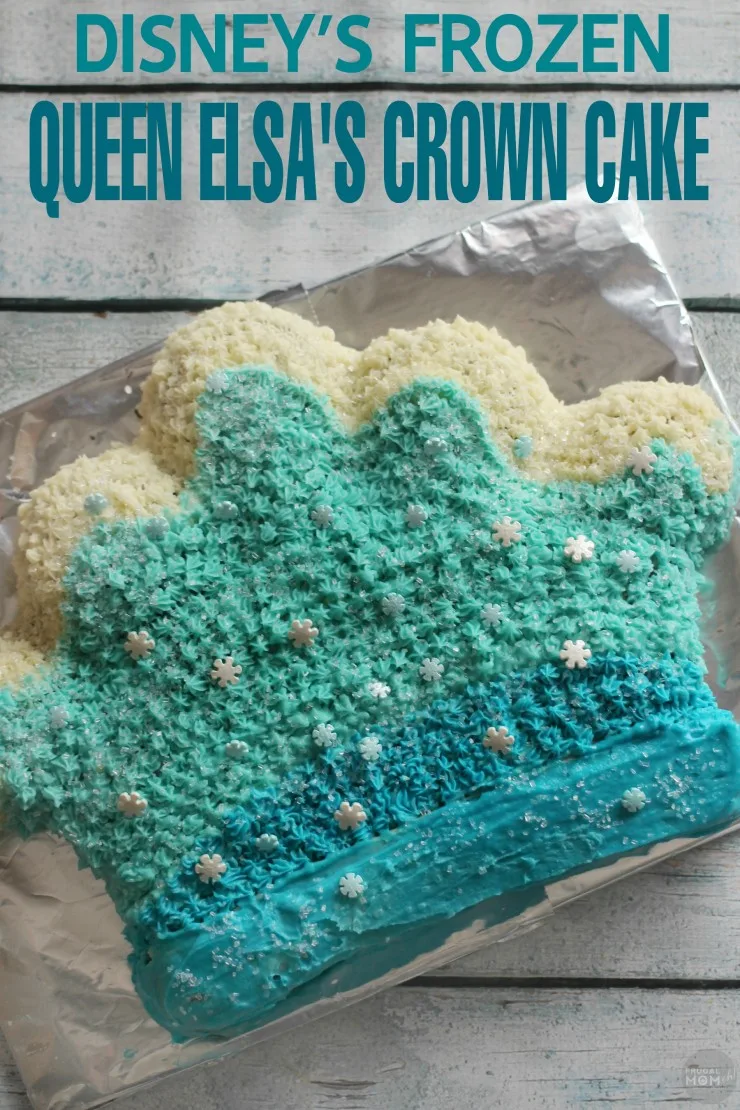
To do this, the instructions run fairly the same as with the regular princess cake. For the buttercream for the stars I used plain buttercream and then 3 different tints of blue buttercream. I started with the plain buttercream and worked my way down the crown switching to darker blues as I went to create the ombre look.
Once that was complete I sprinkled Wilton White Sparkling Sugar Sprinkles and Wilton Snowflake Sprinkles to finish the look.
I think Queen Elsa would be proud, Keira sure was!

Elizabeth Lampman is a coffee-fuelled Mom of 2 girls and lives in Hamilton, Ontario. She enjoys travelling, developing easy recipes, crafting, taking on diy projects, travelling and saving money!



Victoria Ess
Sunday 18th of October 2015
What a beautiful job! Thanks for the tutorial!
Dandi D
Thursday 4th of June 2015
I have one niece that would just be thrilled to have a birthday cake like this.
kathy downey
Sunday 12th of April 2015
Awesome job decorating the cake it looks perfect
Jeannie
Saturday 11th of April 2015
Great job on the cake!! I think it looks great.
Darlene Schuller
Saturday 11th of April 2015
This is absolutely adorable!! I can't hardly wait until the granddaughter is old enough to enjoy designer cakes!