
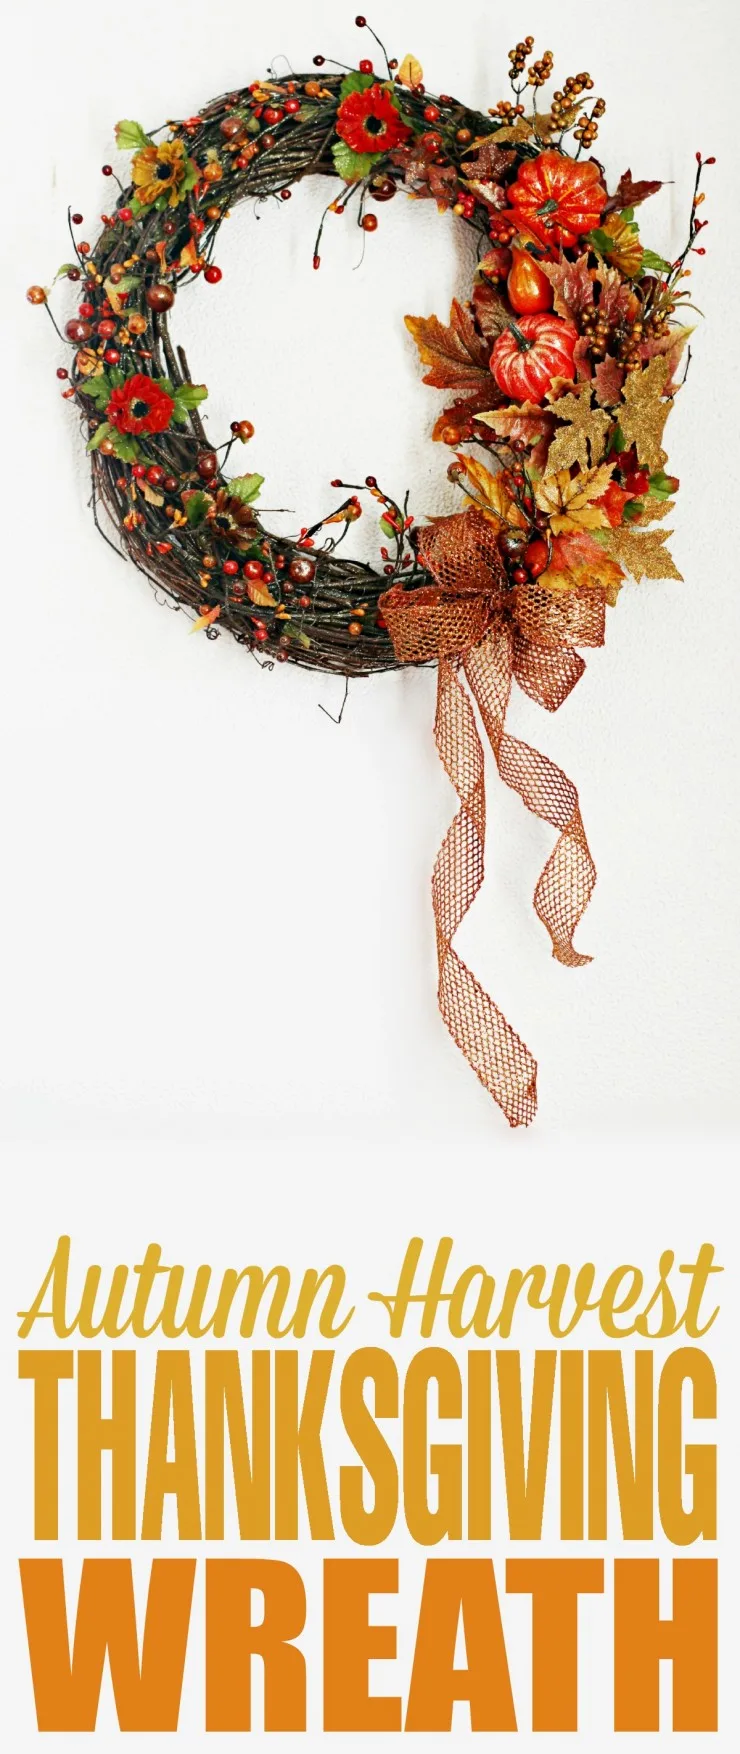
This Autumn Harvest Thanksgiving Wreath is a an easy craft project with fabulous results. It looks great handing on a wall or front door!
Thanksgiving is a special time for my family as we all get together and celebrate all we have to give thanks for and eat a big meal. For my American friends, Thanksgiving Day in Canada is tied to the European tradition of harvest festivals and we celebrate it on the second Monday of October each year.
This year I went with my daughter to Michaels to pick up some supplies to create a Thanksgiving Wreath together that we can hang up each year as a reminder for all we have to be thankful for.
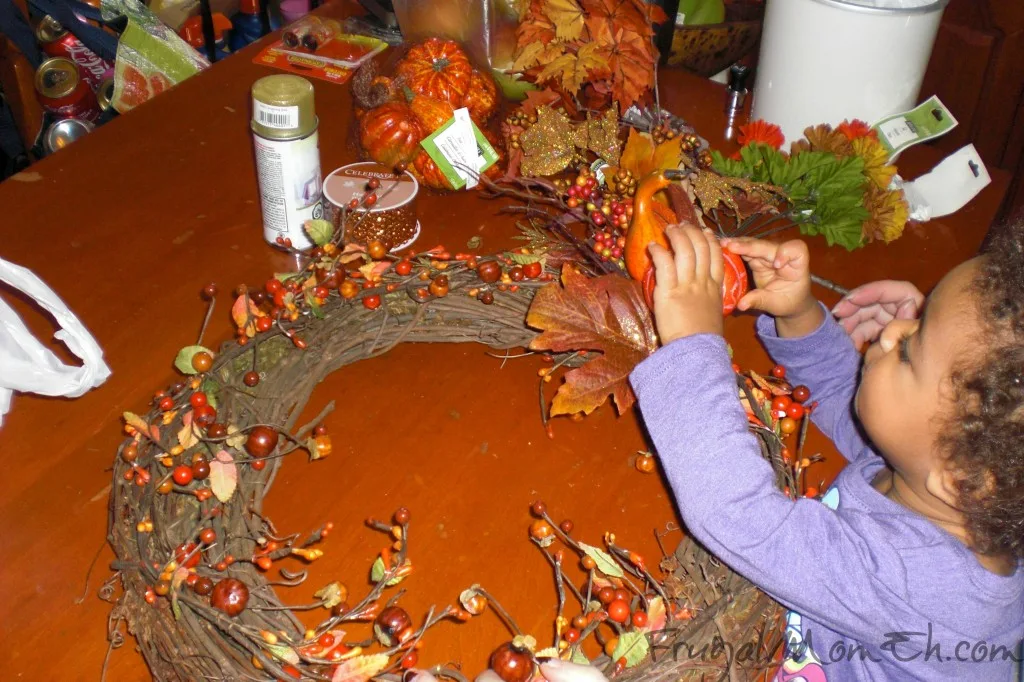
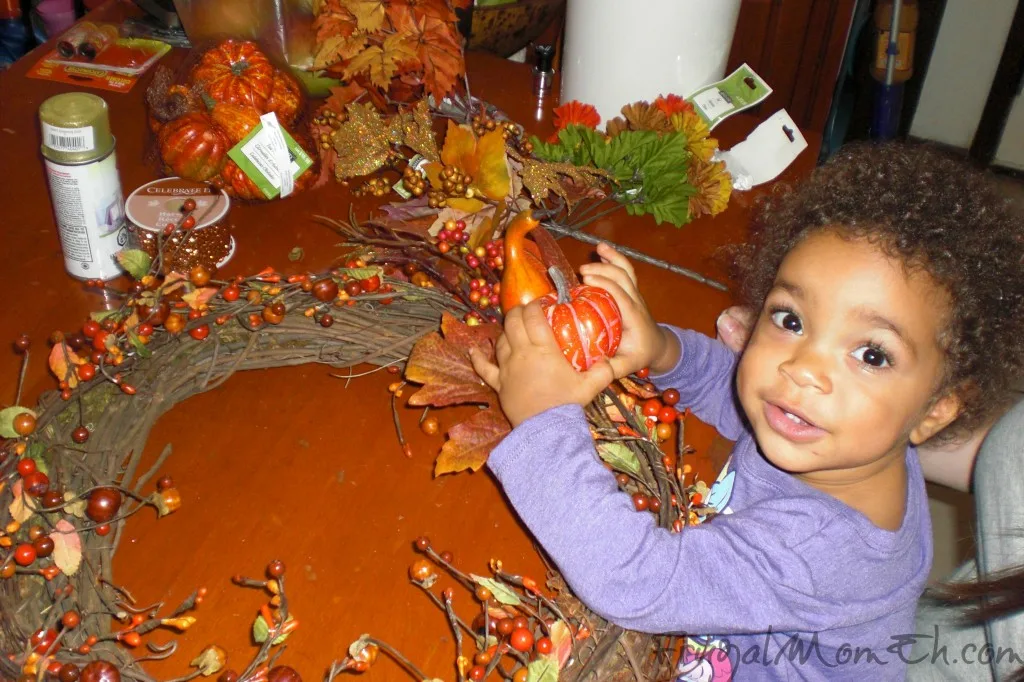
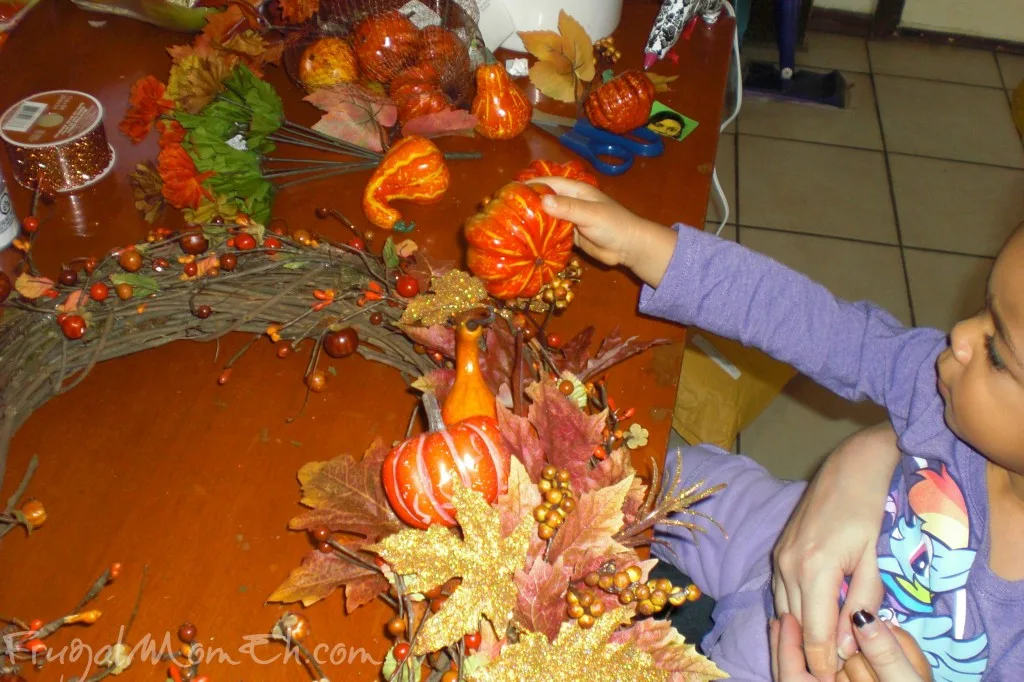
While Keira is only 21 months old, I knew I wanted to create something really beautiful with her and show you all that you can craft beautiful things with your kids, no matter their age, if you have the right supplies. To get Keira involved from the start I let her pick out some items that she liked to incorporate into the wreath. She really loved the plastic pumpkins and gold leaves so I worked with that and got a few other supplies from all the amazing fall themed items I found at Michaels, to tie it all together.
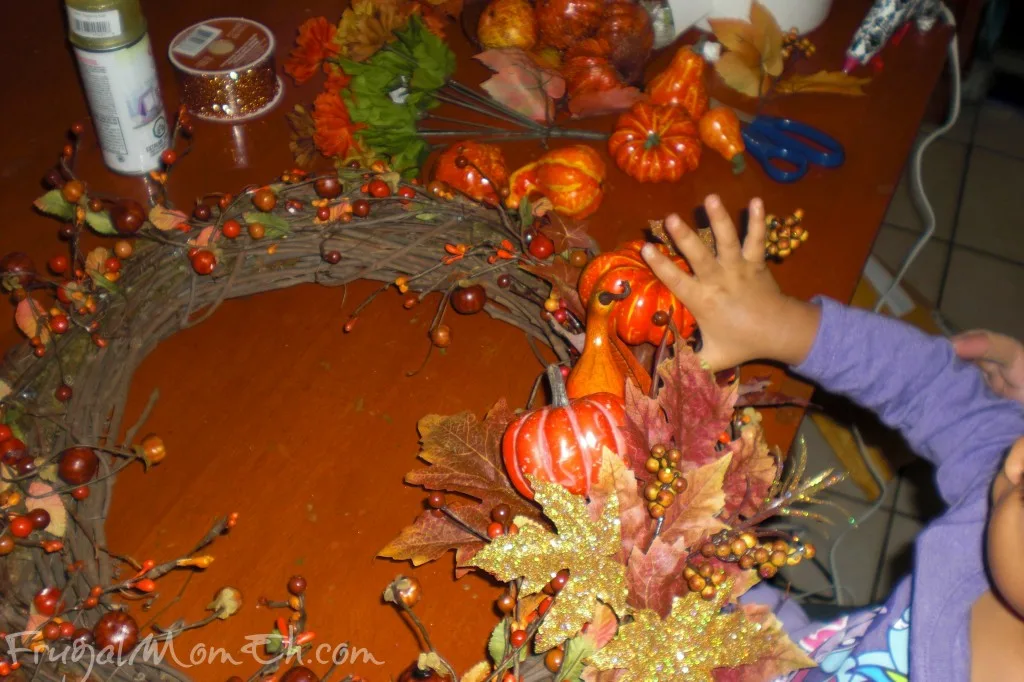
To create the wreath I had her help me lay out the placement of everything prior to permanently attaching anything. She had a lot of fun showing me where things should go, and her placements worked out quite well. If you have older children they could create the entire wreath themselves with a little supervision when it comes to hot gluing it all together.
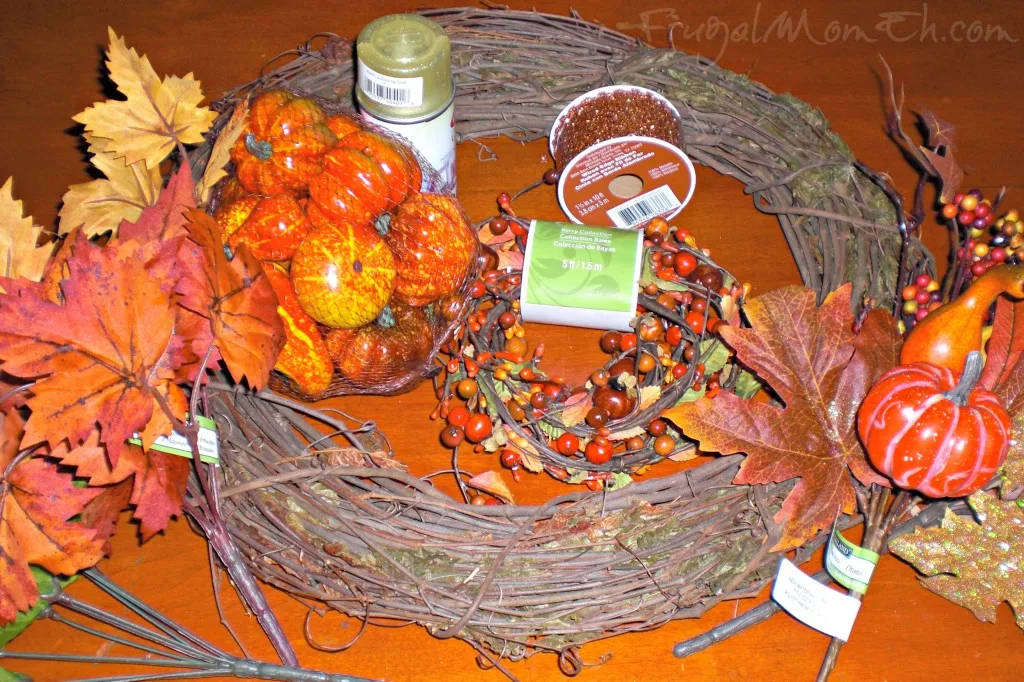
Supplies
Grapevine Wreath (I used an 18 inch wreath)
Fall themed stems (Leaves, Flowers etc..)
Fall themed items (i.e. Pumpkins, string of berries)
Wire-edged Ribbon
Glitter Spray Paint (optional)
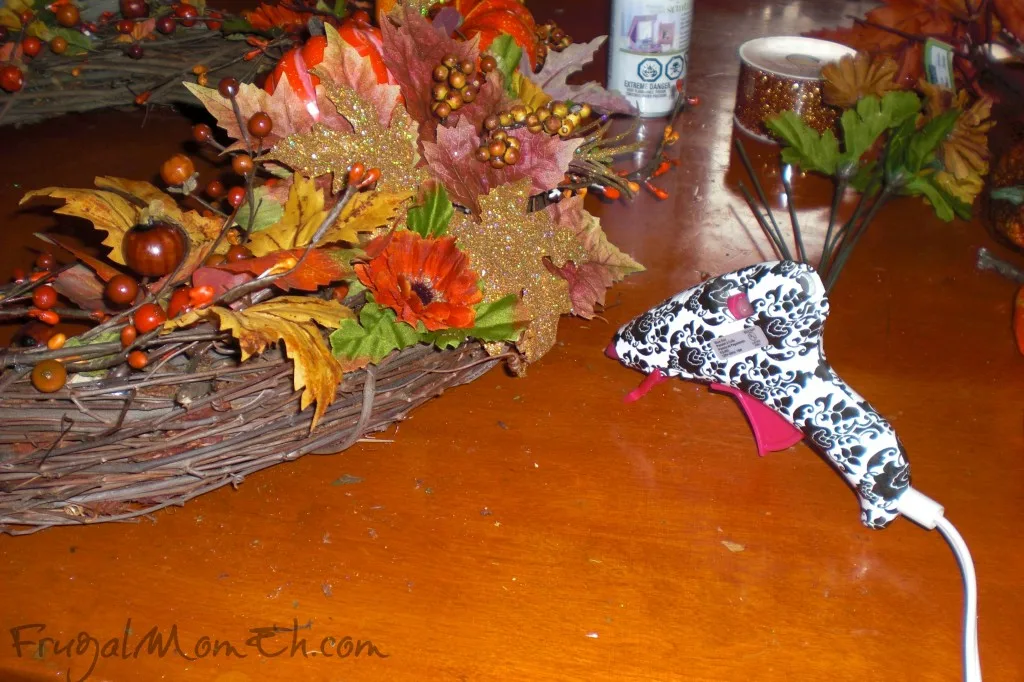
Hot glue Gun and Glue
Wire Cutters (If needed to cut stems)
Instructions
1) I started by laying down the string of berries we had purchased and hot gluing it down as a base to get us started with the wreath.
2) I cut most of the stems up so that I could place them as a I wanted. I did this ahead of time so I wouldn’t have to do it with Keira there.
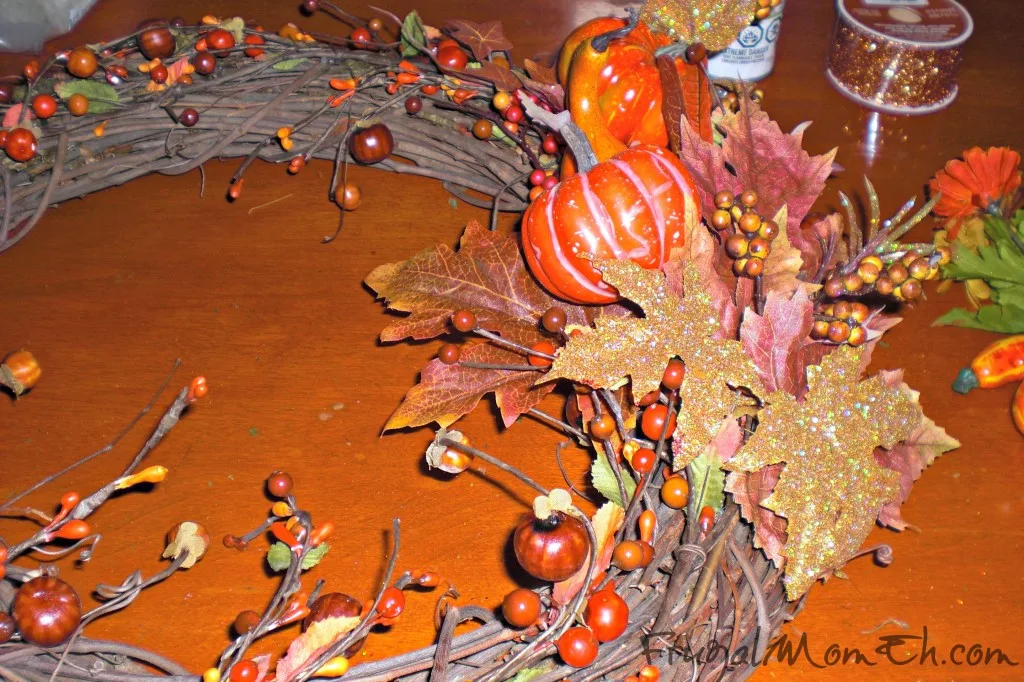
3) I decided we wouldn’t be decorating the entire wreath, but rather making it decoration heavy in one area so that is the area I sat Keira down in front of.
4) Once we got everything situated and Keira was clearly ready to move on to other things I got started with Hot Glueing everything down to the wreath.
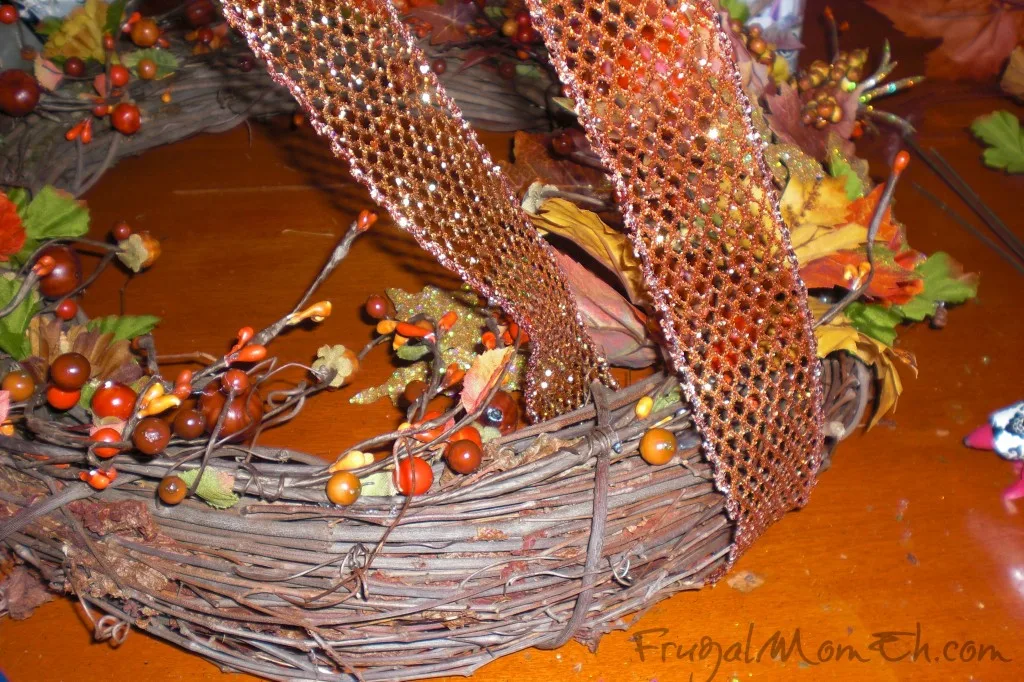
5) I decided to add a bow. This style of bow is really simple and any kid that can tie their shoe laces can create it too. To start, cut a sufficient length of ribbon and wrap it around the wreath where you want the bow.
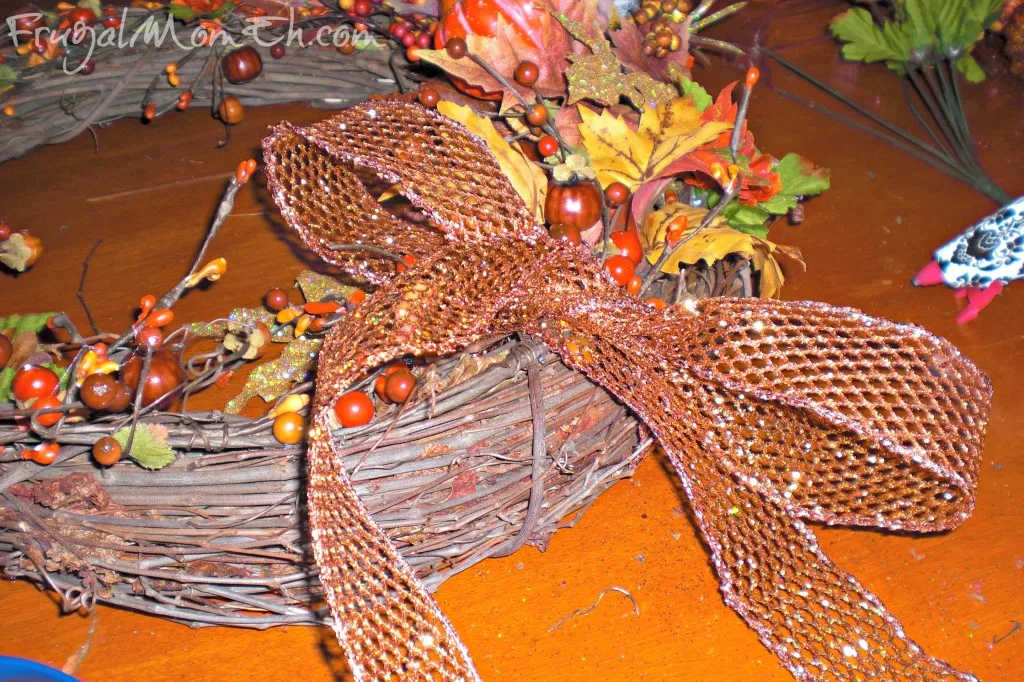
6) Next just tie a bow around the wreath like you would your shoes – you know, rabbit ears! Make sure the ribbon is lined up evenly.
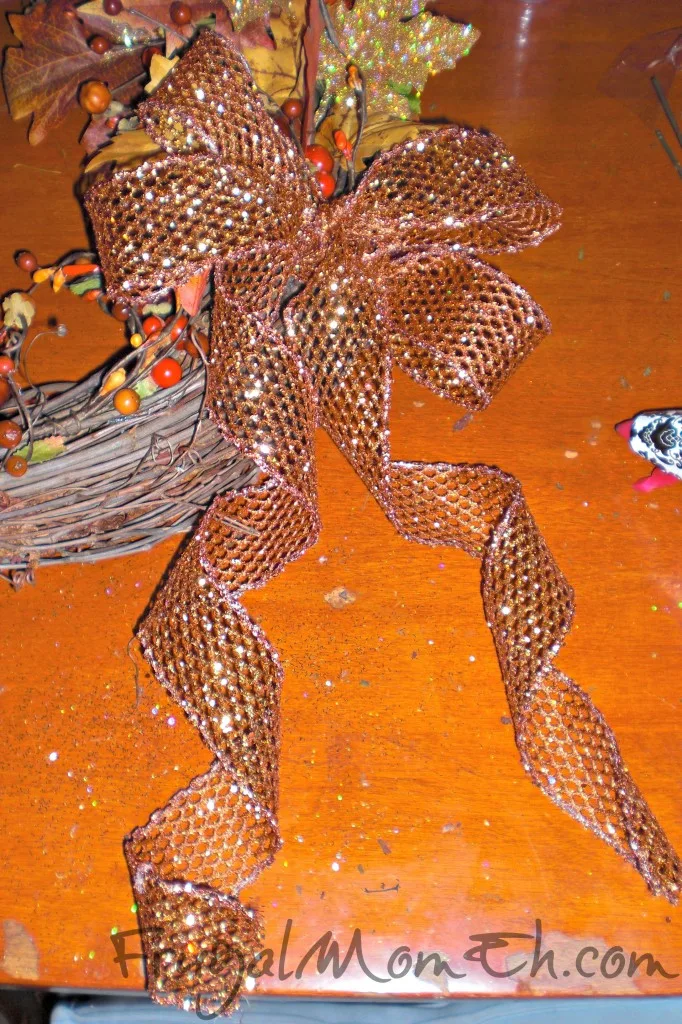
7) Next, tie a second bow the same way. Pull the bows tight. Then simply “fluff” out the rabbit ears to make it look prettier.
8) Take each end of the ribbon that is left hanging and wrap the ribbon tightly around your hand. Gently pull the ribbon down so that the ribbon curls into a wave.
9) I then took the wreath outside and gave it a quick spray with glitter spray to give it a light glittery look to tie in the gold leaves that Keira had picked out.

Elizabeth Lampman is a coffee-fuelled Mom of 2 girls and lives in Hamilton, Ontario. She enjoys travelling, developing easy recipes, crafting, taking on diy projects, travelling and saving money!

Elva Roberts
Thursday 13th of October 2016
Your instructions and directions are so simple to follow that I may attempt to make this wreath. I think that it is very beautiful and certainly a wonderful craft for Thanksgiving and/or the Fall Season. Thank you for this craft.
kathy downey
Saturday 8th of November 2014
following your step by step instructions and try to make a Christmas one
Wanda Tracey
Tuesday 2nd of September 2014
I'm very impressed with the finished results.It looks terrific!! What a lovely idea for the fall.I think you are a very artistic person for making this beautiful fall wreath.Thanks so much for sharing with us.
Darlene W
Monday 2nd of June 2014
talented lady and little one, this would be fun to make for any season
Shannon
Wednesday 9th of April 2014
What a nice wreath and I am totally in love with the glue gun.