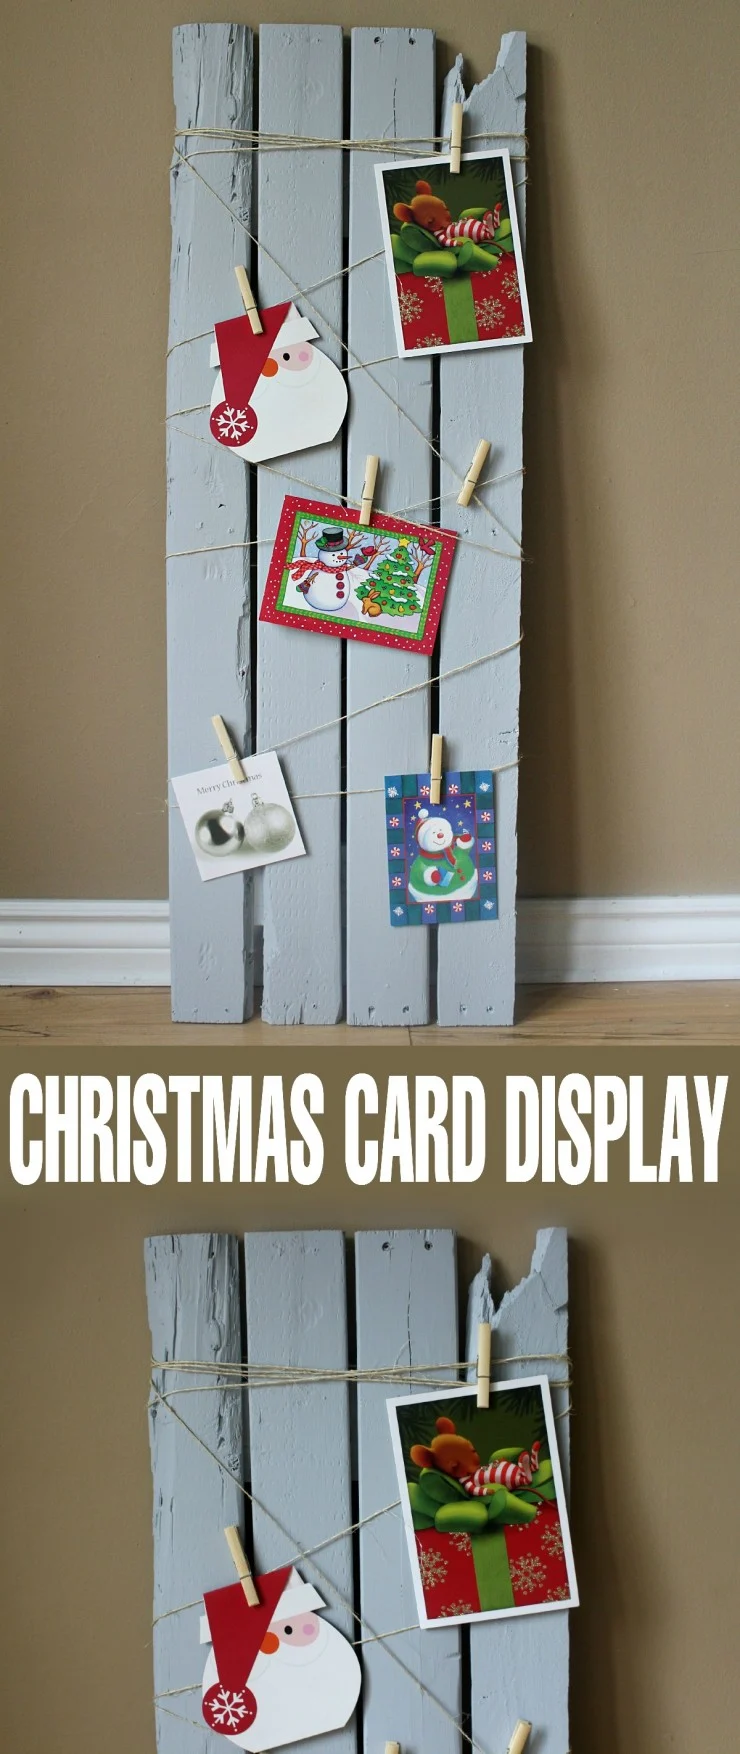
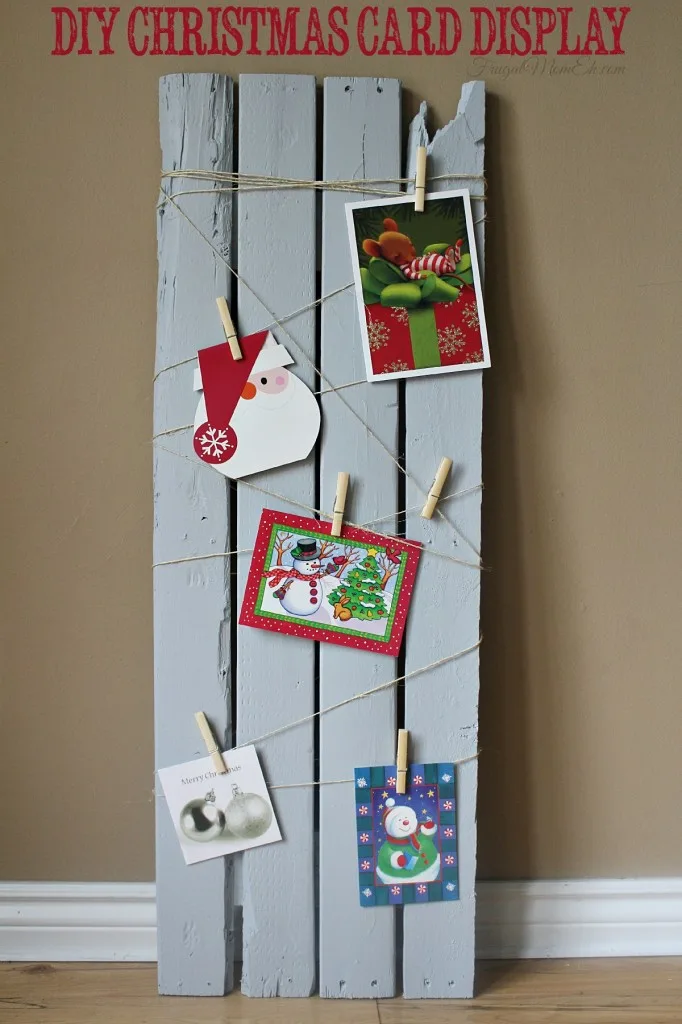
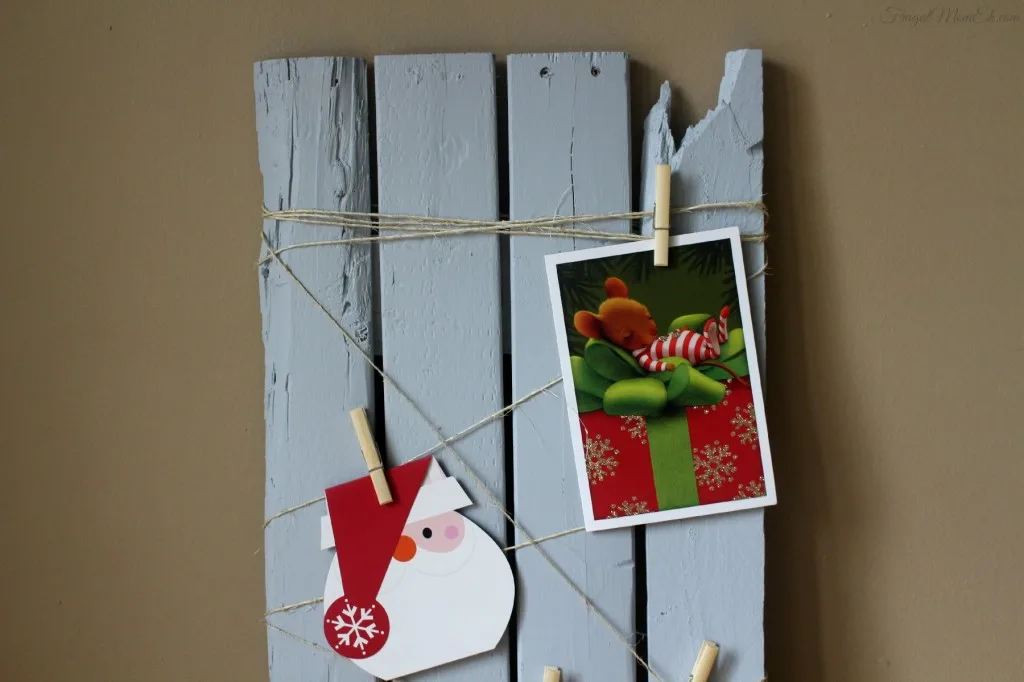
This DIY Christmas Card Display is a great decor idea to help organize your Christmas Cards. Super easy to follow tutorial!
I recently realized that our current home has no mantel. This is a problem when it comes to Christmas so I’ve had to get a little creative with working around it. As a child my mother always ran ribbon down the french door leading to the front hallway to attach her Christmas Cards onto for a full display in the living room. We also don’t have a doorway to do this with because of the layout of the house. I decided I would need to make my own Christmas Card Display and in stroke of good fortune I had a shipment arrive on a wood pallet that was left for me to deal with. Oh happy days!
Don’t you just love when things work out like that?
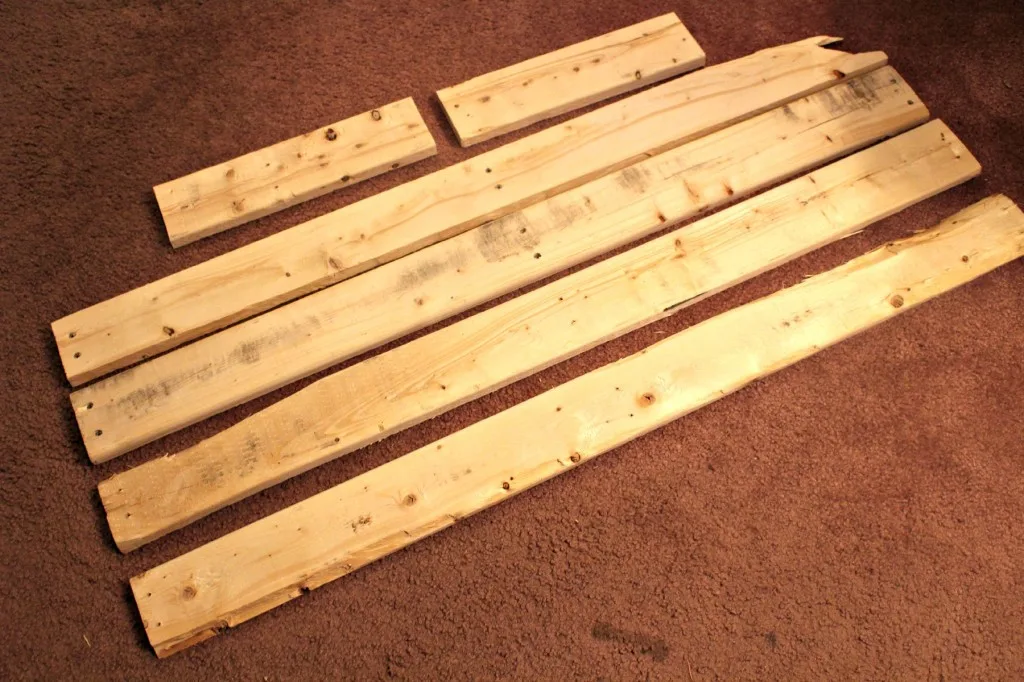
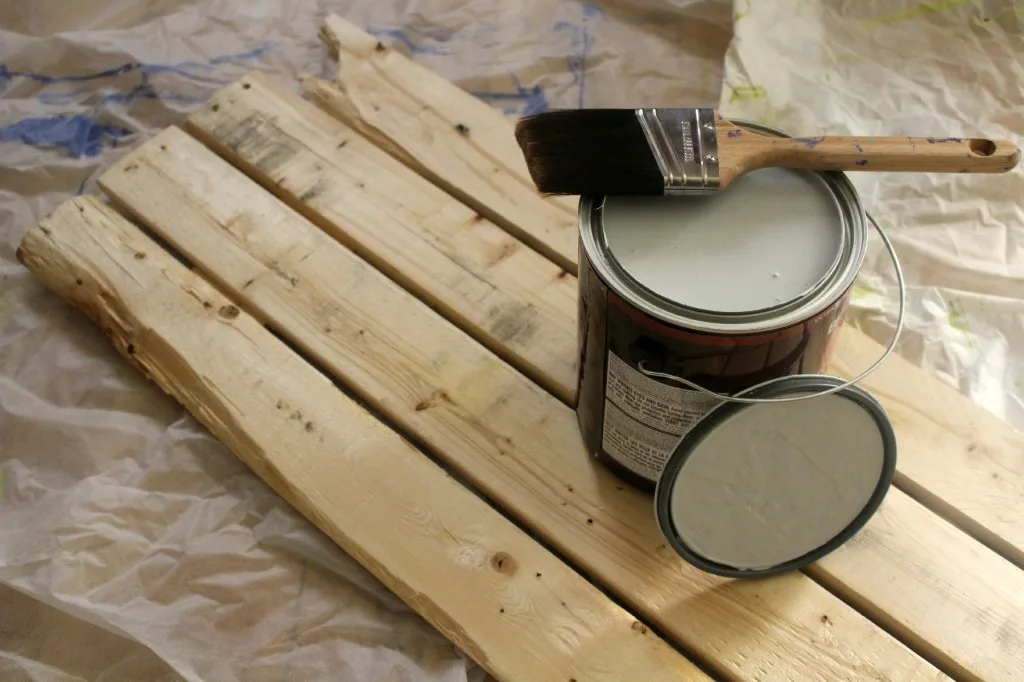
I dismantled the pallet and broke it down to its slats. It hadn’t all come apart nicely but the imperfections certainly lend to the rustic look of it anyway. I picked out and arranged four boards with a fifth board set aside and cut in thirds.
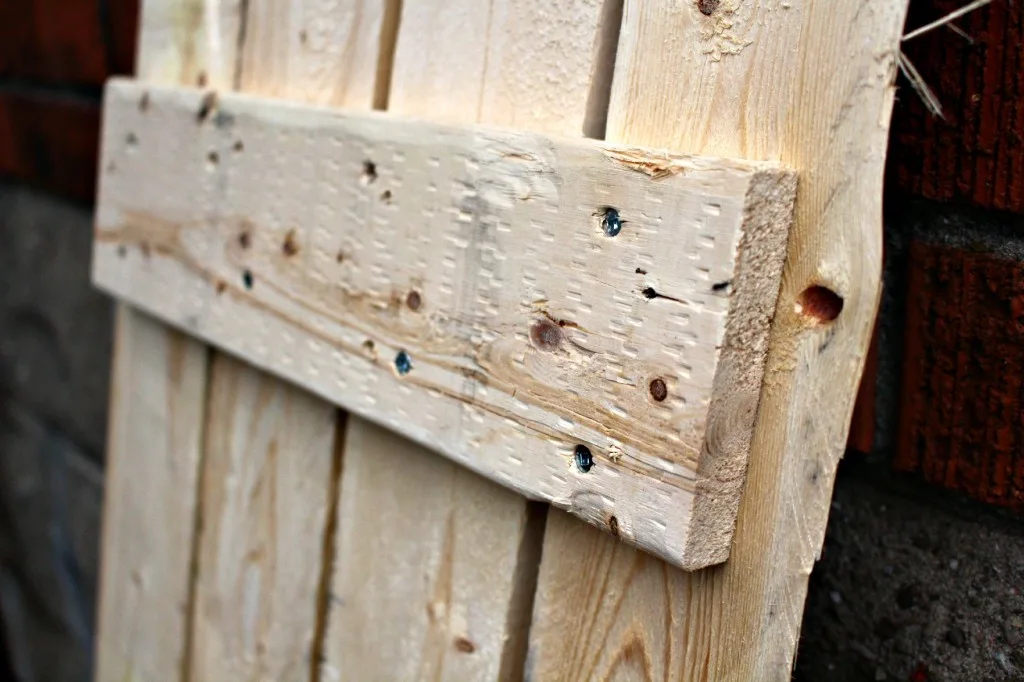
I took the two smaller boards and screwed them securely to the top and bottom of the four boards. This is best done by using two screws per board along the smaller boards. I also lightly sanded the boards to prep for painting – I wanted to be careful to preserve the distressed look of the wood but make it a little bit easier to paint.
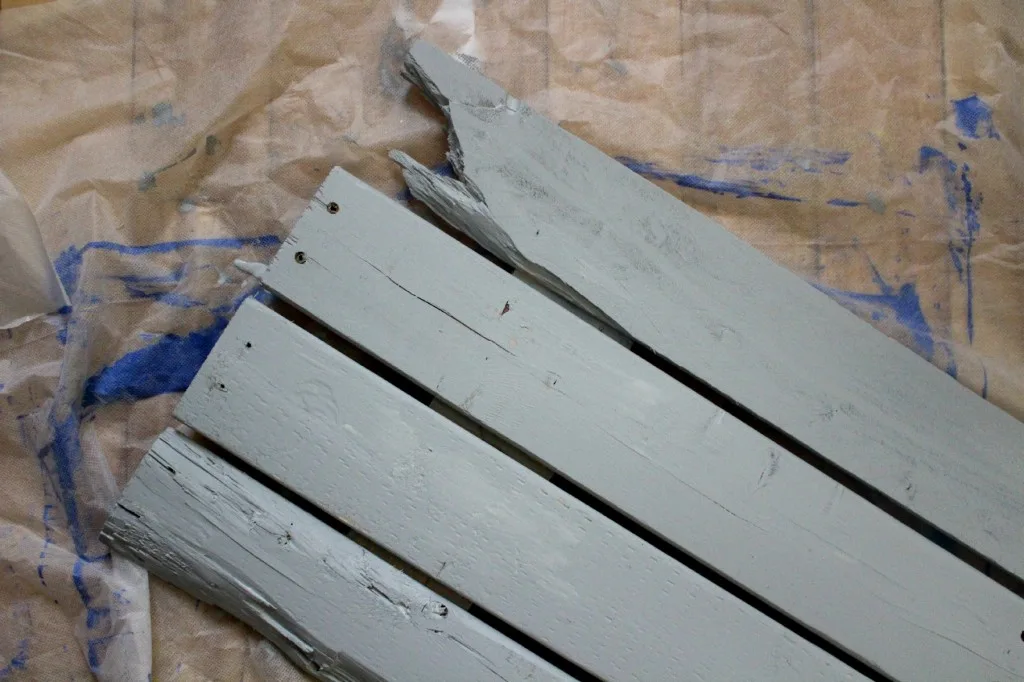
Next up is to paint. I knew I wanted something that reminded me of winter and Christmas but still quite neutral so that the cards would really pop and stand out. I selected Distant Star from OPULENCE lifestyle collection of the BEHR Marquee line in a flat sheen. I think Distant Star is just perfect, I would actually love a room painted in this crisp and clean looking colour. It reminds me of Grey Winter Skies. It’s a lovely cool grey-blue but the shade is different depending on the light of course. Sometimes it appears more grey and at others like a cool light blue.
I did one light coat of the Marquee to the bare wood and then an hour later hit it with a thick coat of it. That is all it took. The above is after the first light coat. The second really saturated the piece with colour nicely and evenly.
Next I carefully hot-glued some twine to the pack of the piece to help secure it in place and wrapped it around the top a few times. Mostly for aesthetics. Then I just wrapped the twine around the boards every which way. All that was left was to pull out some wood clothespins to finish my new Christmas Card Display!
I love that once the whole holiday season is over I can take this piece and re-purpose it in my office in place of a pin-board!
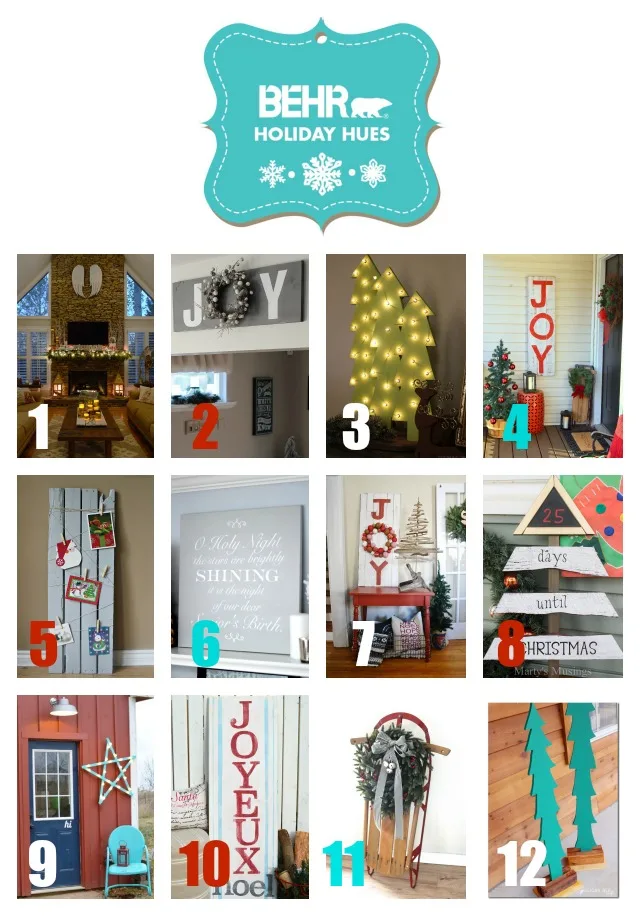
Check out my fellow BEHR DIY Experts and their #BehrHolidayHues projects!
1. All Things Heart and Home | 2. Clean and Scentsible | 3. The DIY Dreamer | 4. The Frugal Homemaker | 5. Frugal Mom Eh | 6. Just a Girl and Her Blog | 7. Liz Marie Blog | 8. Marty’s Musings
9. NewlyWoodwards | 10. A Pop of Pretty | 11. Small Home Big Start | 12. Sugar Bee Crafts

Elizabeth Lampman is a coffee-fuelled Mom of 2 girls and lives in Hamilton, Ontario. She enjoys travelling, developing easy recipes, crafting, taking on diy projects, travelling and saving money!


Victoria Ess
Thursday 1st of January 2015
Love this idea! It's so unique!
kristy e
Sunday 7th of December 2014
I love this idea!! such an easy project, thanks for posting
paula schuck
Saturday 29th of November 2014
I love the colour and the craft. Too bad I missed the giveaway but this is a brilliant idea for card display!!
Deb Adams
Thursday 27th of November 2014
I am definitely doing this..love it!!
Betty C
Monday 24th of November 2014
I would choose at least one shade of gray and an accent color, possibly maroon.