
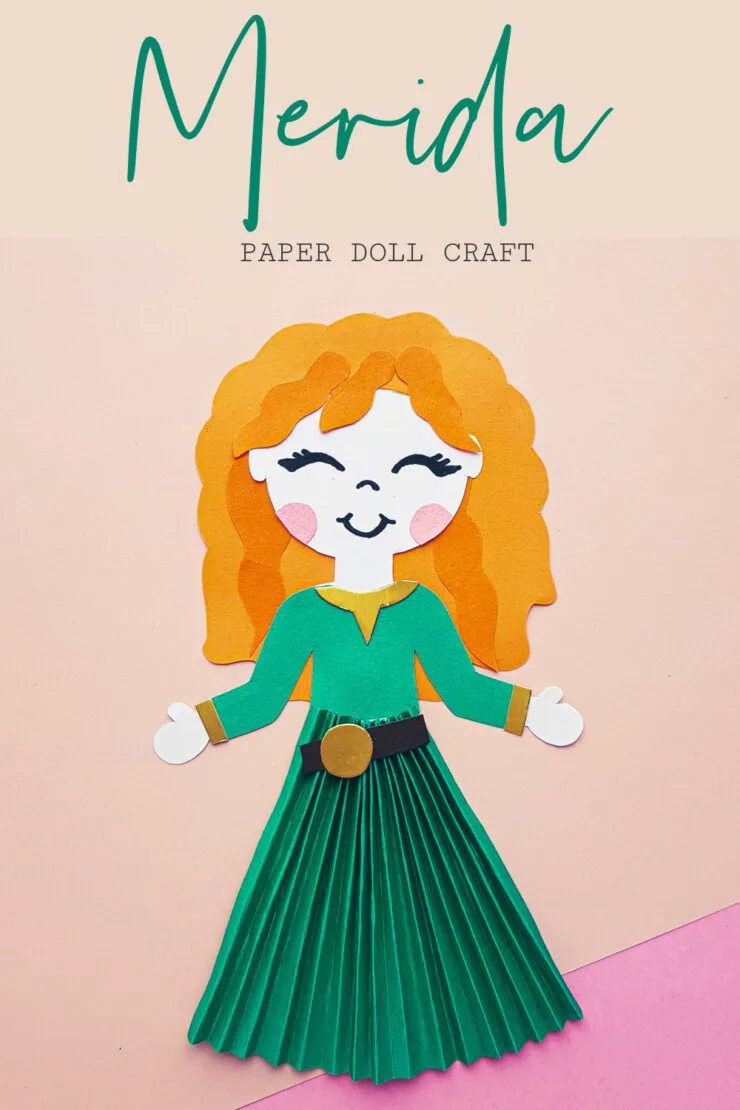
This Disney Princess Merida Paper Doll Craft is not only adorable, but it is also easy to make. Along with the step by step directions below, this craft comes with a free printable document to help aid you in making it.
Looking for more easy Paper crafts for kids?
Check out some of my favourite:
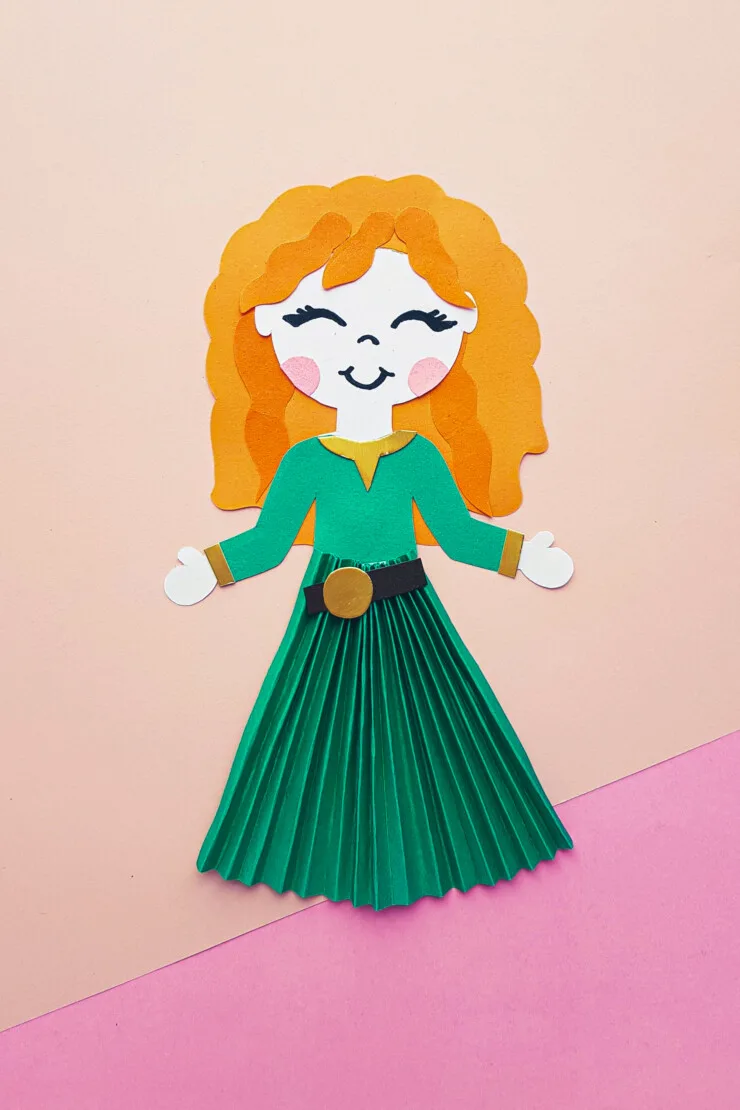
Disney Princess Merida Paper Doll Craft
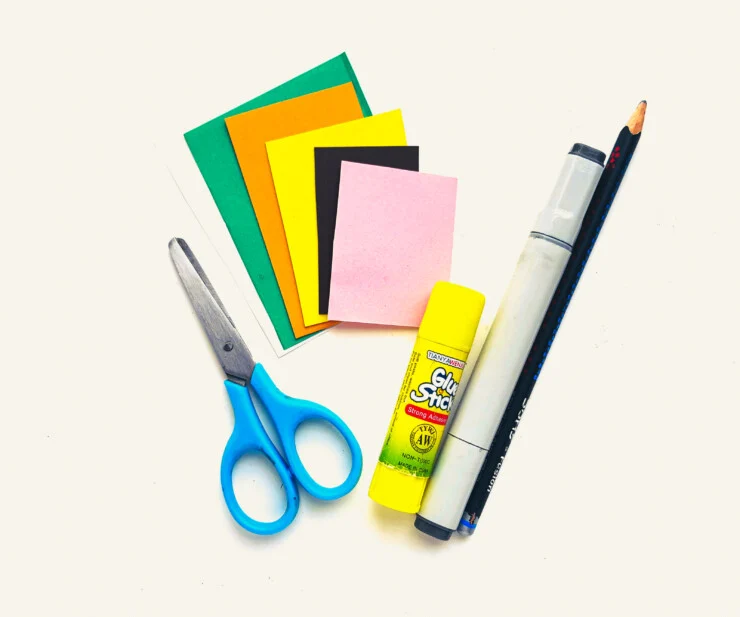
Supplies:
Colourful craft paper
Scissors
Black marker
Craft glue
Pencil
Instructions:
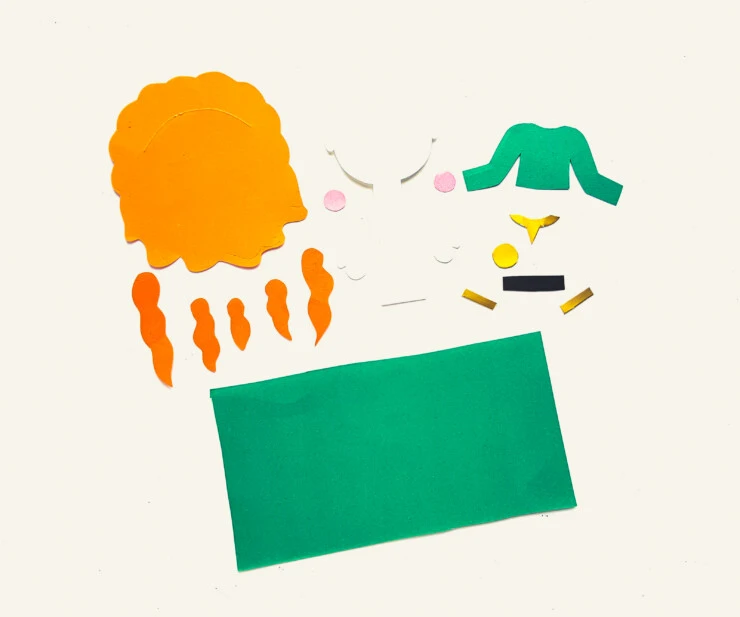
Select green, orange, brown, golden, pink and cream coloured craft papers for the Merida papercraft doll. Trace the top and the rectangle on green colored paper. Trace the hair patterns on orange coloured paper Trace the top half of the body pattern on cream coloured paper, trace the 2 round patterns (blush) on pink coloured papers, trace the small rectangle on brown and the rest of the patterns on golden coloured paper. Cut out the traced patterns nicely.
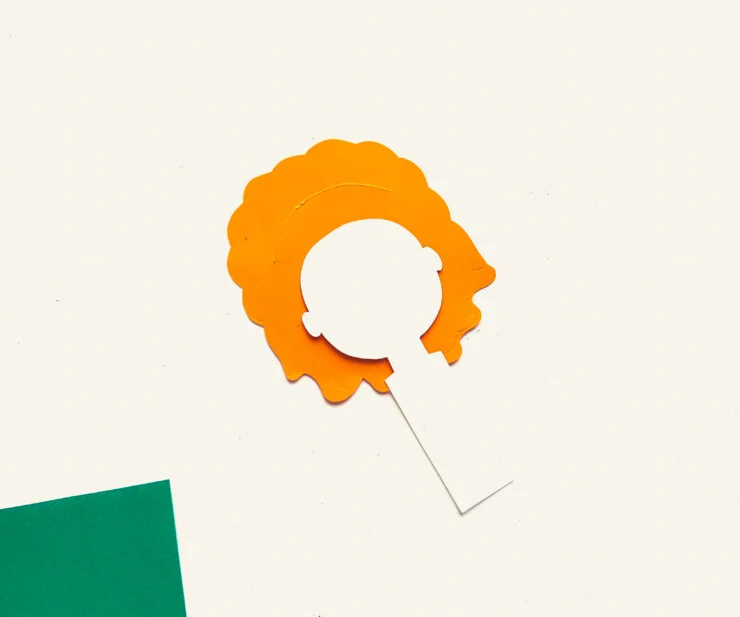
Cut a slit along the dash lines of the hair pattern.
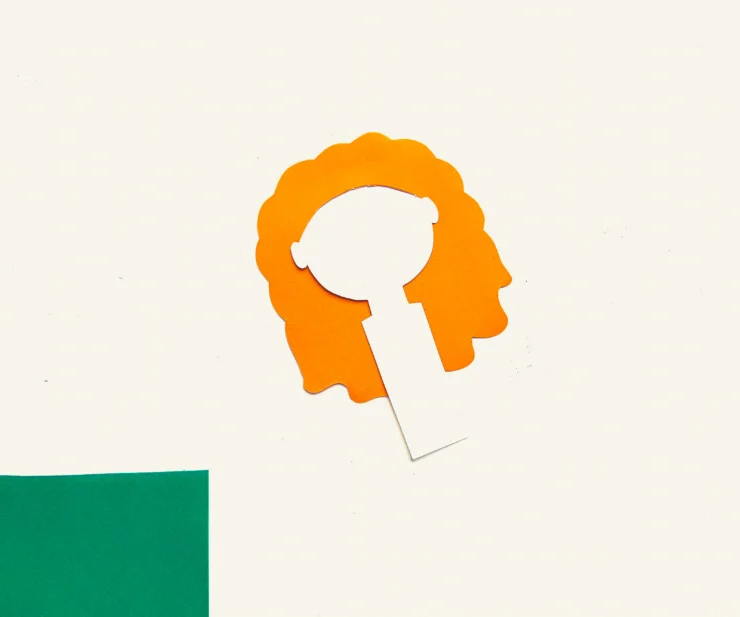
Insert the top end of the head through the slit of the hair from the bottom side. Apply glue to fix the position of the head with the hair.
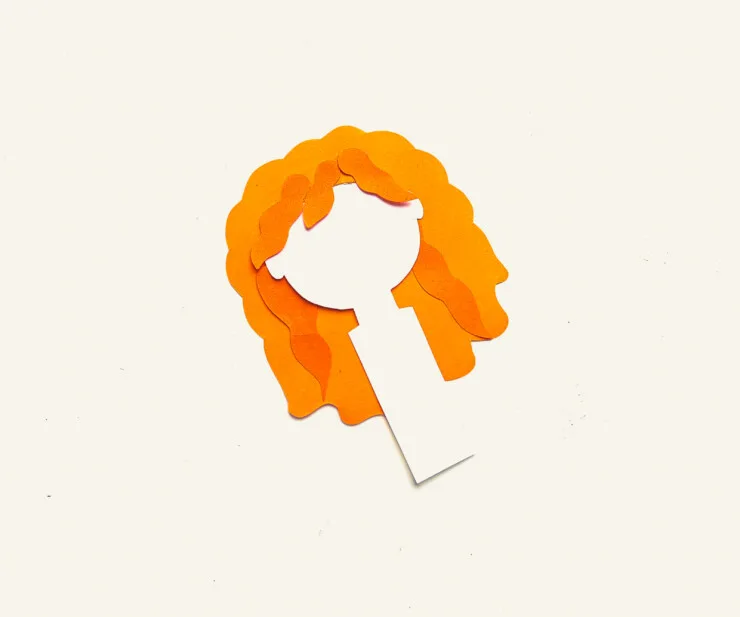
Glue the rest of the hair patterns to complete the hair craft.
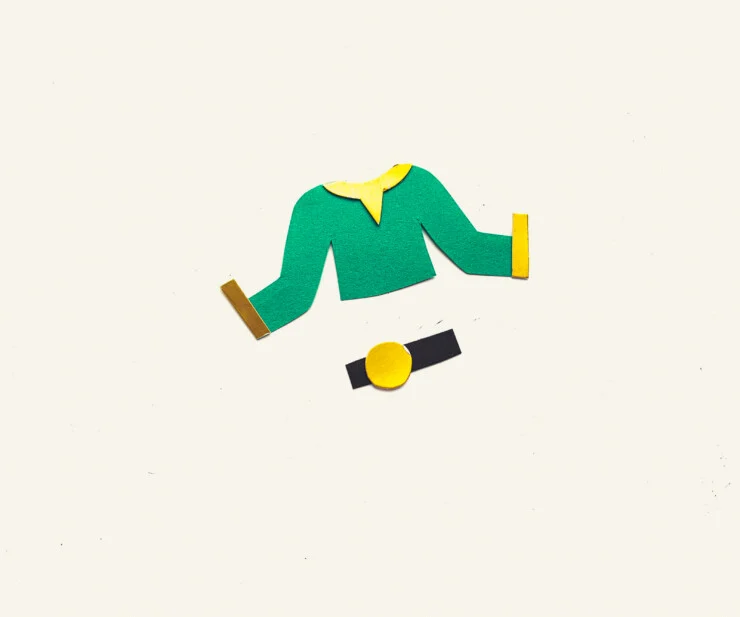
Grab the top pattern and glue the golden cutouts on the top. Also, glue the golden round cutout on the brown strip.
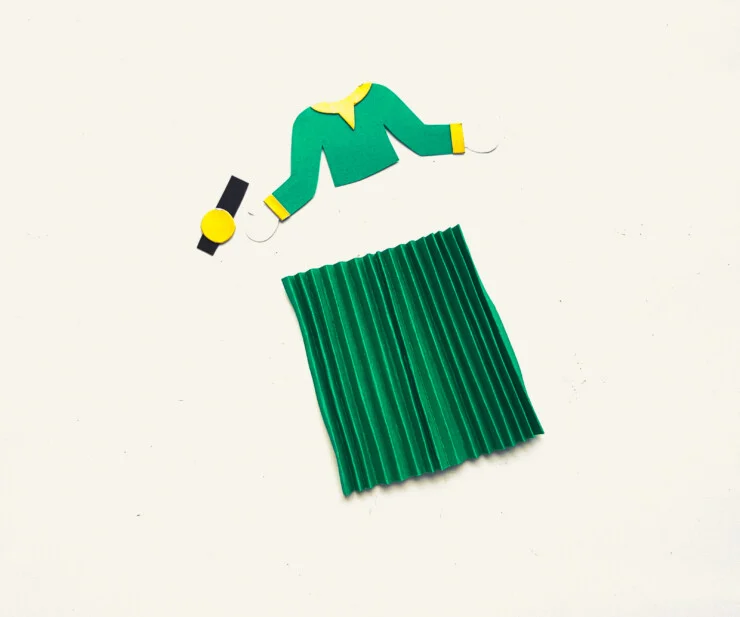
Create small and even accordion folds along the green rectangle cutout.
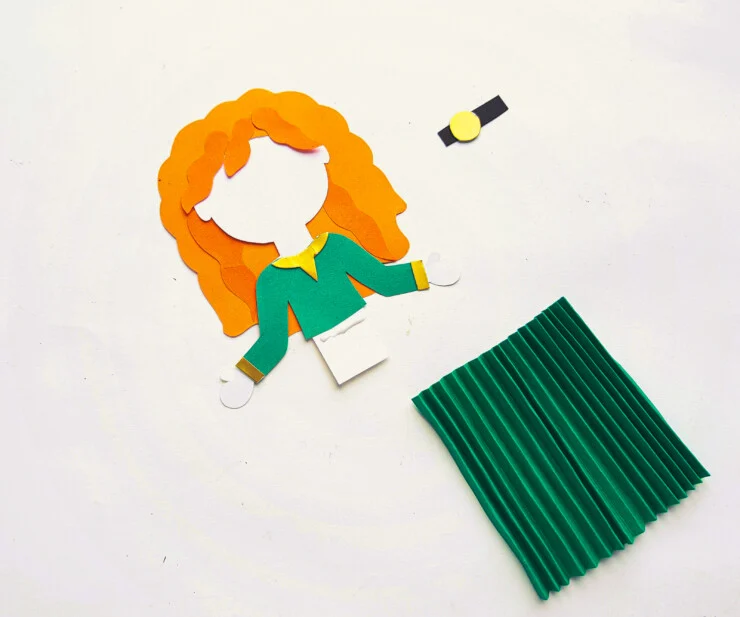
Glue the top on the top part of the body base.
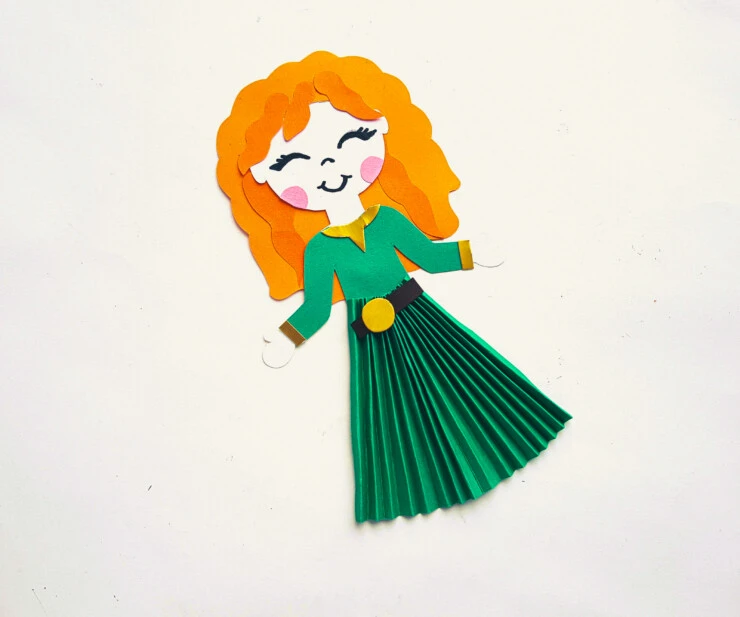
Glue the accordion folded paper below the top. Hold the folds along the top and bring it to the same width as the body base and then glue it with the base. Glue the brown strip (belt) along the top side of the accordion folded skirt.

Elizabeth Lampman is a coffee-fuelled Mom of 2 girls and lives in Hamilton, Ontario. She enjoys travelling, developing easy recipes, crafting, taking on diy projects, travelling and saving money!

Dandi Daffyhill
Wednesday 11th of November 2020
This is so cute and my daughter would love to it!
Shirley O
Wednesday 11th of November 2020
Such a fun craft idea!