
Simple picture frames and paper doilies transform into a cute as can be snowman to decorate your door all winter long! Make this Picture Frame Snowman Door Hanger in just about 30 minutes with supplies from any dollar store.
Picture Frame Snowman Door Hanger
Supplies:
- Plastic Picture Frames, 3” x 5”, 4” x 6”, 5” x 7” – Dollar Store
- Paper Doilies, White, Assorted Sizes – Dollar Store
- Snowflake Felt Cutouts – Dollar Store
- Glitter Glue, Clear – Dollar Store
- Orange Felt – Scrap
- Buttons – Black, Large
- Ribbons, Assorted
- Spray Paint, White – Make sure it bonds to plastic
- Craft Paint, Light Blue
- Glue Gun and Glue Sticks
- Adhesive Runner
- Strong Adhesive – I used E6000
- Scissors
- Ruler
- Paintbrush
Instructions:
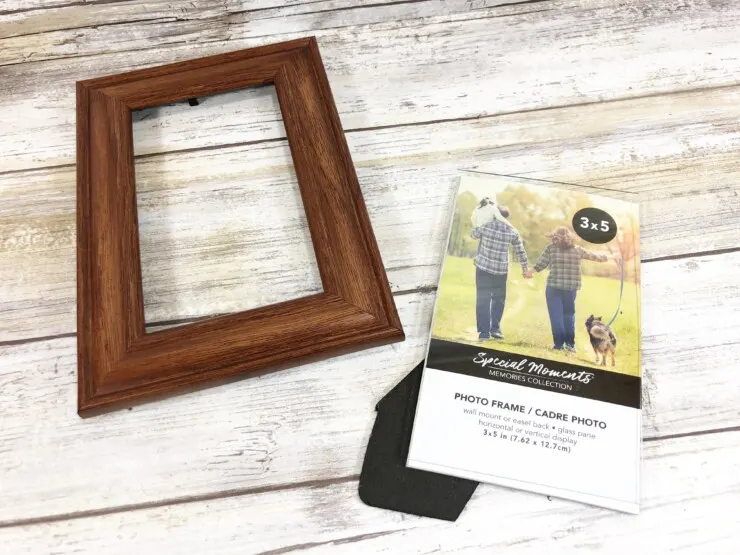
Gather all supplies. Remove cardboard backing, paper liner and glass from picture frames. Set these items aside.
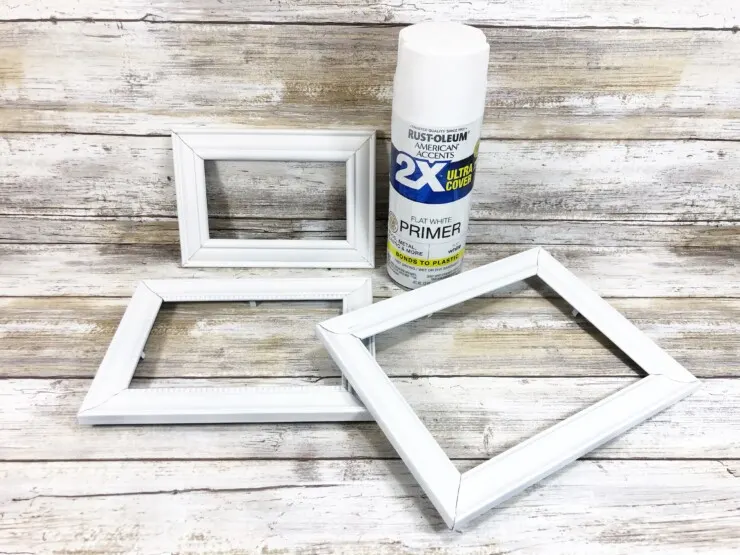
In a well-ventilated area (or outside) spray paint plastic picture frames white. Apply several light coats to achieve a solid coating.
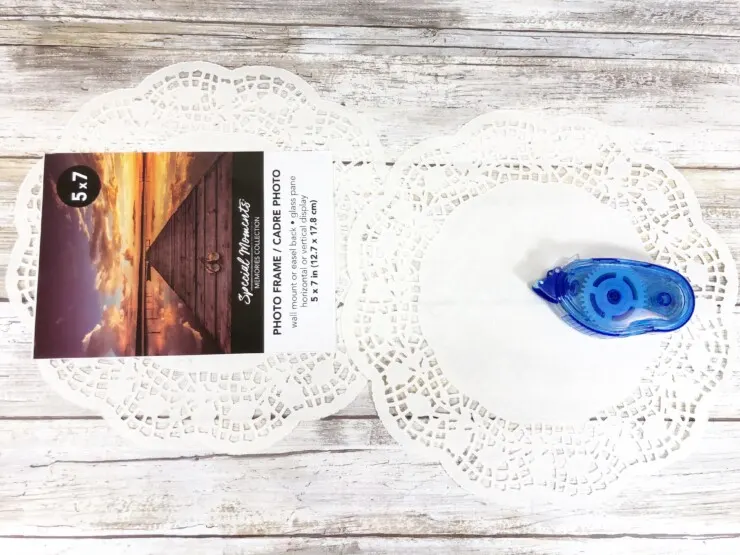
Using the paper picture frame liner as a base, apply layers of doilies onto plain white side with adhesive runner.
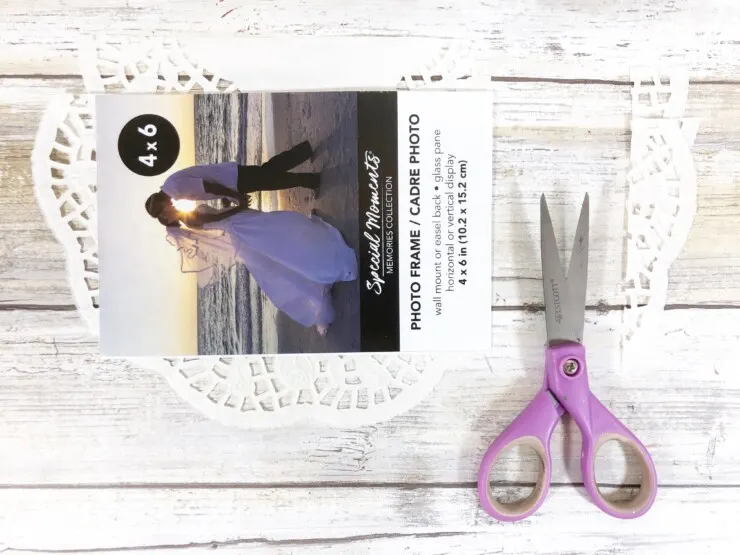
Flip over and trim all edges with scissors.
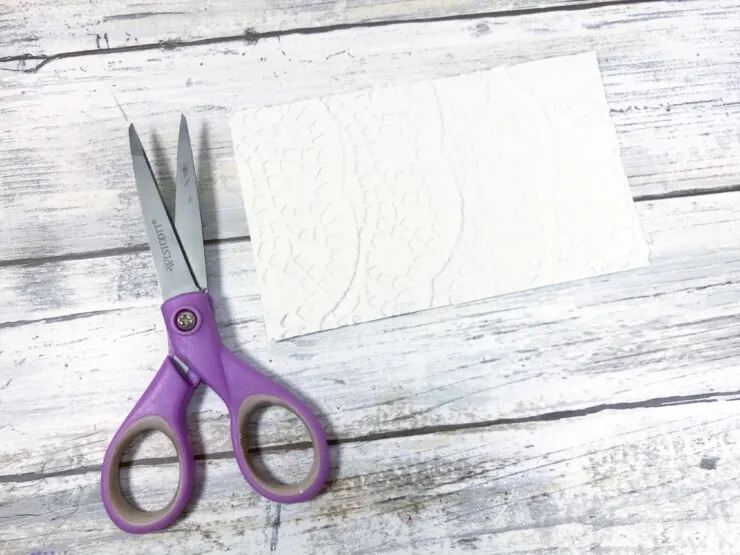
Repeat with all three picture frame inserts.
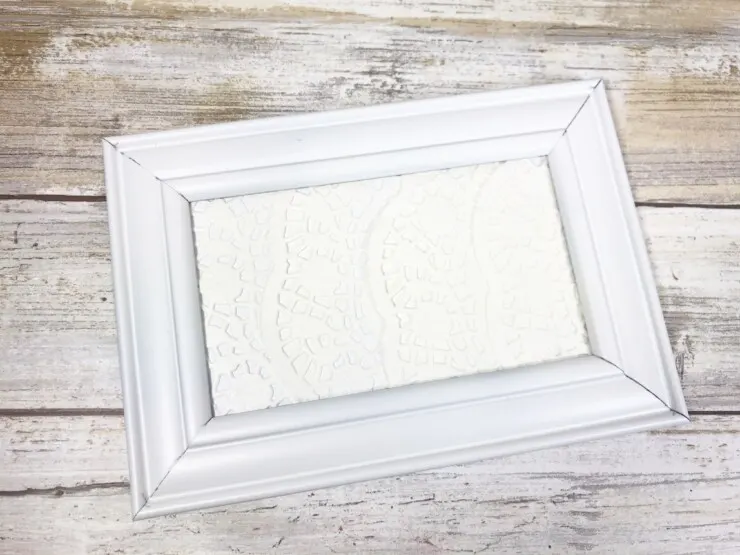
Insert doily covered papers and cardboard backing into all three picture frames.
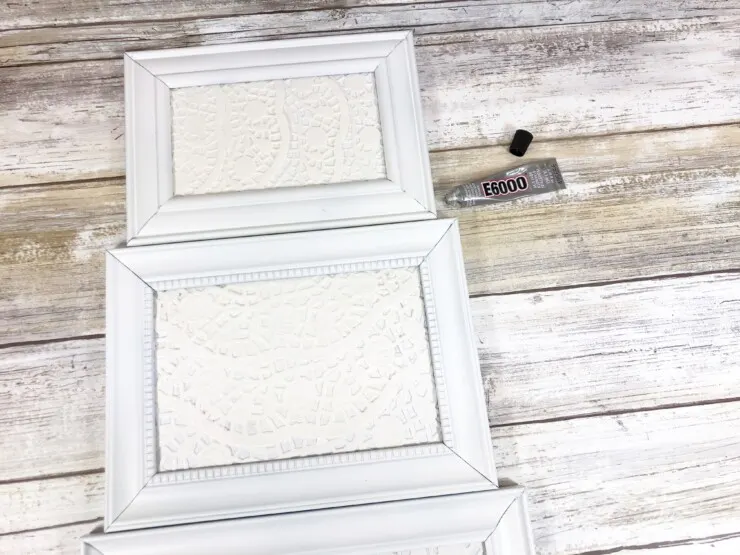
Stack picture frames and secure matching edges with a strong adhesive like E6000. Set aside to dry overnight.
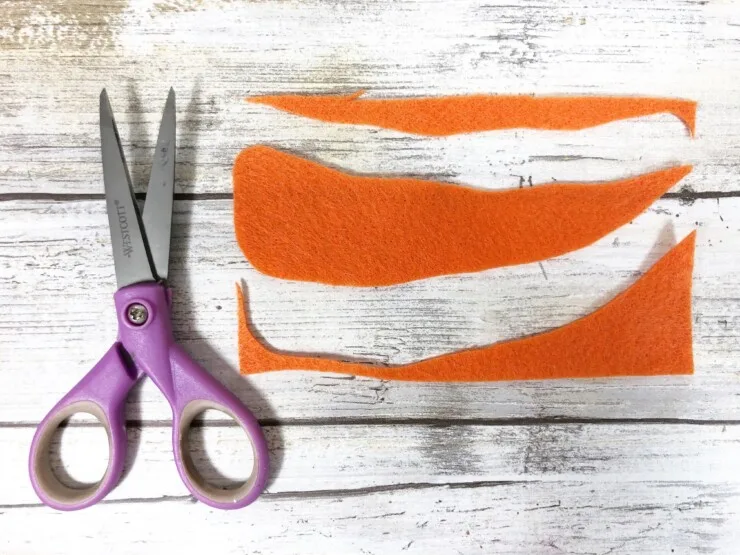
Cut a carrot nose from orange felt. Orange cardstock would work as well.
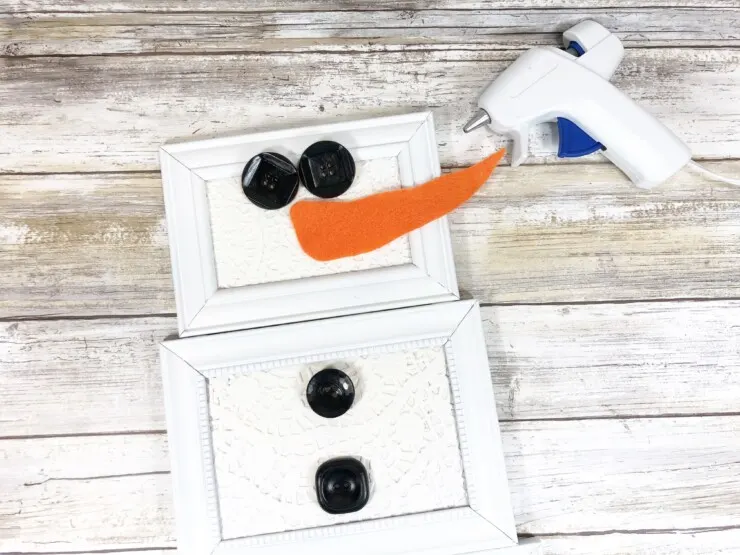
Attach carrot nose, two large black button eyes and three buttons to snowman with the glue gun and glue sticks.
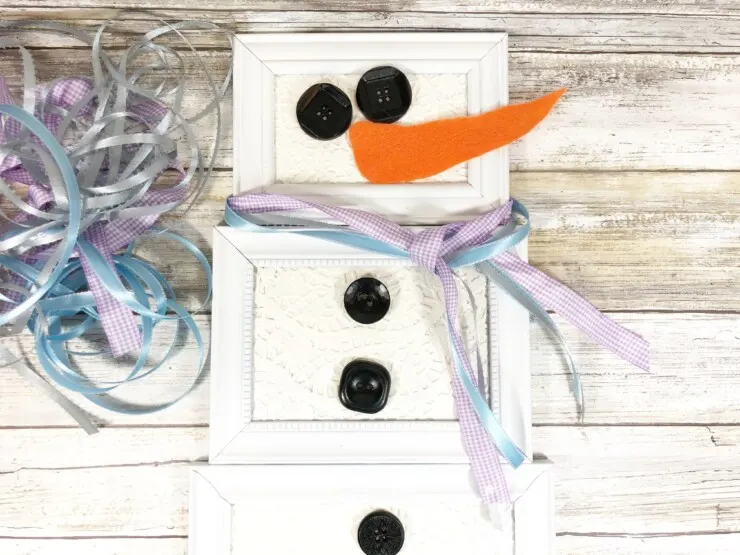
Measure and cut 24” lengths of at least three types of ribbon. Tie around snowman’s neck and secure with the glue gun.
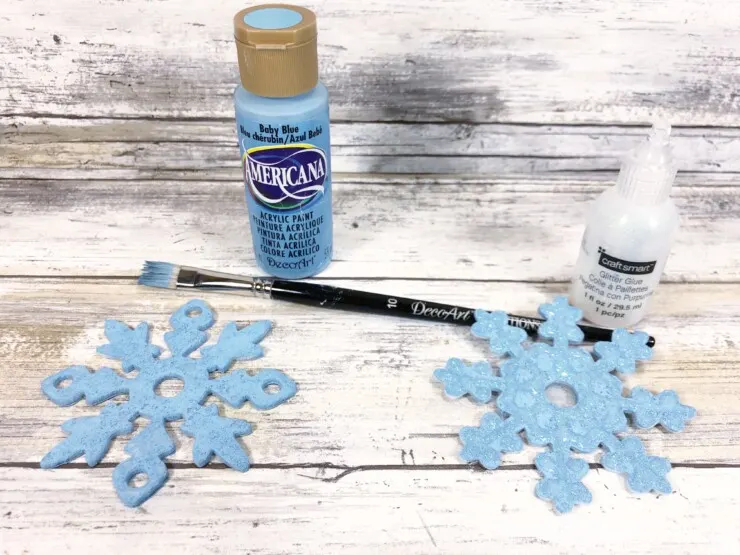
Paint snowflake cutout with light blue craft paint. Set aside to dry.
Outline with clear glitter glue, let dry.
Then glue to snowman to finish.

Elizabeth Lampman is a coffee-fuelled Mom of 2 girls and lives in Hamilton, Ontario. She enjoys travelling, developing easy recipes, crafting, taking on diy projects, travelling and saving money!
