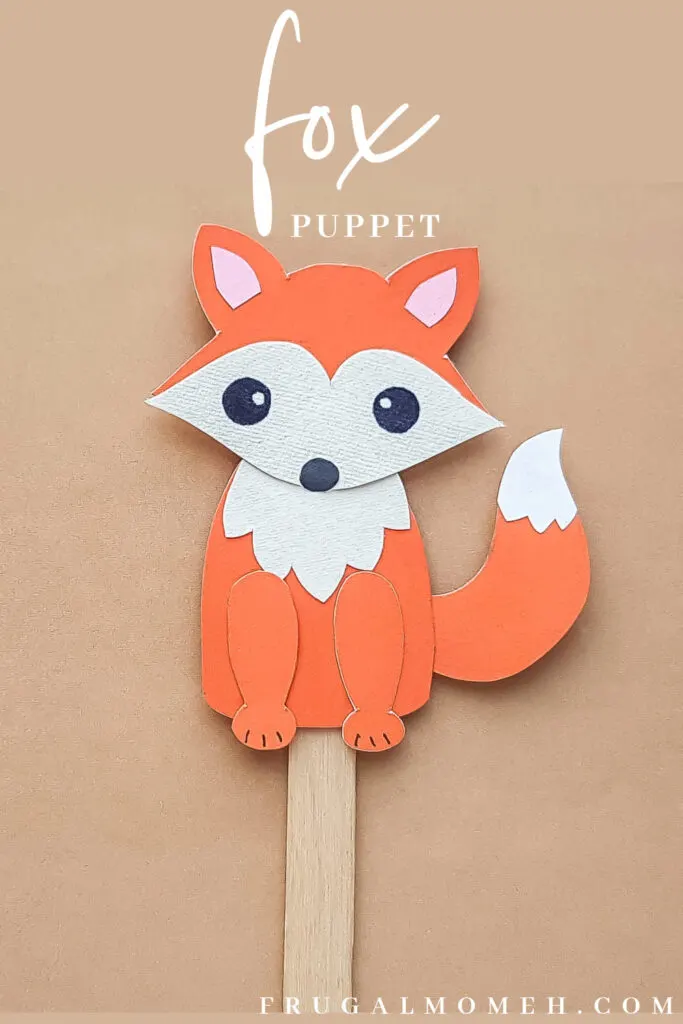
This Papercraft Fox Puppet is an easy kids paperfcraft animal project with a free papercraft template to help you make this kids craft.

You can make a complete woodland animal puppet set once I have shared all the puppet crafts I have to share.
I previously shared a papercraft deer puppet that I am just in love with, as well as the cutest raccoon puppet. Adorbs!
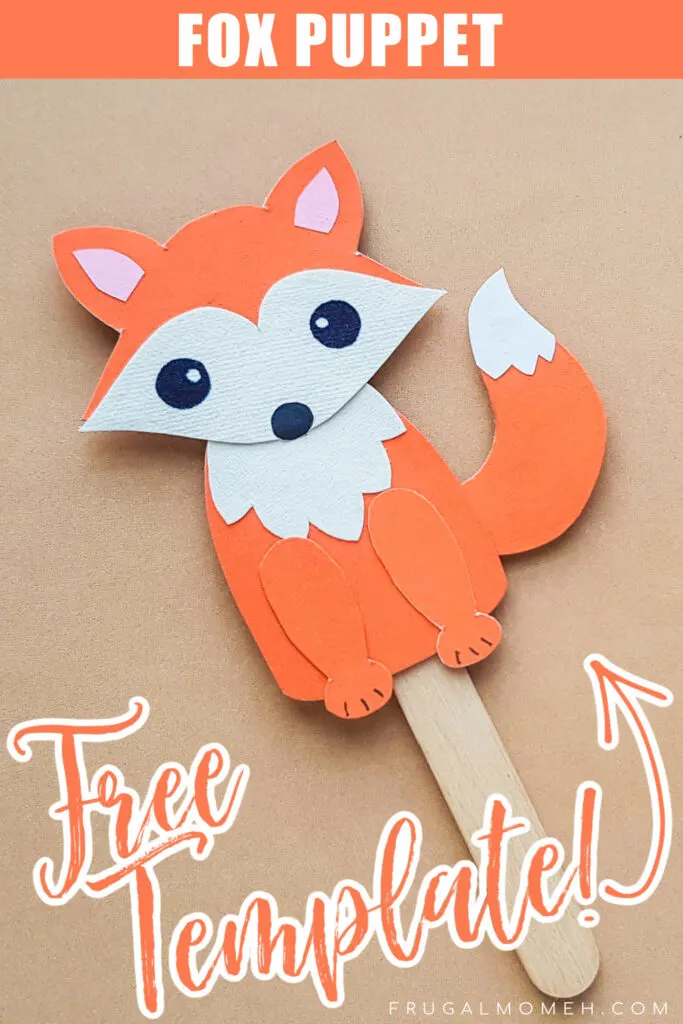
How to make a Papercraft Fox Puppet
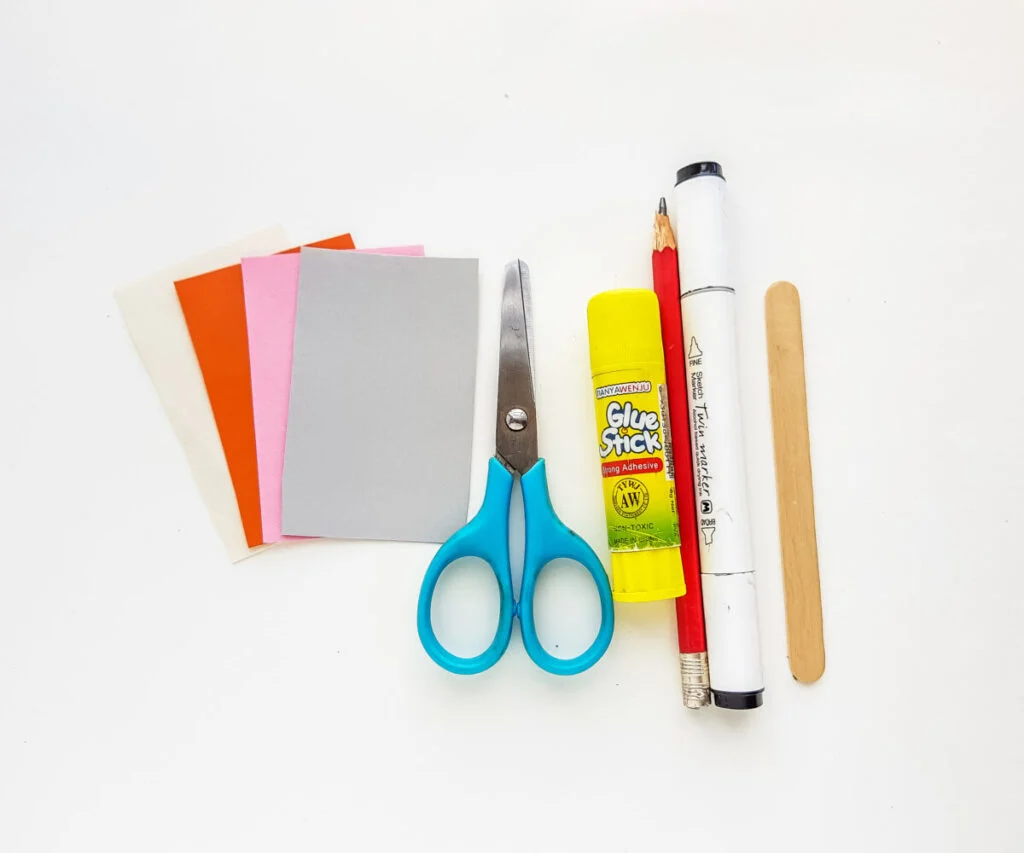
List of Supplies:
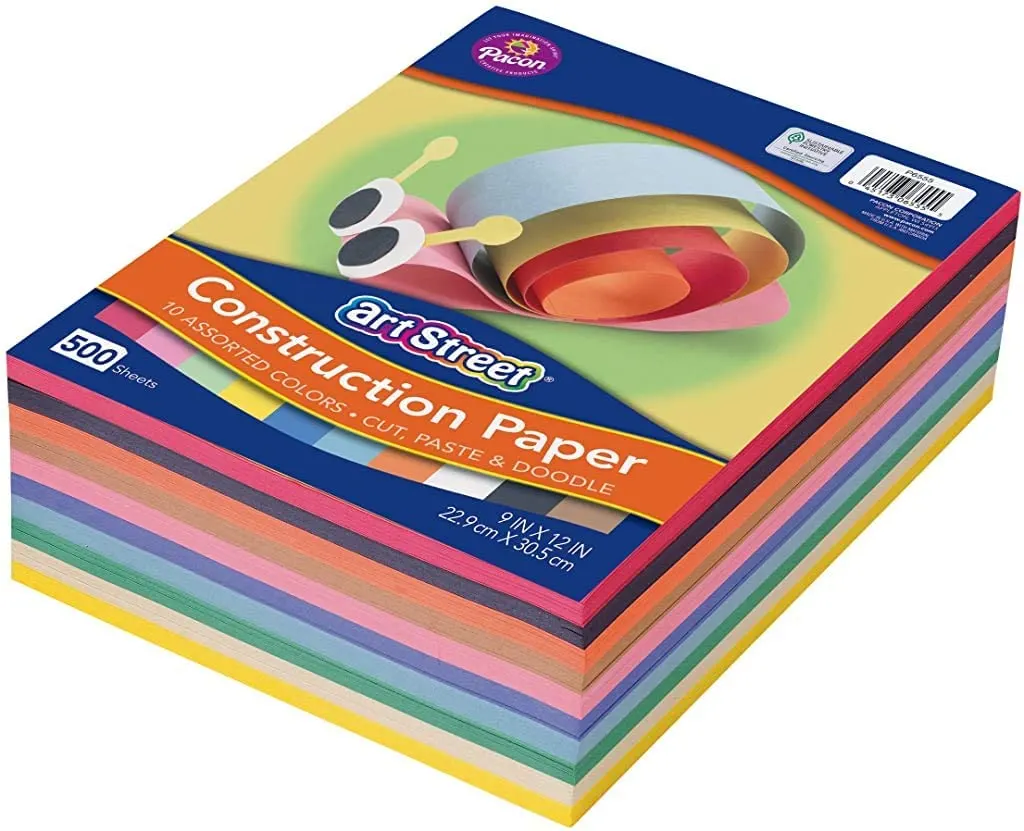
- Coloured craft papers
- Craft glue
- Pencil
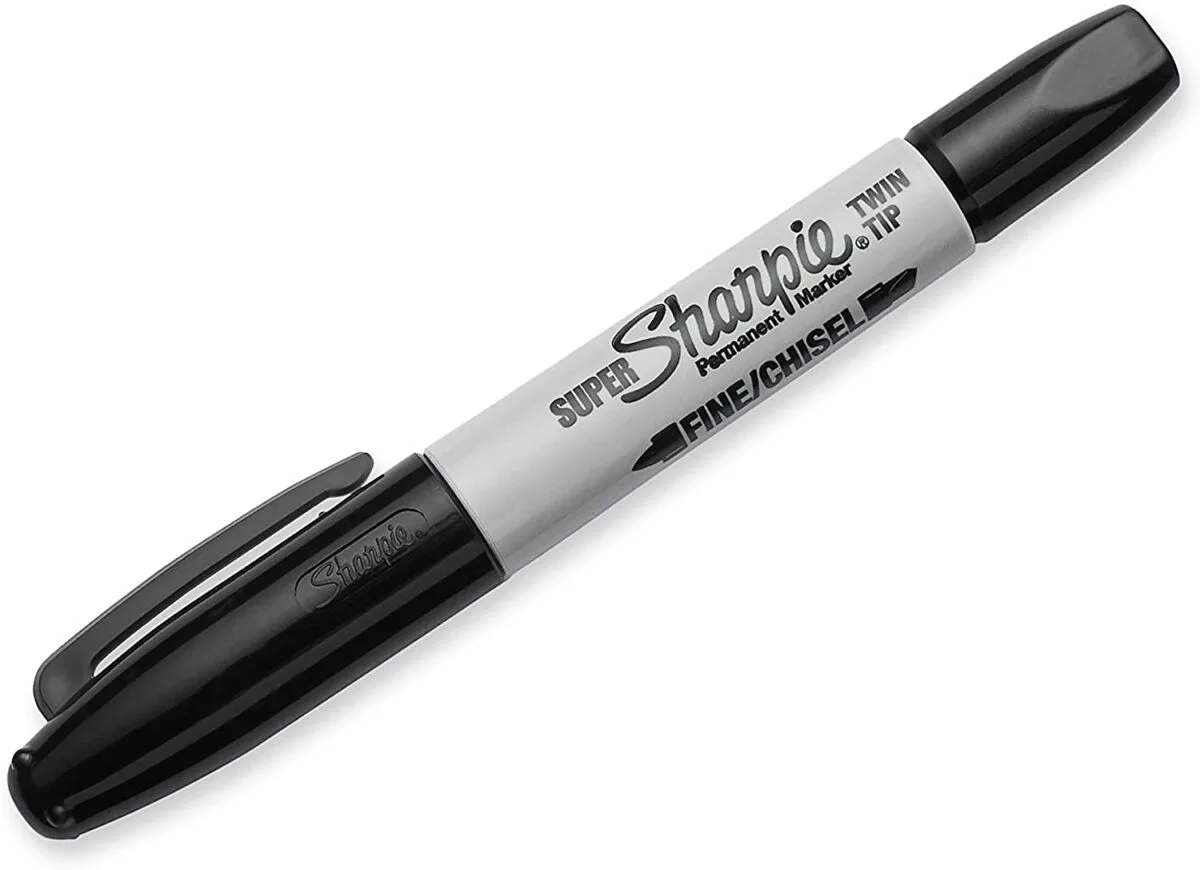
- Sharpie
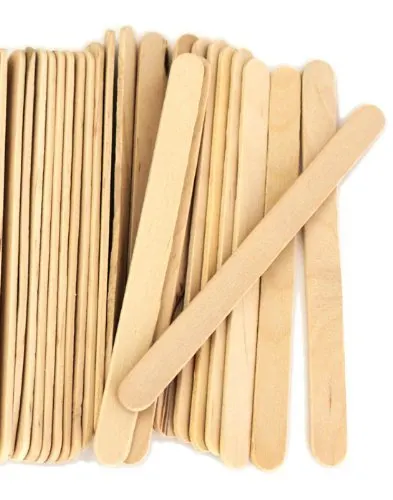
- Popsicle stick
- Scissors
- Printable Fox Template
Instructions:
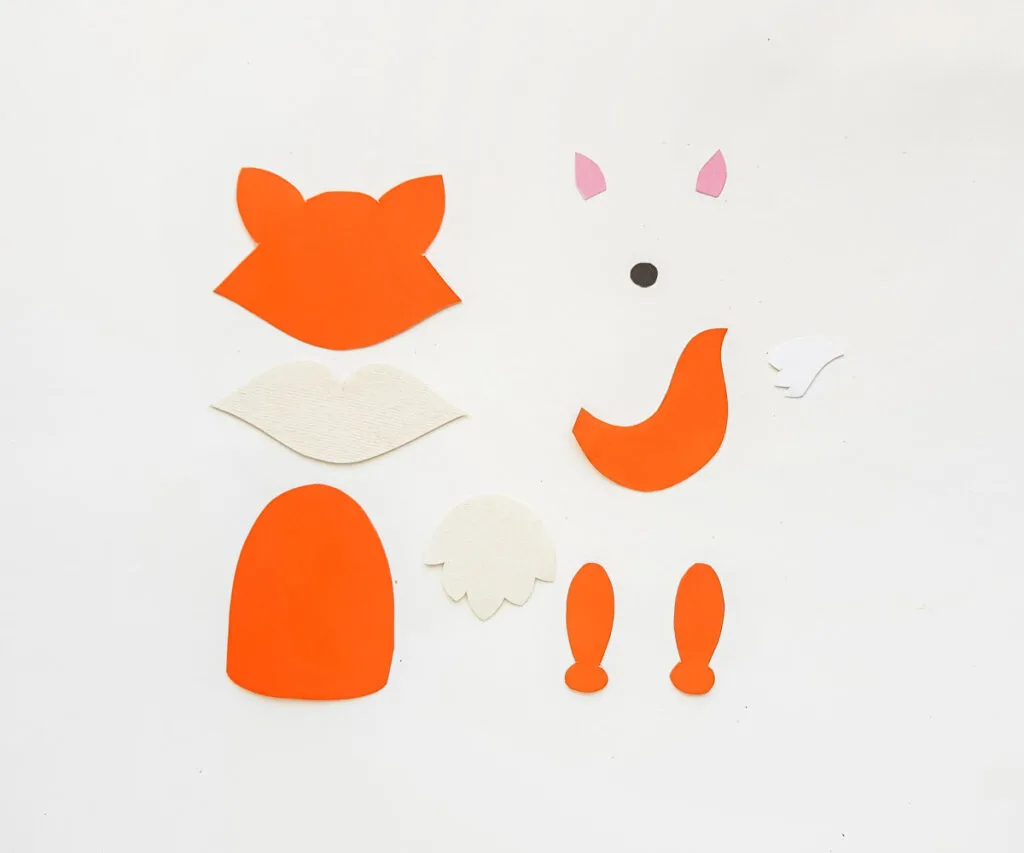
Select orange, cream, pink and black coloured craft papers for the fox puppet craft.
Trace the body, head, tail and the 2 feet patterns on the orange paper.
Trace the inner ear patterns (triangular shapes) on pink paper and the small round shape on black paper (or you can use a black sharpie to draw the nose).
Trace the rest of the patterns (tail tip, chest and bottom part of the face) on cream coloured craft paper. Cut out the traced patterns nicely.
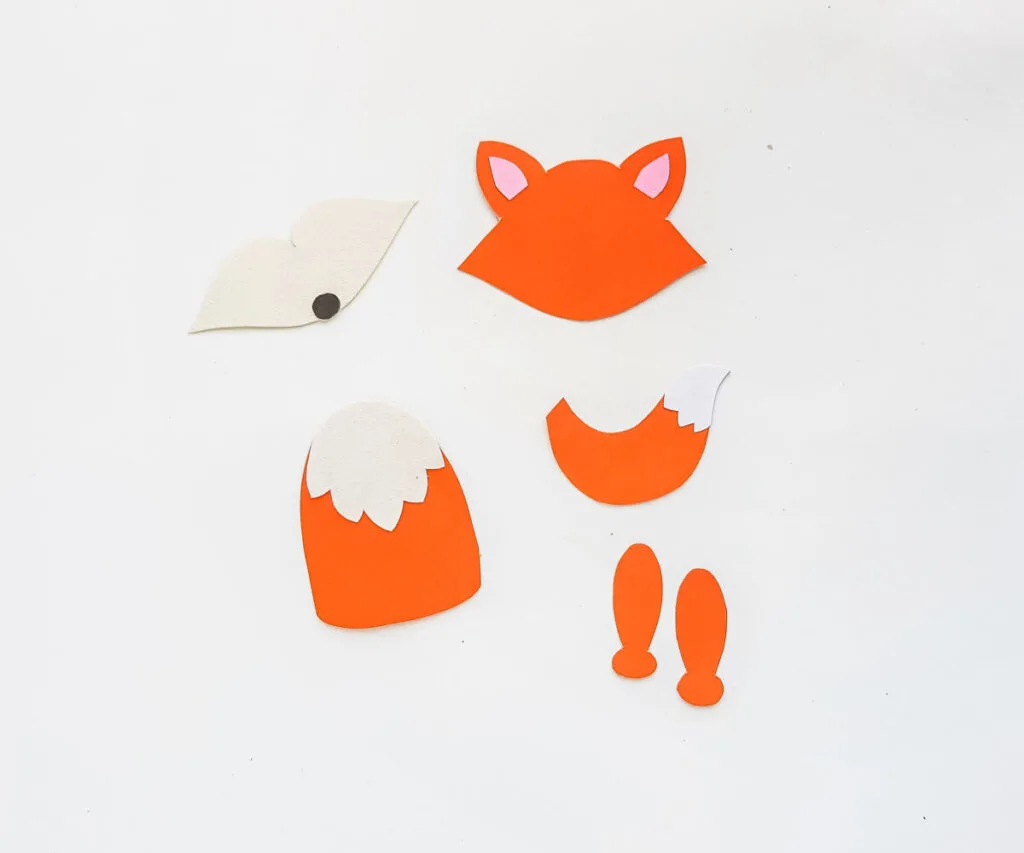
Stick the inner ear patterns in the middle of the ear parts attached to the head pattern. Stick the tail tip on the tip of the main tail pattern.
Stick the chest pattern on the top side of the body pattern. Stick the nose pattern in the middle bottom side of the face pattern.
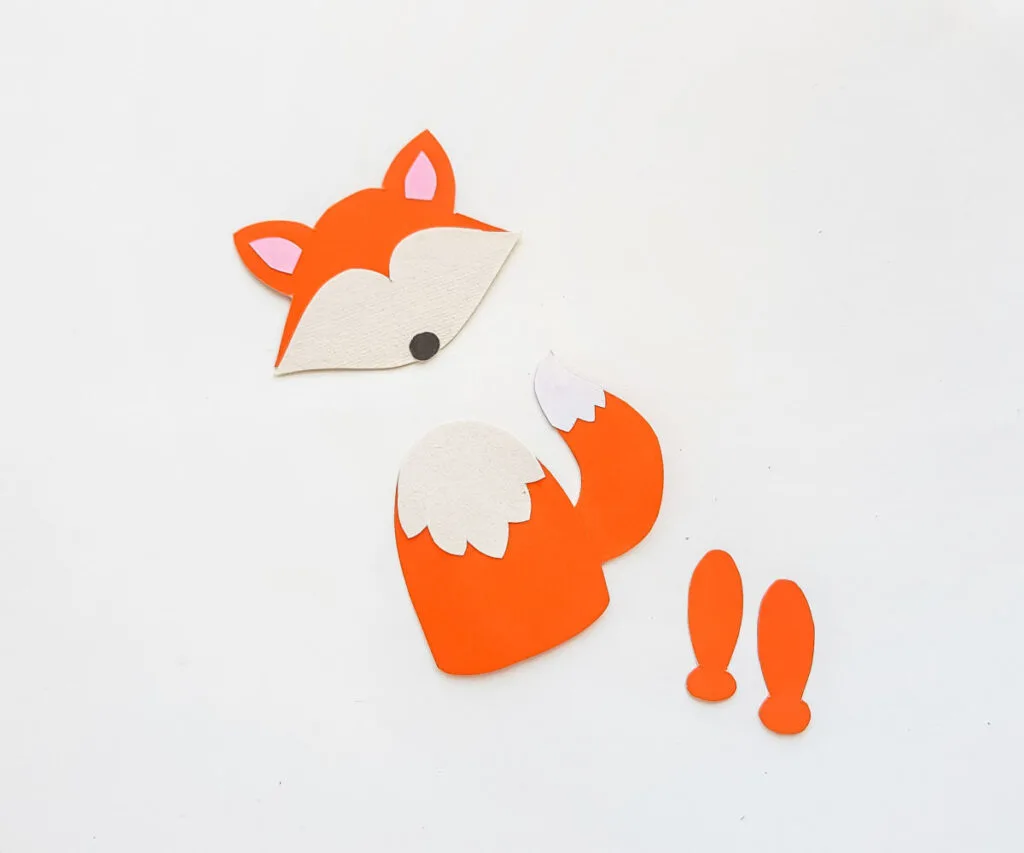
Stick the tail pattern on either side of the body pattern making sure that the tail tip is pointing upwards.
Stick the face pattern on the bottom side of the head pattern.
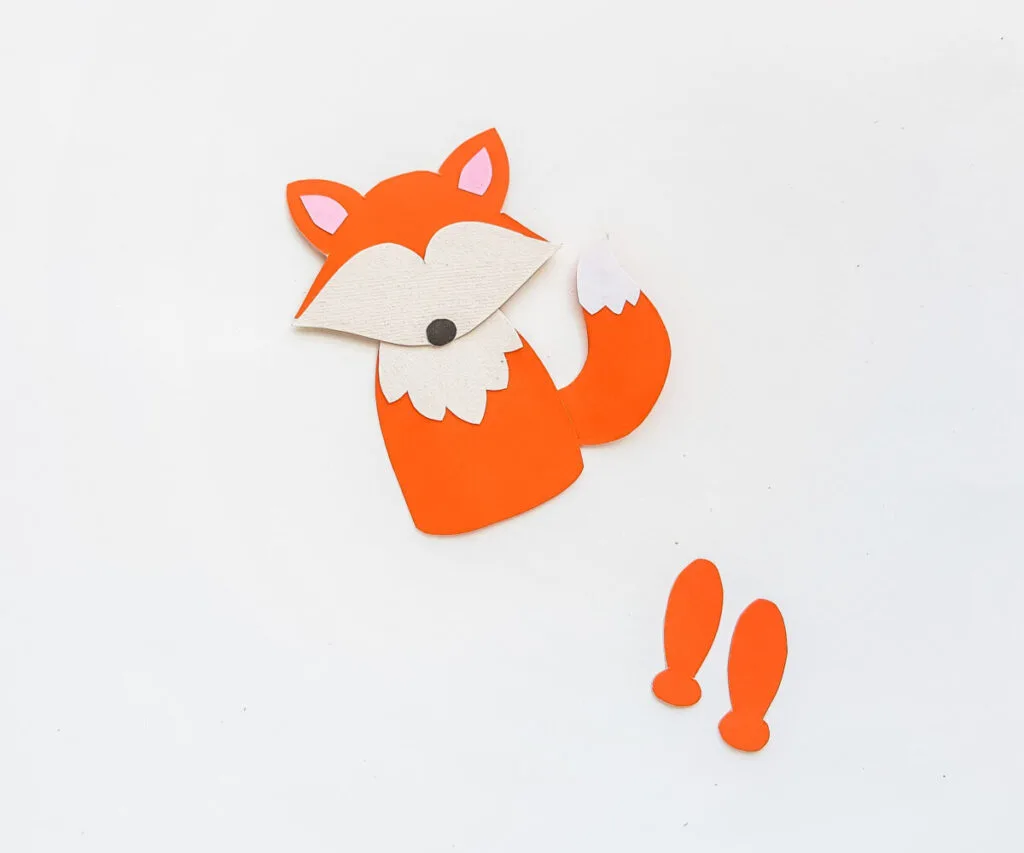
Stick the head on the top side of the body pattern.
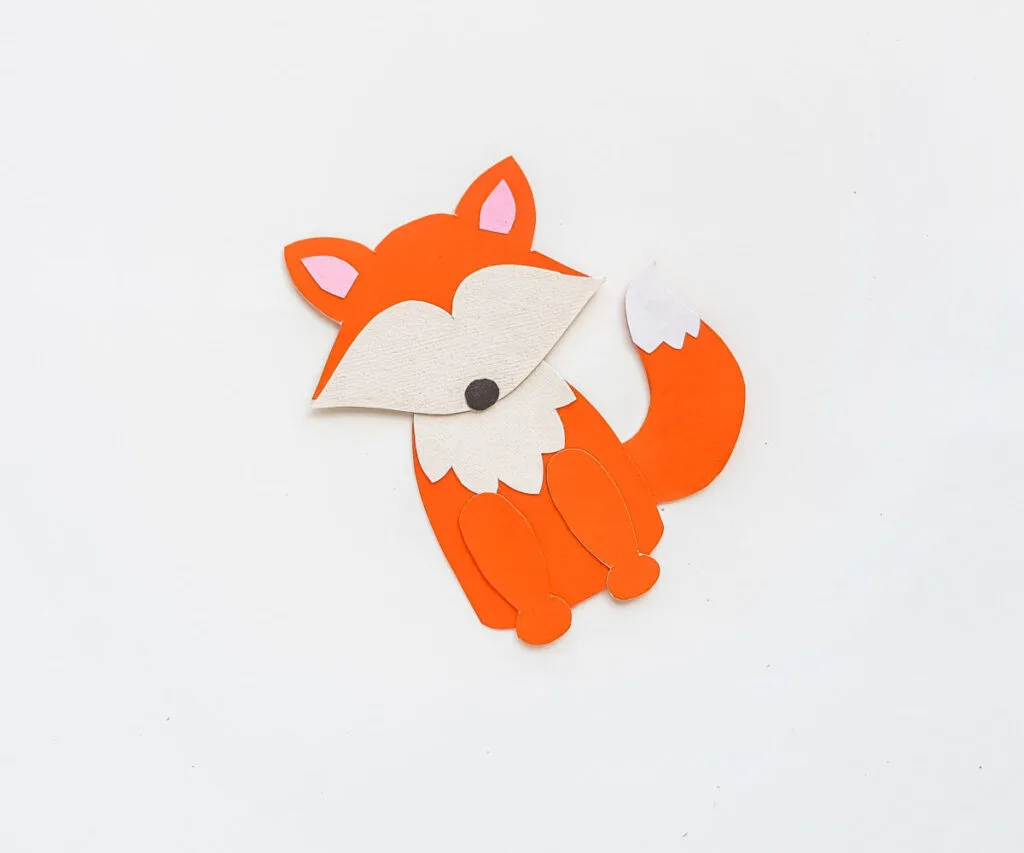
Stick the feet cutouts vertically below the head, on the body pattern. The round parts of the feet should face downwards.
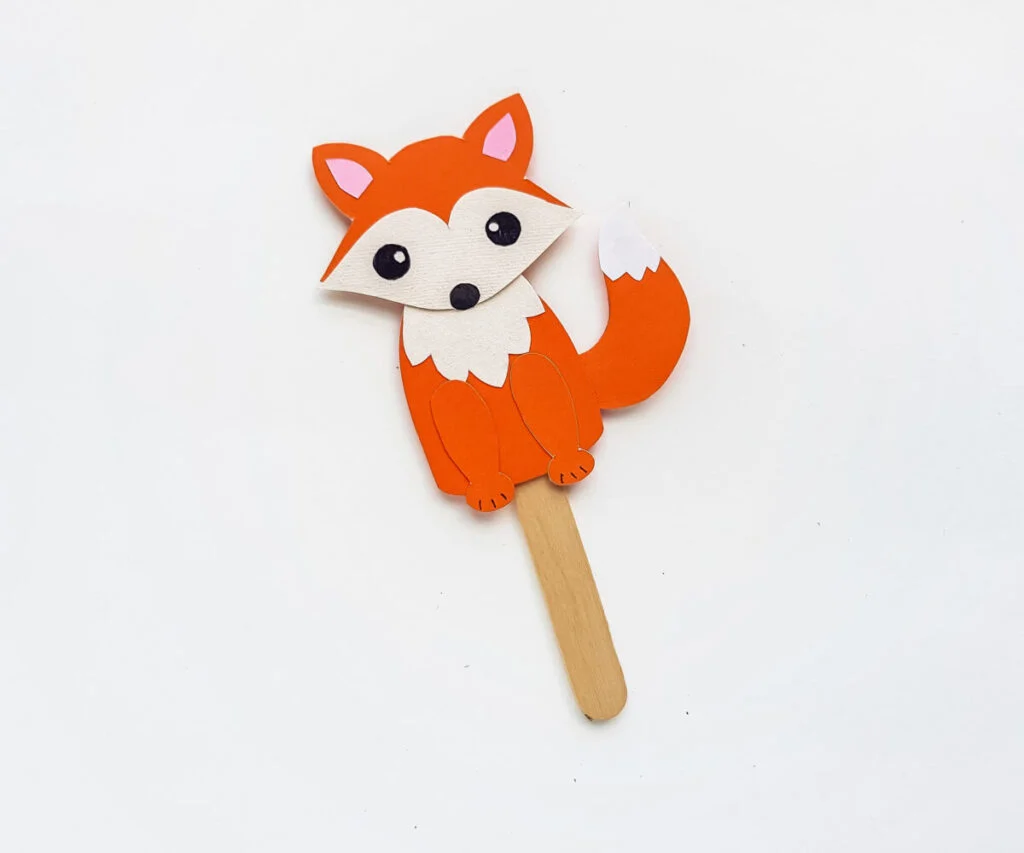
Use a black sharpie to draw the eyes of the paper fox. Attach the papercraft fox with a popsicle stick to complete the craft.
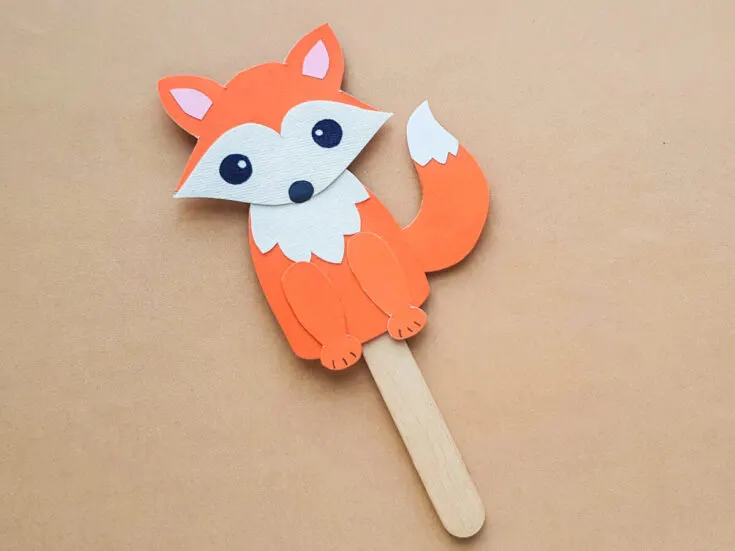
Papercraft Fox Puppet
This Papercraft Fox Puppet is an easy kids paperfcraft animal project with a free papercraft template to help you make this kids craft.
Materials
- 1. Colored craft papers
- 2. Craft glue
- 3. Pencil
- 4. Sharpie
- 5. Popsicle stick
- 6. Printable Template
Tools
- Scissors
Instructions
Select orange, cream, pink and black colored craft papers for the fox puppet craft. Trace the body, head, tail and the 2 feet patterns on the orange paper.
Trace the inner ear patterns (triangular shapes) on pink paper and the small round shape on black paper (or you can use a black sharpie to draw the nose).
Trace the rest of the patterns (tail tip, chest and bottom part of the face) on cream colored craft paper. Cut out the traced patterns nicely.
Stick the inner ear patterns in the middle of the ear parts attached to the head pattern. Stick the tail tip on the tip of the main tail pattern.
Stick the chest pattern on the top side of the body pattern. Stick the nose pattern in the middle bottom side of the face pattern.
Stick the tail pattern on either side of the body pattern making sure that the tail tip is pointing upwards. Stick the face pattern on the bottom side of the head pattern.
Stick the head on the top side of the body pattern.
Stick the feet cutouts vertically below the head, on the body pattern. The round parts of the feet should face downwards.
Use a black sharpie to draw the eyes of the paper fox. Attach the papercraft fox with a popsicle stick to complete the craft.
Recommended Products
As an Amazon Associate and member of other affiliate programs, I earn from qualifying purchases.

Elizabeth Lampman is a coffee-fuelled Mom of 2 girls and lives in Hamilton, Ontario. She enjoys travelling, developing easy recipes, crafting, taking on diy projects, travelling and saving money!

Micheline
Thursday 29th of April 2021
I love the different animal puppets but I think this fox is my favorite, he's so cute.