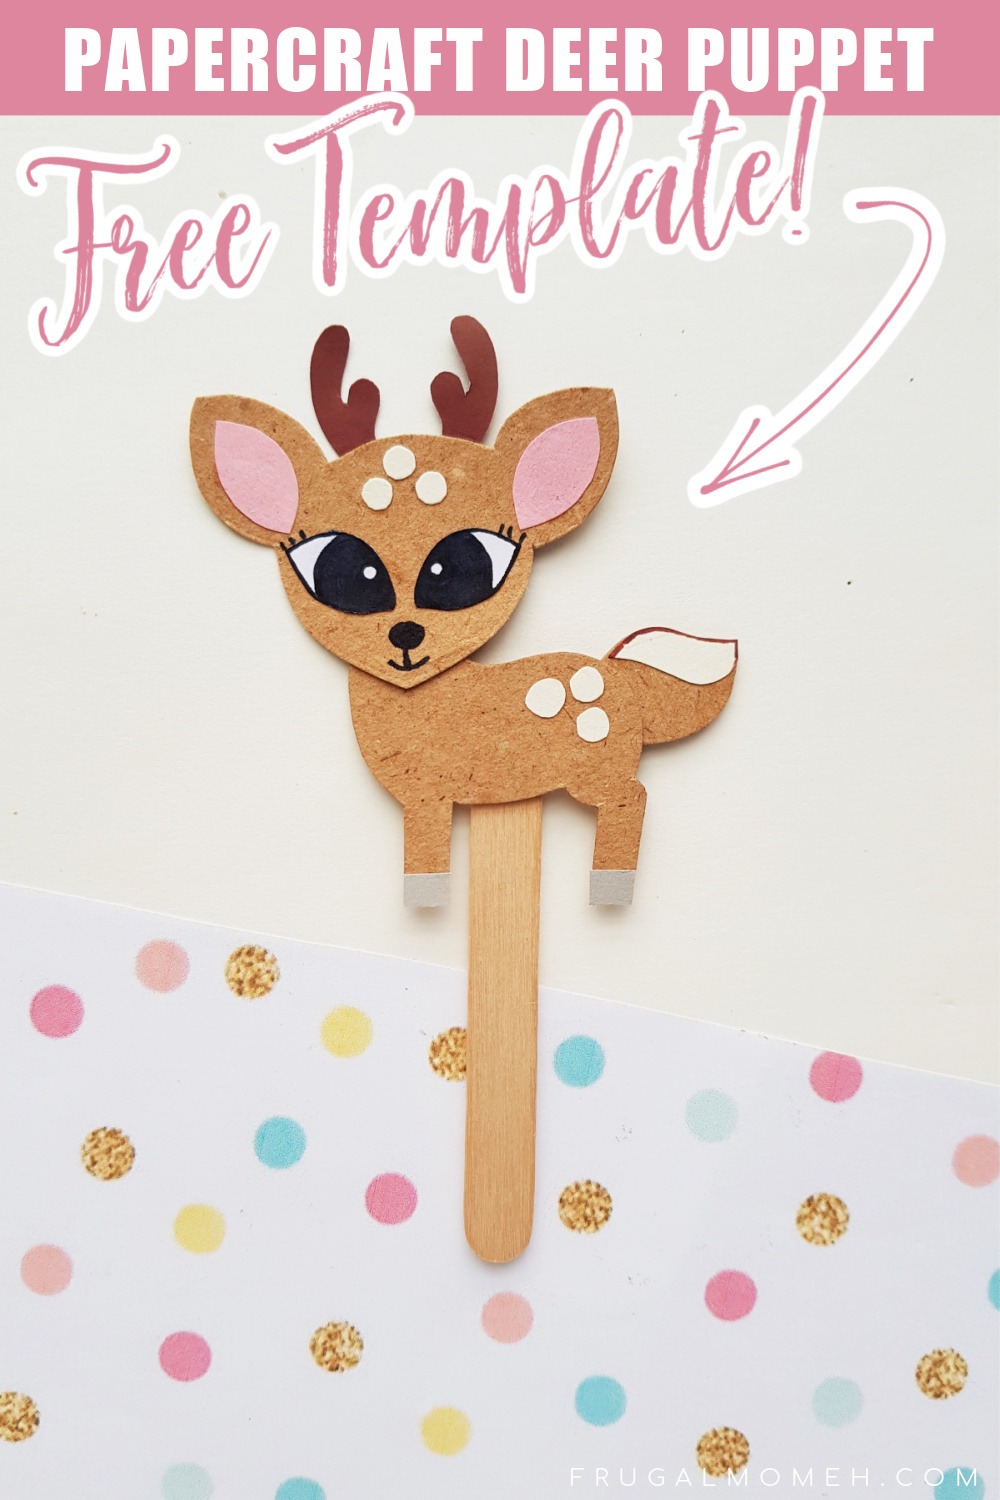
Papercraft Deer Puppet
This Papercraft Deer Puppet is an easy kids paperfcraft animal project with a free papercraft template to help you make this cute kids craft.
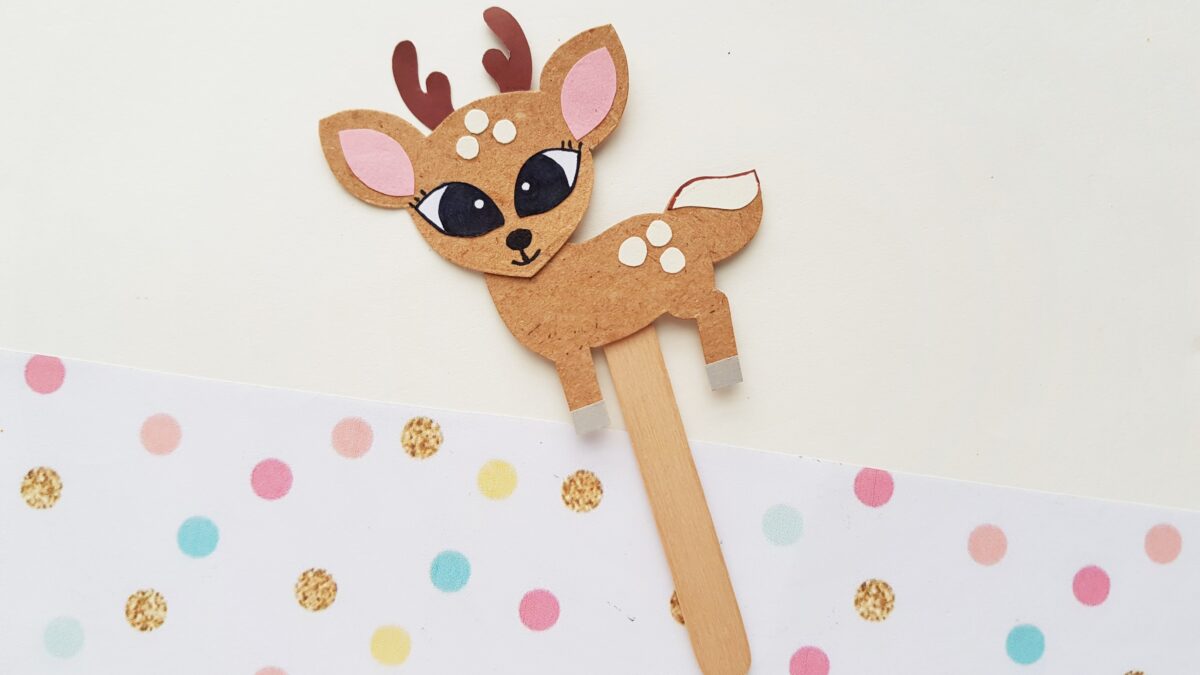
This adorable deer puppet is a fun project for kids, and just one of a few forest animal puppet crafts I’ll be sharing.
Kids can make their own woodland animal puppet set once I have shared all the puppet crafts I have to share.
I have a fox, moose, owl, and raccoon complete with free printable template for each of these papercrafts. They turned out so, so, so cute, and I absolutely cannot wait to share them!

Papercraft Deer Puppet
List of Supplies:
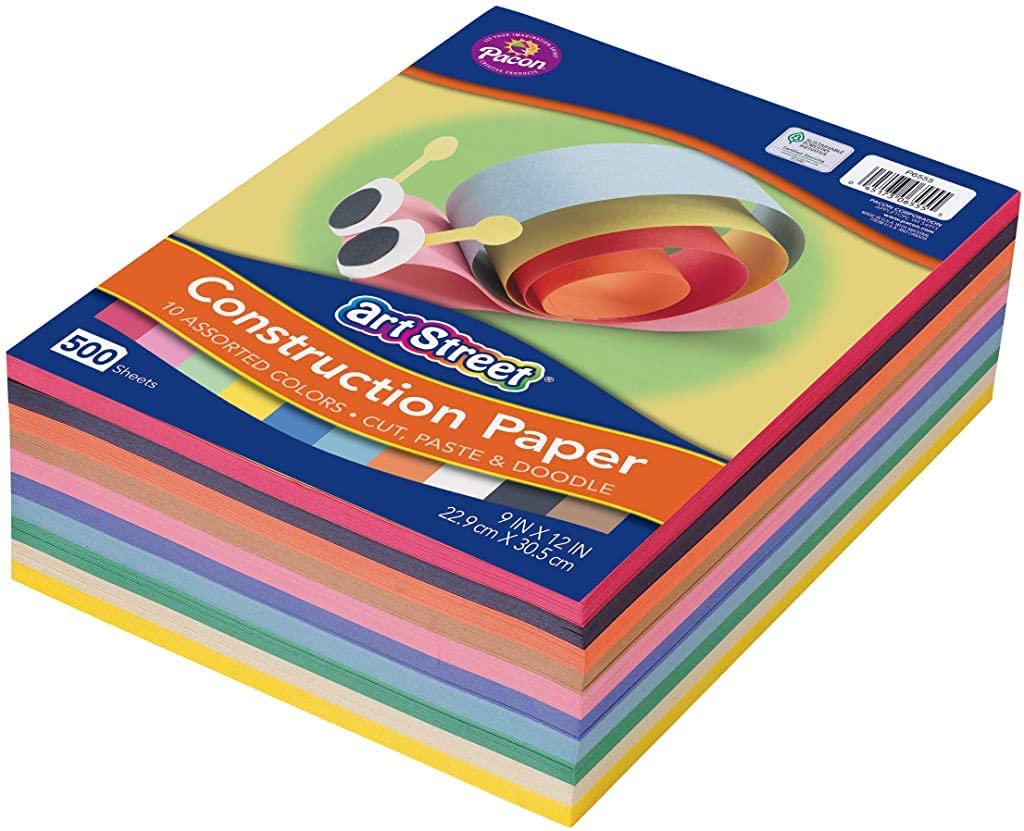
- Coloured craft papers
- Sharpie
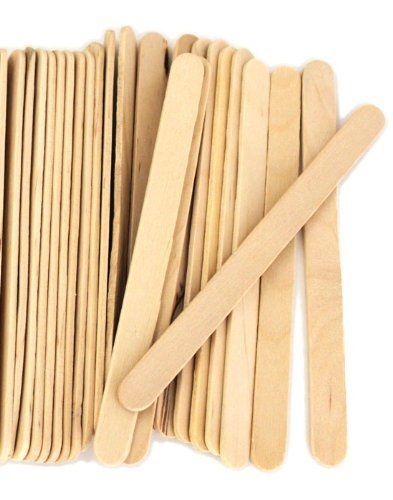
- Popsicle stick
- Craft glue
- Pencil
- Scissors
- Printable Template
Instructions:
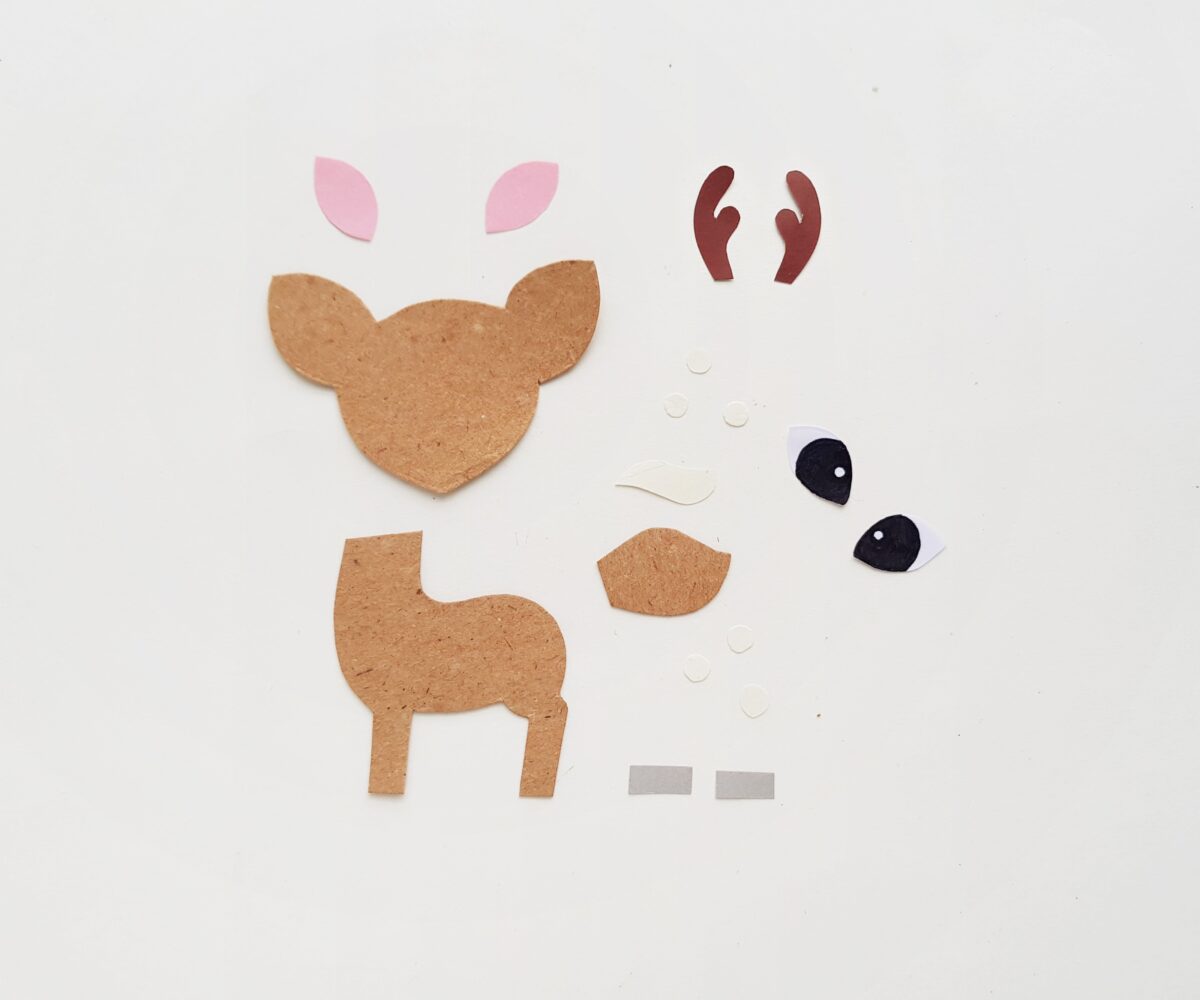
Select 4 dark brown, light brown, cream, gray and pink colored craft papers for the paper deer puppet.
Trace the body, head and tail patterns on the light brown paper, the horns on dark brown paper, the spots and tail tip on cream paper, the oval shaped patterns on pink paper; and the small rectangle shapes on gray paper.
Cut out the traced patterns nicely.
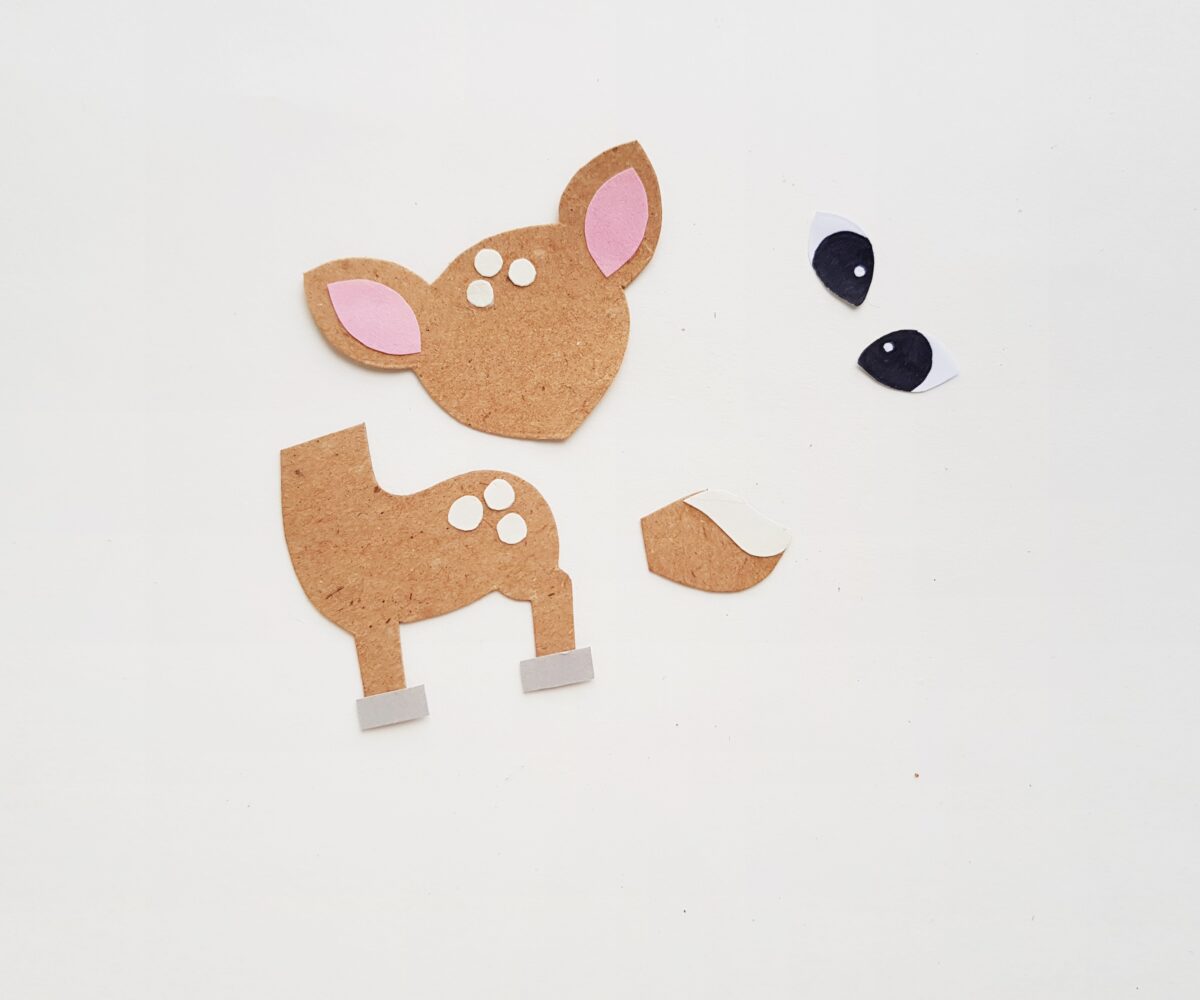
Stick the oval shaped patterns in the middle of the ear parts attached to the head.
Stick the 3 or 4 cream dot cutouts on the forehead and some on the backside of the body pattern.
Stick the tail tip on the tail base pattern and the rectangle cutouts on the bottom open end of the legs.
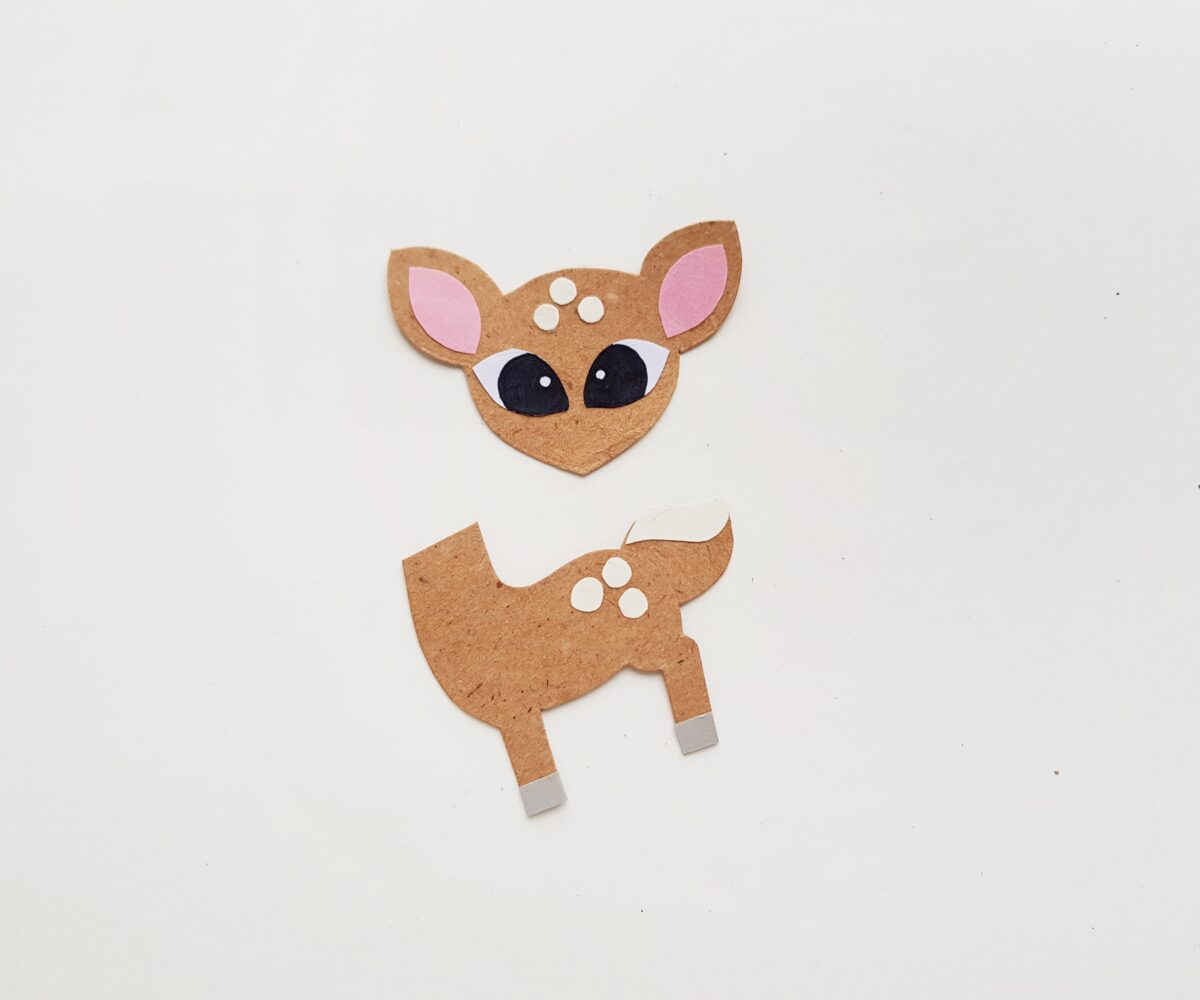
Stick the tail on the backside of the body pattern and stick the eyes on the head.
Trim the sides of the gray pieces attached to the legs on the bottom side.
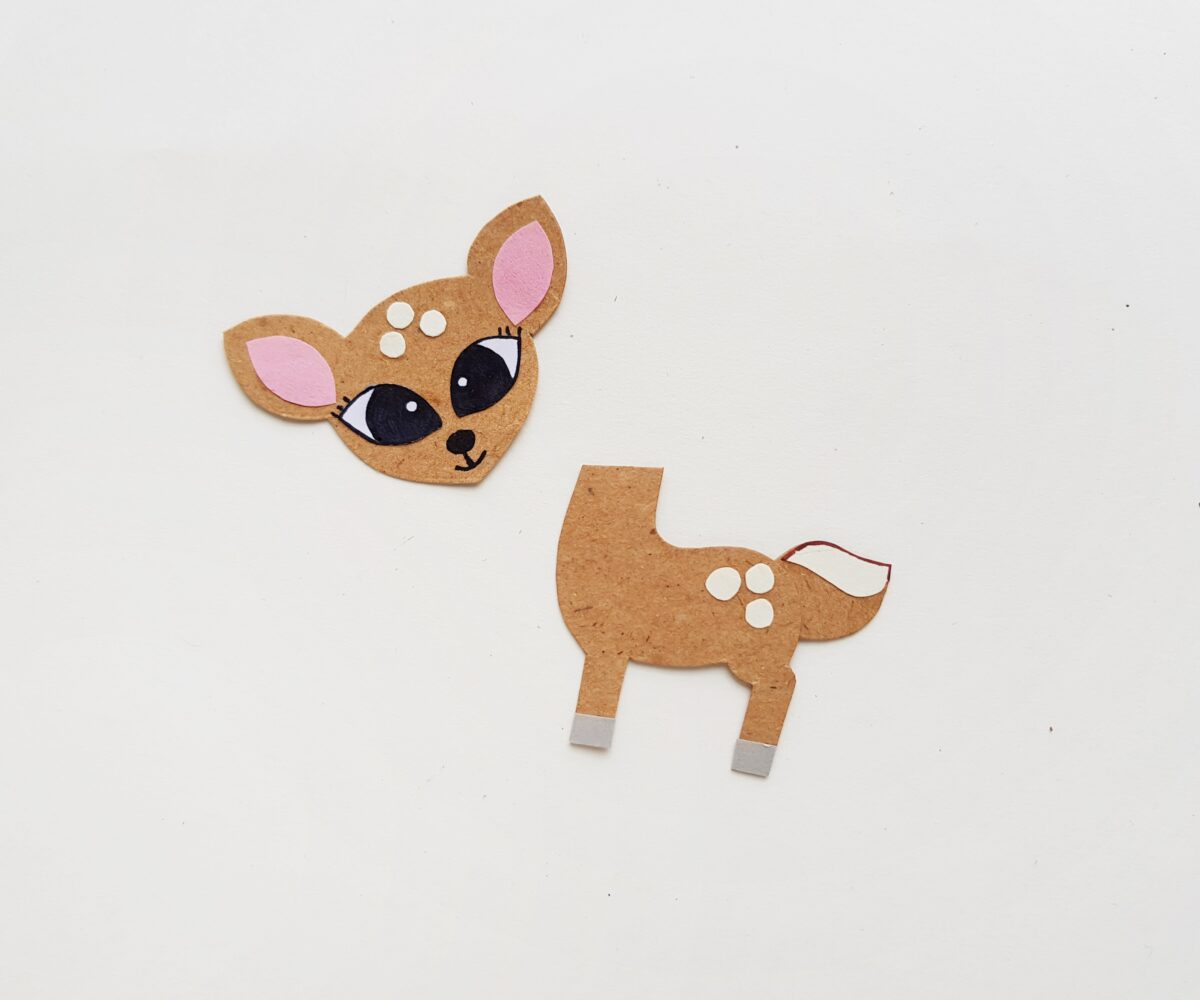
Use a black sharpie to draw the mouth and nose of the paper deer.

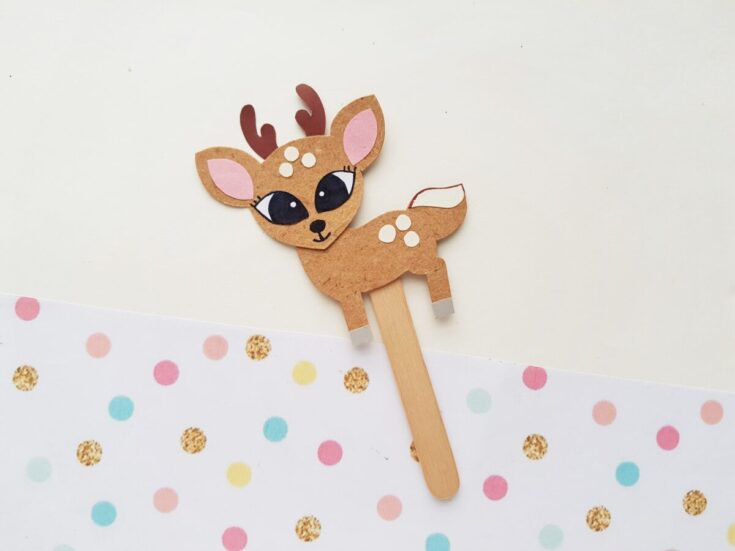
Stick the horns on the top side of the head and then stick the head on the top-front side of the body pattern.

Attach the papercraft deer on a popsicle stick to complete the deer puppet.
Papercraft Deer Puppet
Materials
- Colored craft papers
- Sharpie
- Popsicle stick
- Craft glue
- Pencil
Tools
- Scissors
Instructions
- Select 4 dark brown, light brown, cream, gray and pink colored craft papers for the paper deer puppet. Trace the body, head and tail patterns on the light brown paper, the horns on dark brown paper, the spots and tail tip on cream paper, the lens shaped patterns on pink paper; and the small rectangle shapes on gray paper. Cut out the traced patterns nicely.
- Stick the lens shaped patterns in the middle of the ear parts attached to the head. Stick the 3 or 4 cream dot cutouts on the forehead and some on the backside of the body pattern. Stick the tail tip on the tail base pattern and
the rectangle cutouts on the bottom open end of the legs. - Stick the tail on the backside of the body pattern and stick the eyes on the head. Trim the sides of the gray pieces attached to the legs on the bottom side.
- Use a black sharpie to draw the mouth and nose of the paper deer.
- Stick the horns on the top side of the head and then stick the head on the top-front side of the body pattern.
- Attach the papercraft deer on a popsicle stick to complete the deer puppet.
Recommended Products
As an Amazon Associate and member of other affiliate programs, I earn from qualifying purchases.


Can you post a template for this one too? My daughter loves this stuff.
Yes, thank you, I have updated the post with the link to the template.