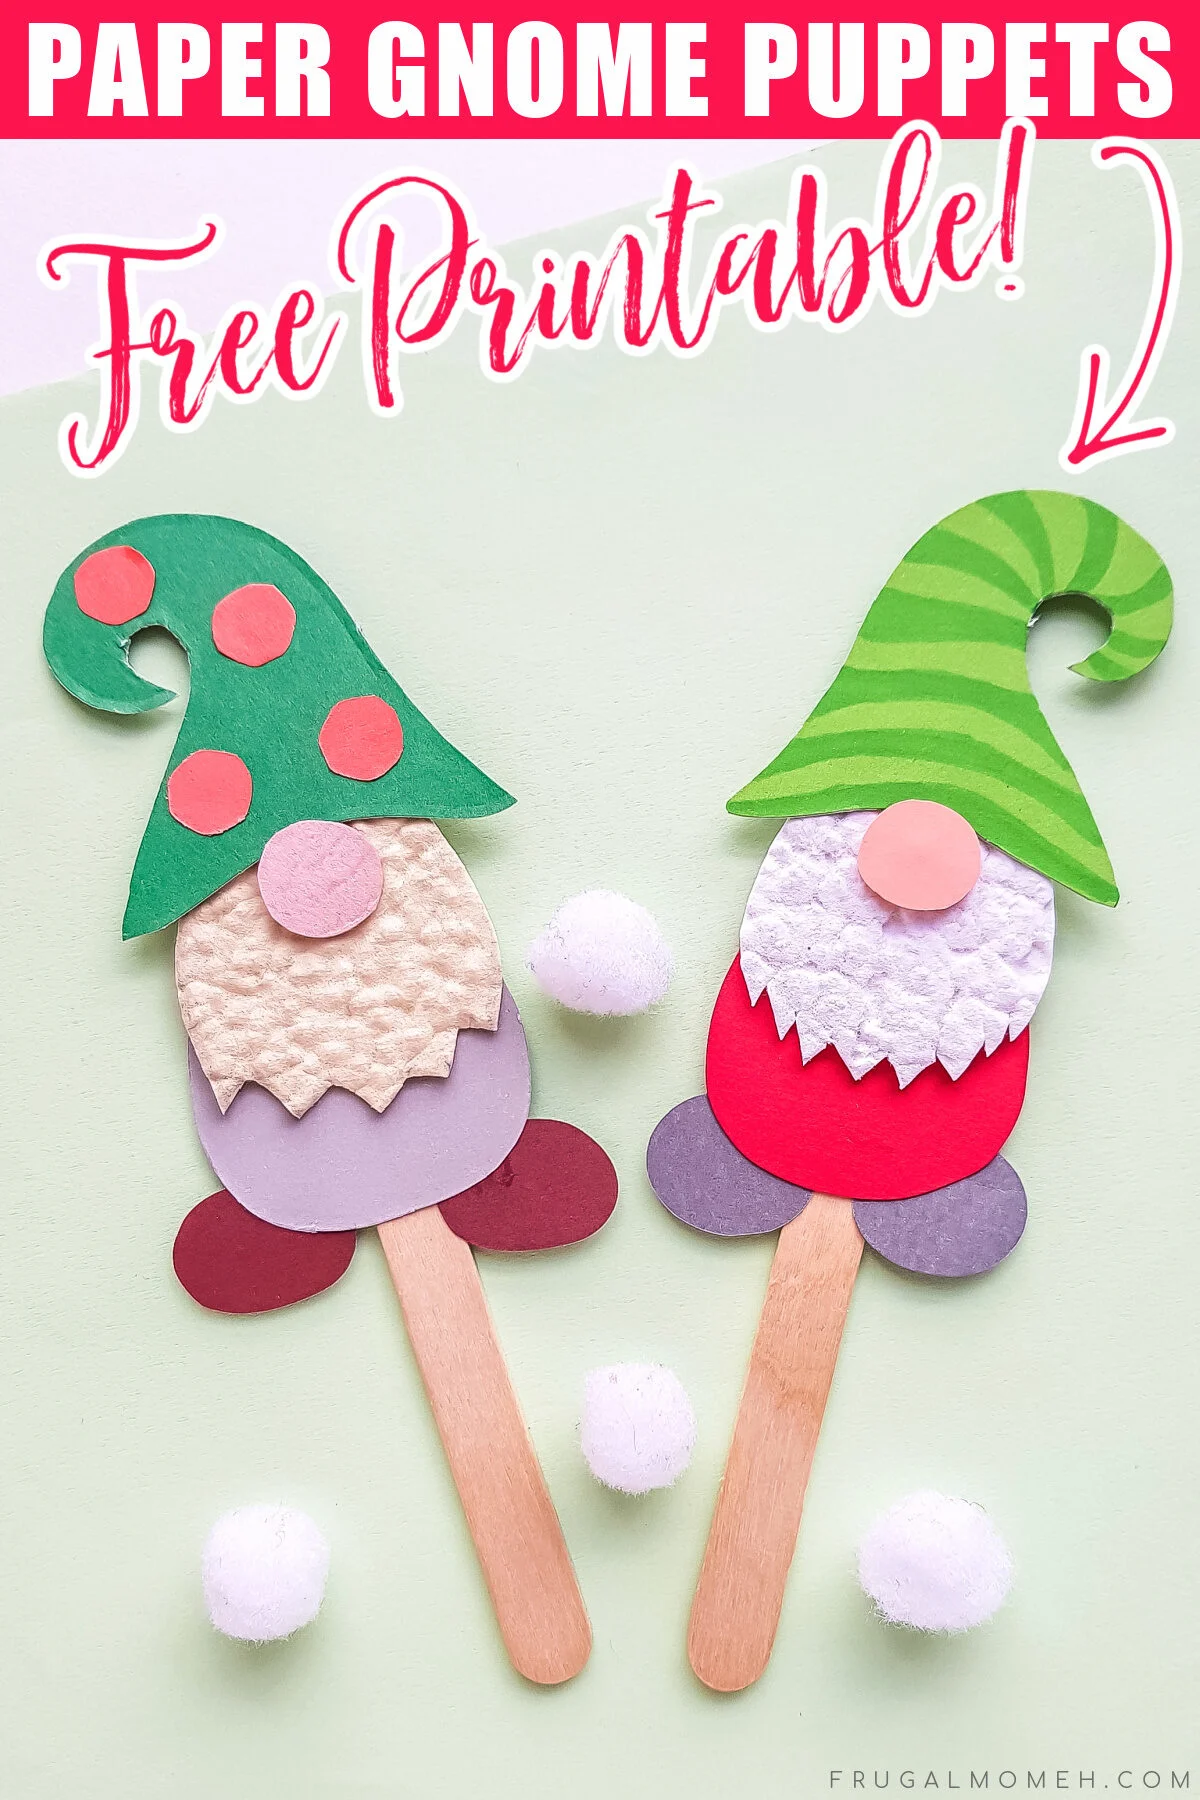
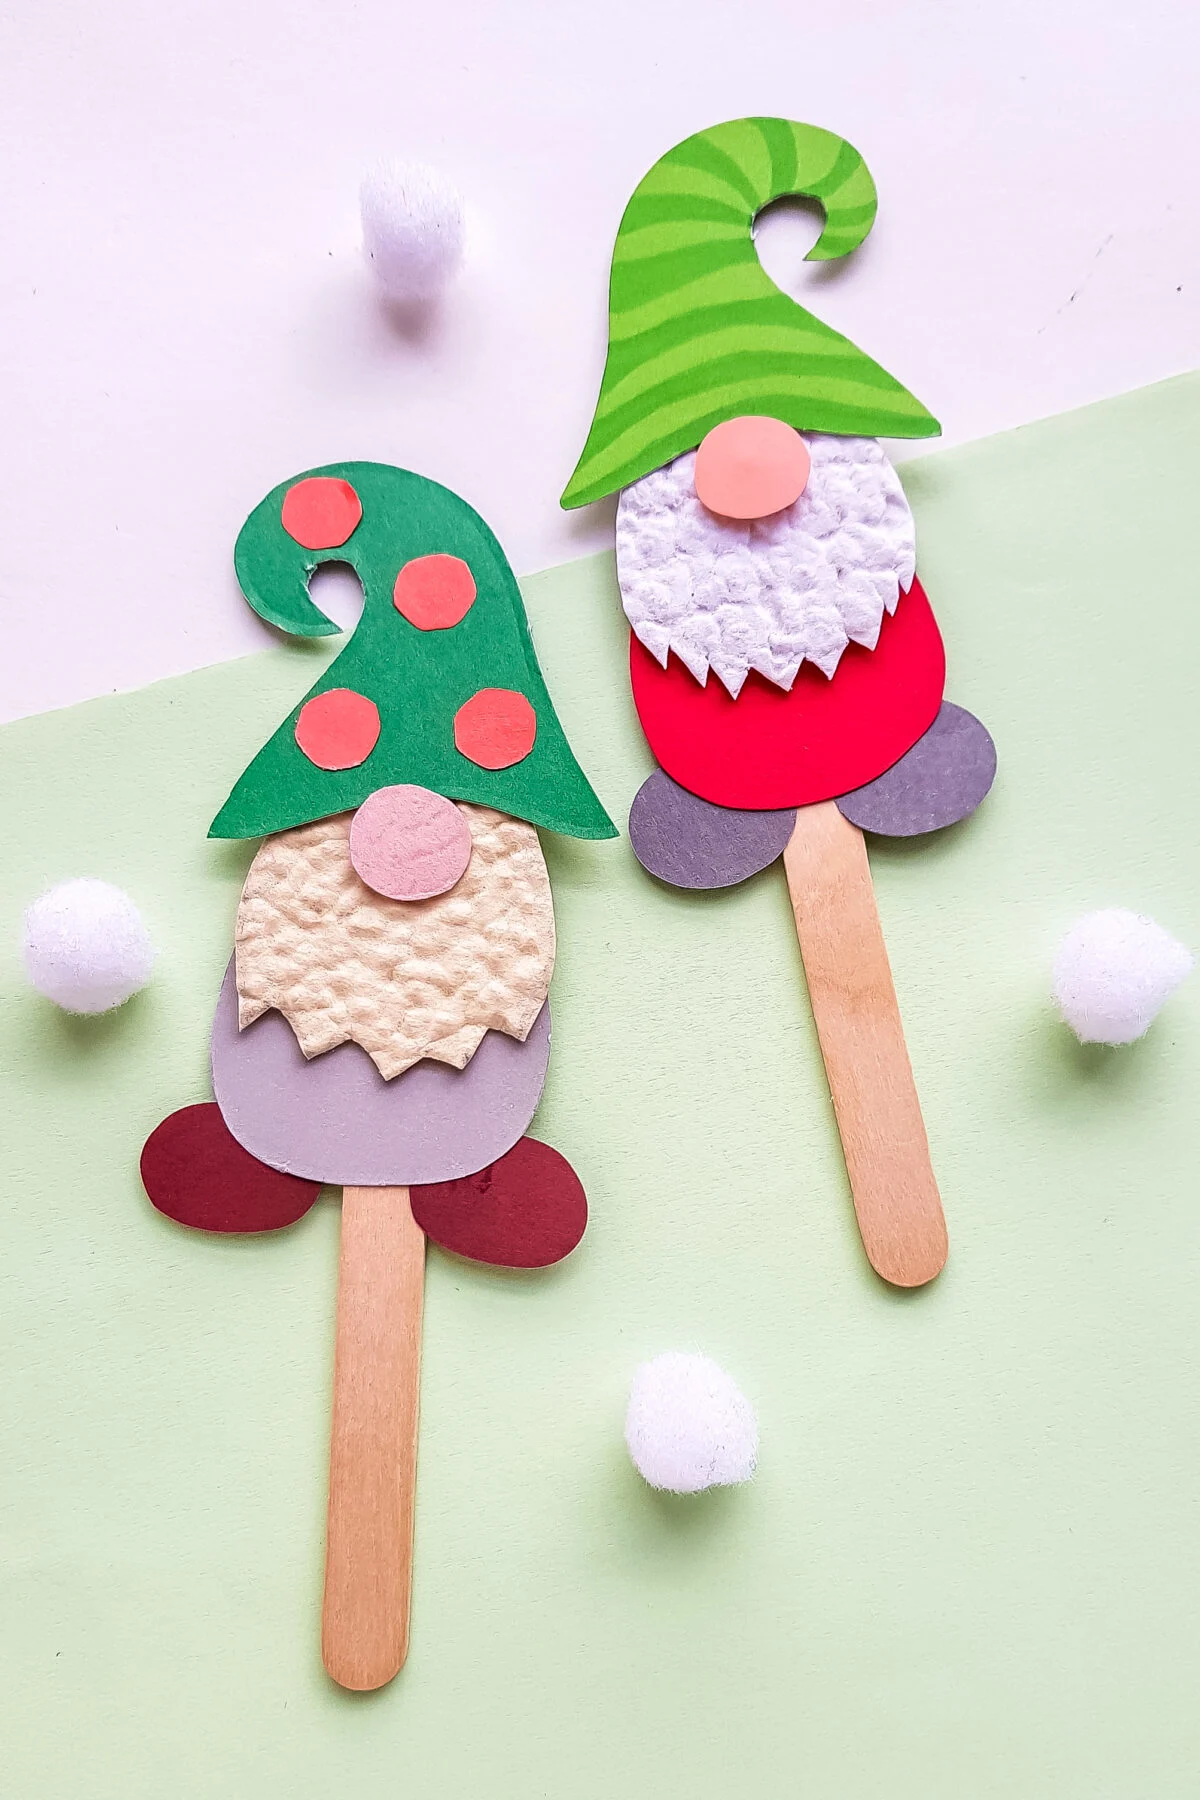
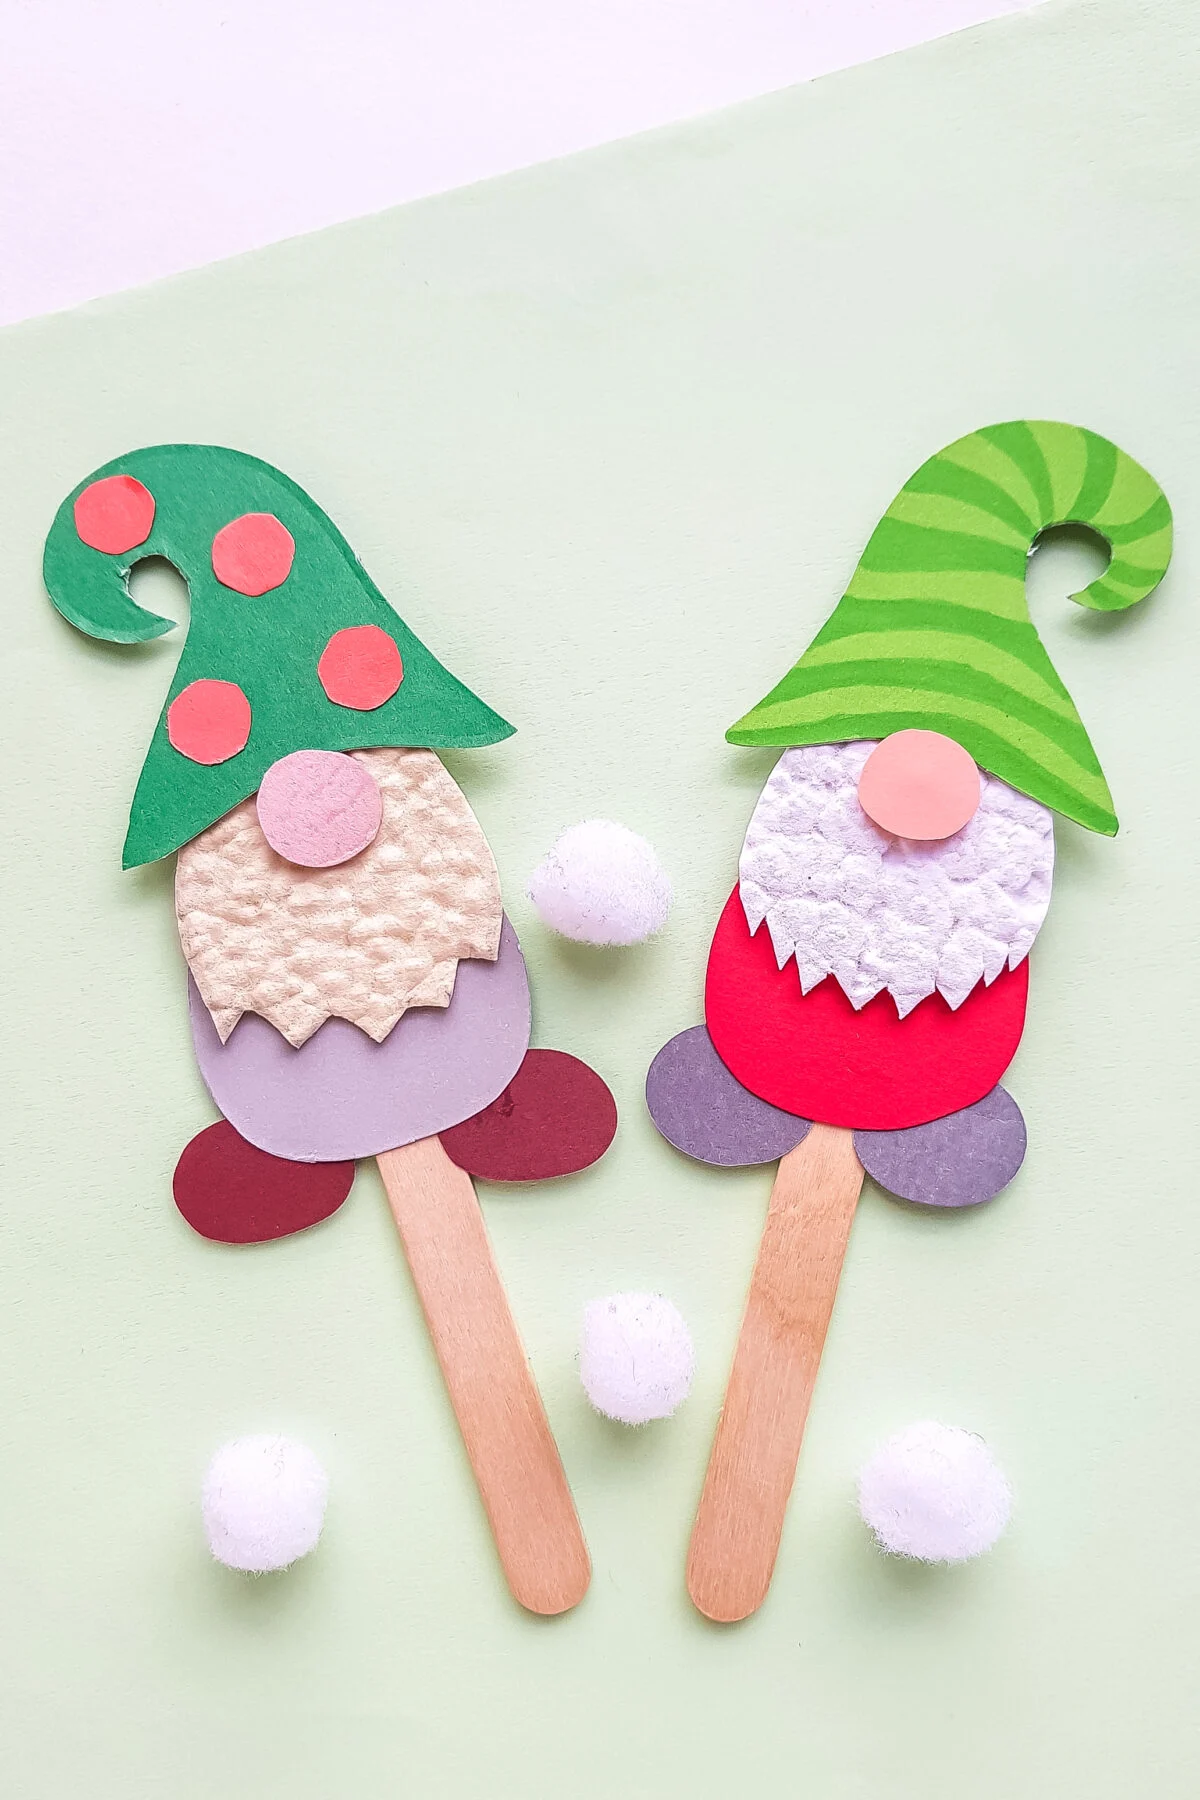
These cute little paper gnome puppets are very easy to make and a fun Christmas craft for kids. Free printable template included!

I love having the kids off of school and we always have a ton of fun activities planned for them. The holidays are even better because we get to do festive crafts! This year, we decided to make paper gnomes with my two girls.
Every year, the holiday season is filled with magic and wonder. The lights, the carols, and homemade crafts all add to this magical feeling during December. Whether it’s decorating a gingerbread house or making handmade ornaments for your Christmas tree, there are so many fun ways to celebrate this time of year with your children.
One craft that kids will love is making paper gnome puppets! Kids love gnomes, and they’ll love making these paper gnome puppets.
They’re simple to make at home with your kids, and their parents will get a kick out of them too! You can use the included template or design your own creative version for hours of fun.
These adorable little creatures can be made in just minutes using simple materials you probably already have at home.
To make them even more special, each one can be personalized by adding their own unique features like hats or bows!
So gather up some construction paper, craft sticks, scissors and glue sticks; we’ll show you how to make these cute little guys together in no time!
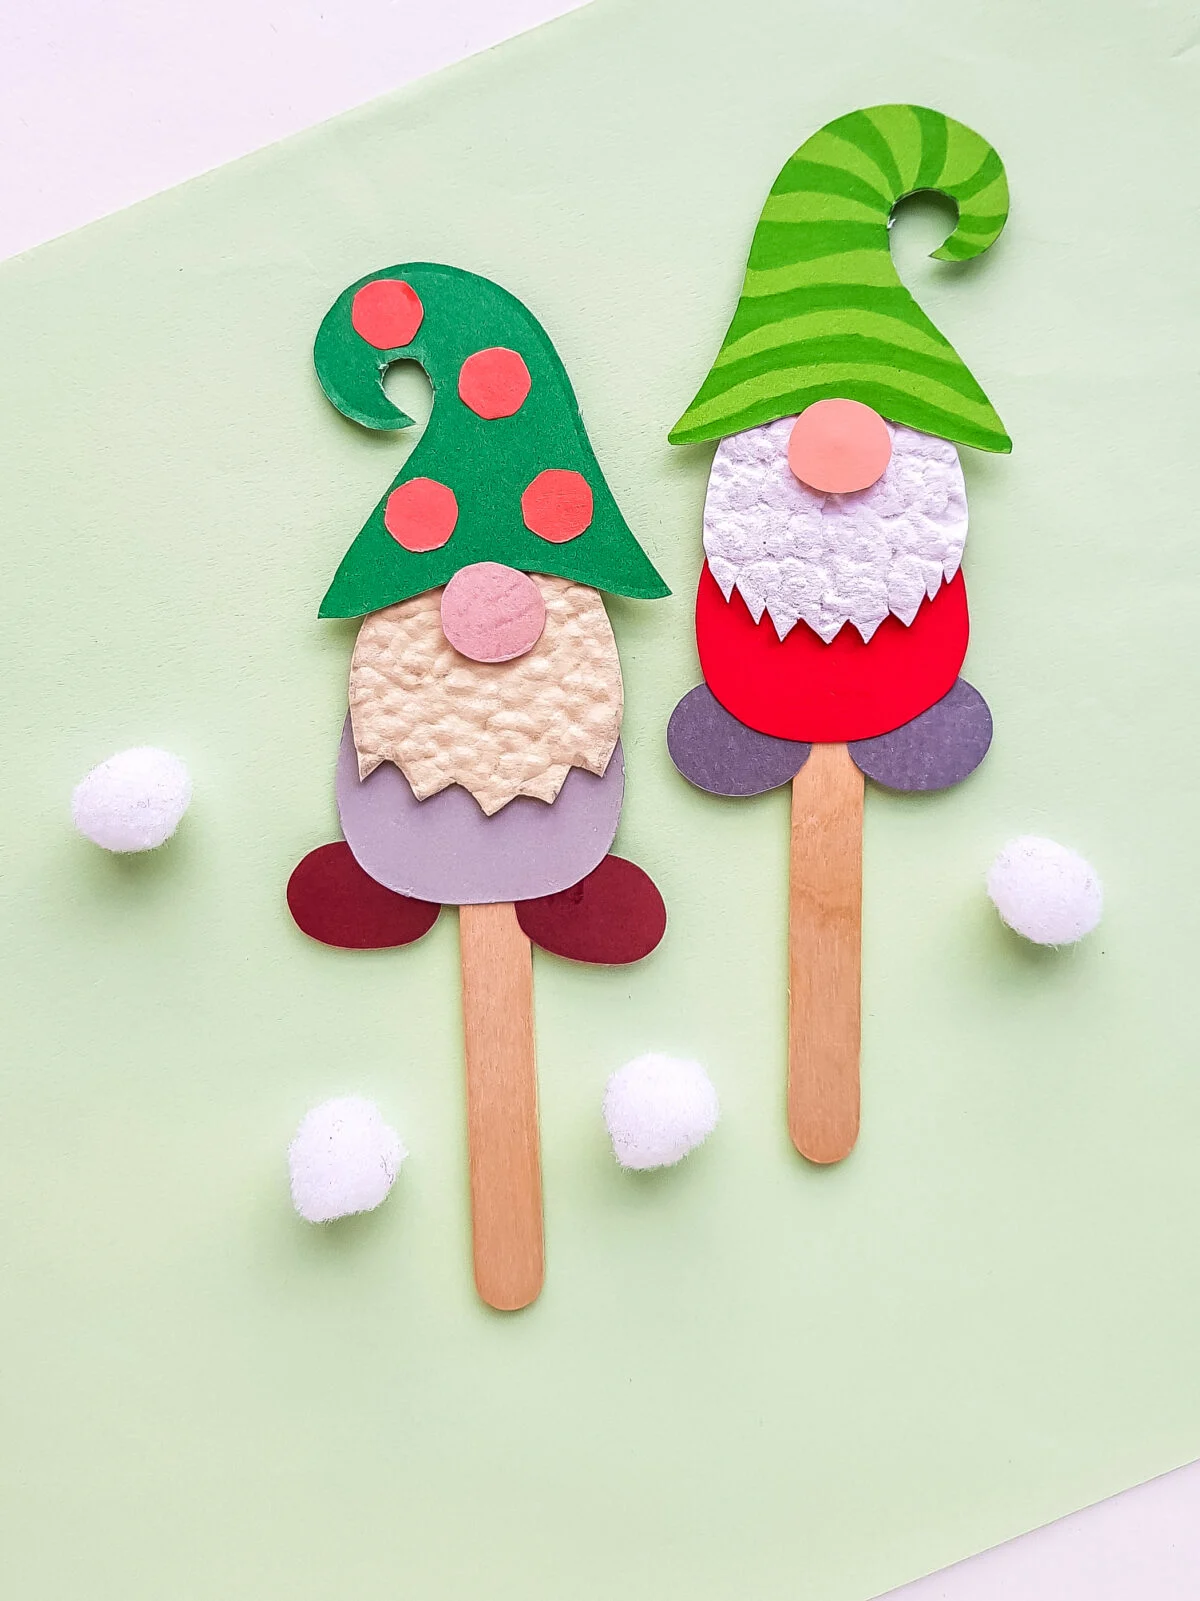
Free Printable Gnome Template
I’m sharing the printable template for these cute little gnomes for free! Just print it out, cut out the template pieces and then trace them onto your construction paper!
Please remember this printable is for personal or classroom use only. Please see my terms of use below for clarification.
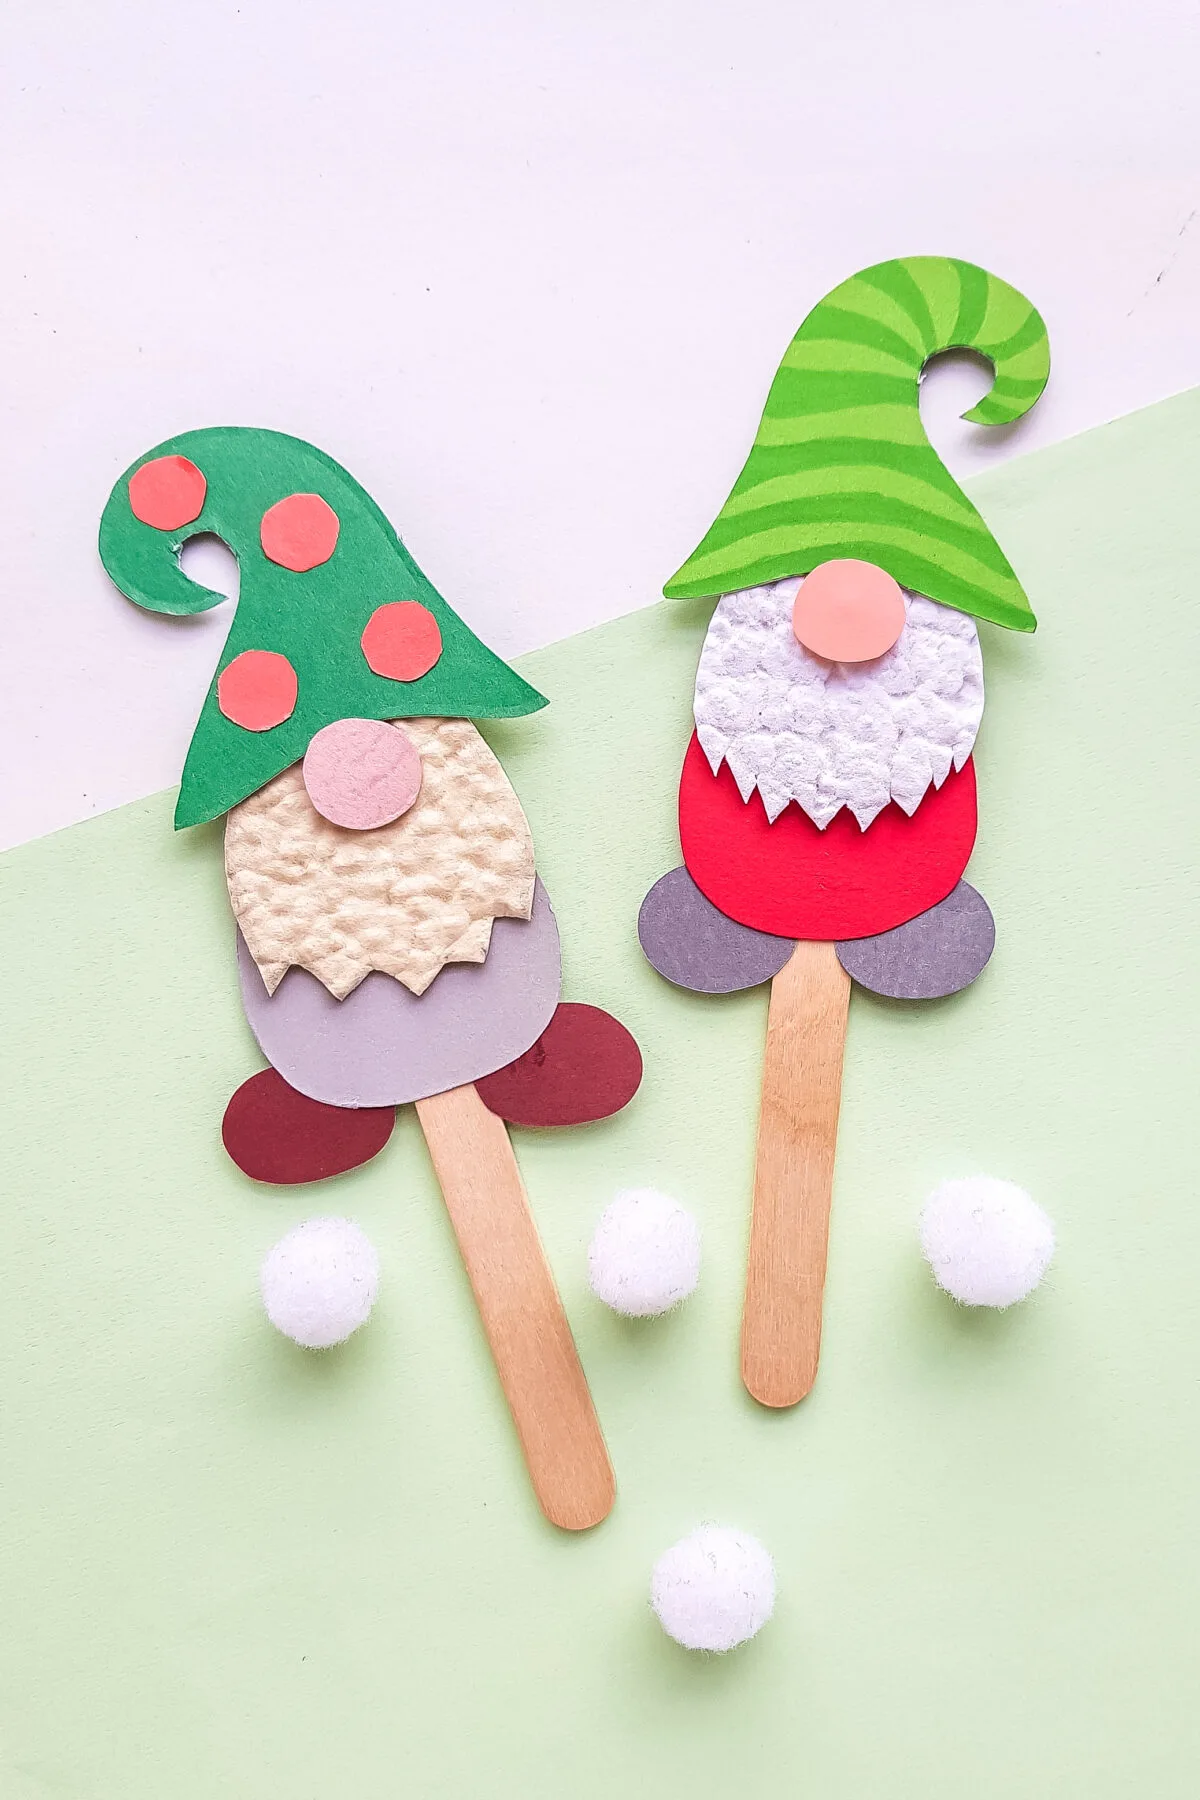
Other Ways to Use this Paper Gnome Craft
While these little paper gnome puppets are a load of fun, there are other great ways to make use of them.
- Decorate Christmas cards or gifts
- Turn into magnets
- Use as bookmarks
- Hang as Ornaments on your tree
- Attach them to a string to make a fun banner.
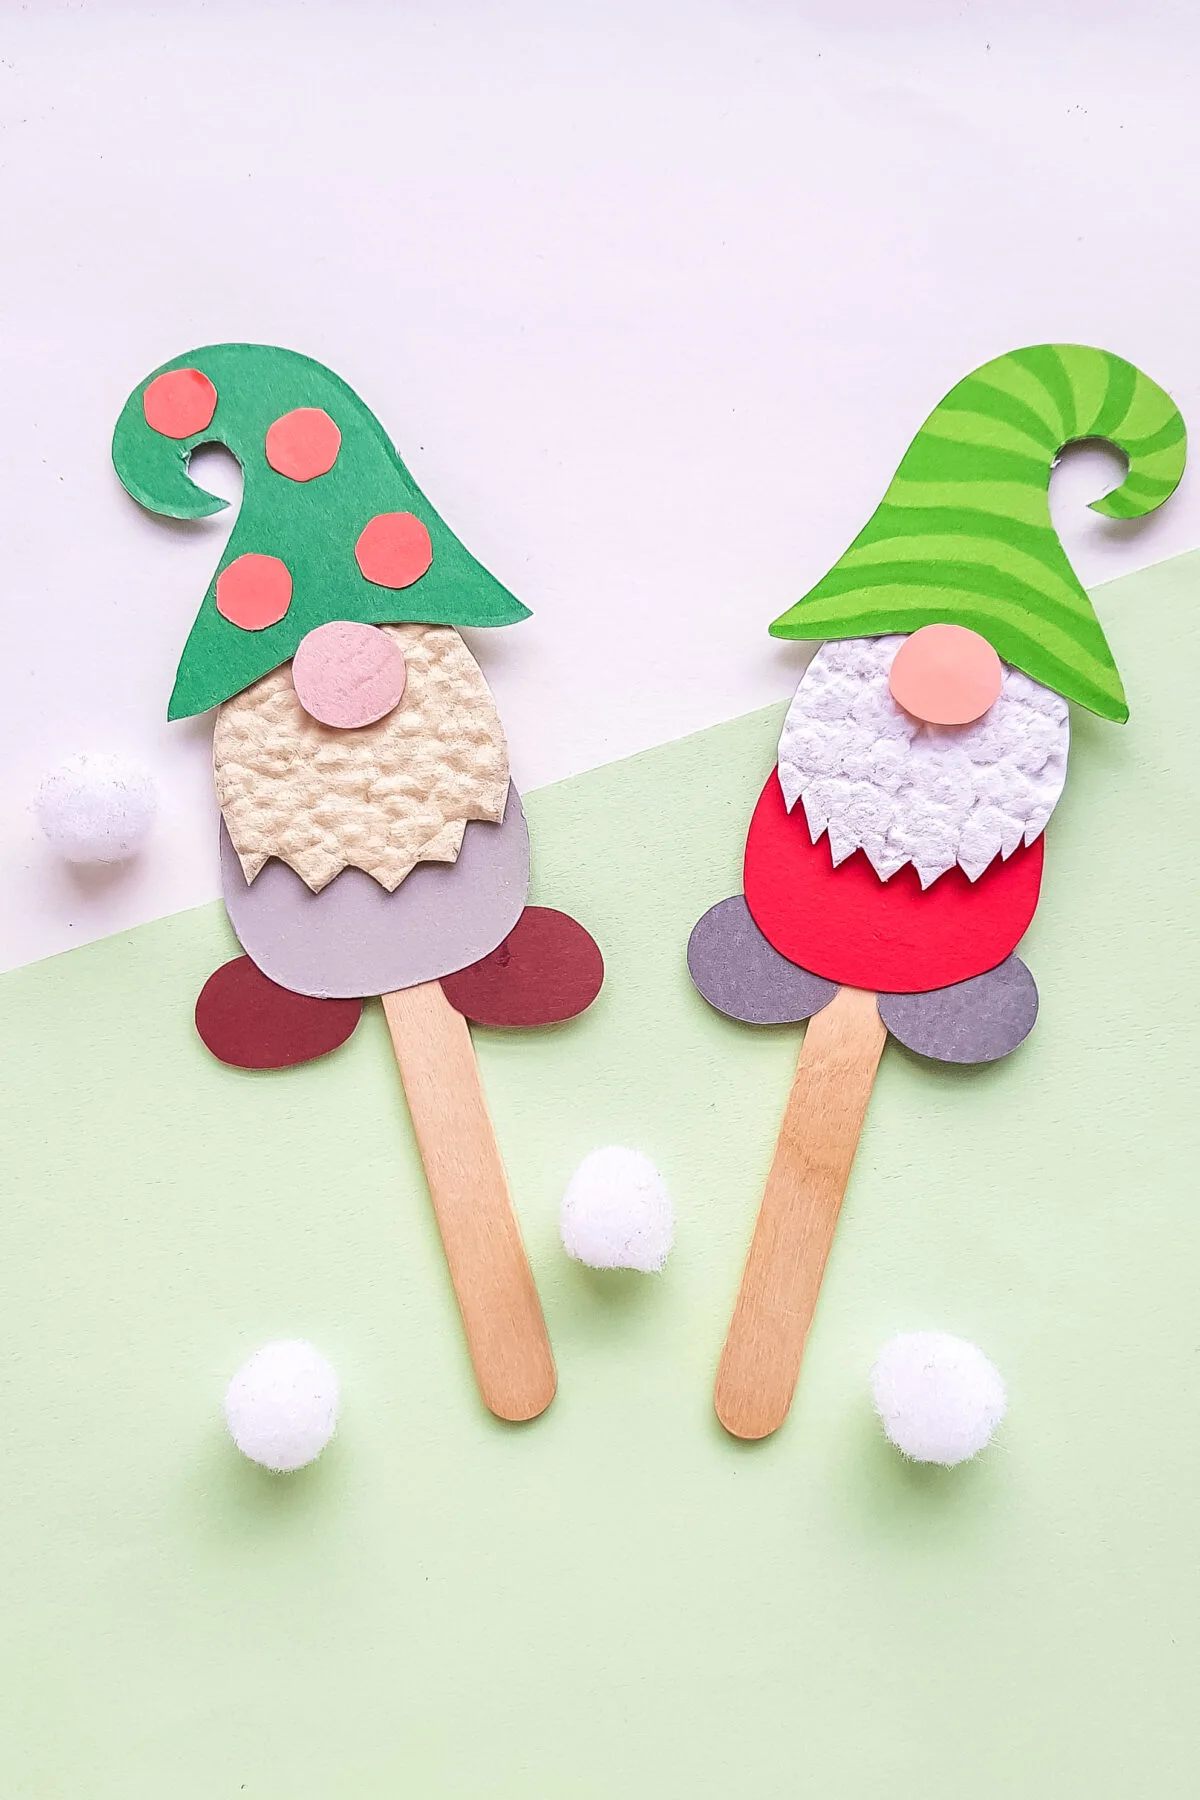
How to Make Your Craft Stick Puppets Last
Paper doesn’t really hold up well to play, and even cardstock will start looking rough after a little imaginative play. When my kids make crafts they intend to play with more than once, we usually take a few extra minutes to laminate them.
A laminator is pretty cheap as are the sleeves, and it takes only minutes to protect your kids art this way.
Once they have assembled their gnomes, but prior to attaching to the glue sticks, laminate their gnomes, and carefully cut them out. They will be able to withstand a lot more wear and tear this way.
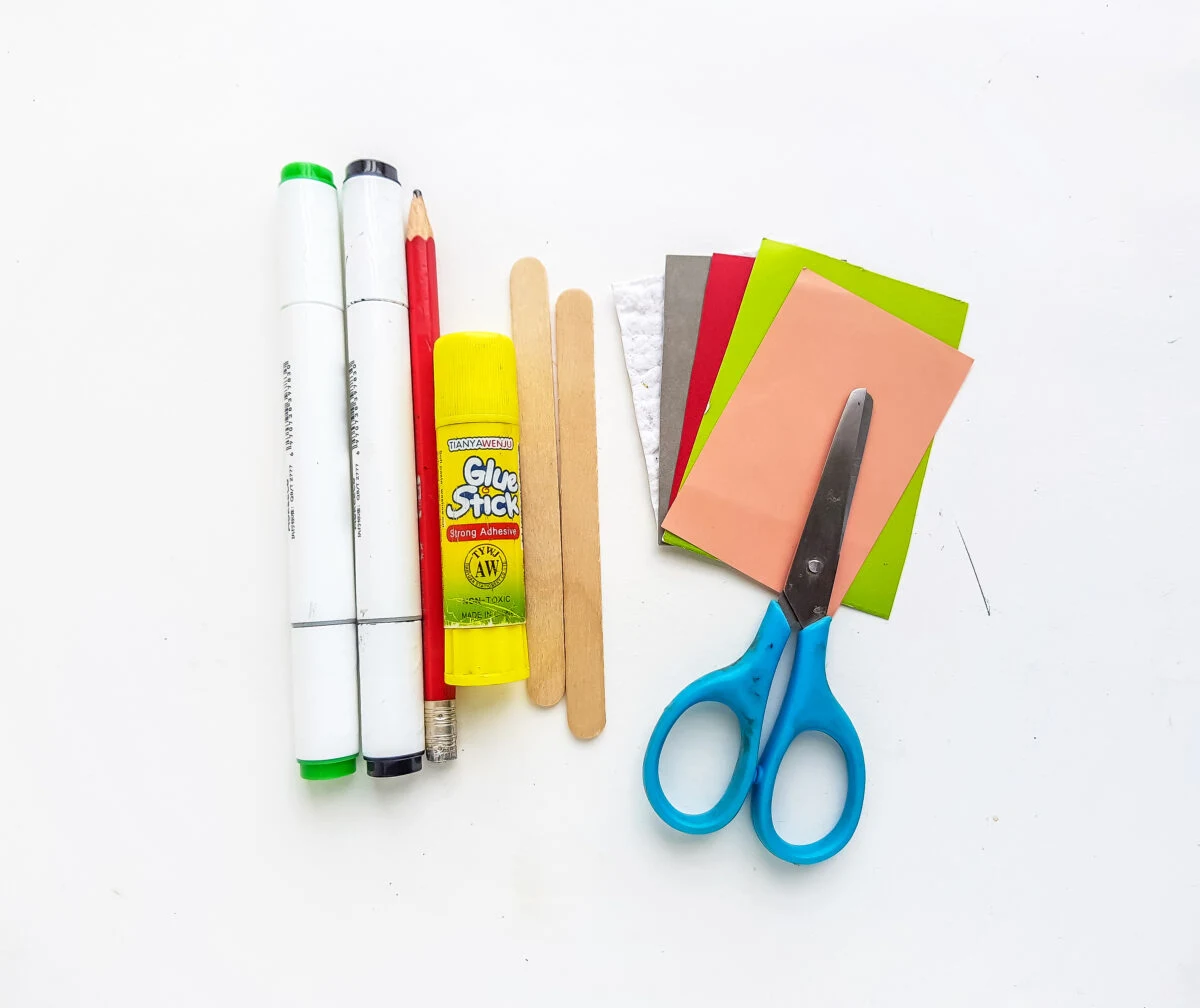
About the Materials Needed to Make this Easy Popsicle Stick Puppet Craft
Coloured Craft Papers – Craft stock is best if you want to make really sturdy puppets, but construction paper is generally fine. We used some textured papers as well for the beards.
Craft Sticks – Just regular popsicle sticks.
Craft Glue – Glue sticks or white school glue is fine.
Pencil – Any pencil will do for tracing the patterns out on the coloured paper.
Scissors – You will want to provide a good set of kids scissors for this project.
Gnome Template – You will need to download and print the provided template.
Optional – You can use a laminator, so that your kids gnome puppet will stand up to heavy play!
Looking for More Fun Christmas Crafts for Kids?
Check out some of our favourite Christmas kids crafts from previous years!
Get your kids into the holiday spirit with this festive Winter Wonderland Paper Plate Wreath craft. With just a paper plate, a little paint and basic craft supplies you can make your own Christmas wreath.
This simple paper plate snowman is a fun winter craft for kids that is easy enough for Toddlers and preschoolers.
Kids will love making their very own Christmas Tree Paper Plate Snow Globe. This is an easy kids paper craft for the holidays.
How to Make Paper Gnome Puppets
Prep time: 5 mins | Active time: 15 mins | Difficulty: Easy
Materials:
- Colored craft papers
- Craft sticks
- Craft glue
- Printed Gnome Template
Tools:
- Pencil
- Scissors
Directions:
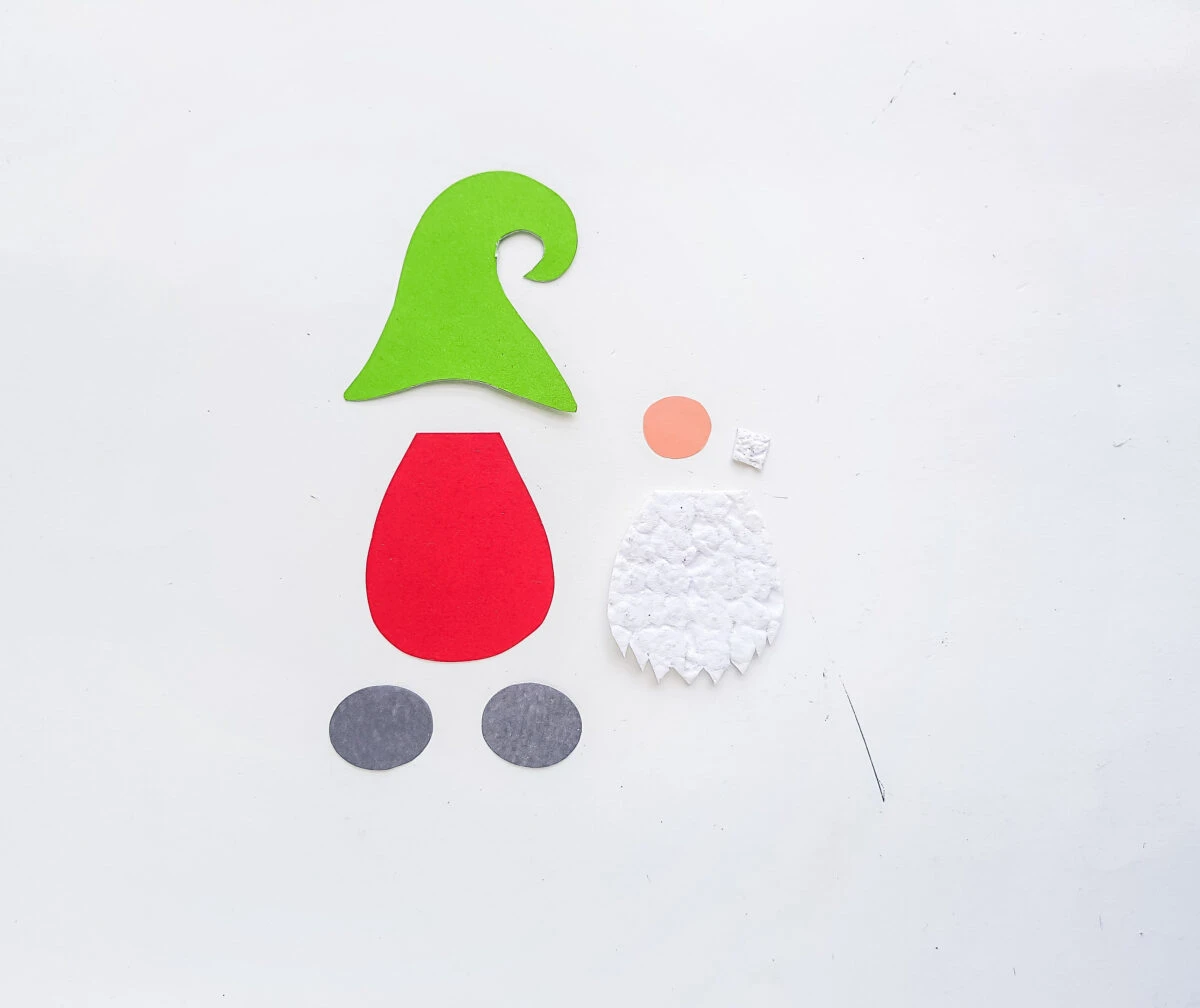
Select 4 different colored craft papers for the gnome puppet craft. Trace the provided template patterns (hat, nose, body, beard and shoes) on the selected craft papers and cut them out nicely. Cut out a small (smaller than the nose) of cardstock paper as well.
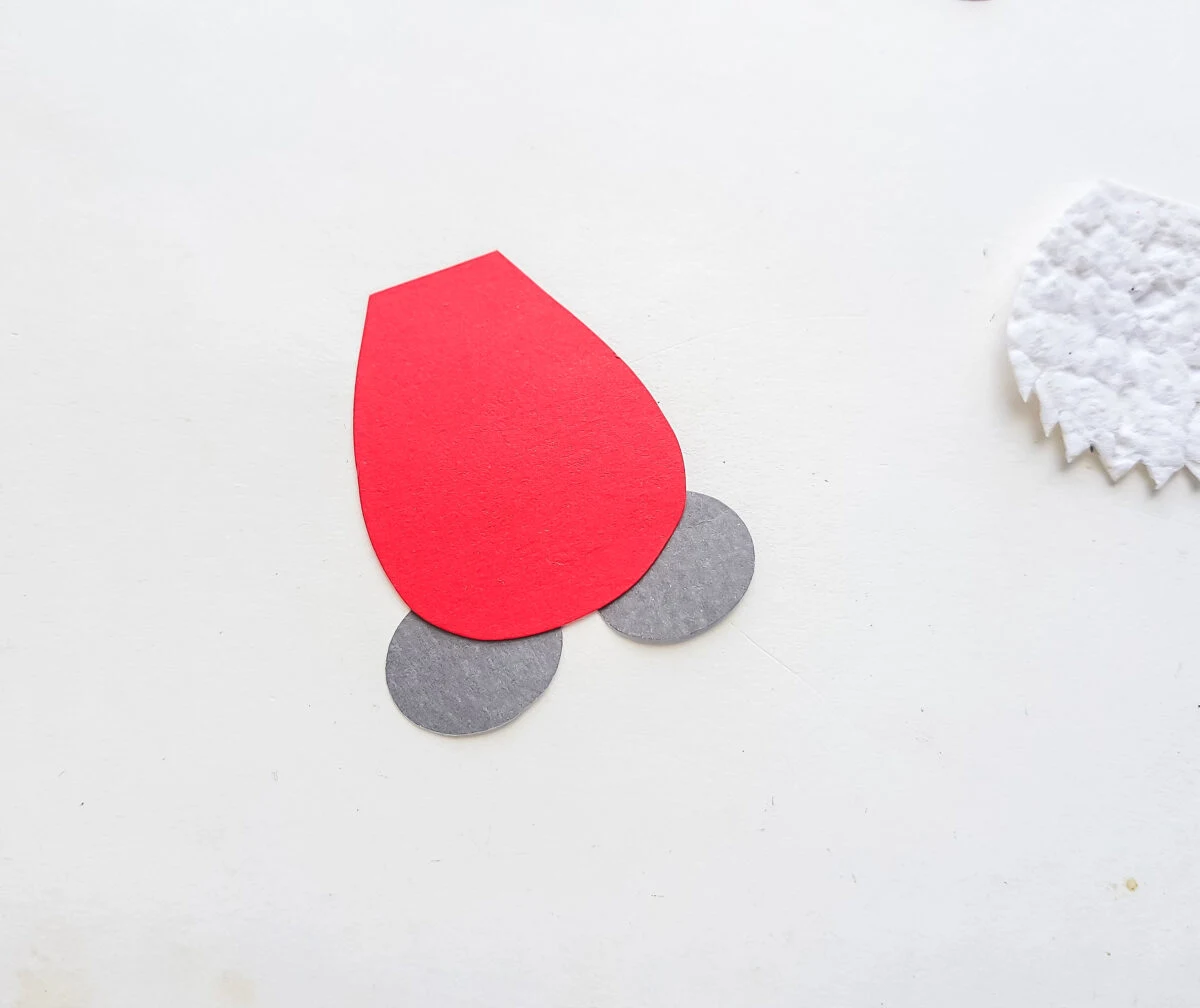
Grab the body pattern and stick the 2 shoe cutouts along the bottom side (the curved side) of the body cutout. Keep the shoe patterns on the backside.
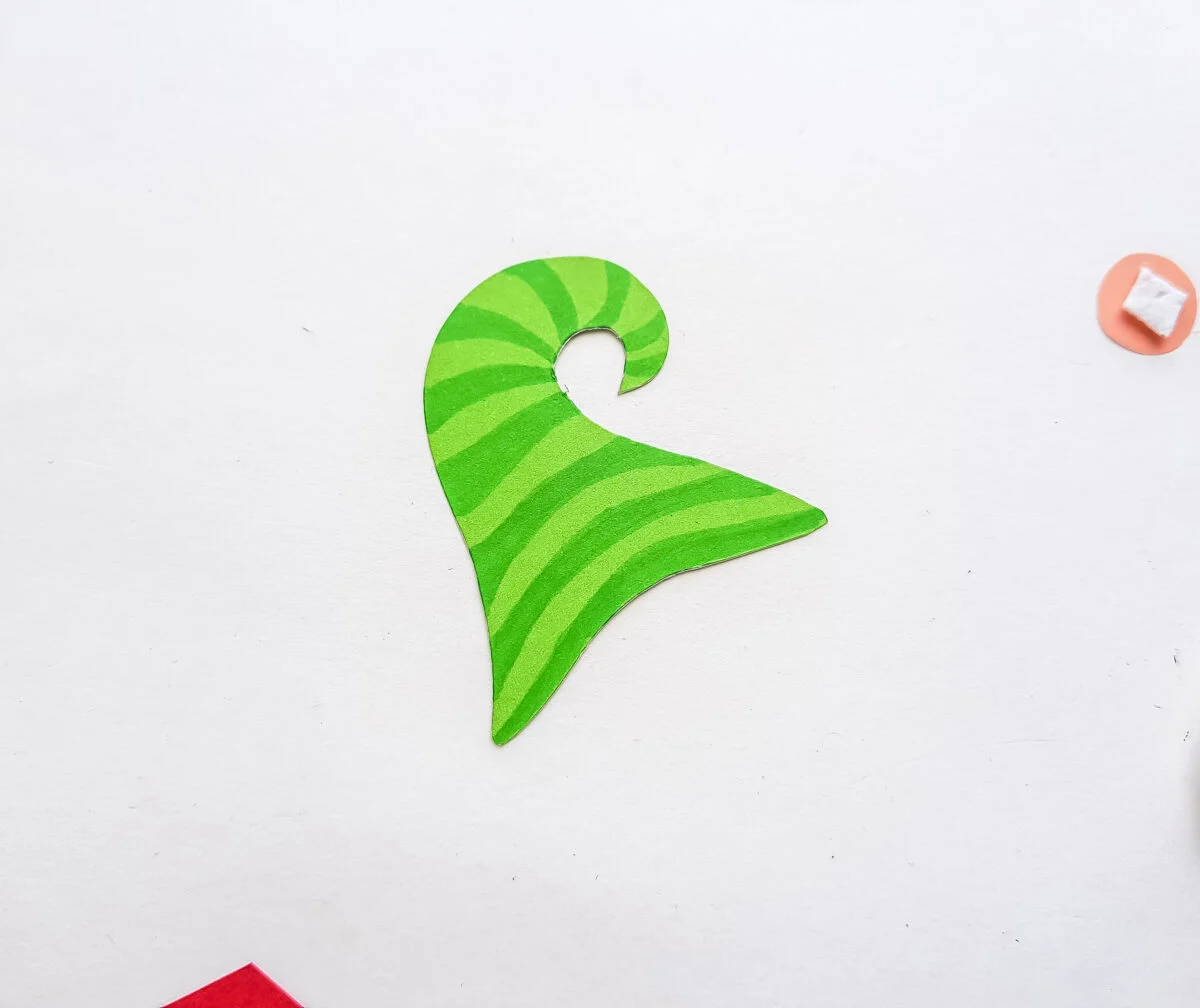
Grab the hat cutout and decorate the hat as you want. You can either use paper cutouts (circles, strips or any shape you like) or you can use sharpies to draw patterns on the paper hat.
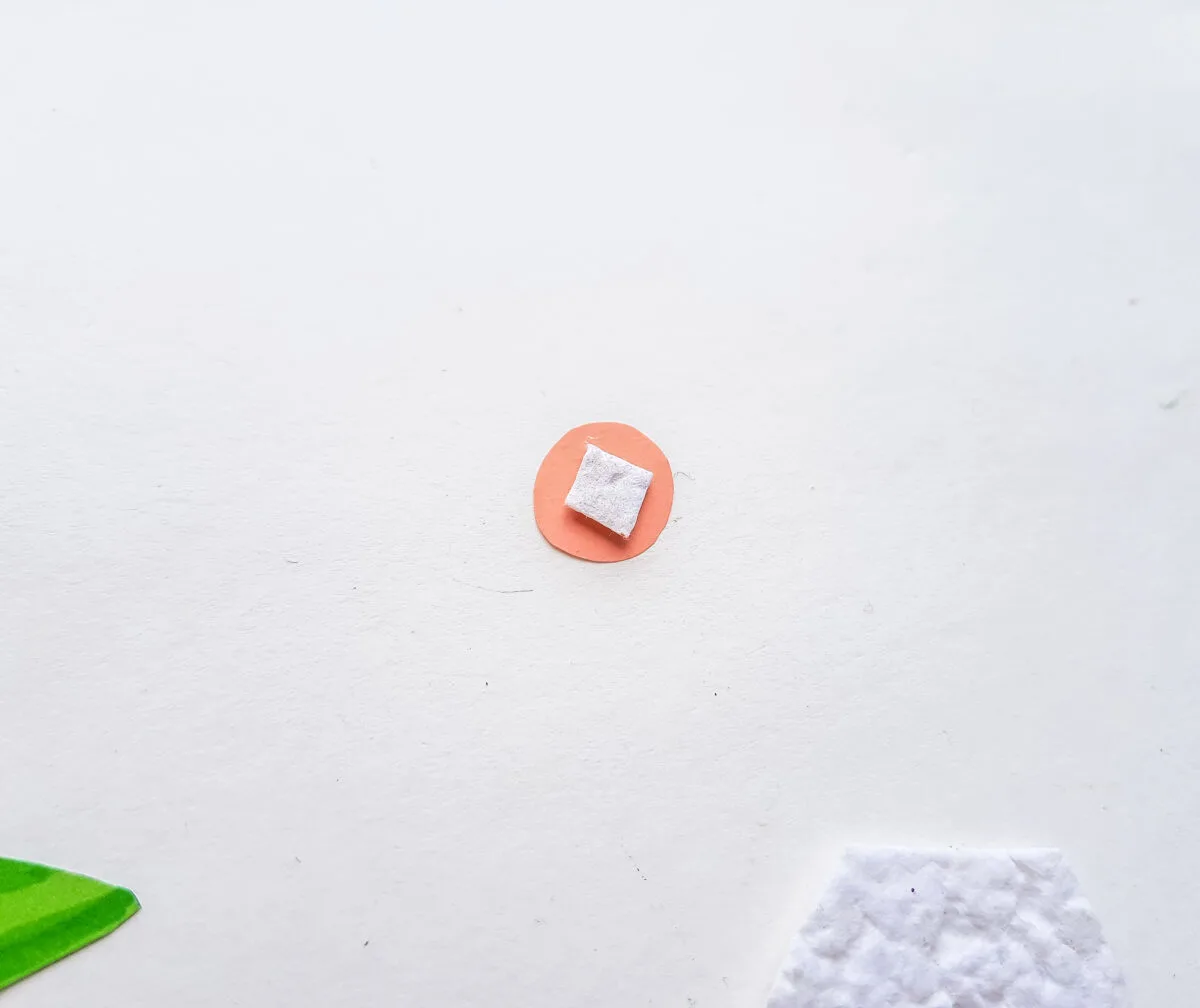
Grab the nose cutout and the small cardstock piece. Stick the cardstock piece on either side of the nose, right in the middle of it.
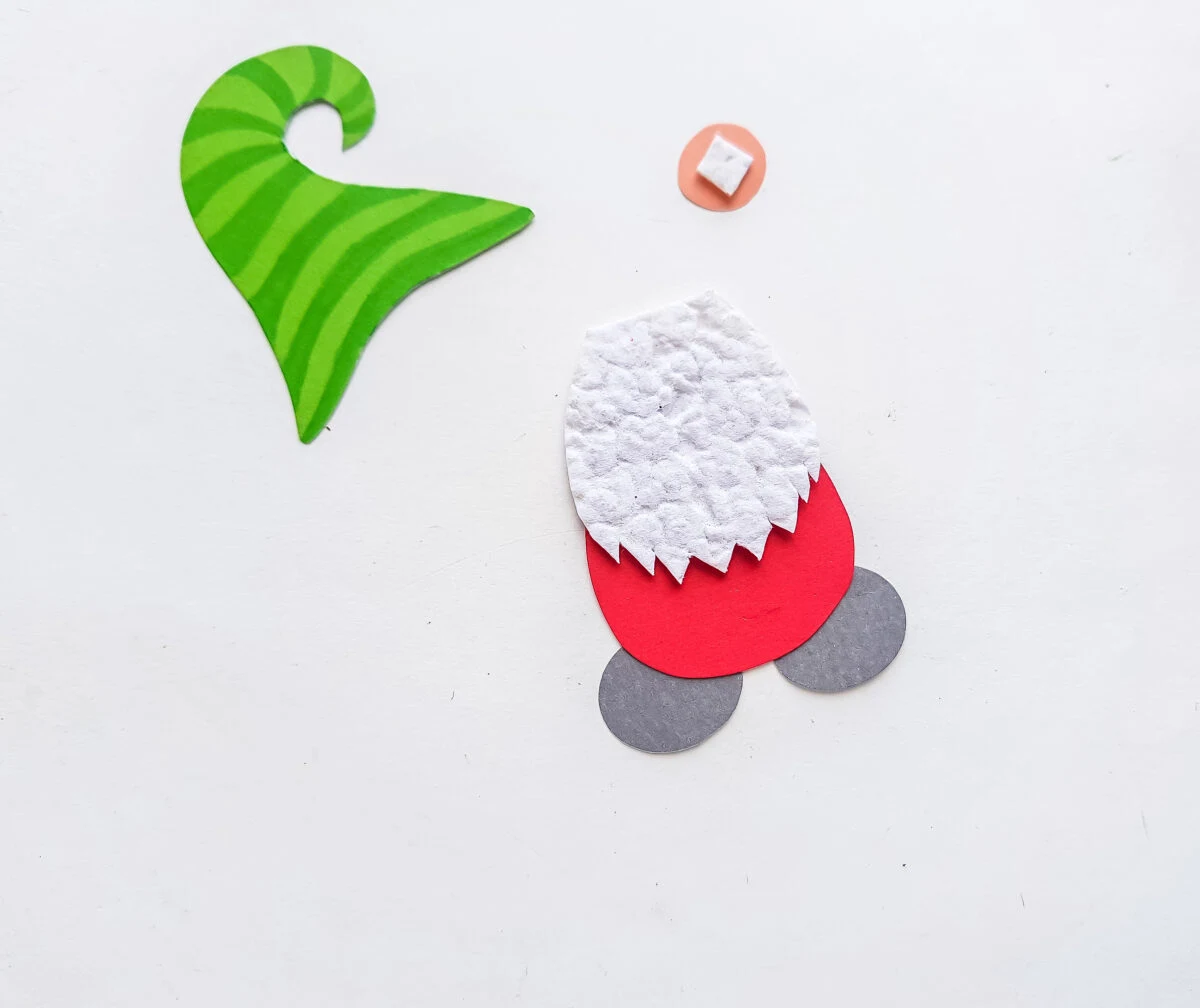
Stick the beard pattern near the top side of the body pattern, keeping the zigzag side facing down the pattern.
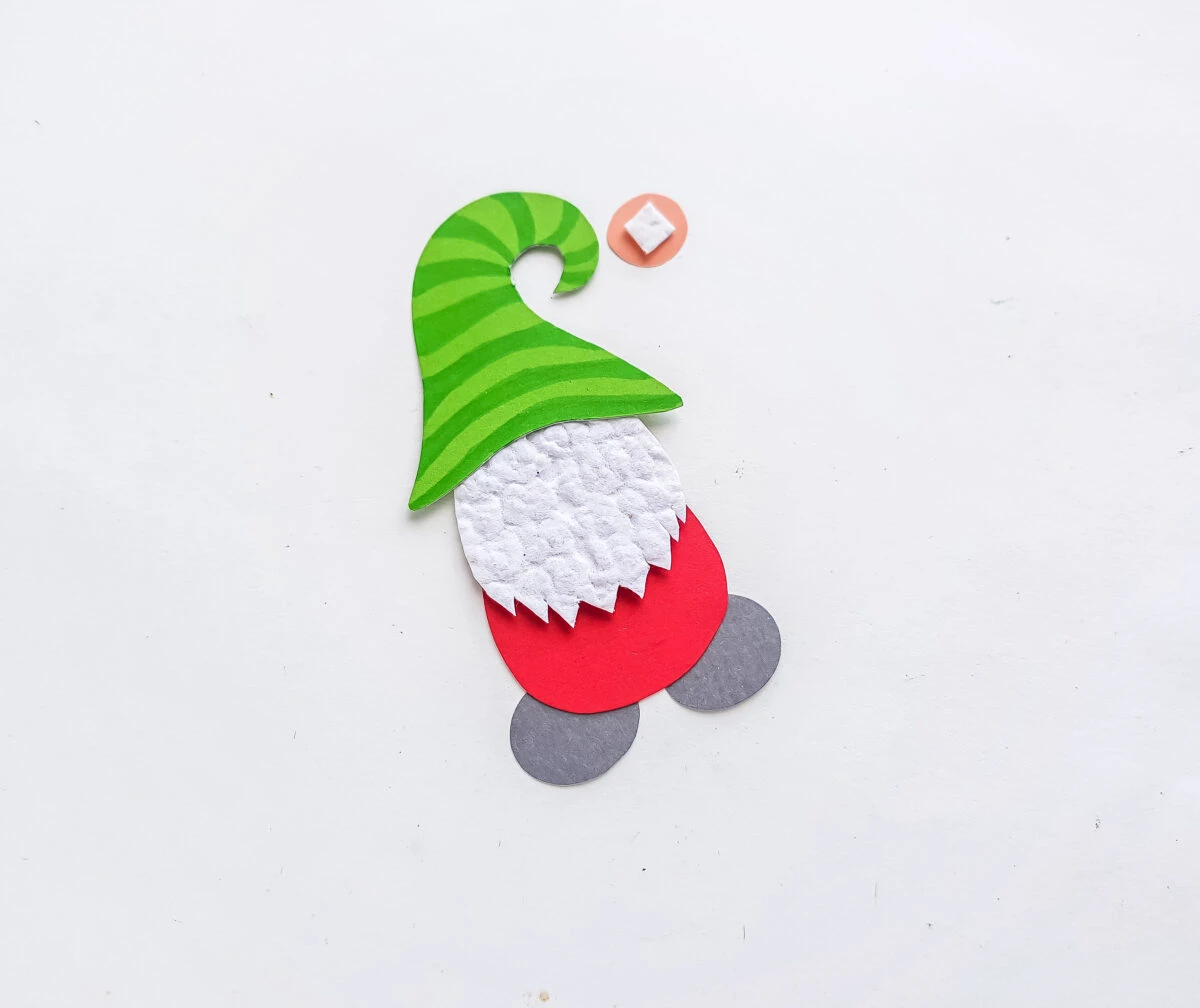
Now stick the hat pattern on the top side of the beard pattern by overlapping a cm of both patterns (beard and hat).
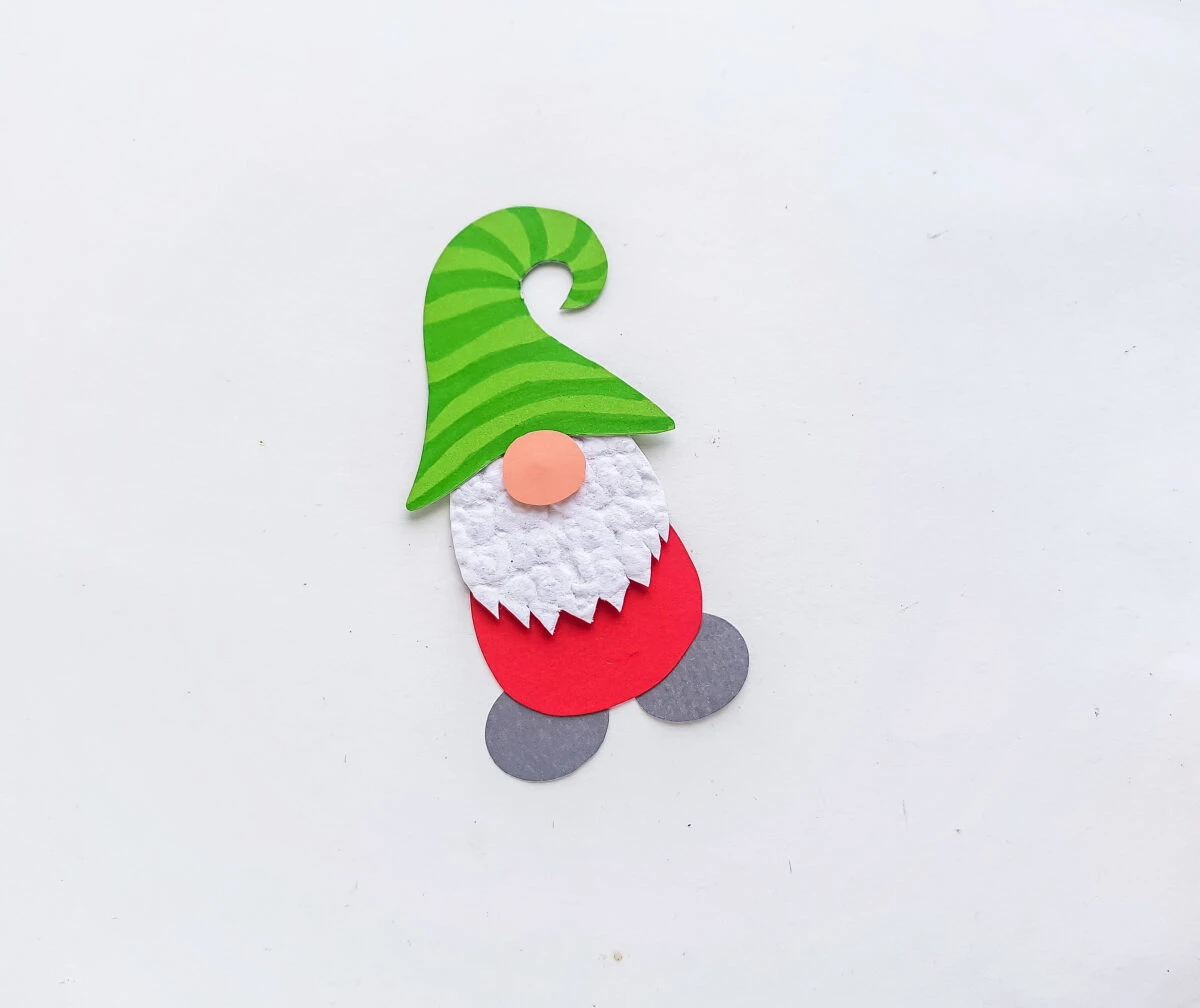
Now nicely stick the nose on the beard, right below the hat’s bottom end. While sticking the nose make sure to keep the cardstock piece on the backside.
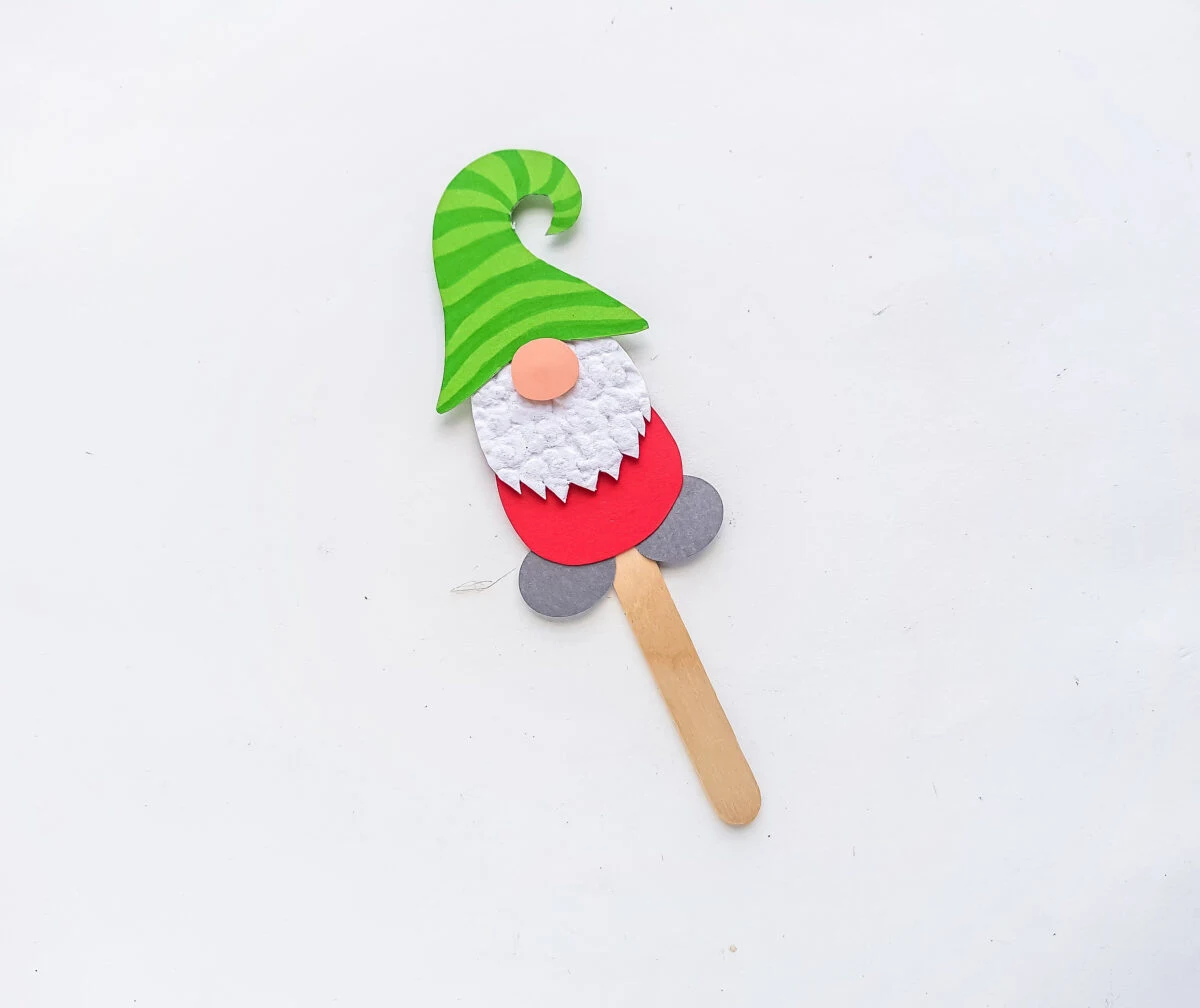
Attach the papercraft gnome on a popsicle stick to complete the puppet craft.
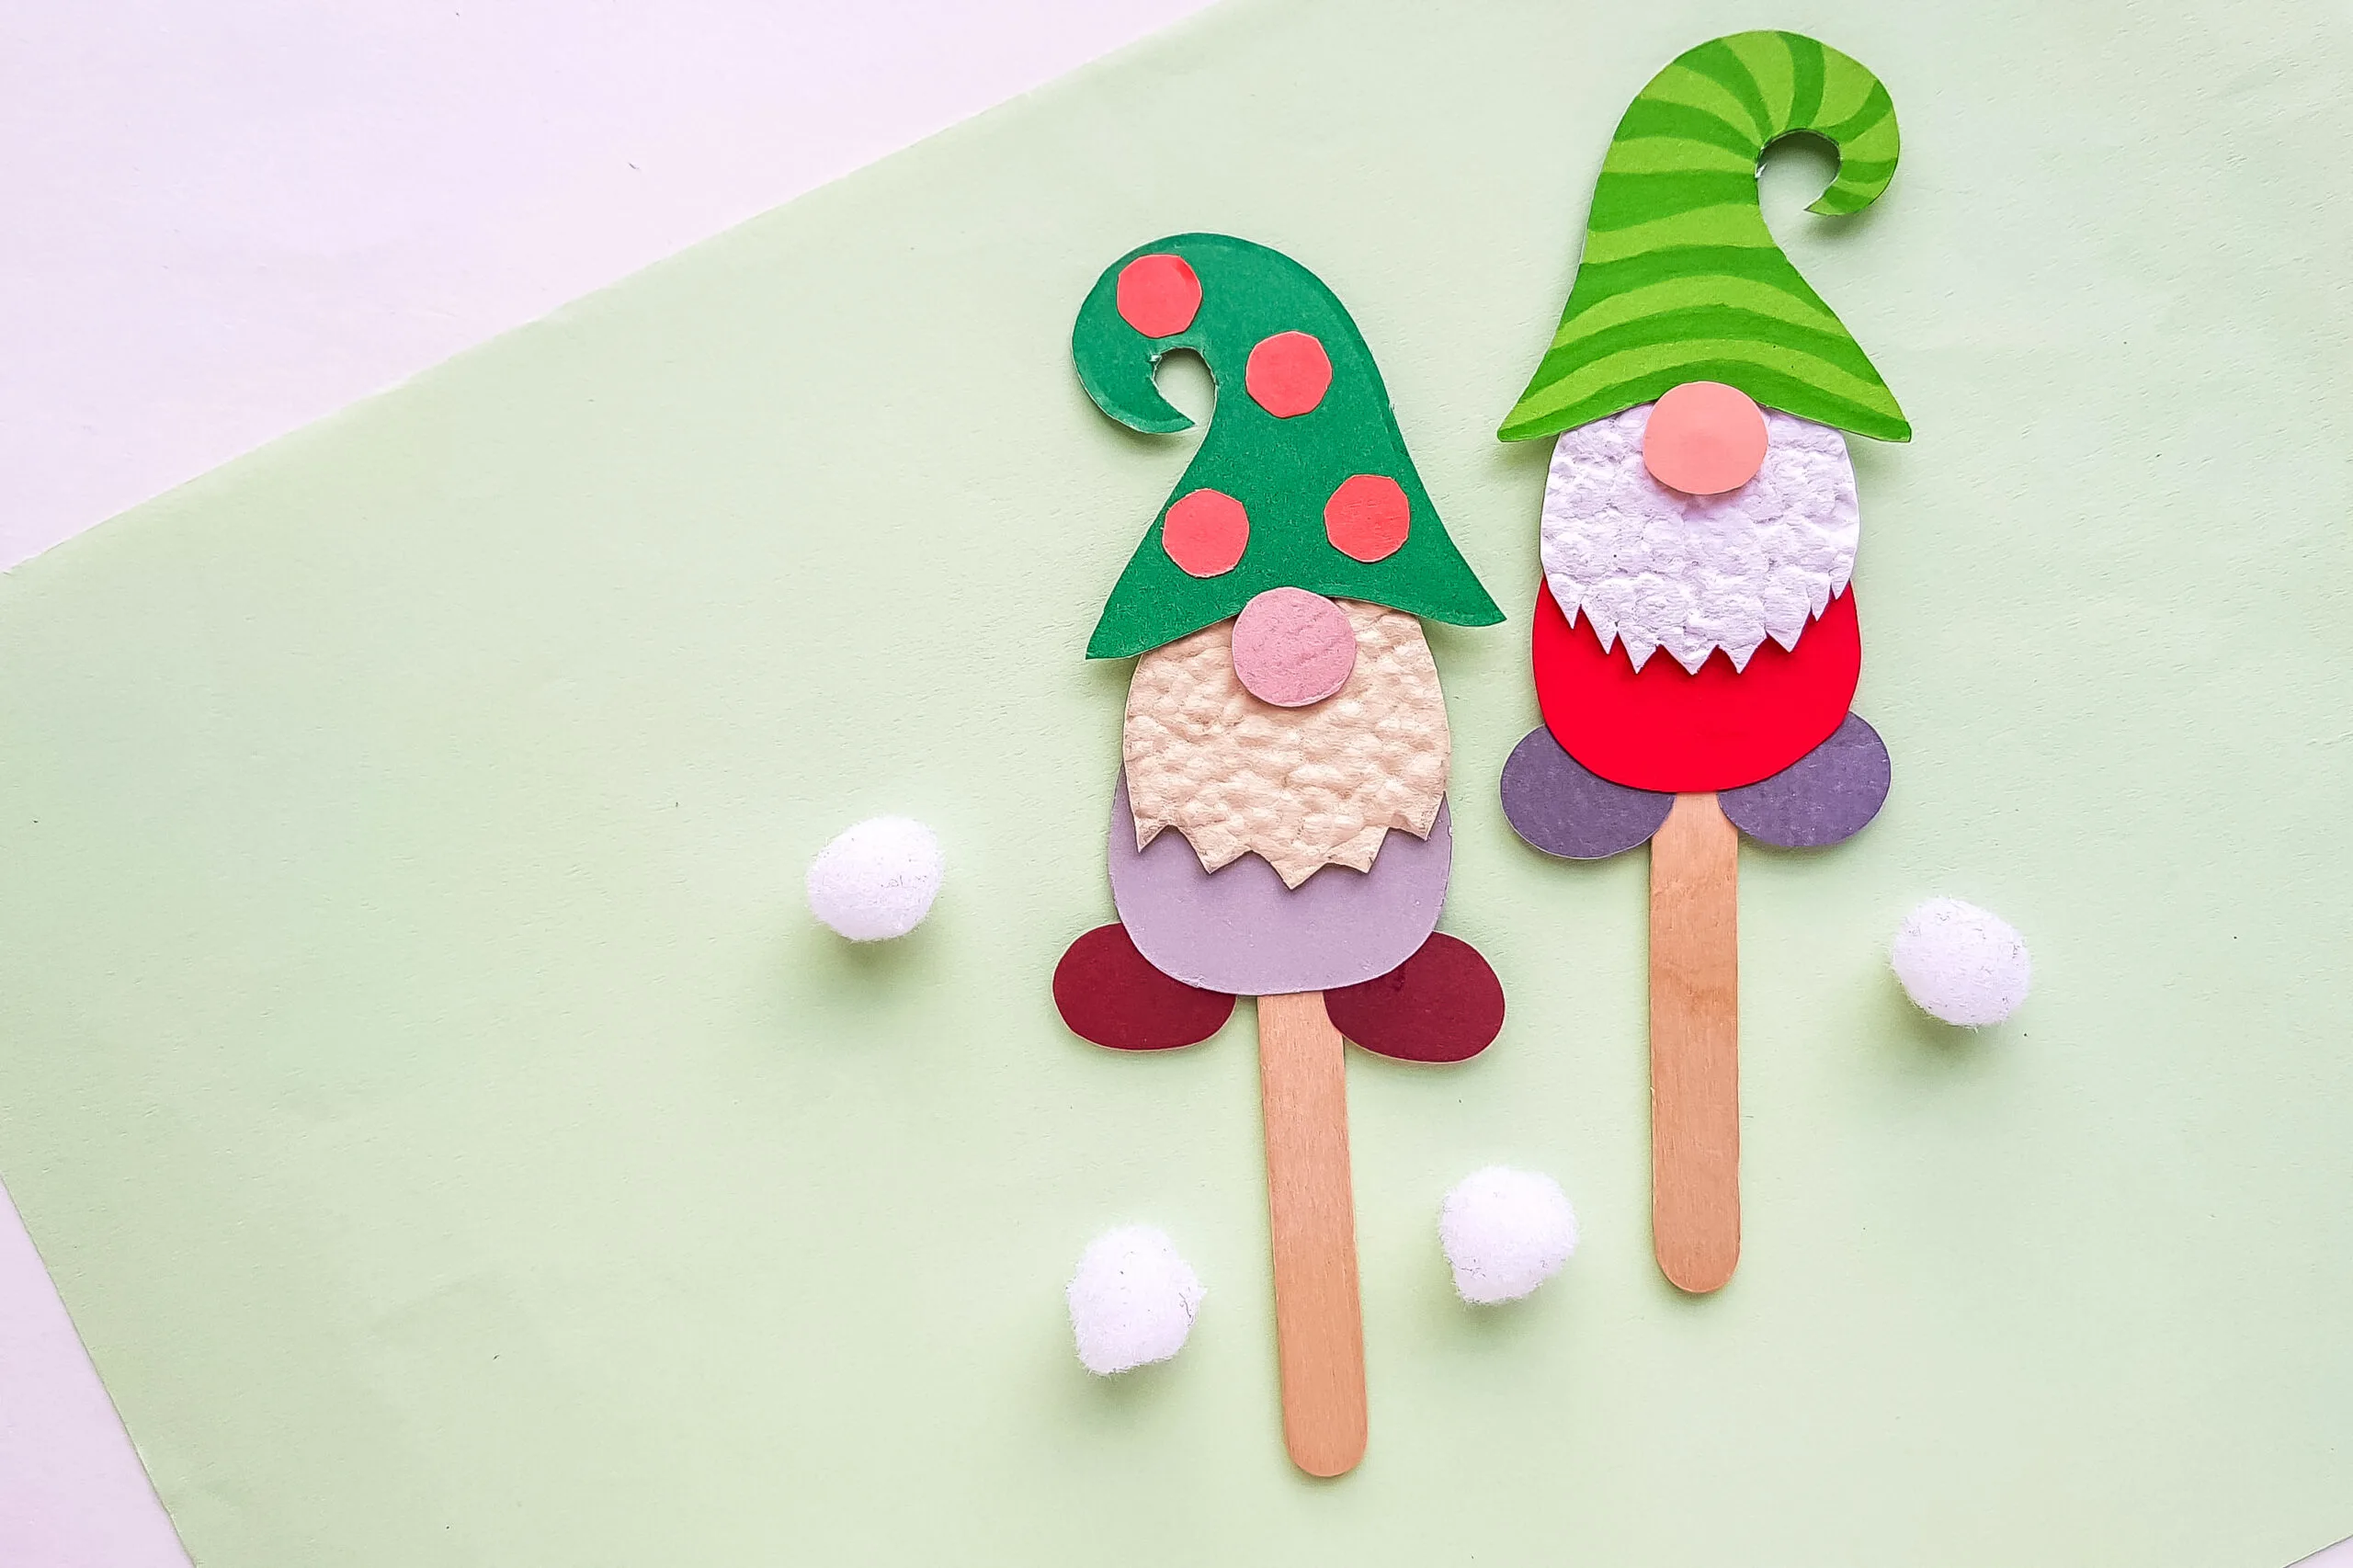
Paper Gnome Craft
Materials
- Coloured craft papers
- Popsicle sticks
- Craft Glue
- Printable Gnome Template
Tools
- Pencil
- Scissors
Instructions
- Select 4 different colored craft papers for the gnome puppet craft. Trace the provided template patterns (hat, nose, body, beard and shoes) on the selected craft papers and cut them out nicely. Cut out a small (smaller than
the nose) of cardstock paper as well. - Grab the body pattern and stick the 2 shoe cutouts along the bottom side (the curved side) of the body cutout. Keep the shoe patterns on the backside.
- Grab the hat cutout and decorate the hat as you want. You can either use paper cutouts (circles, strips or any shape you like) or you can use sharpies to draw patterns on the paper hat.
- Grab the nose cutout and the small cardstock piece. Stick the cardstock piece on either side of the nose, right in the middle of it.
- Stick the beard pattern near the top side of the body pattern, keeping the zigzag side facing down the pattern.
- Now stick the hat pattern on the top side of the beard pattern by overlapping a cm of both patterns (beard and hat).
- Now nicely stick the nose on the beard, right below the hat’s bottom end. While sticking the nose make sure to keep the cardstock piece on the backside.
- Attach the papercraft gnome on a popsicle stick to complete the puppet craft.
Recommended Products
As an Amazon Associate and member of other affiliate programs, I earn from qualifying purchases.
★TERMS OF USE:
………………………………………………………….
You may use this file for your own PERSONAL USE ONLY. File sharing, distribution, and commercial use of this file or of the printed work from this file are prohibited. You are welcome to print as many copies as you like for yourself. The designs can not be used for any commercial purpose or resold. You may NOT use these files for publishing on any platform under any circumstances.

Elizabeth Lampman is a coffee-fuelled Mom of 2 girls and lives in Hamilton, Ontario. She enjoys travelling, developing easy recipes, crafting, taking on diy projects, travelling and saving money!

