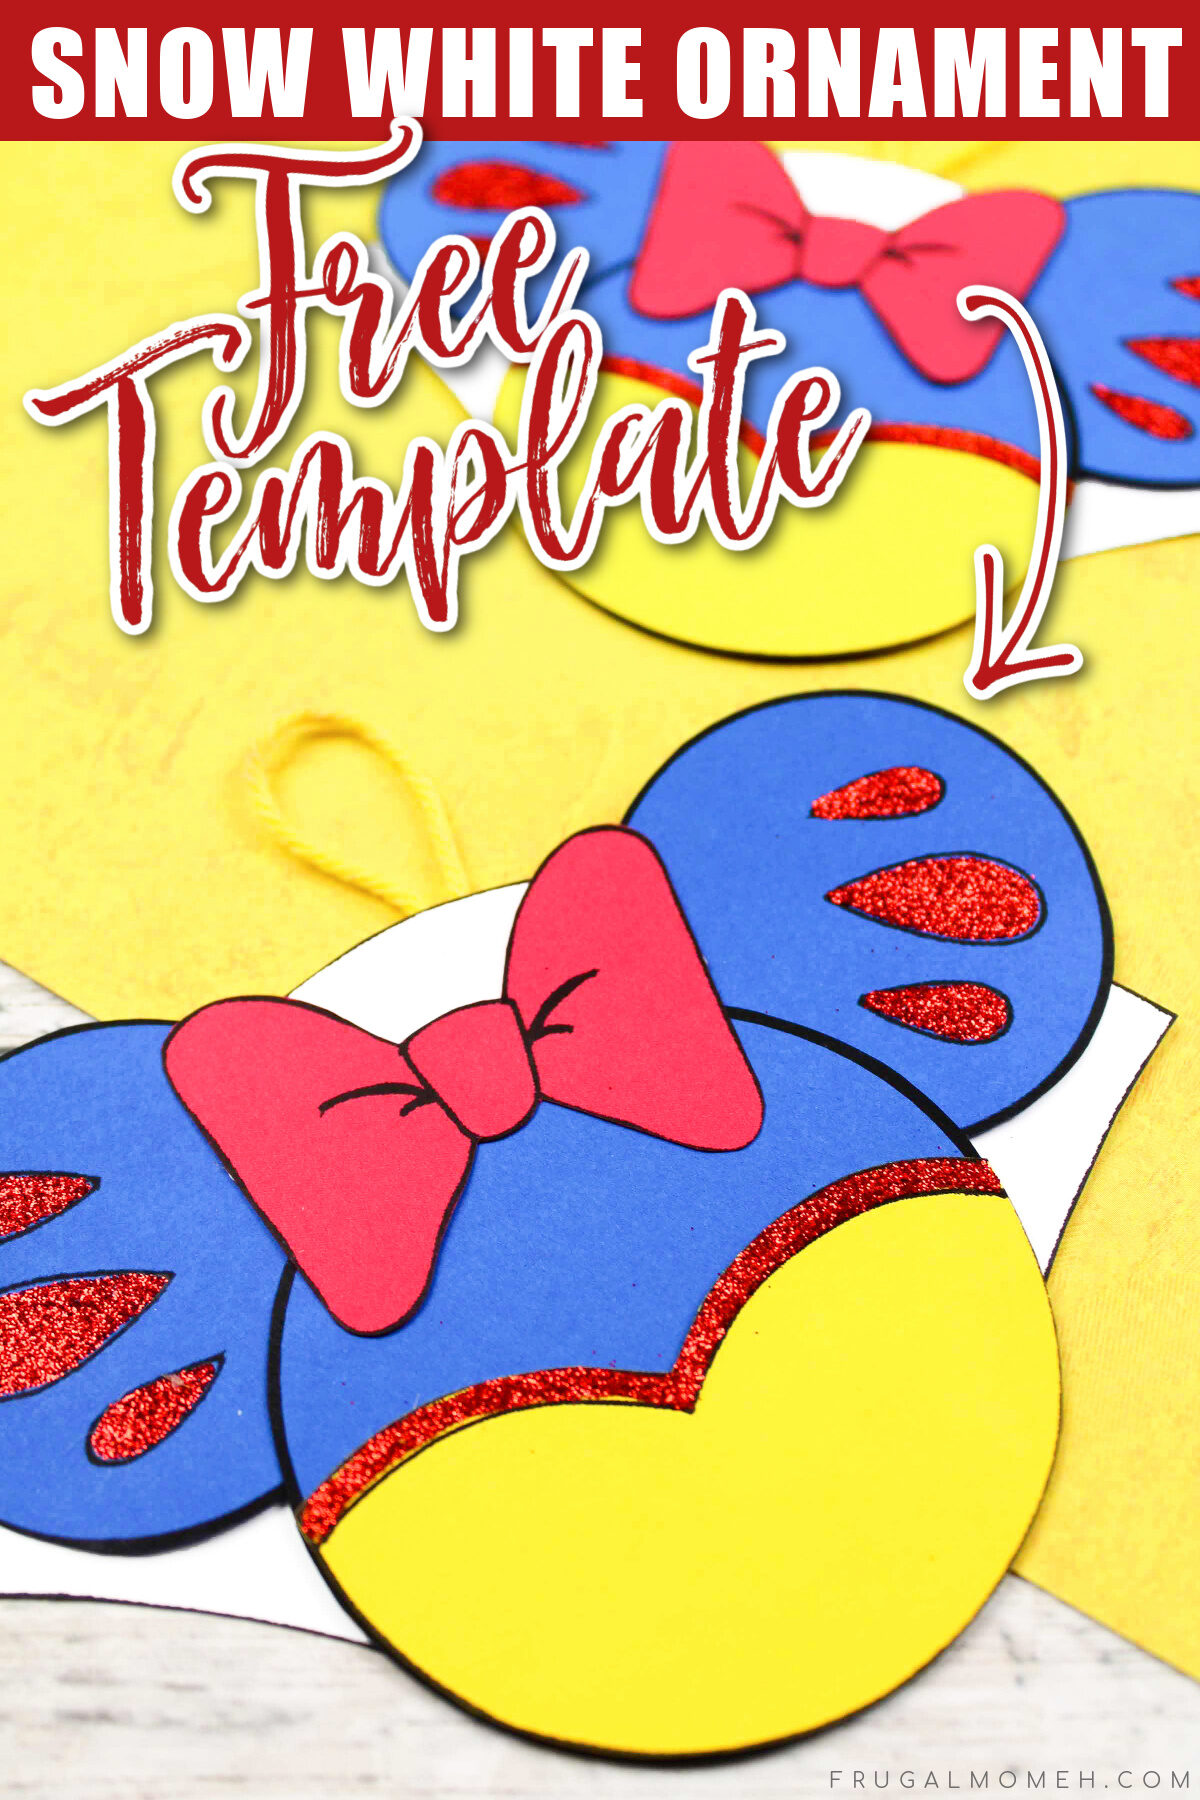
DIY Snow White Mickey Ears Ornament
This is a fun and easy tutorial on how to make a cute snow white mickey ears ornament for your Disney inspired Christmas tree. Free template!
It’s the most wonderful time of the year, and that means it’s time for Christmas trees!
If you’re looking for a unique ornament to add to your tree, why not try making a DIY Snow White Mickey Ears ornament? This is a fun and easy project that anyone can do, and it will add some Disney magic to your holiday decorations.
With just a few simple supplies, you can create your own ornament that is sure to brighten up your holiday decorations.
So get creative and have some fun with this project – your Christmas tree will look amazing!
How to Make Your Paper Ornaments Last
As long as you carefully store your card-stock ornaments they should last for years without having to laminate them.
If you choose to use regular paper or construction paper then you will want to take some steps to preserve your handiwork.
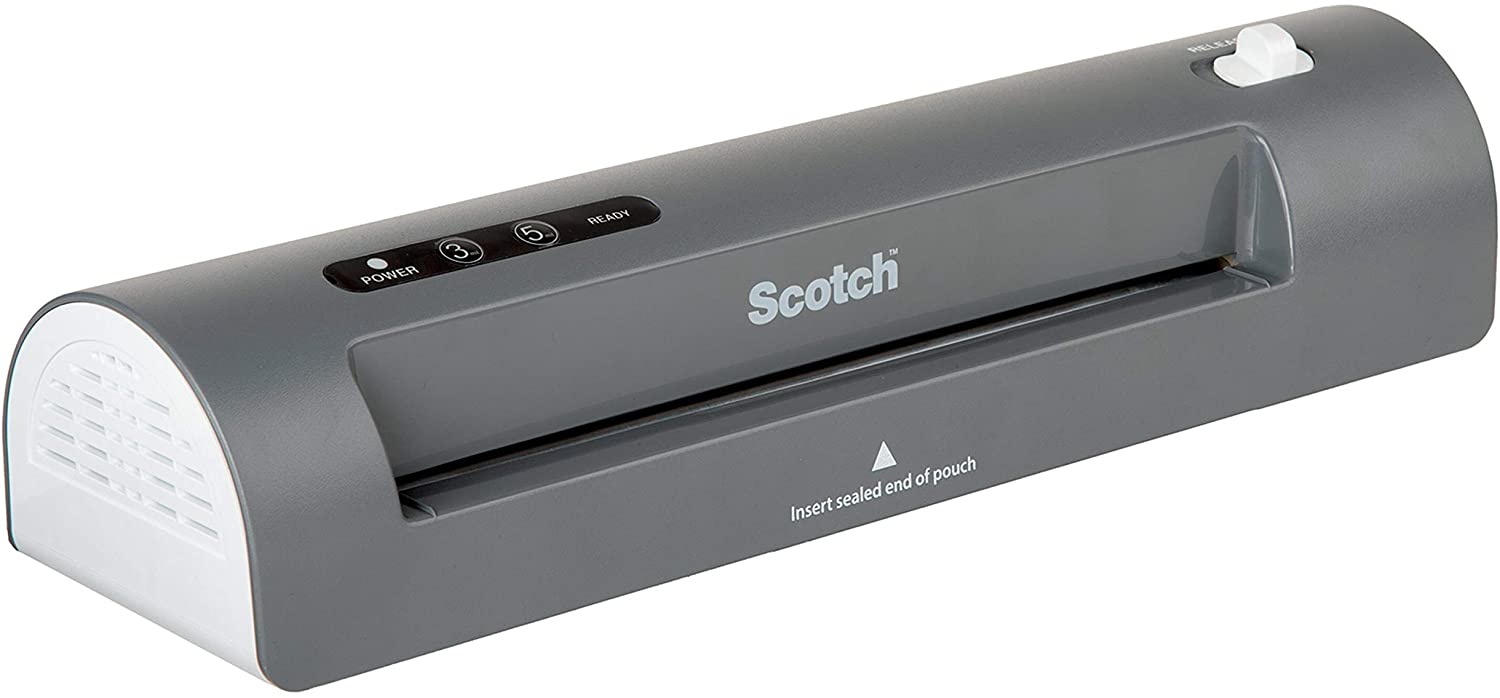
In this case you will want to take a few extra minutes to laminate them. A good laminator is pretty cheap as are the sleeves, and it takes only minutes to protect your kids art this way.
Once they have assembled their ornament, but prior to attaching the ribbon, laminate it. Use a hole punch to create a hole for your ribbon, and carefully cut your ornament out.
They will be able to withstand a lot more wear and tear this way.
About the Materials Needed for this Handmade Ornament
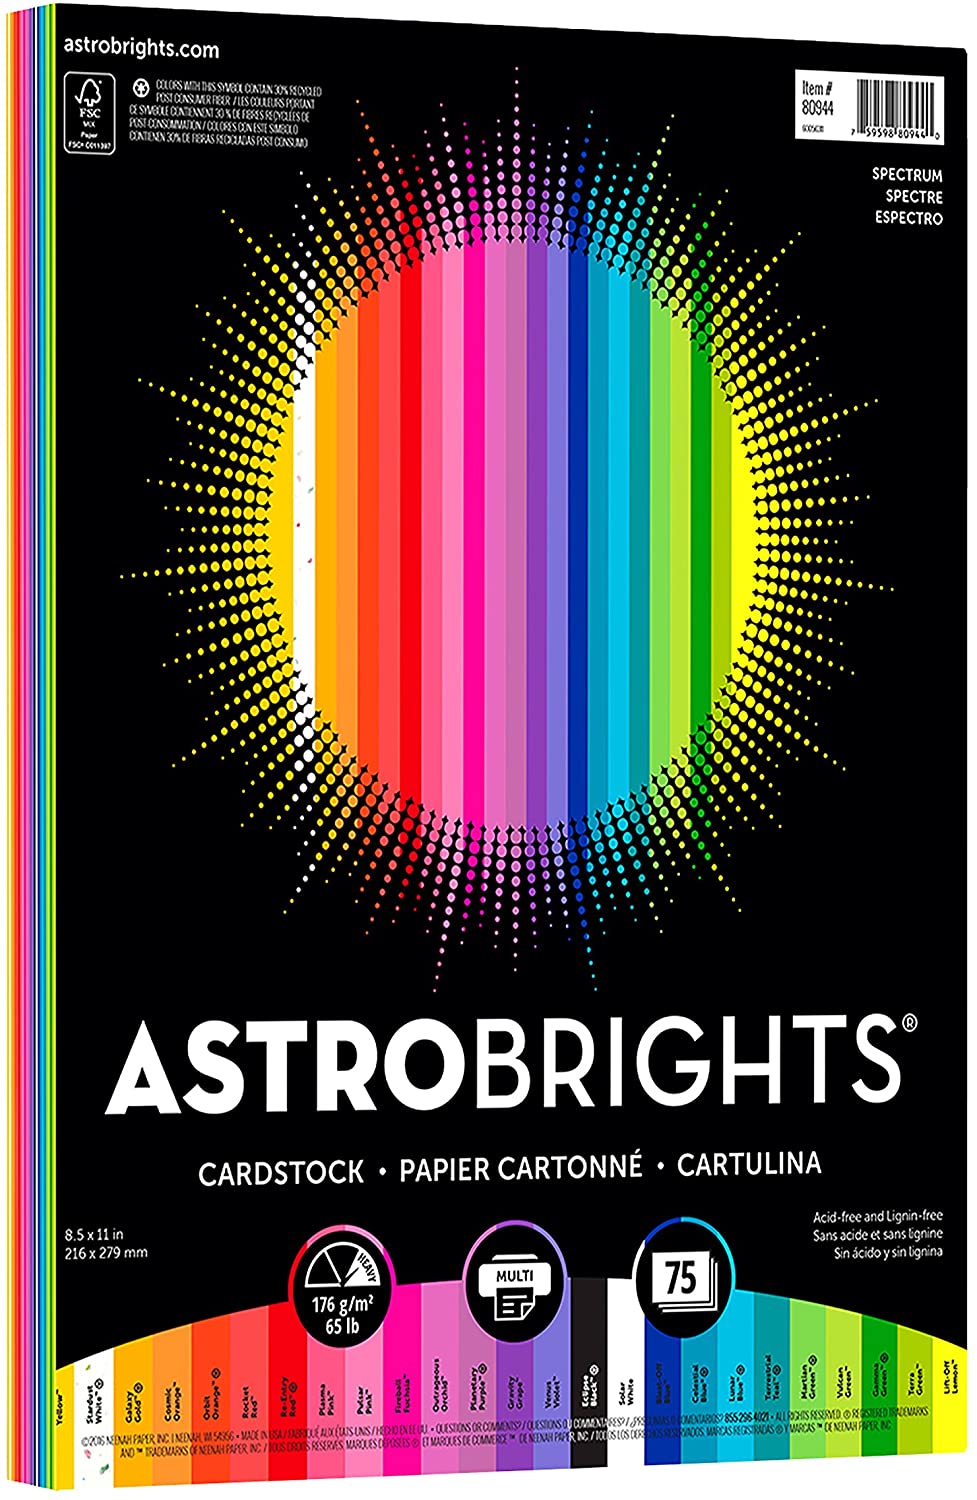
Cardstock – You want to use good quality cardstock.
Glue – You can use either white glue or a glue stick.
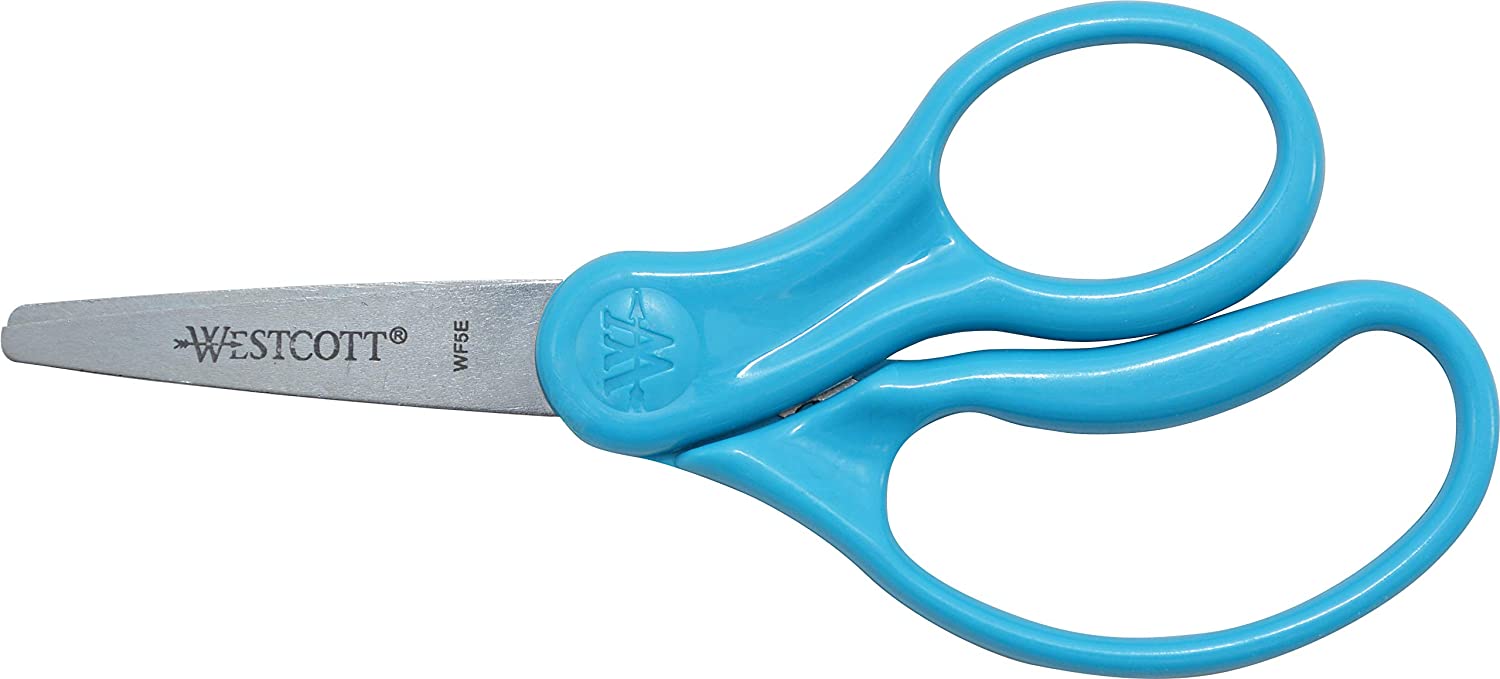
Scissors – If your kids are making these, make sure they have good quality kids scissors.
Ribbon – You can also use twine.
Glitter – You can skip this step if you want to avoid the glittergeddon that inevitably comes from using glitter.
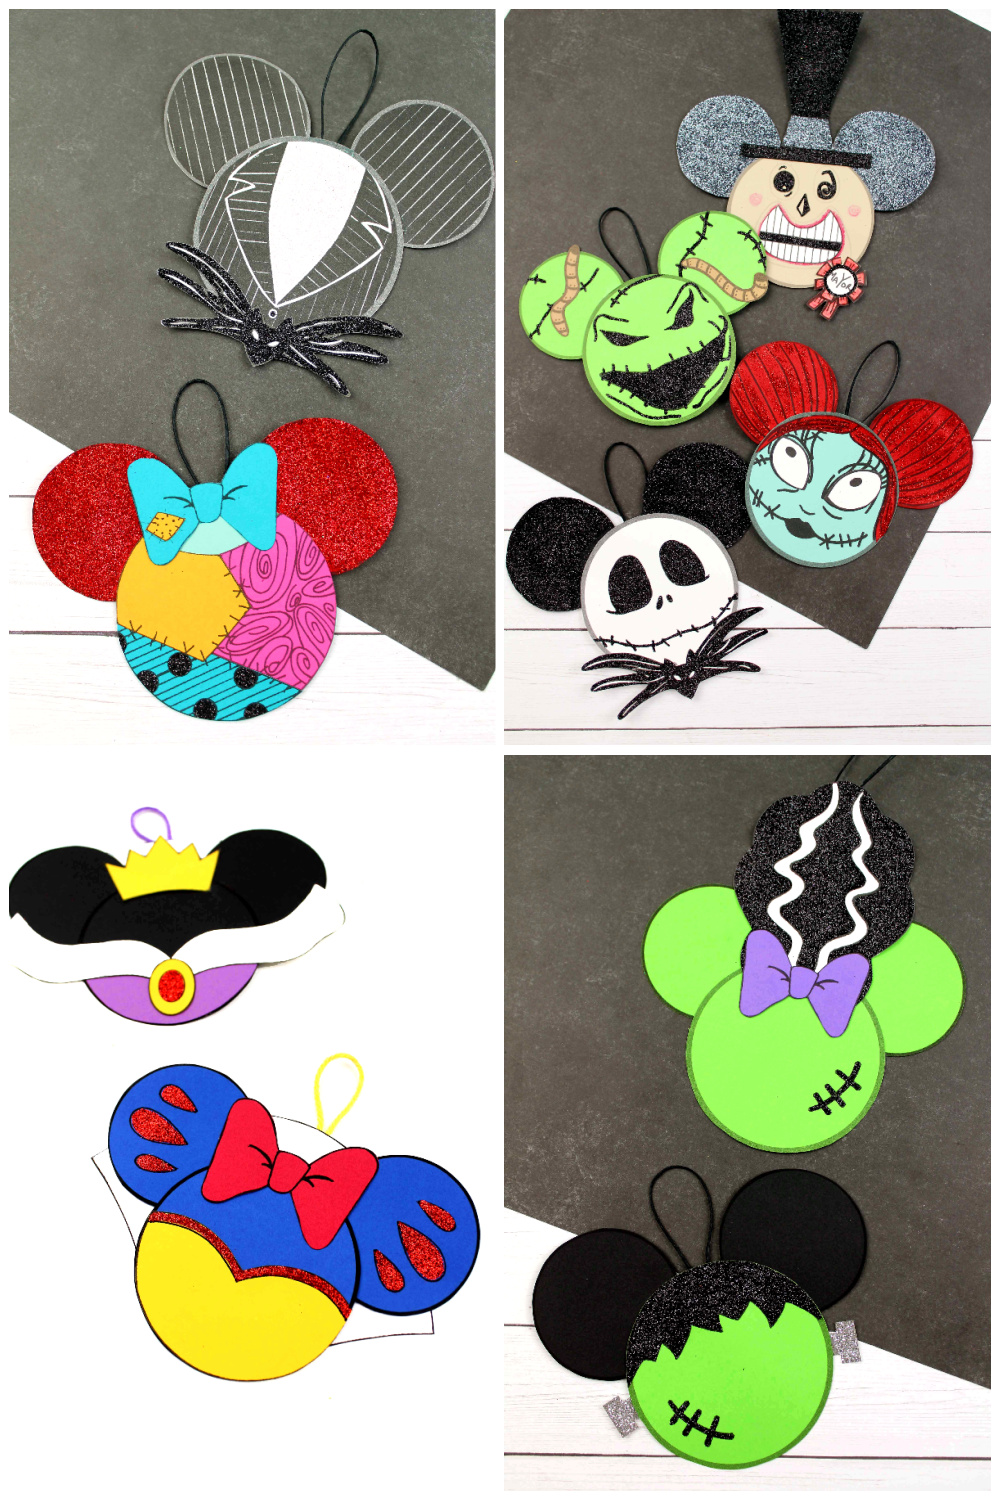
Looking for More Mickey Ears Christmas Ornament Crafts?
Check out more of these Handmade Mickey Head Christmas Ornaments:
- DIY Sally Skellington Dress Mickey Ears Ornament
- DIY Sally Skellington Mickey Ears Ornament
- DIY Jack Skellington Mickey Ears Ornament
- DIY Mayor of Halloweentown Mickey Ears Ornament
- DIY Oogie Boogie Mickey Ears Ornament
- DIY Evil Queen Mickey Ears Ornament
- DIY Frankenstein Mickey Ears Ornament
- DIY Jack Skellington Suit Mickey Ears Ornament
Looking for More Christmas Ornament Crafts?
Check out some of my favourite handmade Christmas ornaments:
These Popsicle Stick Rudolph & Clarice Ornaments are an adorable and festive holiday craft that make for great gifts and look great on a Christmas tree.
These Wood Slice Unicorn Ornaments are an adorable DIY project for you and the kids to tackle over the holiday season.
These Wood Slice Woodland Doe Ornaments are an adorable and festive holiday craft that make for great gifts and look great on a Christmas tree.
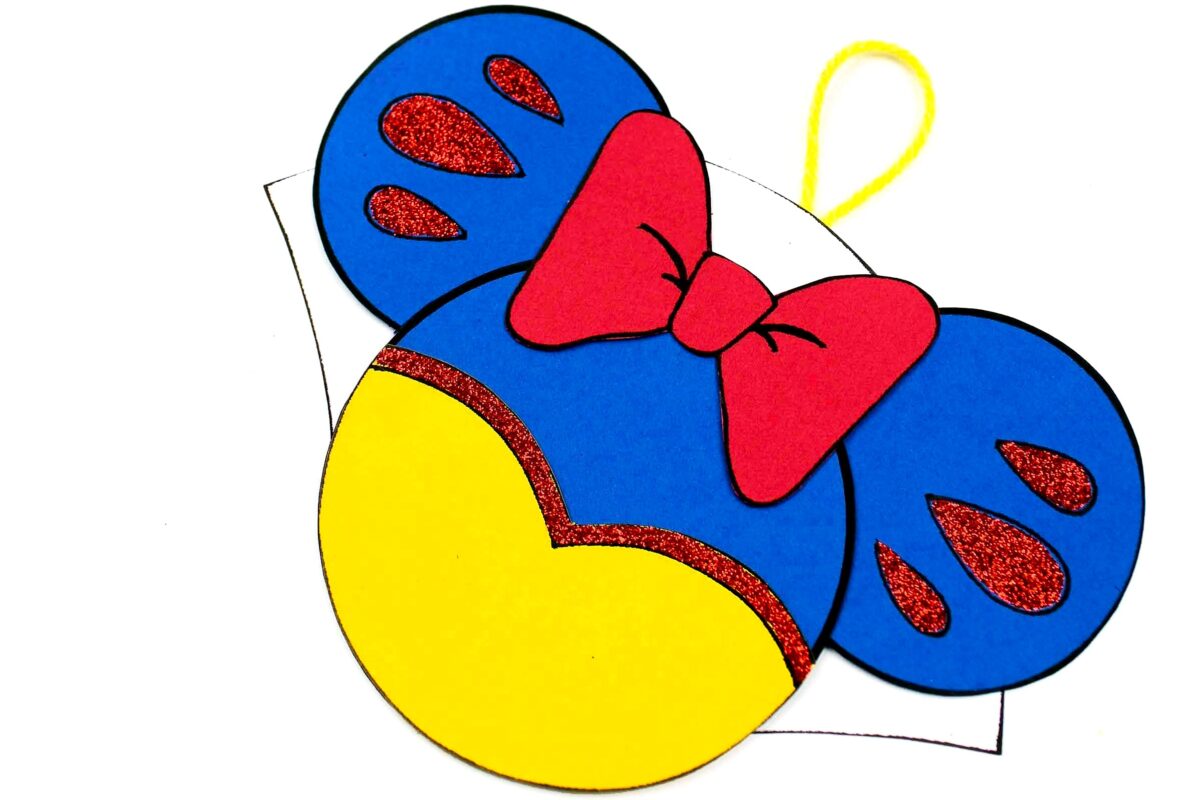
How to Make a Snow White Mickey Head Ornament
Supplies:
- Red Cardstock
- Blue Cardstock
- Yellow Cardstock
- White Cardstock
- Glue
- Scissors
- Coloured Ribbon
- Glitter
- Printable Template
Directions:
Download and print out the Snow White Mickey Head ornament template. Pay close attention to the colours the PDF instructs you to print each page on.
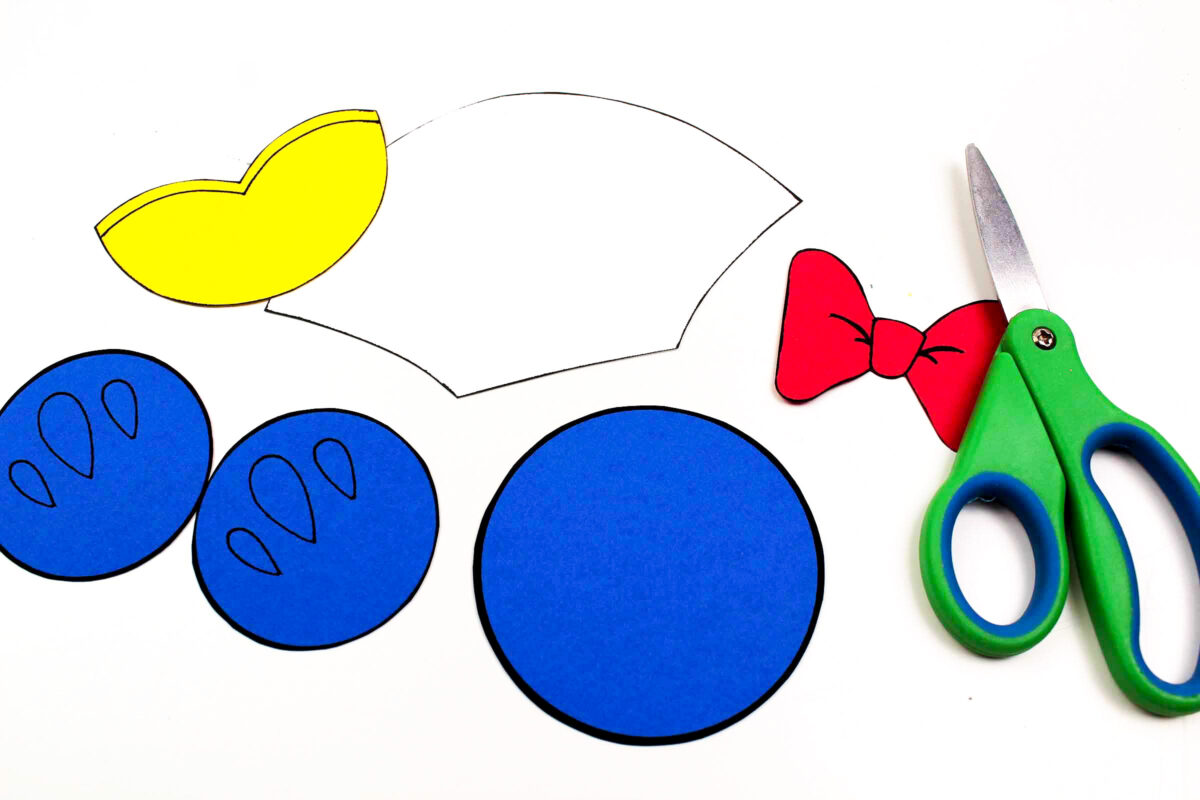
Cut out all the pieces.
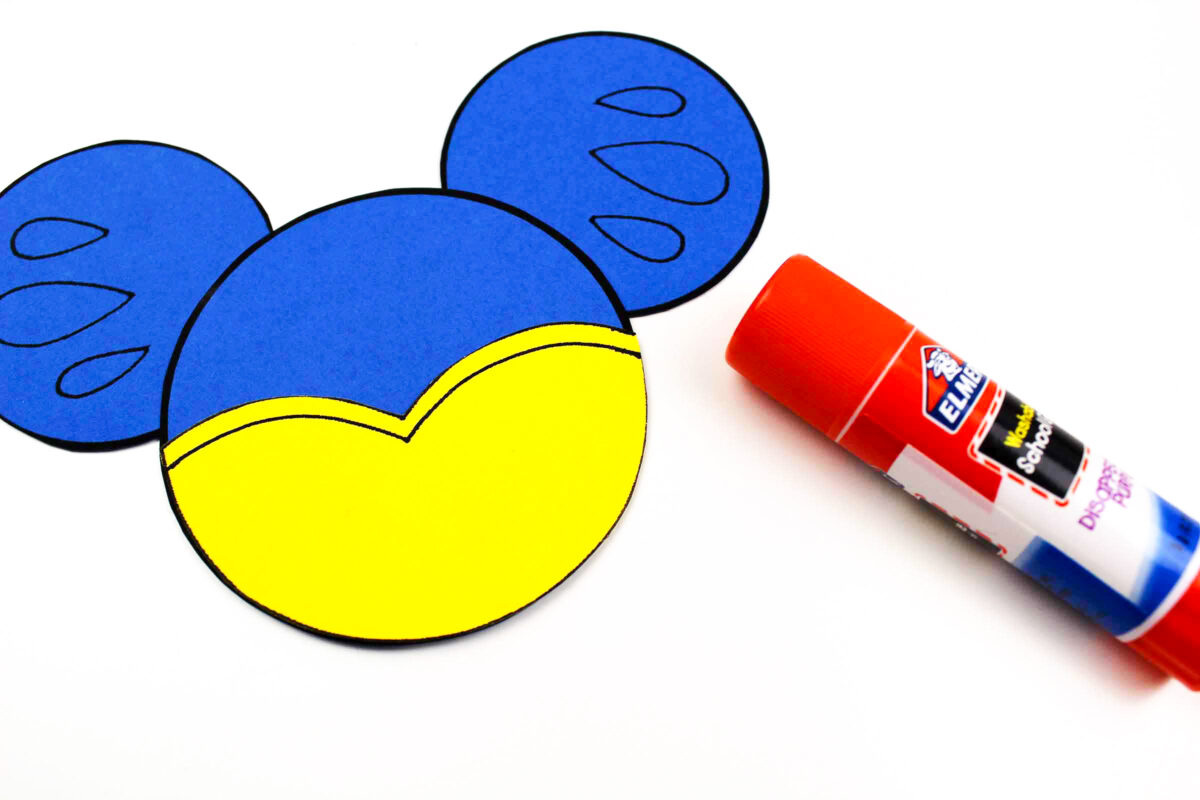
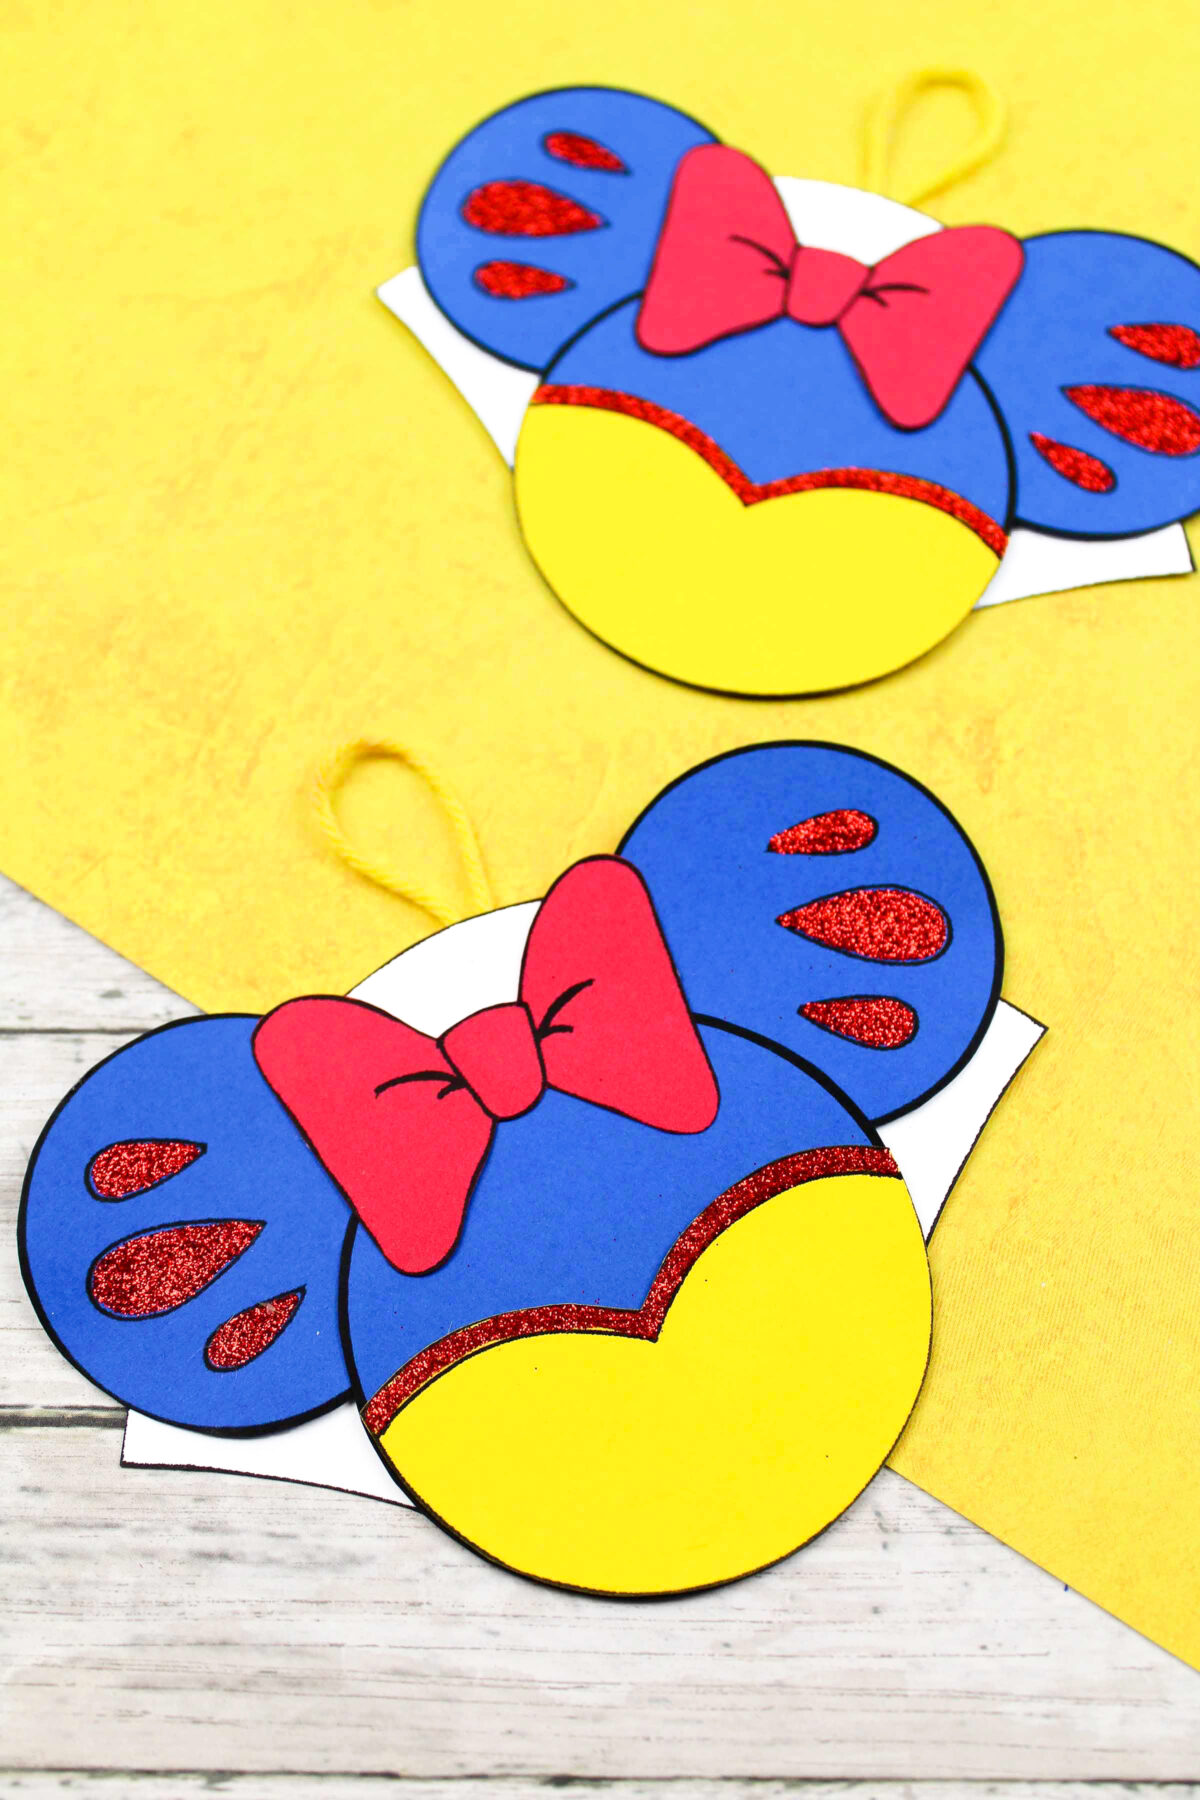
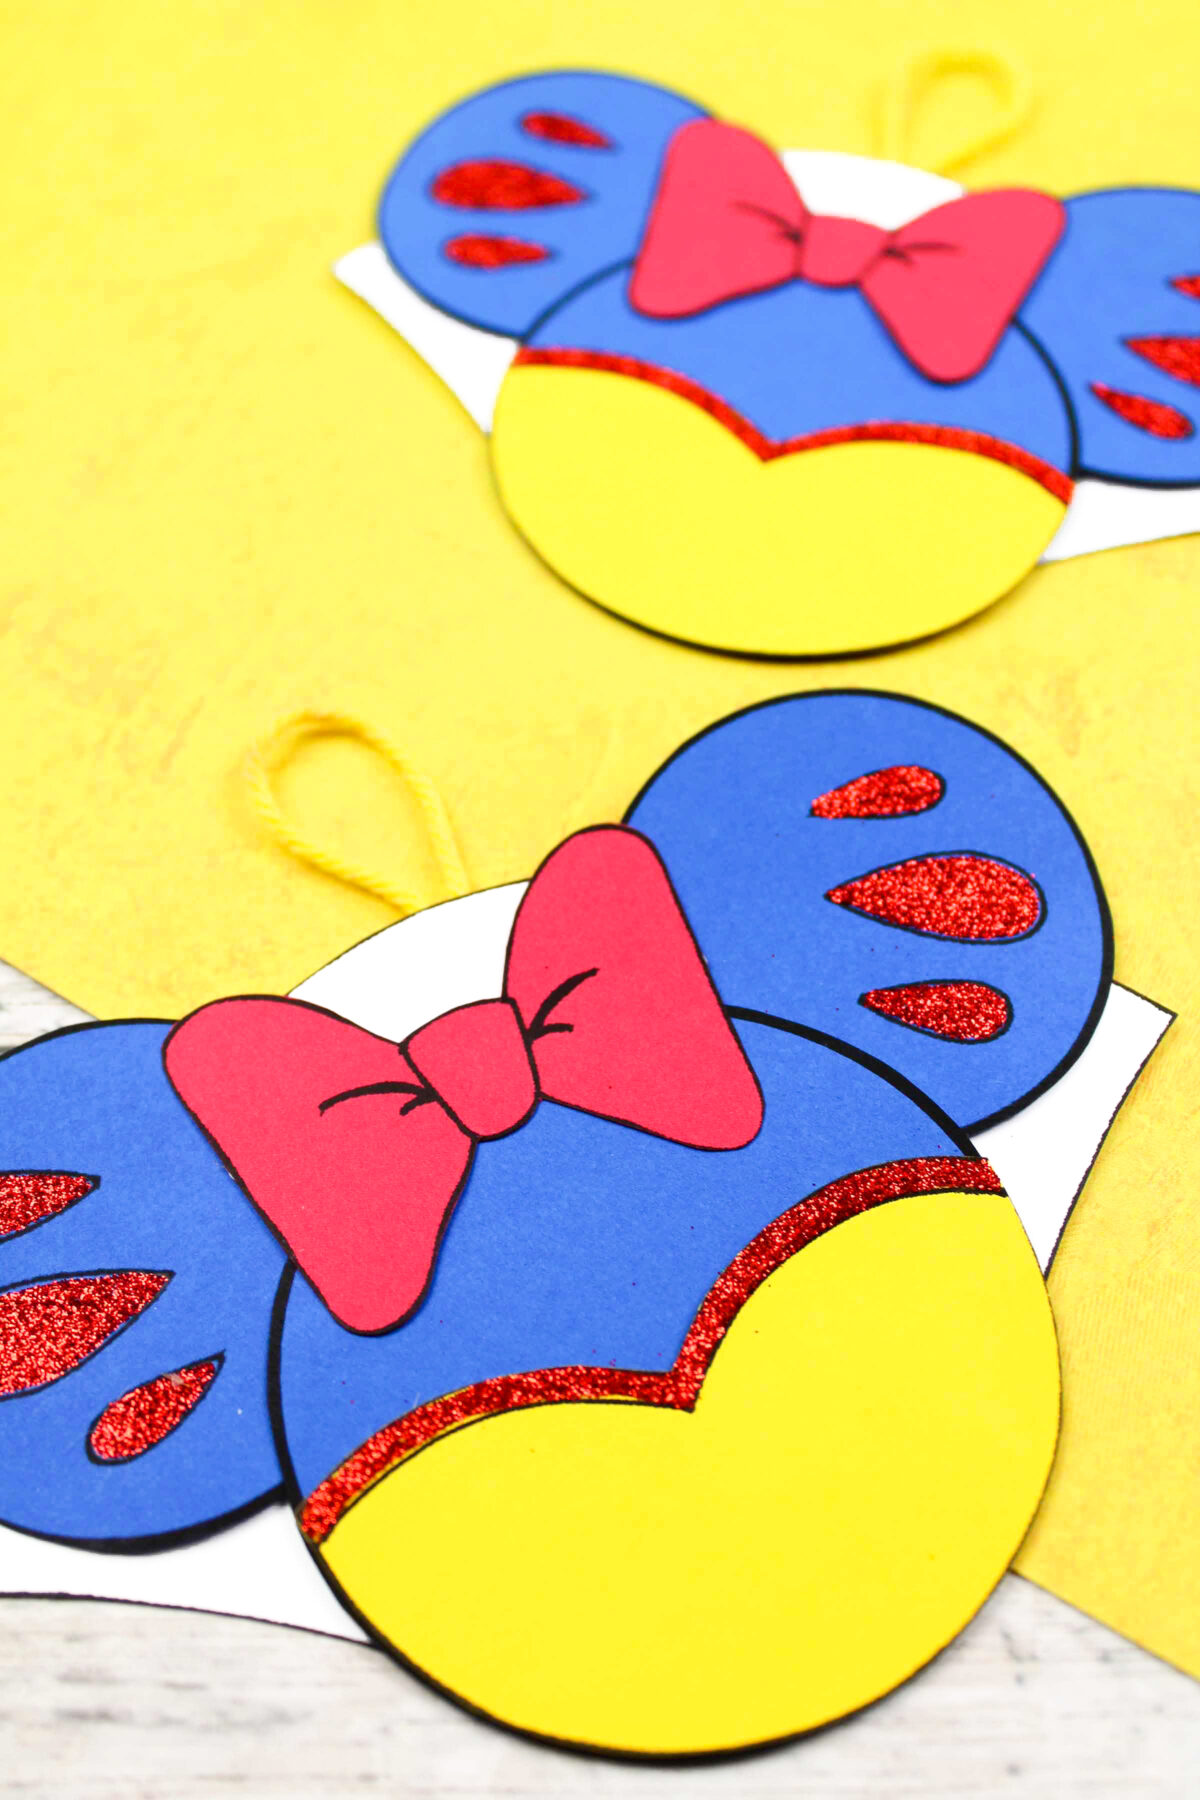
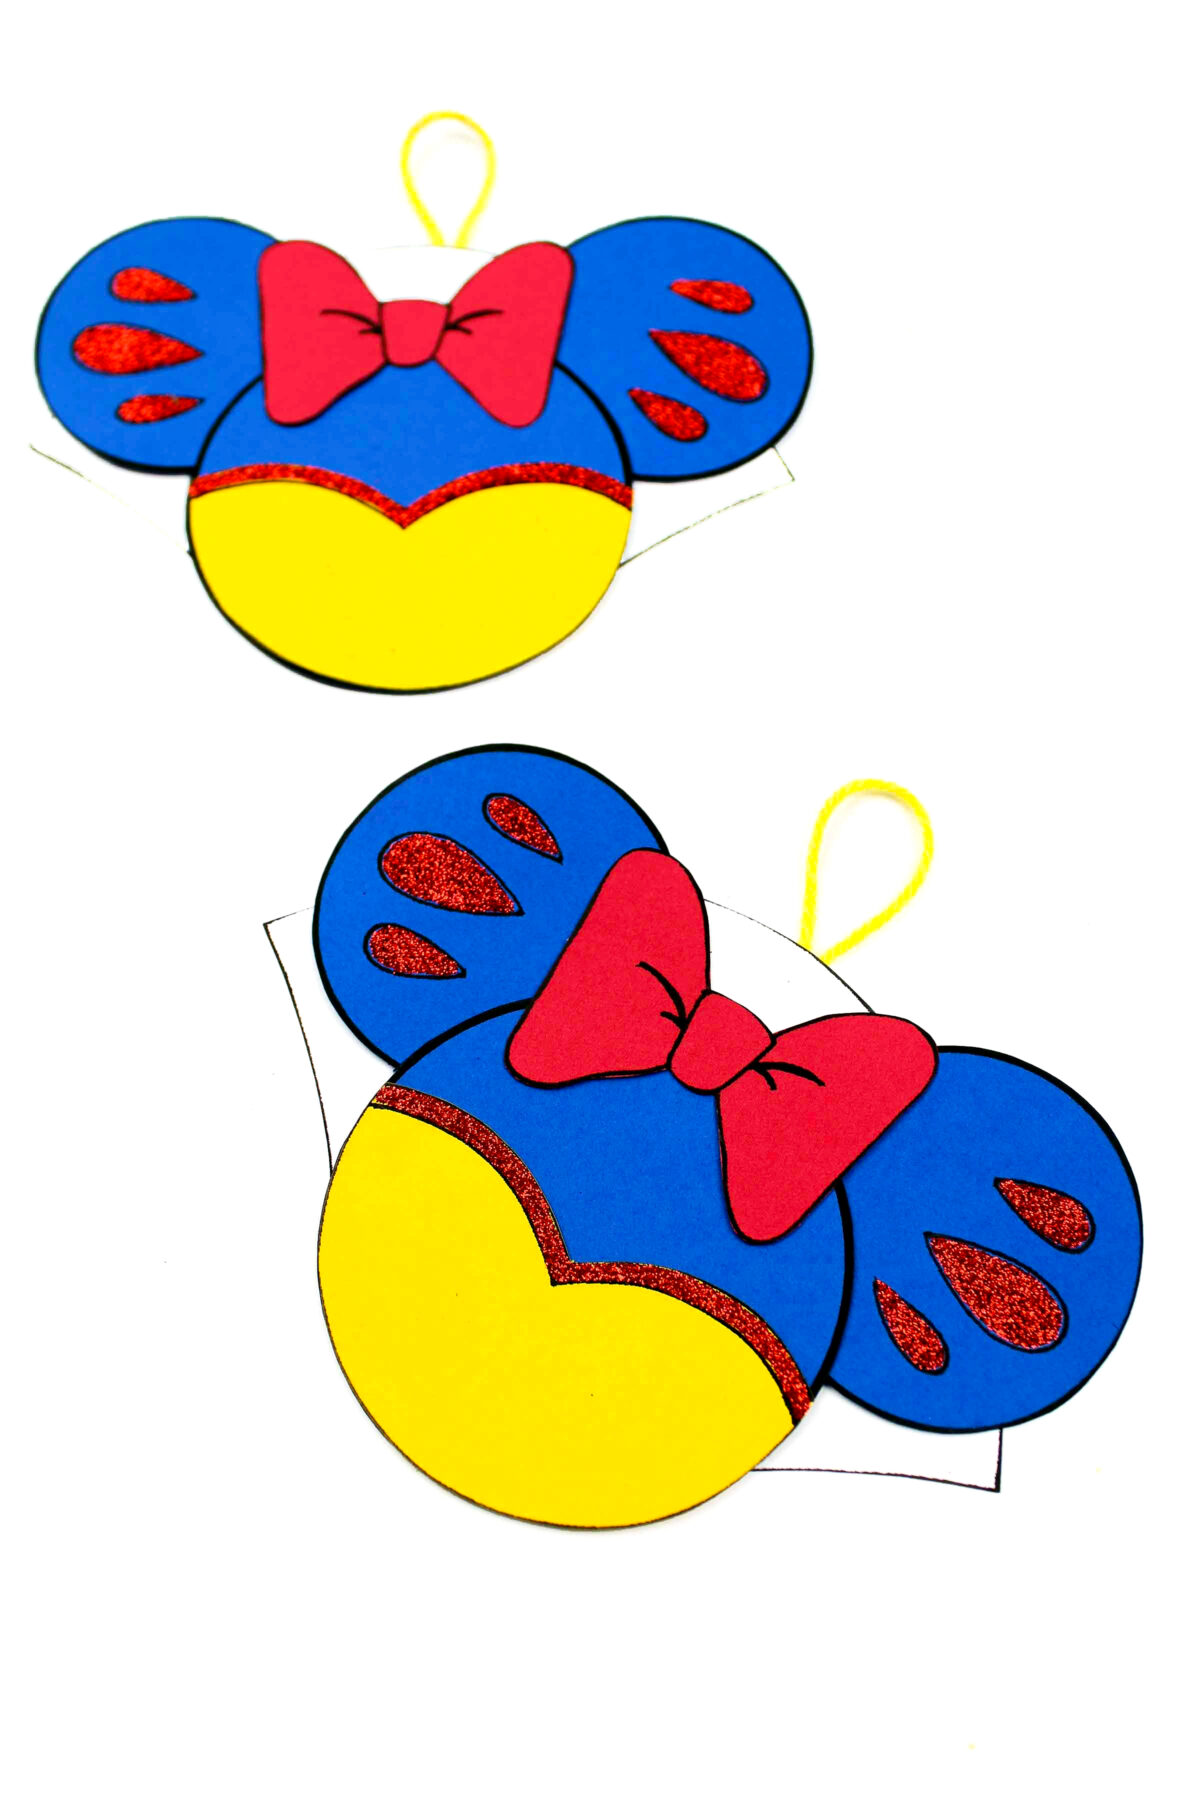
Glue the pieces together with a glue stick. Use the photos as a guide.
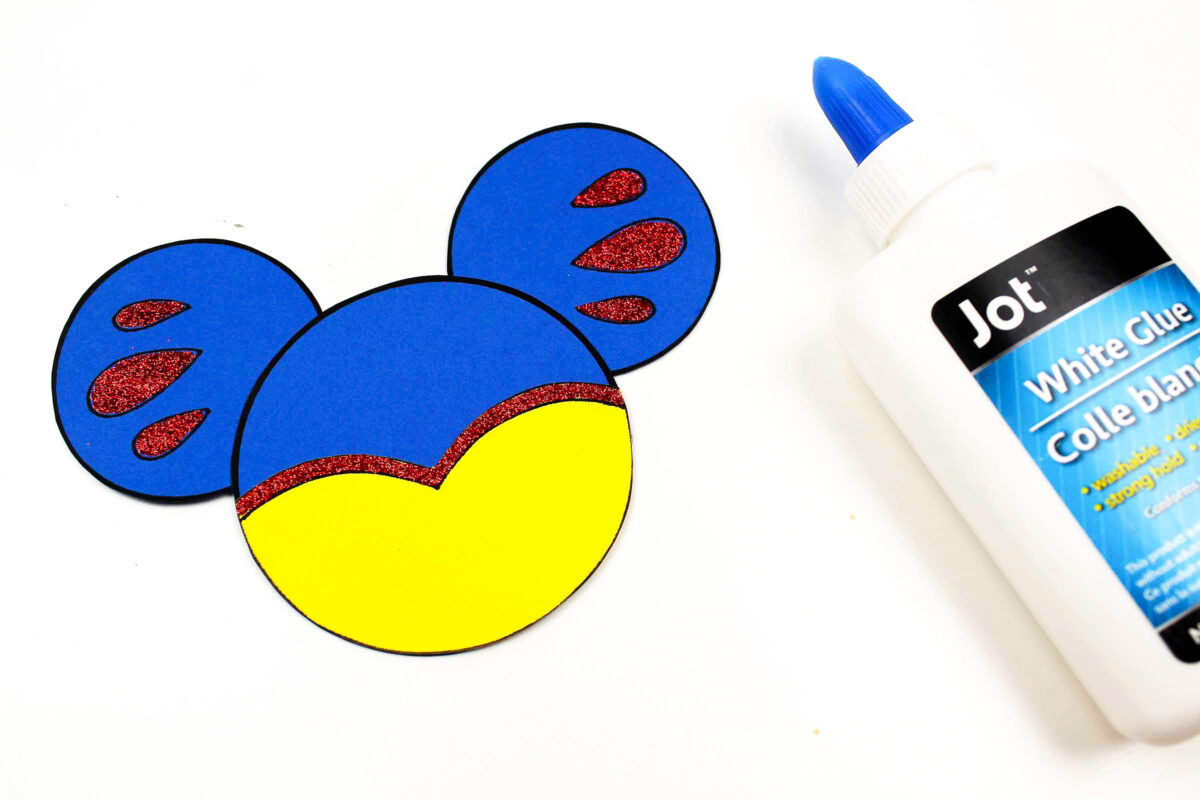
Before you glue on the bow, add white school glue to the marks on her sleeves. Sprinkle on red glitter and shake off the excess.
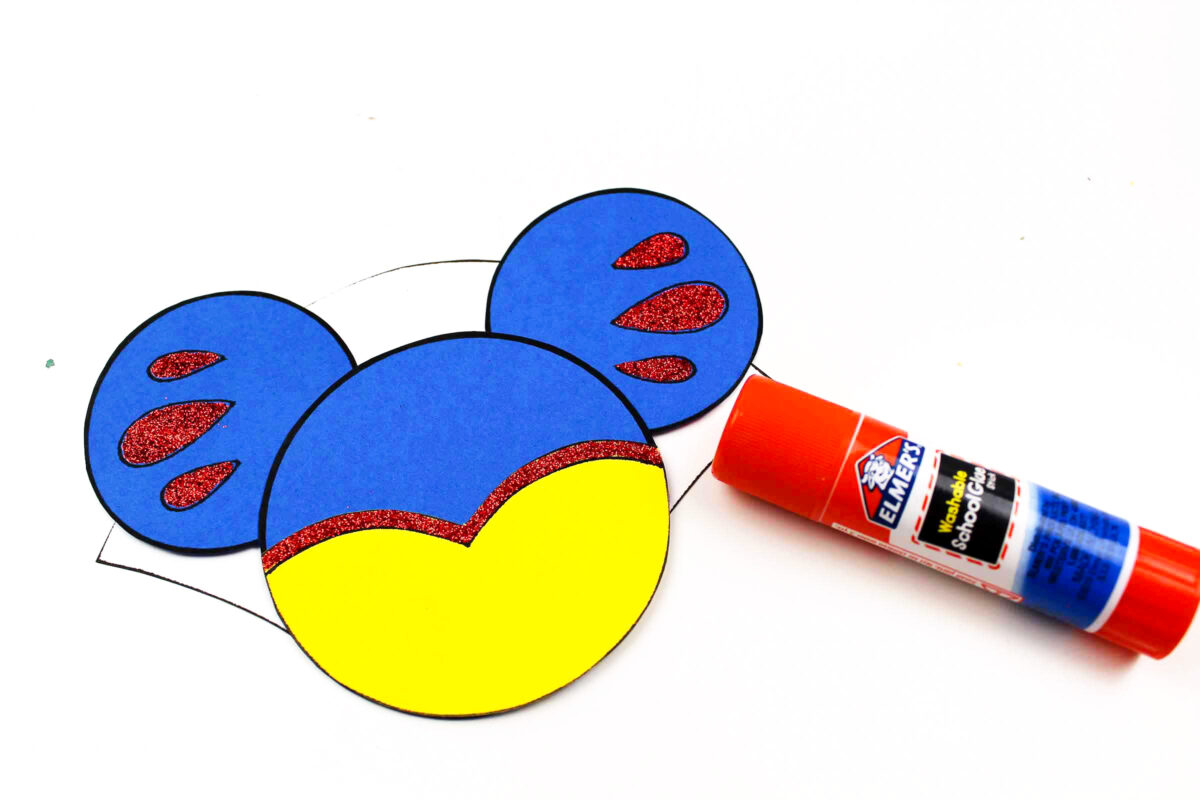
Allow the glue to dry completely. Glue the cape onto the back of the ornament.
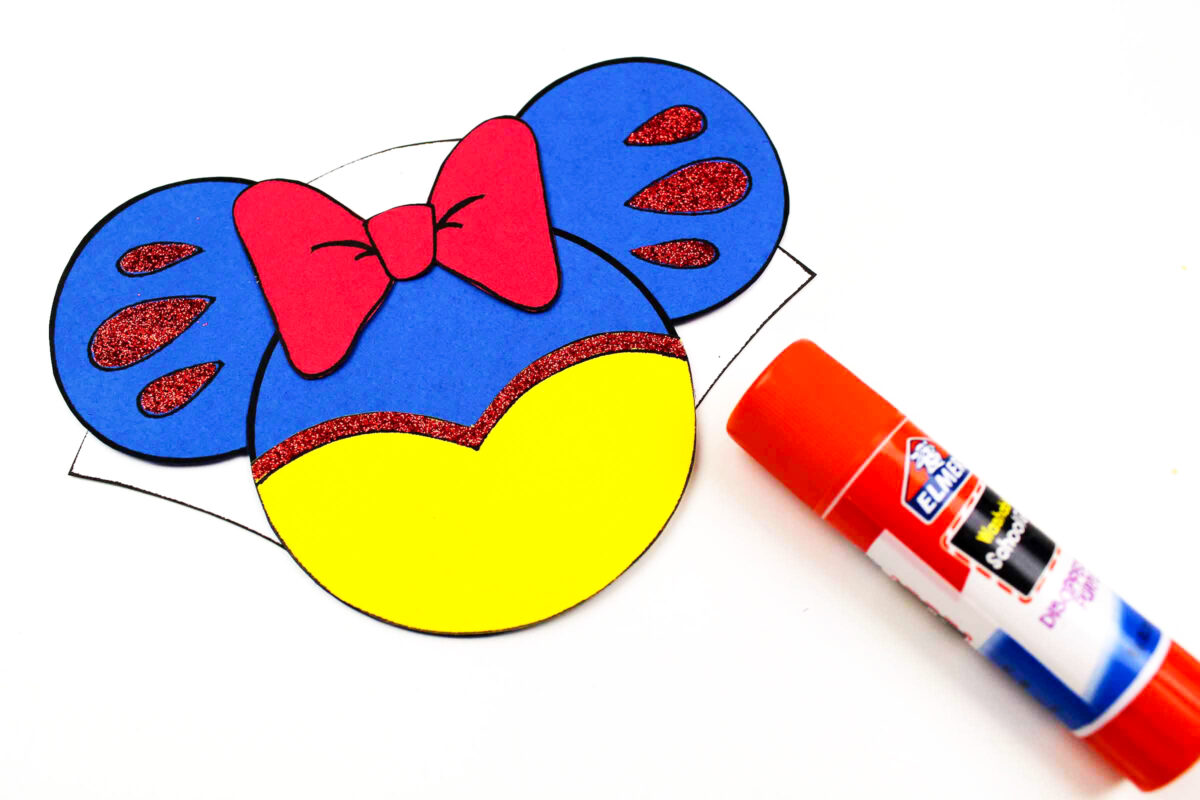
Glue the bow onto the front.
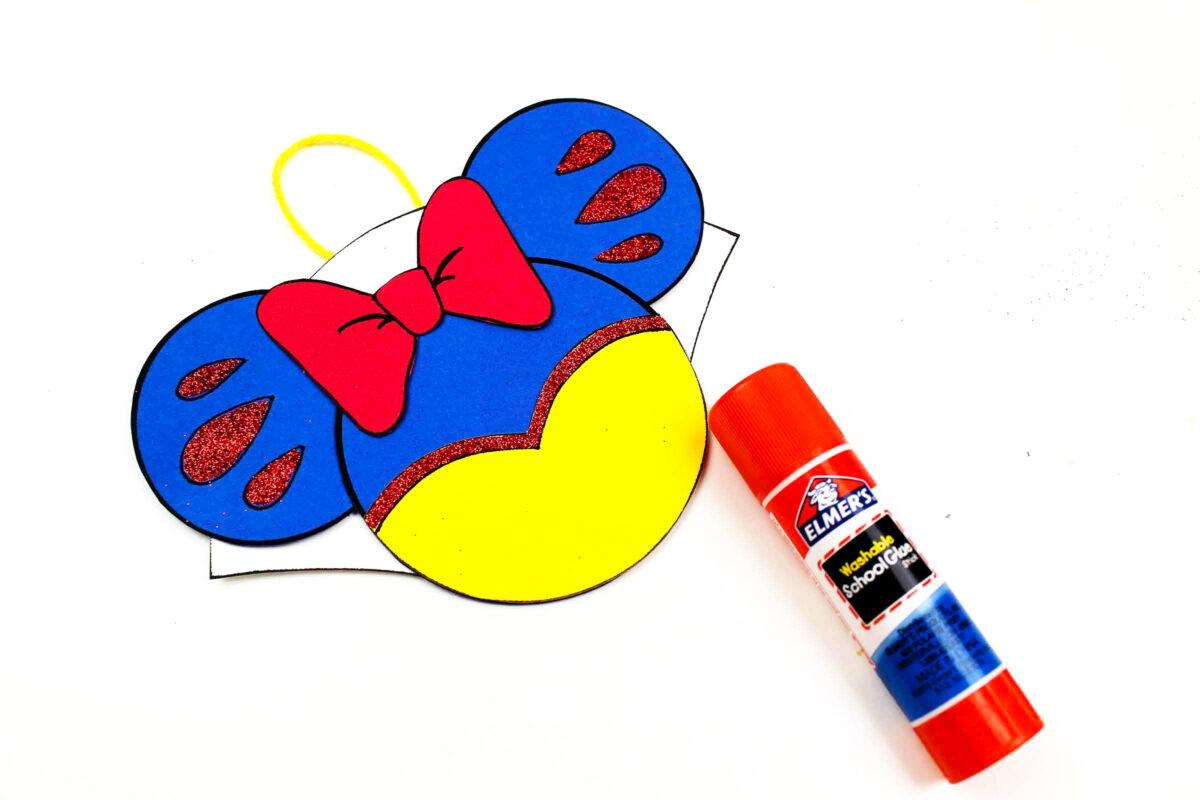
Cut a small bit of ribbon and loop it. Glue this on the back of the Snow White ornament.
If you’d like to cover the glued ribbon, simply add a circle the same colour as Snow White to the back.
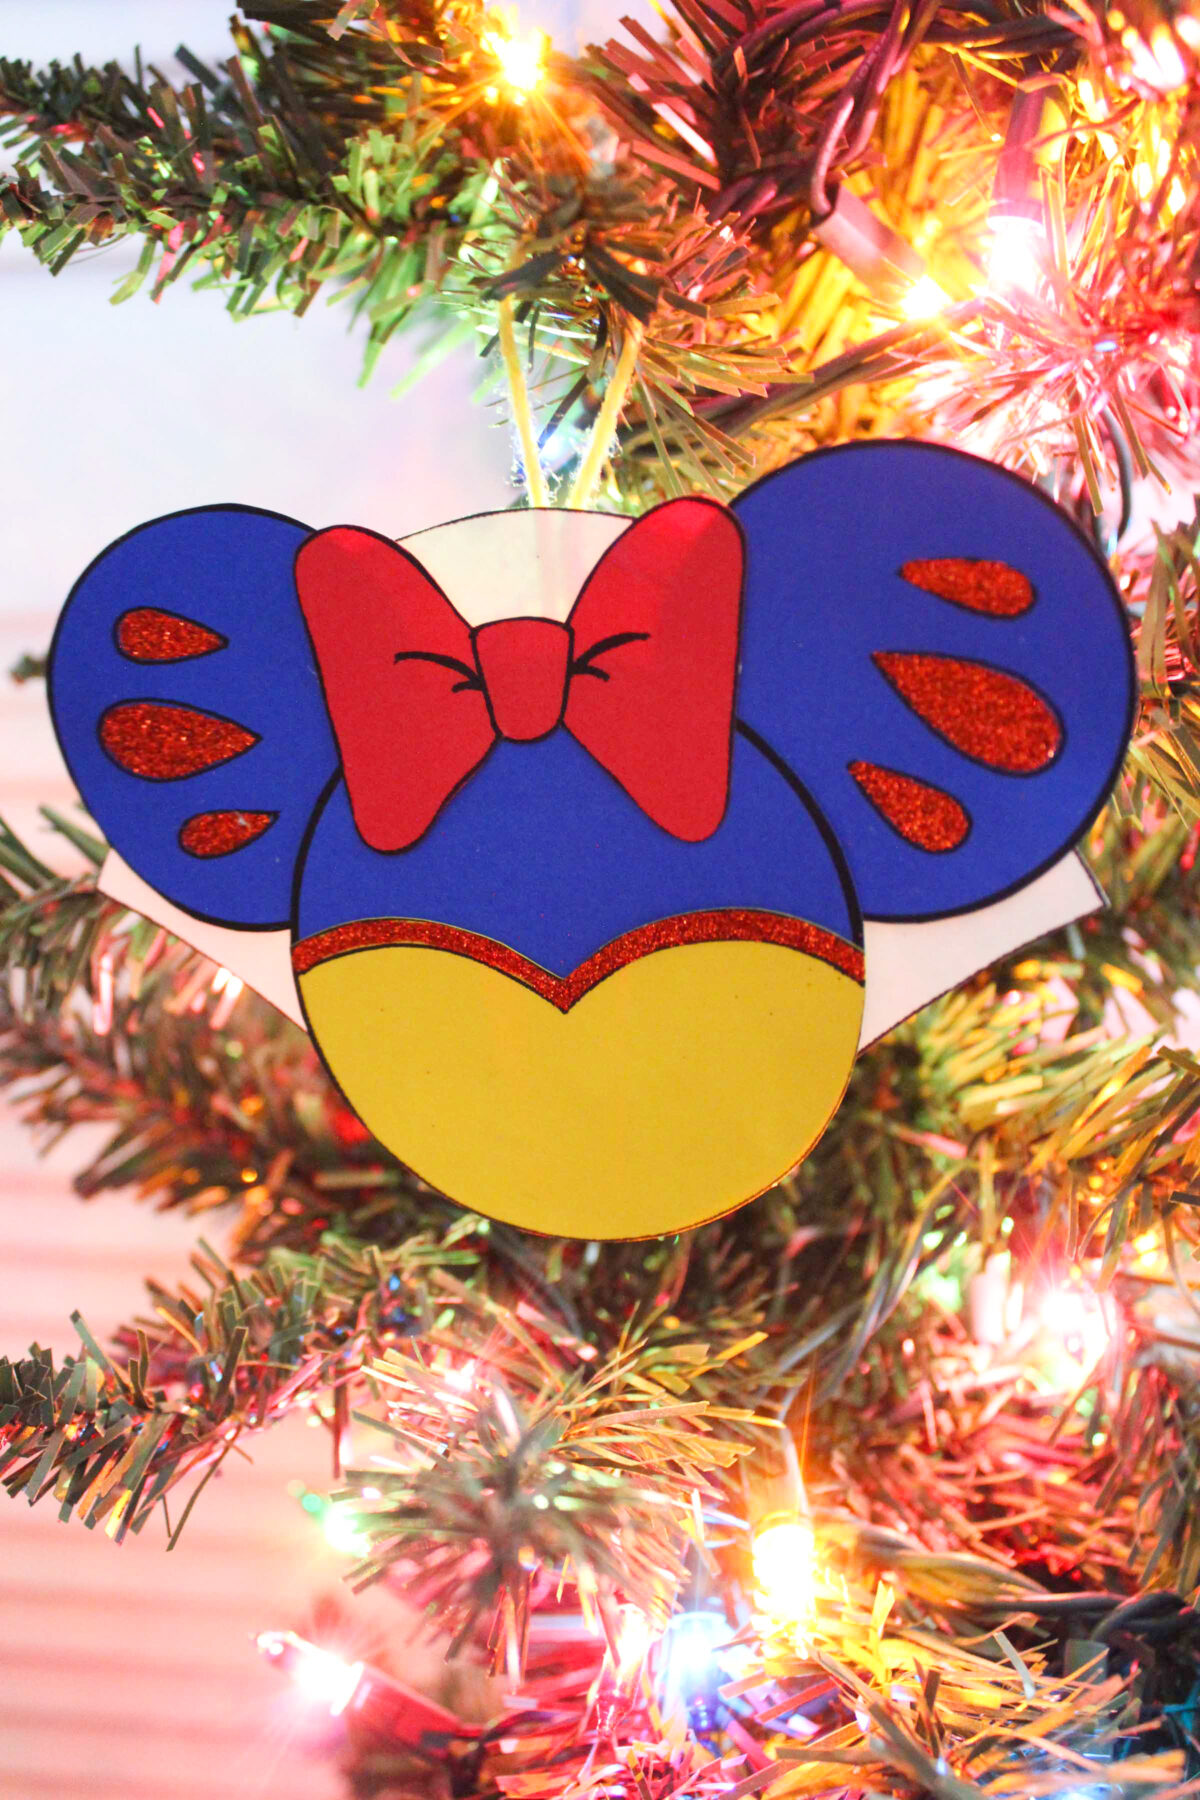
Your ornament is done and ready for your Christmas tree!

DIY Snow White Mickey Ears Ornament
This is a fun and easy tutorial on how to make a cute snow white mickey ears ornament for your Disney inspired Christmas tree. Free template!
Materials
- Red Cardstock
- Blue Cardstock
- Yellow Cardstock
- White Cardstock
- Coloured Ribbon
- Glitter
- Printable Template
Tools
- Glue
- Scissors
Instructions
- Download and print out the Snow White Mickey Head ornament template. Pay close attention to the colours the PDF instructs you to print each page on.
- Cut out all the pieces.
- Glue the pieces together with a glue stick. Use the photos as a guide.
- Before you glue on the bow, add white school glue to the marks on her sleeves. Sprinkle on red glitter and shake off the excess.
- Allow the glue to dry completely. Glue the cape onto the back of the ornament.
- Glue the bow onto the front.
- Cut a small bit of ribbon and loop it. Glue this on the back of the Snow White ornament.
- If you’d like to cover the glued ribbon, simply add a circle the same colour as Snow White to the back.
- Your ornament is done and ready for your Christmas tree!
Recommended Products
As an Amazon Associate and member of other affiliate programs, I earn from qualifying purchases.

★TERMS OF USE:
………………………………………………………….
You may use this file for your own PERSONAL USE ONLY. File sharing, distribution, and commercial use of this file or of the printed work from this file are prohibited. You are welcome to print as many copies as you like for yourself. The designs can not be used for any commercial purpose or resold. You may NOT use these files for publishing on any platform under any circumstances.


