Dipped Feather Ornaments
These Teal Dipped Feather Ornaments use oven-bake clay and paint to create realistic looking feathers to hang from your Christmas tree. These homemade ornaments are super easy to make!
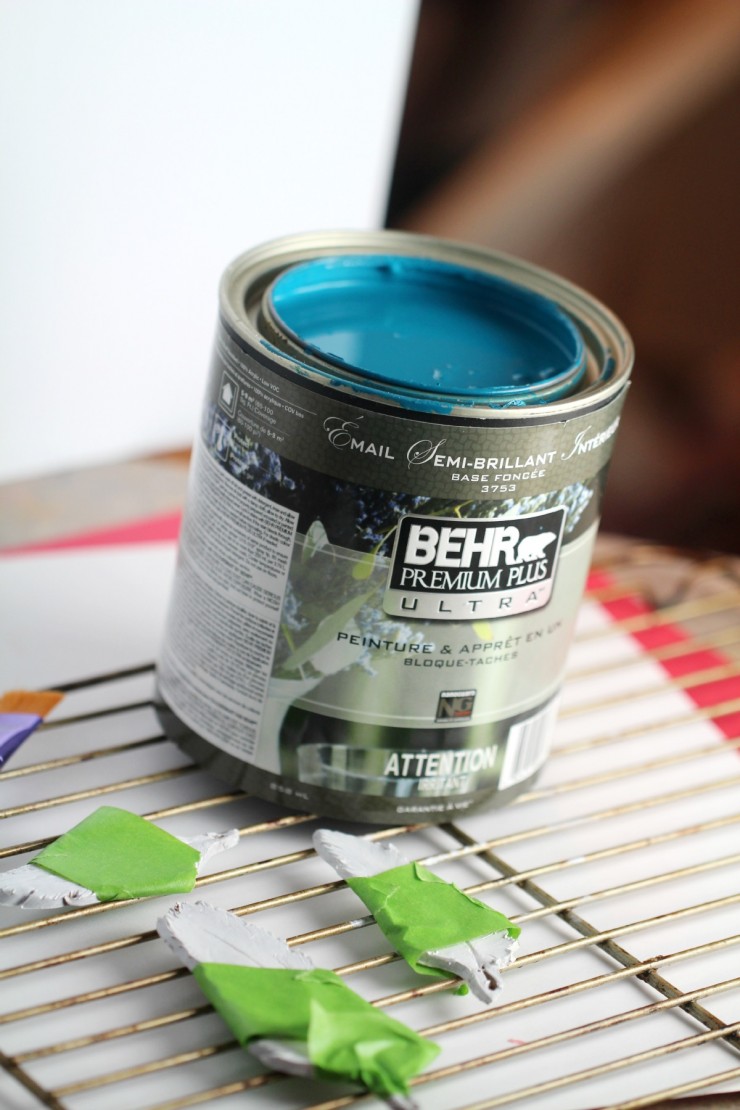
Disclosure: I was provided product by BEHR to write this post but the thoughts and opinions expressed are my own.

This year I decorated my home for Christmas in teal and white to go with my everyday home decor. I was inspired to create my own homemade ornmanets to match using BEHR paint I had on hand and oven-baked clay to create gorgeous dipped feather ornaments. These are super easy to make too!

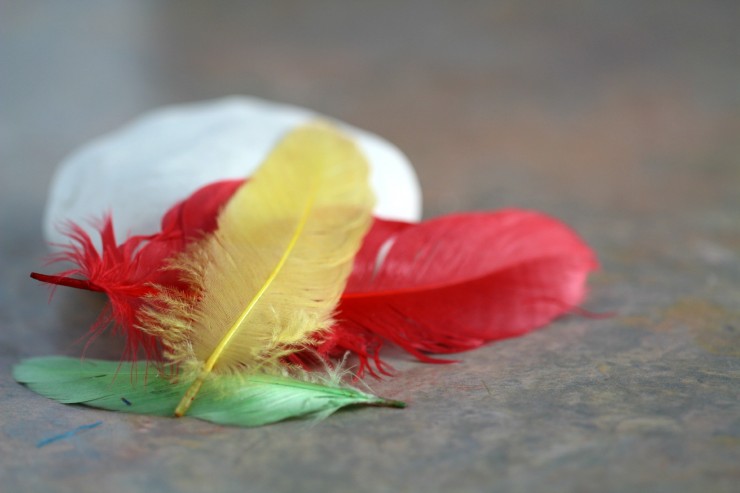
Materials
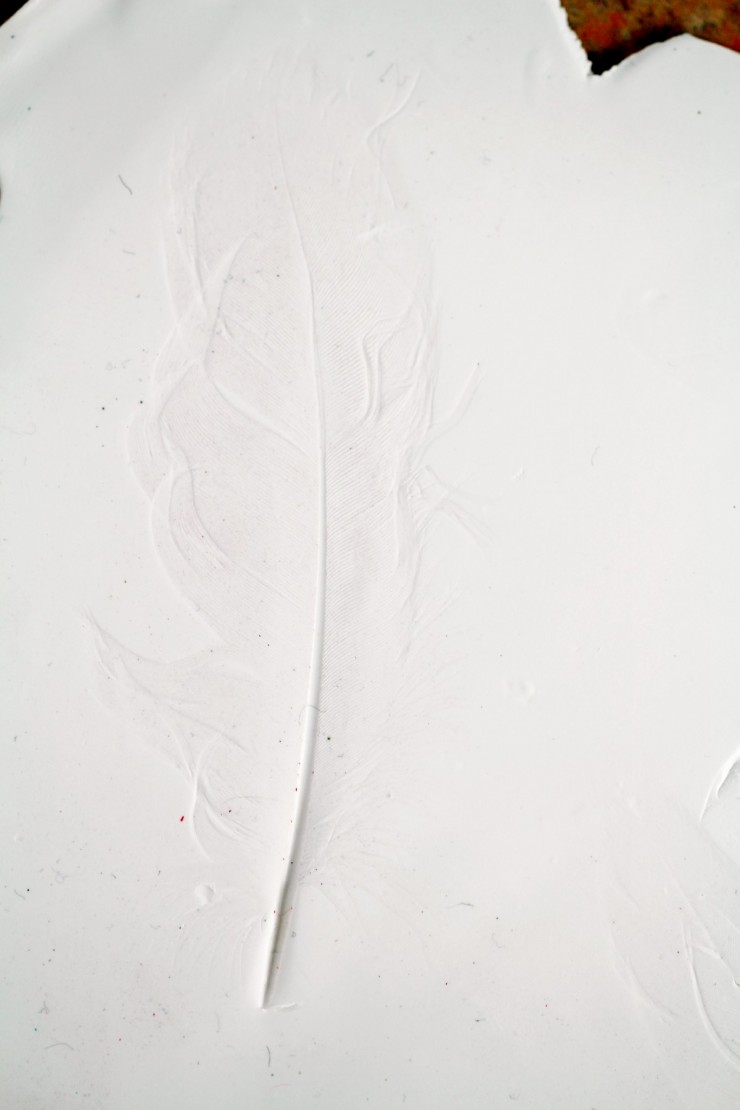
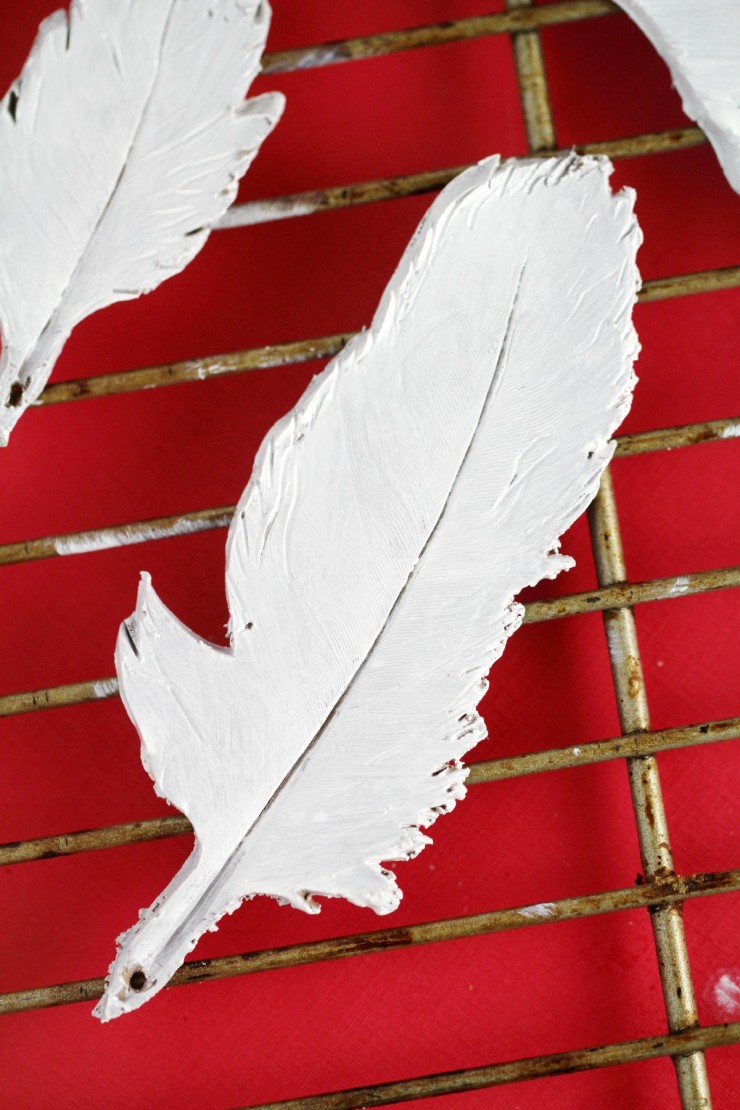
Carefully lift the feather off the clay and you should see the imprint of the feather left behind. Use the toothpick or dowel to make a hole in the clay at the shaft of the feather for hanging.
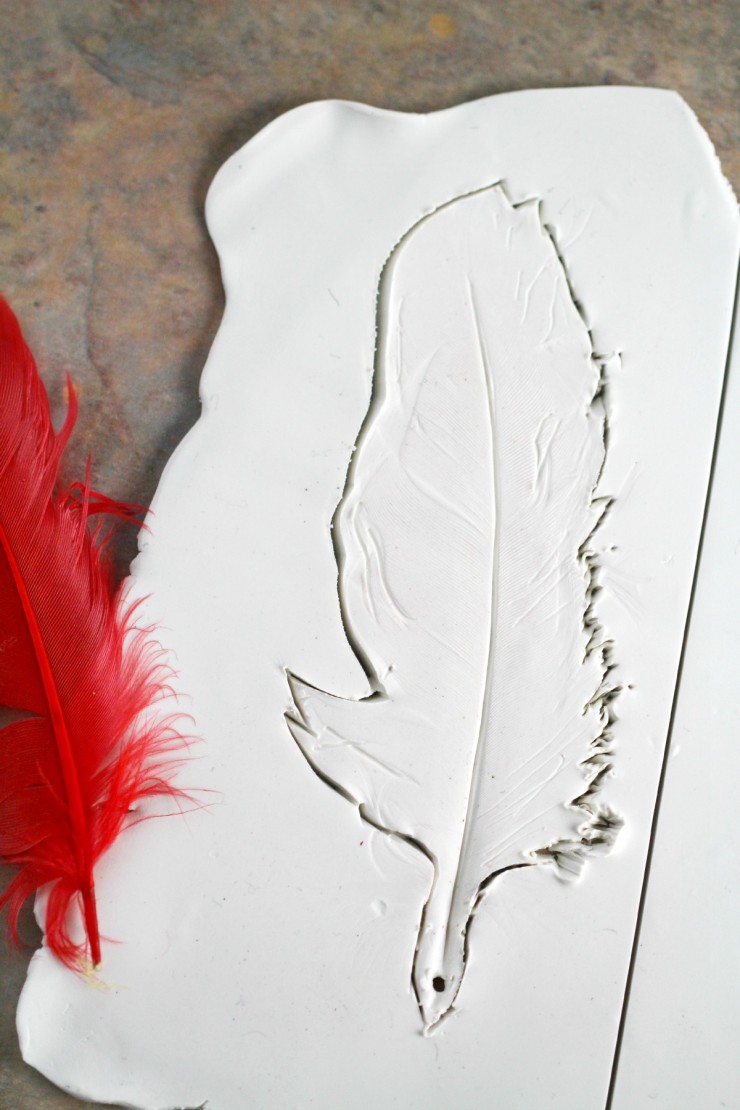
Use the x-acto knife to cut out around the shape of the feather impression and then remove the excess clay. Use the x-acto knife to exaggerate some of the details of the feather impression and create small marks along the edges of the feathers working along the natural “grain” of the feathers to create a more feathered look.


![]()


Wow! These are so pretty! Pinning and sharing!
What a beautiful way to decorate your Christmas tree. This looks like such a fun craft to make with kids and you can let them go to town painting these any colors they’d like. Just make sure you have the kids write their name and date on it since these will become family heirlooms.
This is such a cute idea for a homemade ornament! The ones you make yourselves are the ones that have the most meaning!
What a cool project! These would be gorgeous gifts for family friends.
How fun! We love using clay to make fun DIY crafts. We are going to give this a try.
What a clever idea! I would have never thought to do this. It’s so fun and unique!
I love this craft idea. I am excited to try making some with my Daughter on the weekend. They would look great on the tree.
wow these are simply gorgeous. Our Christmas tree is blue and silver themed so these would fit in perfectly.
I honestly don’t think I have ever seen such a clever idea for an ornament. These are so elegant!
Those are really cute and look like they would be great crafts for older kids.
Oh those look awesome! I love how the tiny details of the feather imprint on the clay. This is such a cool idea.
What a neat idea! We have a lot of feathers here because we have ducks and chickens. I could do this with some of those feathers. My daughters would love it. I love how different this is!
Oh my goodness, those are gorgeous. What a wonderful idea. I will totally be doing these. Thanks for sharing.
What a cute idea, I’ve never heard of doing dipped feathers for ornaments. These would looks great on my great!
Aren’t these gorgeous?! WOW so creative and beautiful, and I must say unique. Definitely making this a family project!
Aww, these are so cute and creative. My daughter would love to make these for the holidays!
These are really cute. You could get creative with the colors to match your tree if you do a them.
They turned out nicely. I haven’t thought about making my own decorations.
Those ornaments look really great. I’ve never tried my hand at anything like that before.
Wow these are fabulous! I love this idea. The colors you chose are gorgeous too, such a fun idea!
Very creative! I love how unique these are, and they make great ornaments! Fun craft to do with the kids.
That would be fun to make with my kiddo! I love crafts that I can do with him. This is perfect!
I love those! They are so cute. I would totally buy some on Etsy 😉
Thanks for sharing,very creative
Something to try out! Haven’t done anything really with feathers before….
wow they look beautiful as ornaments!
cute idea the grandkids would love making ornaments
Very inspirational. While I might try this with feathers, it is giving me lots of other ideas too. Thanks for posting it.
This is such a creative idea, would be nice personalized! Thanks for sharing