Get in the holiday spirit with these delicious, no-bake Christmas sugar cookie balls that are just perfect for any festive event or party!

Feeling like you don’t have enough time to try out those new baking recipes this holiday season? We’ve all been there! But we’ve got a great solution for the busy home cook – these delicious no-bake Christmas sugar cookie balls.
With easy preparation and minimal clean up afterward, these sugar cookie balls make a perfect dessert to enjoy with family and friends during any holiday gathering or celebration.
Let’s get creative in the kitchen this season with some classic flavours everyone will love!

Tips for Making the BEST Sugar Cookie Balls
- Do not over-mix or the mixture will become too loose and won’t hold together but DO make sure the mixture is thoroughly combined.
- Do not skip chilling the cookie balls prior to coating in candy as it helps the balls keep their shape when dipping them in the melts. I do not recommend freezing as the chocolate coating will set almost immediately after dipping.
- Make sure to move quickly as the melts will begin to set fast.
- Always heat the melts on a low setting to help prevent it from seizing and clumping up.
- If your melts do seize up you can loosen it up with a little coconut oil or vegetable shortening stirred in until smooth.
How to Store Sugar Cookie Balls
There are many different ways to store cookie balls, depending on how long you want them to last and what kind of consistency you prefer. Here are a few suggestions for storing these delicious treats:
Refrigerator Storage
Cookie balls can be stored in the refrigerator for up to one week. To ensure freshness, place them in an airtight container or resealable bag. This will prevent any air from getting to them and causing them to become hard or dry. Do not store your cake balls at room temperature, since the filling is made with cream cheese.
Freezer Storage
For longer storage, cookie balls can be frozen for up to three months. To freeze them, place them on a baking sheet lined with wax paper and put them in the freezer until they are firm. Once they are firm, you can transfer them to an airtight container or resealable bag. When ready to eat, simply thaw them in the refrigerator overnight.
If you need to stack the cake balls in your storage container, make sure to place a layer of wax paper between each layer. This will prevent them from sticking together and ruining their shape.

Equipment for Making Cookie Balls
- Mixing bowls
- Hand mixer
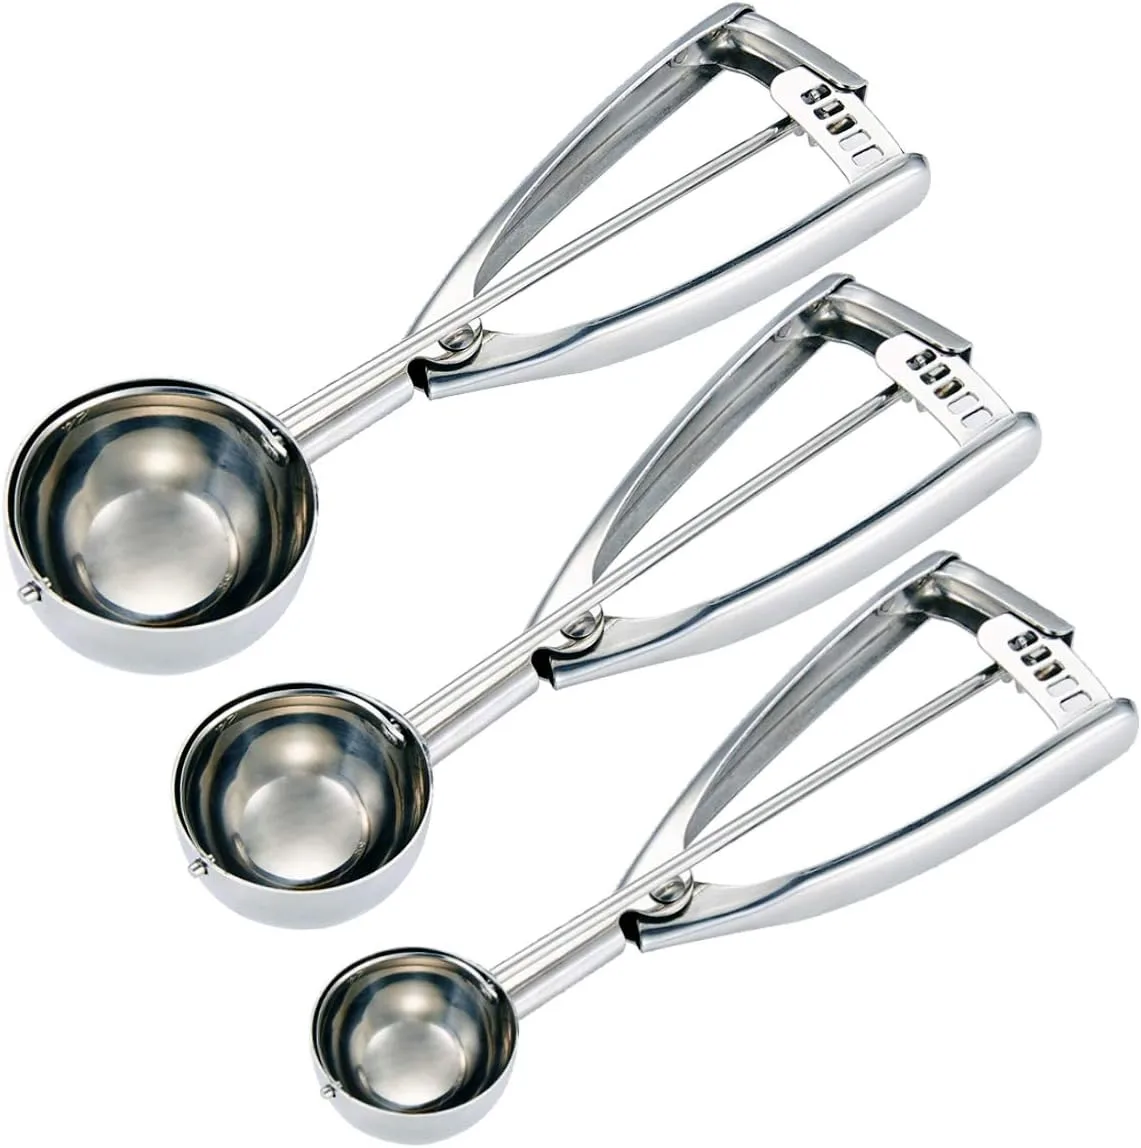
- 1.5” cookie scoop
- Baking trays
- Parchment paper
- Double boiler (or microwave)
- Parchment paper
About the Ingredients for Sugar Cookie Balls
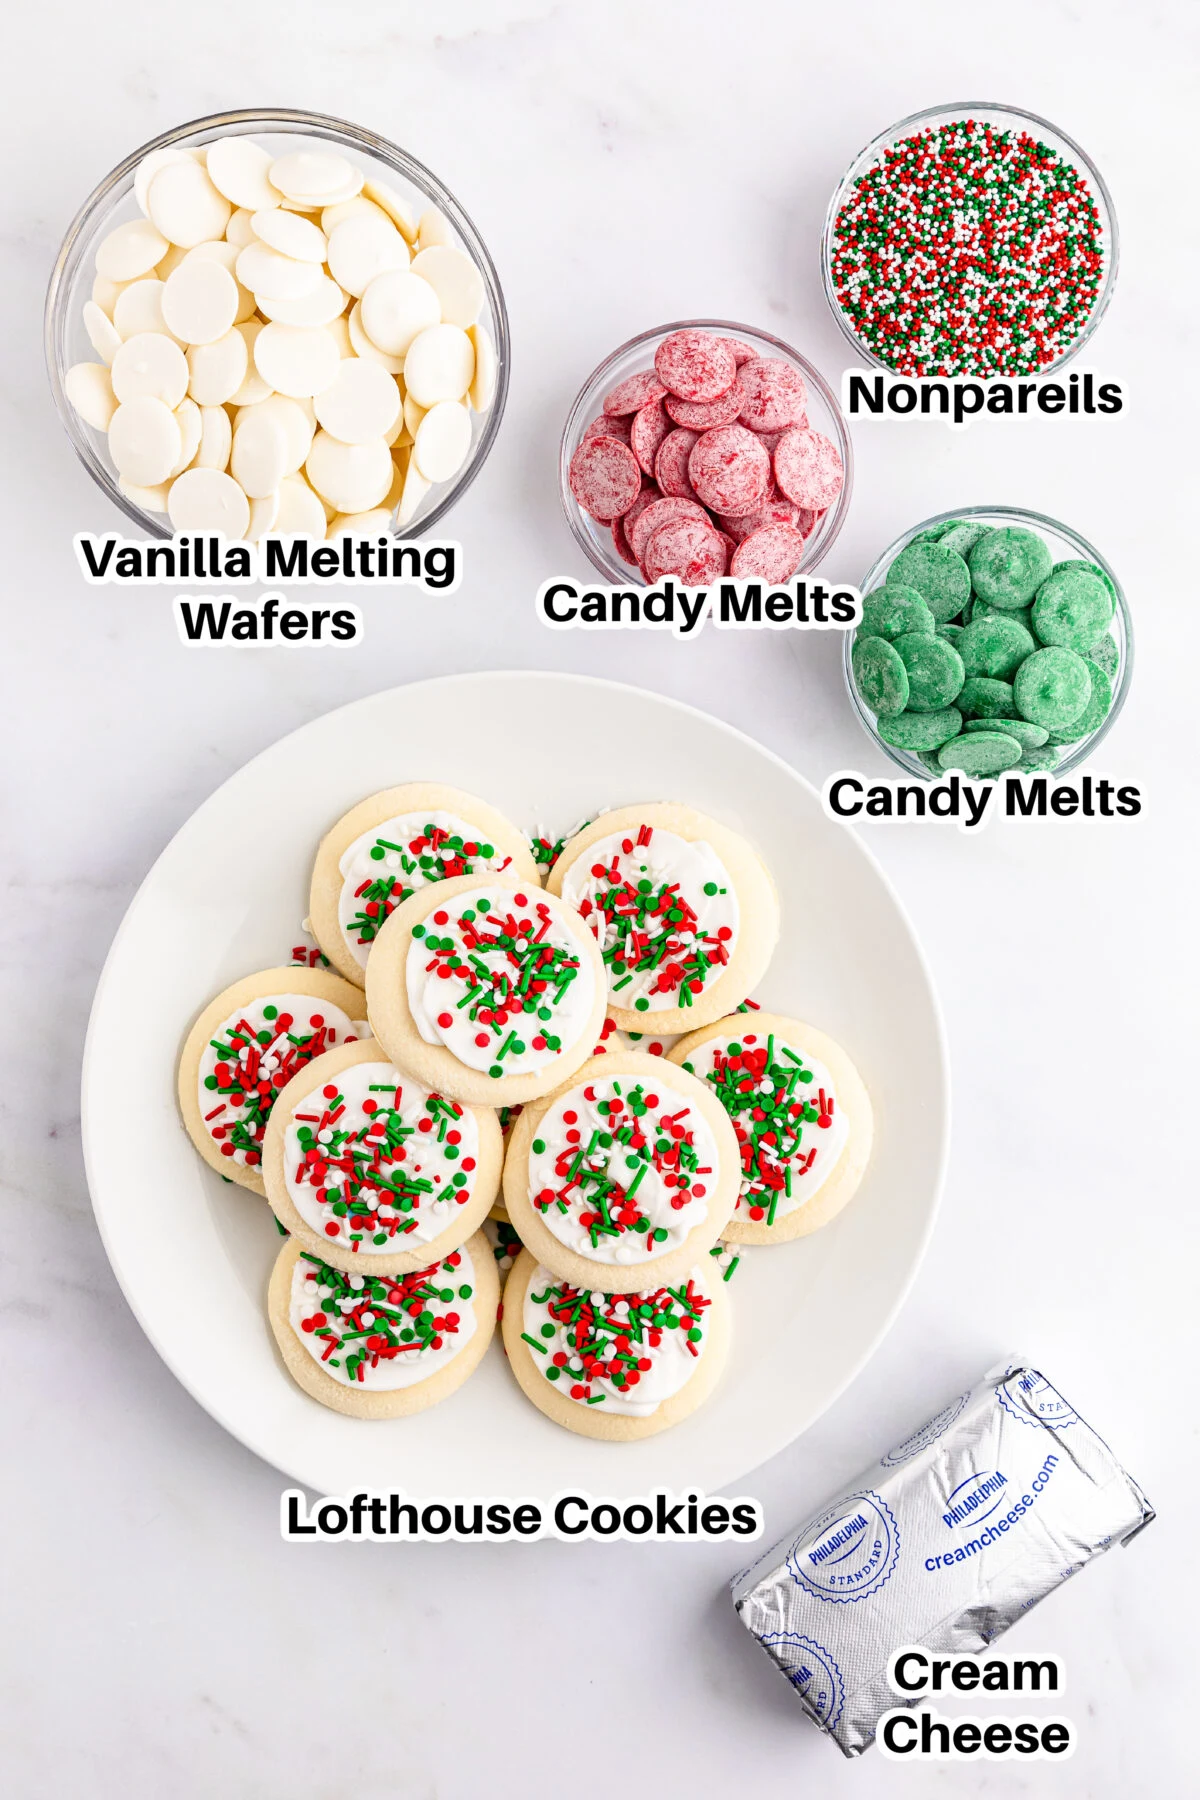
Cookies – You can bake your own sugar cookies if desired. You can also opt to use unfrosted sugar cookies. In either case, you may want to mix in some holiday confetti sprinkles into the mixture.
Cream cheese – Instead of cream cheese, you may opt to use a homemade or store bought cream cheese frosting instead.
Candy melts – Instead of the Ghirardelli vanilla melting wafers, you can use white candy melts or almond bark. The red and green candy melts are optional.
Sprinkles – Use any festive sprinkles for topping. Instead of nonpareils, you can use jimmies or other holiday mix. Or you can opt to drizzle over the balls with colored candy melts instead.

Looking for More Christmas Dessert Balls?
Check out more of my favourite Christmas dessert ball recipes!
Forget about the Grinch stealing Christmas, these Grinch Oreo balls will steal the hearts of your family and friends this holiday season!
Looking to make a festive holiday treat? Check out our recipe for gingerbread cake balls – they’re so easy and sure to be a hit!
Get into the holiday spirit with these delicious and fun snowman Oreo balls. They’re sure to add cheer to your festive spread this season.

How to Make Christmas Sugar Cookie Balls
Yields: 30 balls | Prep time: 1 hour | Chill time: 1-2 hours
Ingredients:
- 20 lofthouse cookies
- 8 ounces cream cheese
- 10 ounces Ghirardelli vanilla melting wafers
- Nonpareil sprinkles
- Red and green candy melts
Directions:

Using an electric mixer on medium high speed with a paddle attachment, beat the cream cheese until smooth and creamy. (Image 1)
Crumble the cookies into the same bowl. (Image 2)
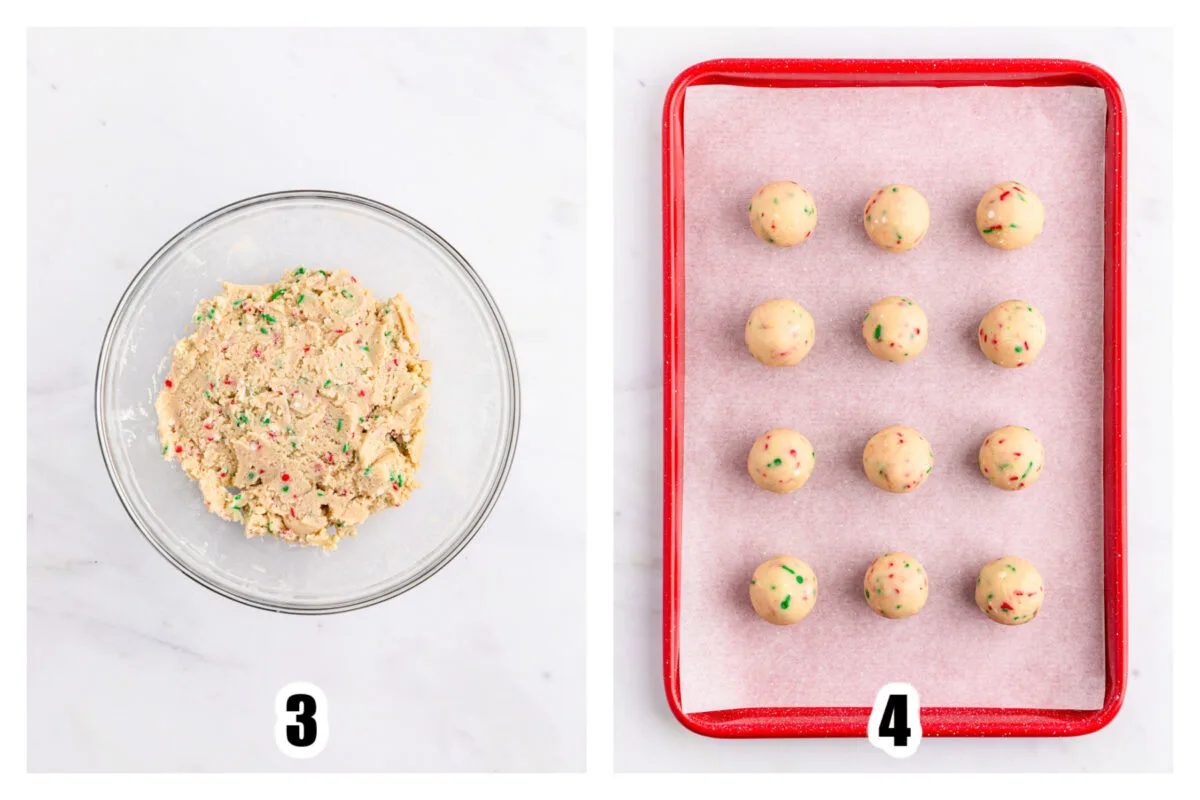
Beat together with the cream cheese until well combined. (Image 3)
Use a 1 ½ inch cookie scoop to scoop even sized amounts, and roll them into smooth balls. Place each ball onto the prepared baking tray and repeat with the rest. (Image 4)
Refrigerate the cookie balls for 1-2 hours. This will help the balls set and keep their shape when dipping.

Using a double boiler, candy melting pot, or the microwave method, melt the vanilla melting wafers over low heat. Stir often to ensure it is heating evenly, until fully melted and smooth. If using the microwave, be sure to heat it on a low or defrost setting and stir in 30 second intervals to avoid any hot spots. If you heat it on too high of a heat, it may seize up.
Use a fork to dip one cookie ball at a time into the melts then remove and gently tap the fork on the edge to remove the excess coating. (Image 5) Place the ball back onto the parchment paper and immediately top with sprinkles. (Image 6)
If you plan to drizzle them with red and green candy melts, and allow the coating to set without covering in sprinkles.
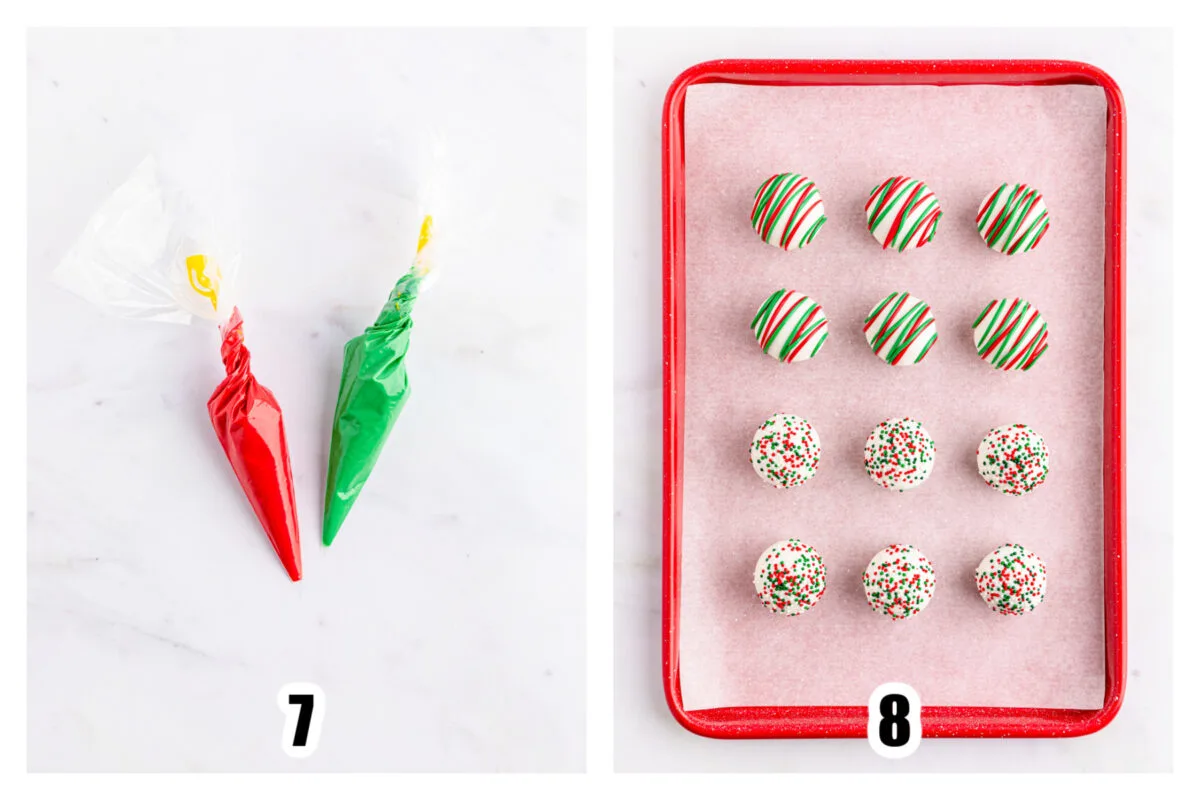
Microwave the red and green candy melts in piping bags on a low or defrost setting. Massage the bag every 30 seconds to ensure it is heating evenly. (Image 7)
Snip off a small piece of the tips and then drizzle over the coated sugar cookie balls. (Image 8)
Place in the refrigerator for the coating to harden, about 10 minutes. Keep refrigerated until ready to eat.
Enjoy!

Christmas Sugar Cookie Balls
Get in the holiday spirit with these delicious, no-bake Christmas sugar cookie balls that are just perfect for any festive event or party!
Ingredients
- 20 lofthouse cookies
- 8 ounces cream cheese
- 10 ounces Ghirardelli vanilla melting wafers
- Nonpareil sprinkles
- Red and green candy melts
Instructions
- Using an electric mixer on medium high speed with a paddle attachment, beat the cream cheese until smooth and creamy.
- Crumble the cookies into the same bowl and beat together with the cream cheese until well combined.
- Use a 1 ½ inch cookie scoop to scoop even sized amounts, and roll them into smooth balls. Place each ball onto the prepared baking tray and repeat with the rest.
- Refrigerate the cookie balls for 1-2 hours. This will help the balls set and keep their shape when dipping.
- Using a double boiler, candy melting pot, or the microwave method, melt the vanilla melting wafers over low heat. Stir often to ensure it is heating evenly, until fully melted and smooth. If using the microwave, be sure to heat it on a low or defrost setting and stir in 30 second intervals to avoid any hot spots. If you heat it on too high of a heat, it may seize up.
- Use a fork to dip one cookie ball at a time into the melts then remove and gently tap the fork on the edge to remove the excess coating. Place the ball back onto the parchment paper and immediately top with sprinkles.
- If you plan to drizzle them with red and green candy melts, and allow the coating to set without covering in sprinkles.
- Microwave the red and green candy melts in piping bags on a low or defrost setting. Massage the bag every 30 seconds to ensure it is heating evenly.
- Snip off a small piece of the tips and then drizzle over the coated sugar cookie balls.
- Place in the refrigerator for the coating to harden, about 10 minutes. Keep refrigerated until ready to eat.
- Enjoy!
Recommended Products
As an Amazon Associate and member of other affiliate programs, I earn from qualifying purchases.
Nutrition Information:
Yield:
30Serving Size:
1 cookie ballAmount Per Serving: Calories: 158Total Fat: 8gSaturated Fat: 3gTrans Fat: 0gUnsaturated Fat: 4gCholesterol: 8mgSodium: 91mgCarbohydrates: 16gFiber: 0gSugar: 9gProtein: 2g
This information is provided as a courtesy and for entertainment purposes only. This information comes from online calculators. Although frugalmomeh.com attempts to provide accurate nutritional information, these figures are only estimates.


Elizabeth Lampman is a coffee-fuelled Mom of 2 girls and lives in Hamilton, Ontario. She enjoys travelling, developing easy recipes, crafting, taking on diy projects, travelling and saving money!


