Supplies Needed:
3 Wood Planks
scrap wood 2 x 4s
White Paint
Nails
Copper Paint
Stencil
Wreath
Raffia
Burlap bag
Craft Wire
Brown Paint
Directions:
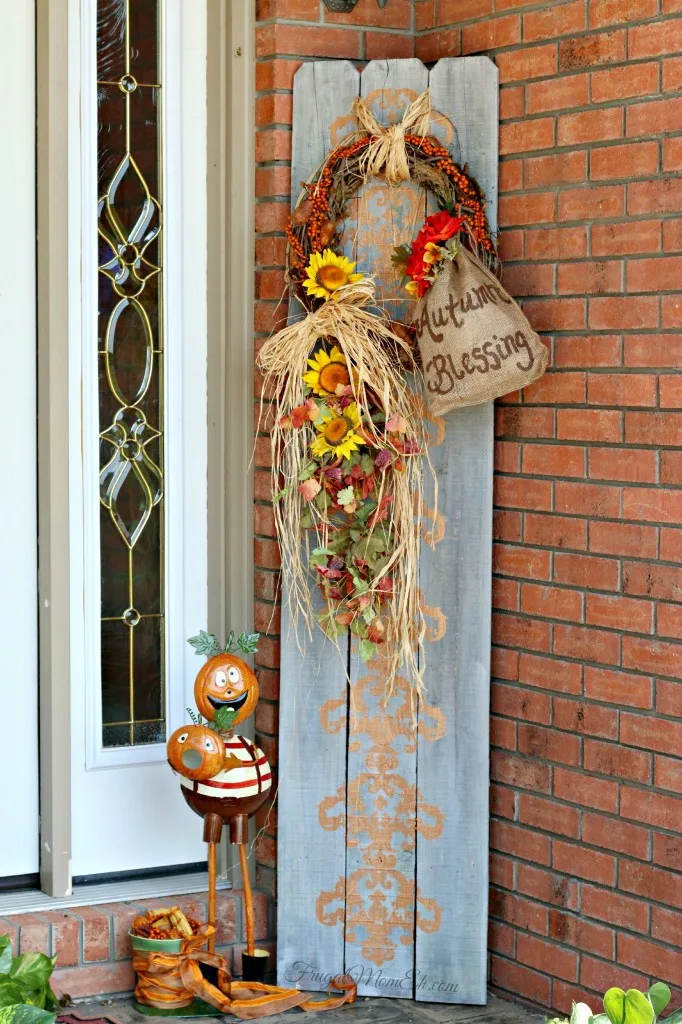
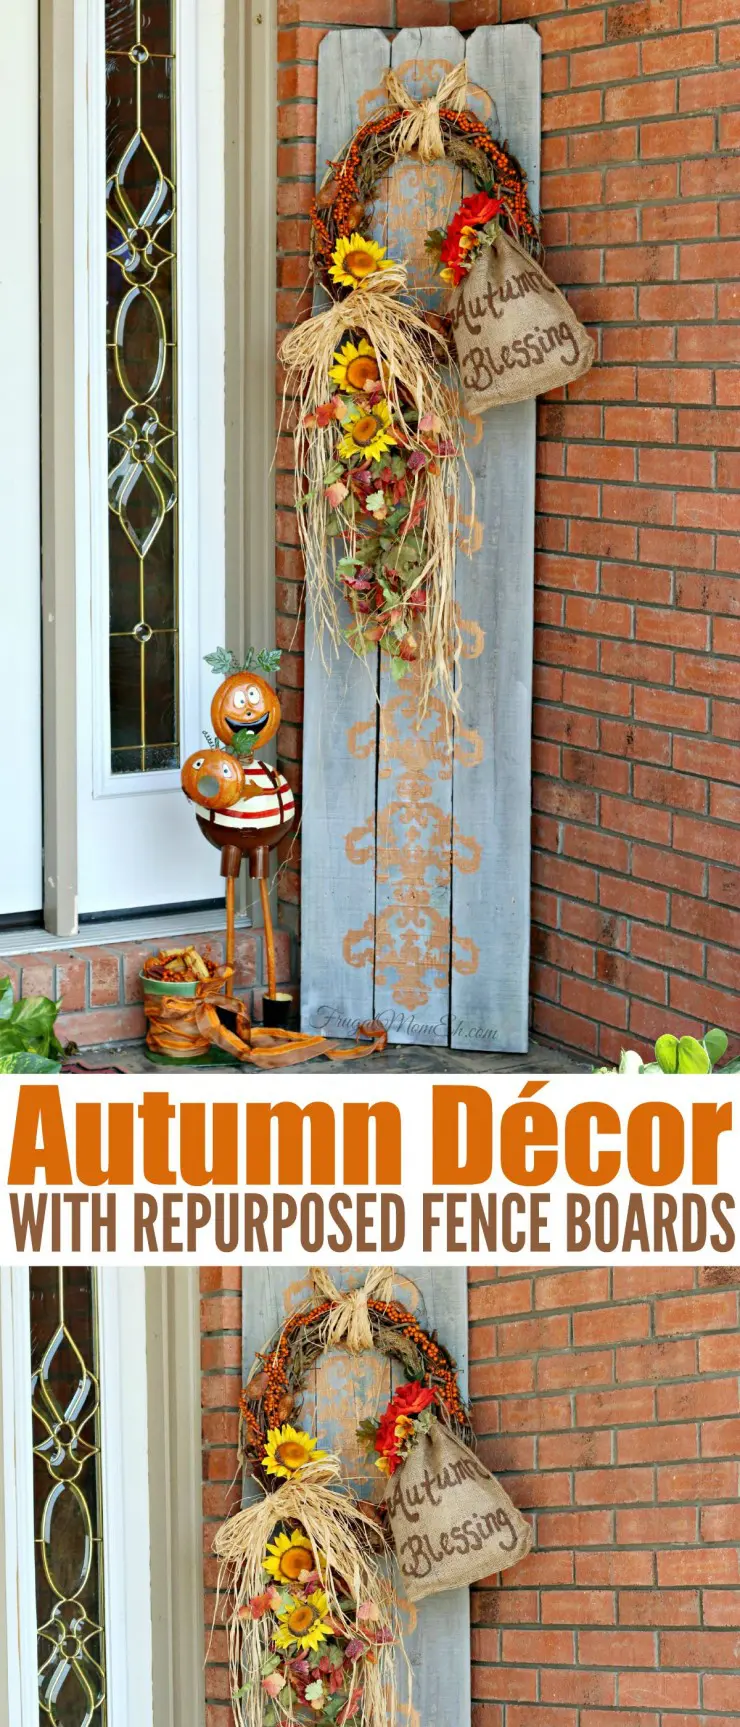
Perfectly elegant and beautiful Autumn décor can be constructed using some cheap materials and a few old fence boards. The sky is the limit when you have some fence boards; be sure to check with neighbours, friends and colleagues before opting to buy the wood materials.
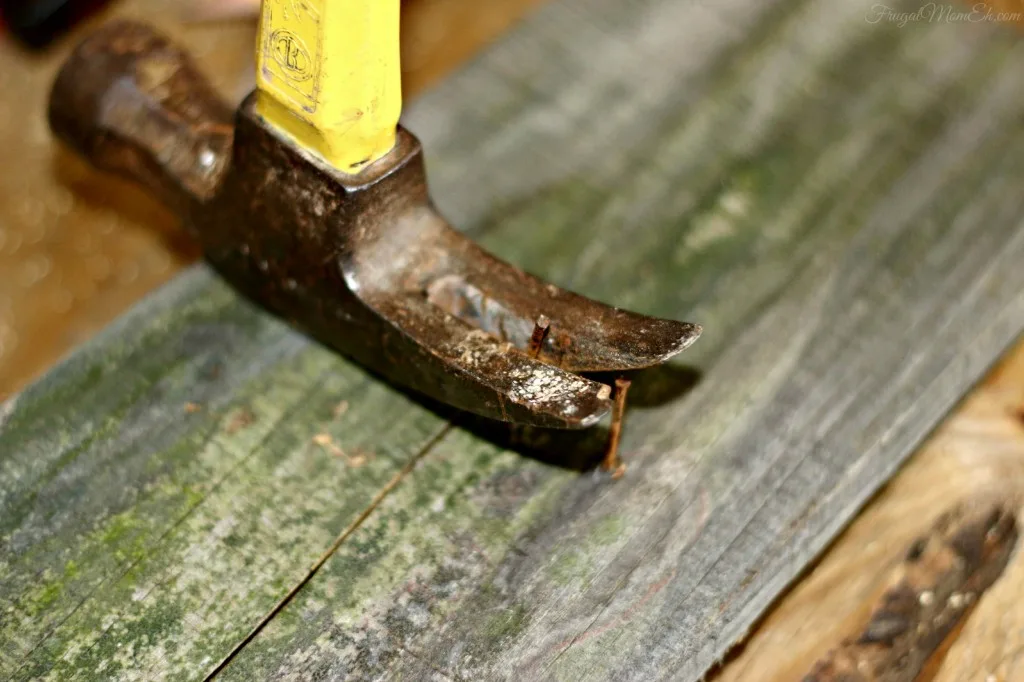
First, you will want to make sure the planks are nice and dry with all nails removed. Carefully place the boards on some scrap wood 2 x 4s with nail points up on your workspace. Tap out the nails enough to flip over the board and correctly remove the nails by the heads. If you have any rough pieces of wood sticking up, you can quickly sand those off with a sanding pad.
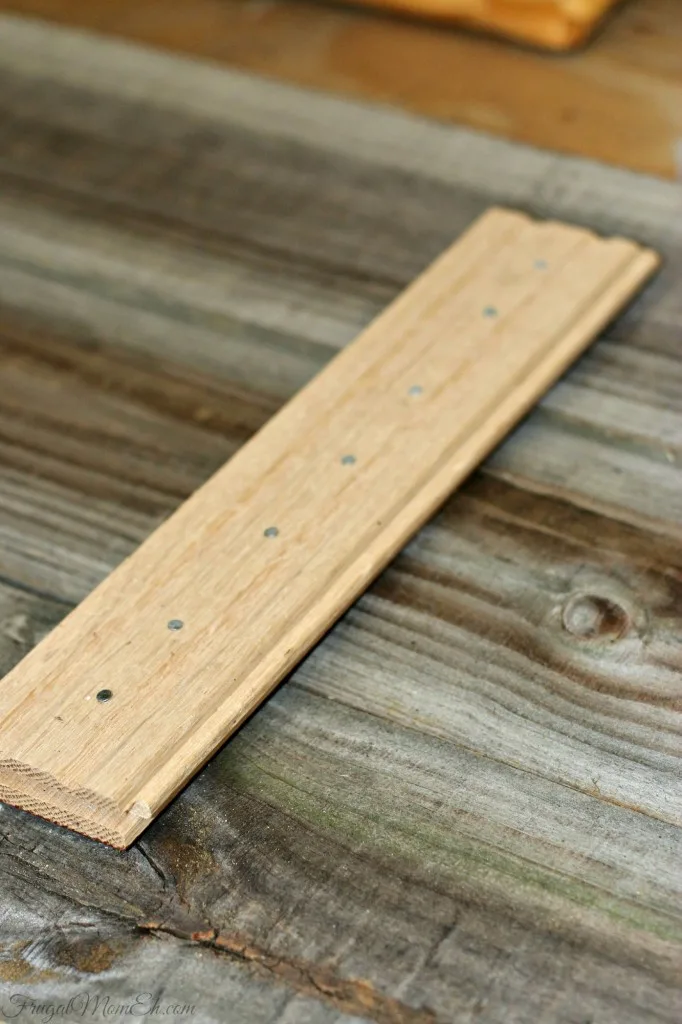
Place three planks side by side and even, face down (front down) and secure with scrap boards across the back in at least 3 places, using nails. This will ensure that your fence will stand the test of time. The boards may be slightly warped, but that only adds character. It is not going to be a big deal if you have small separations; however, as you place the securing boards over the planks, try to hold them together tightly while you nail in place.
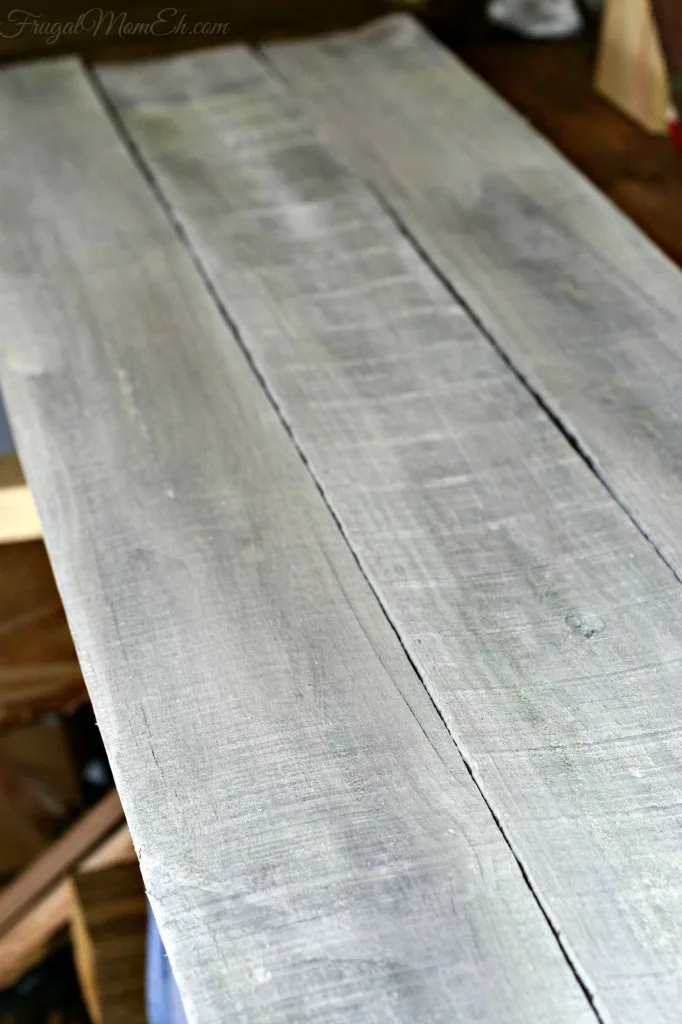
Next you will want to grab some cheap white paint. Having some old white paint on hand, I mixed ½ cup of paint with ½ cup of water to apply a thin layer to my boards. This process allows for the natural look of the weathered boards to become relevant.
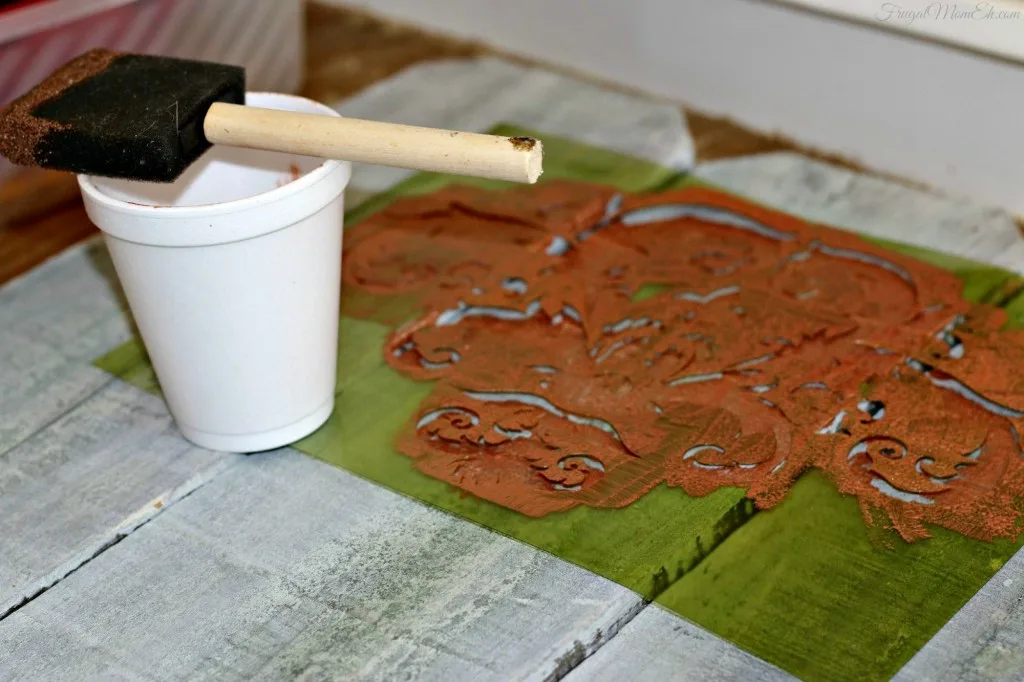
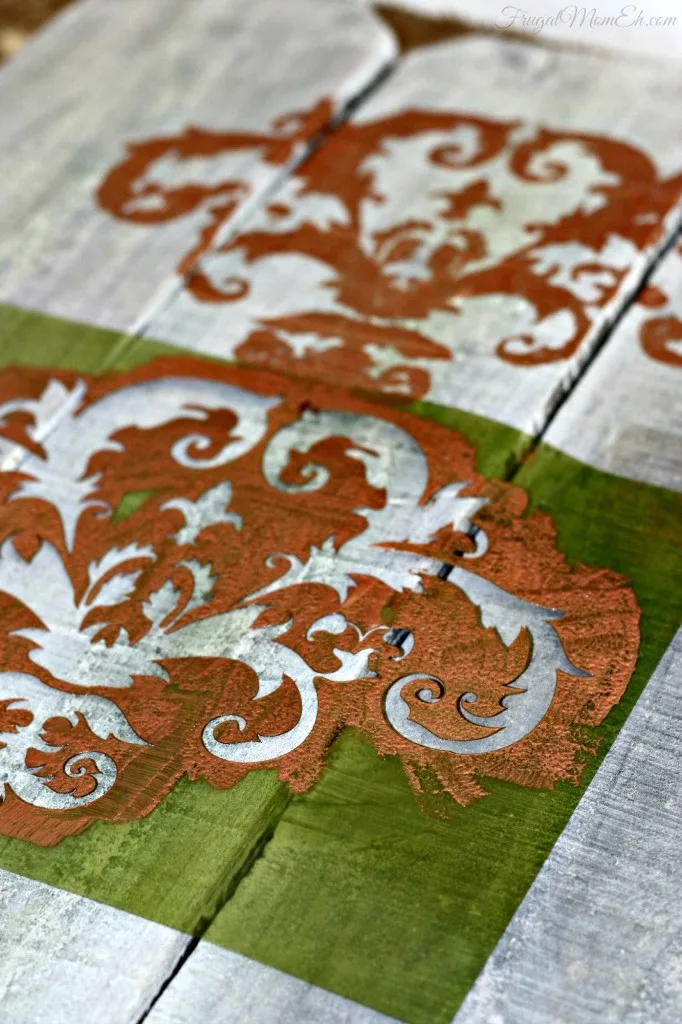
Once dry, begin to stencil your piece. I used a metallic copper color that I found on clearance for just a few dollars. The stencil was also a steal on Amazon, but you could make your own or just apply and abstract design if you prefer.
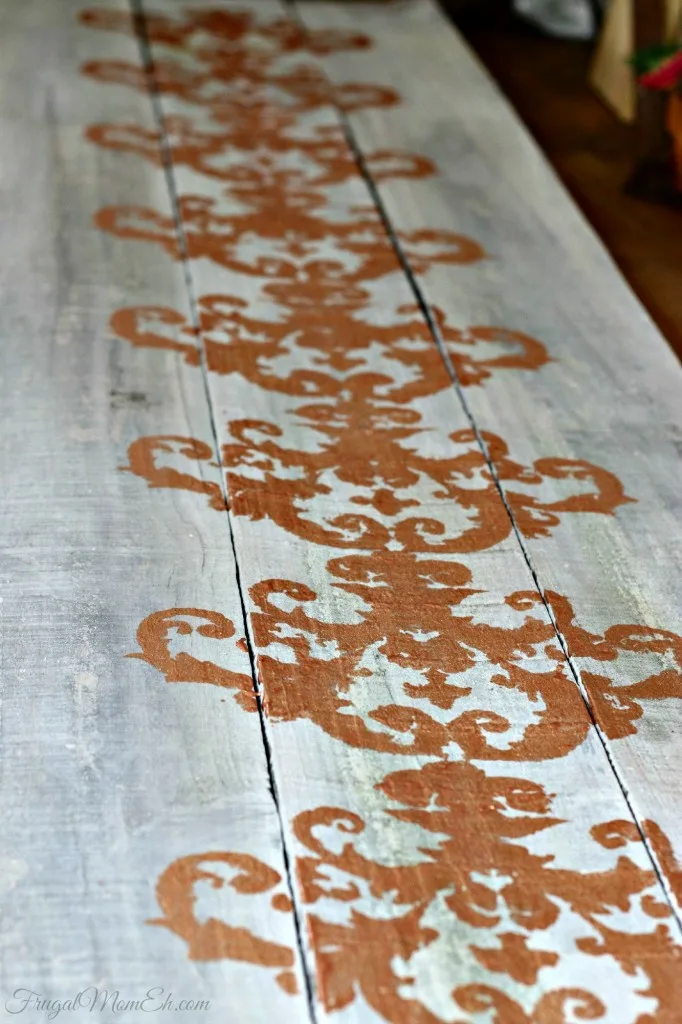
Start by stencilling your design on to the board in a straight line if you so choose. I slightly overlapped my stencil to ensure straightness, but this was a personal choice and would look lovely offset as well.
While your stencil is drying you can start making your wreath.
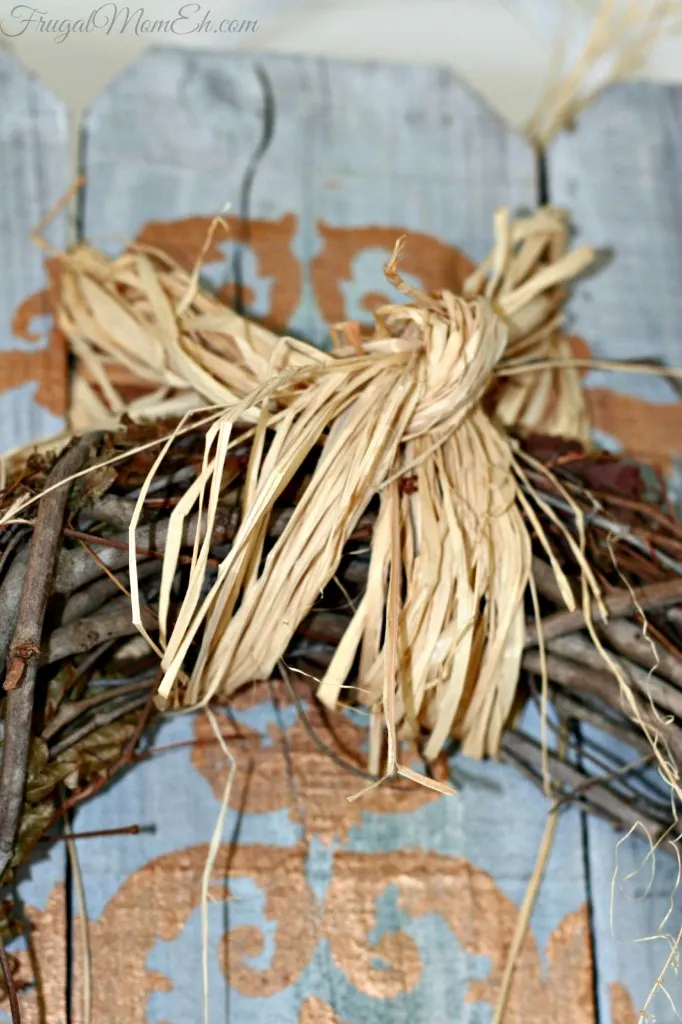
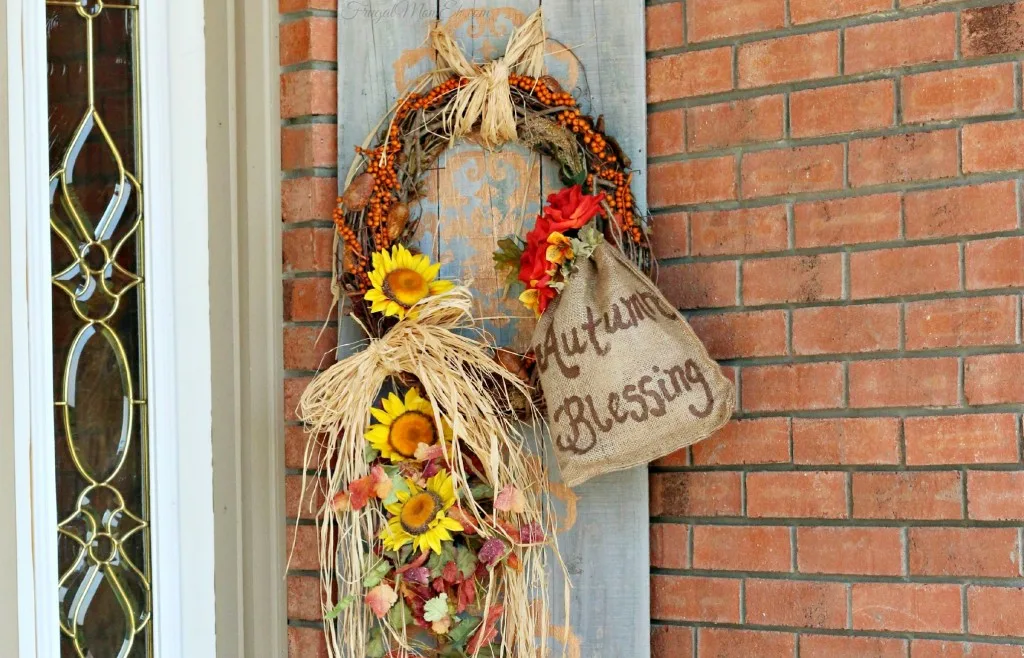
Using about 5 feet of raffia strands, make a knot atop your wreath to hang from the centre board of your décor. Burlap or twine will also work and will be as equally stunning. Using what you find on hand or from the dollar store is helpful when you are making large projects. You do not have to break the bank to create these seasonal delights!
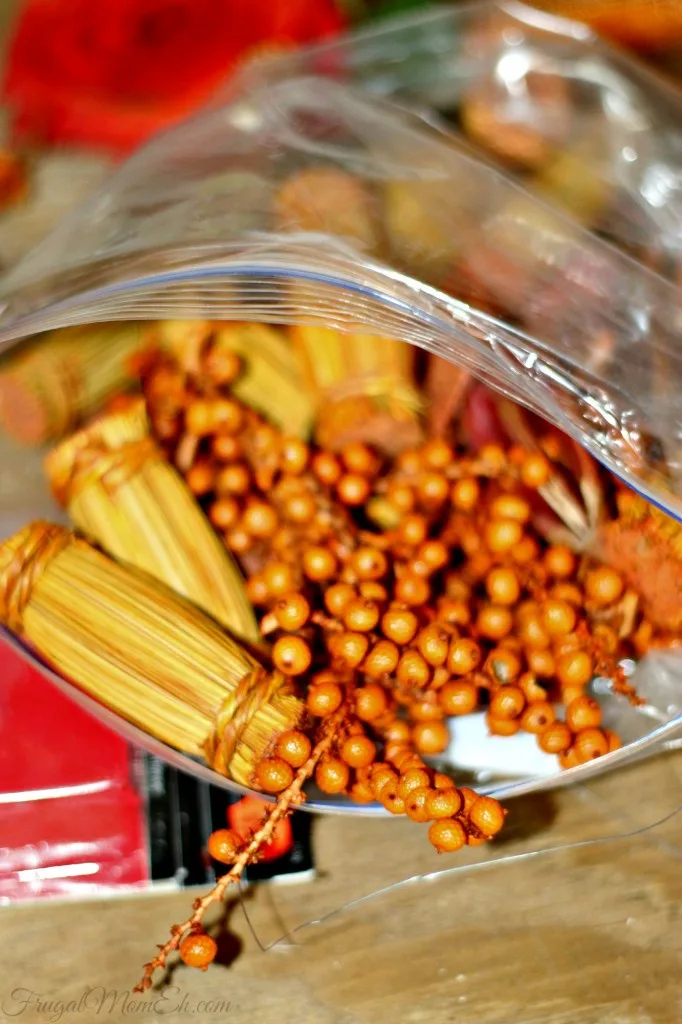
Speaking of dollar store finds, I am always on the lookout for great artificial flowers, ribbons and other neat items to use on wreaths. Several pieces on the wreath are from orange coloured potpourri found on clearance, so always think outside the box when you are shopping for craft supplies; and always look in the clearance section.
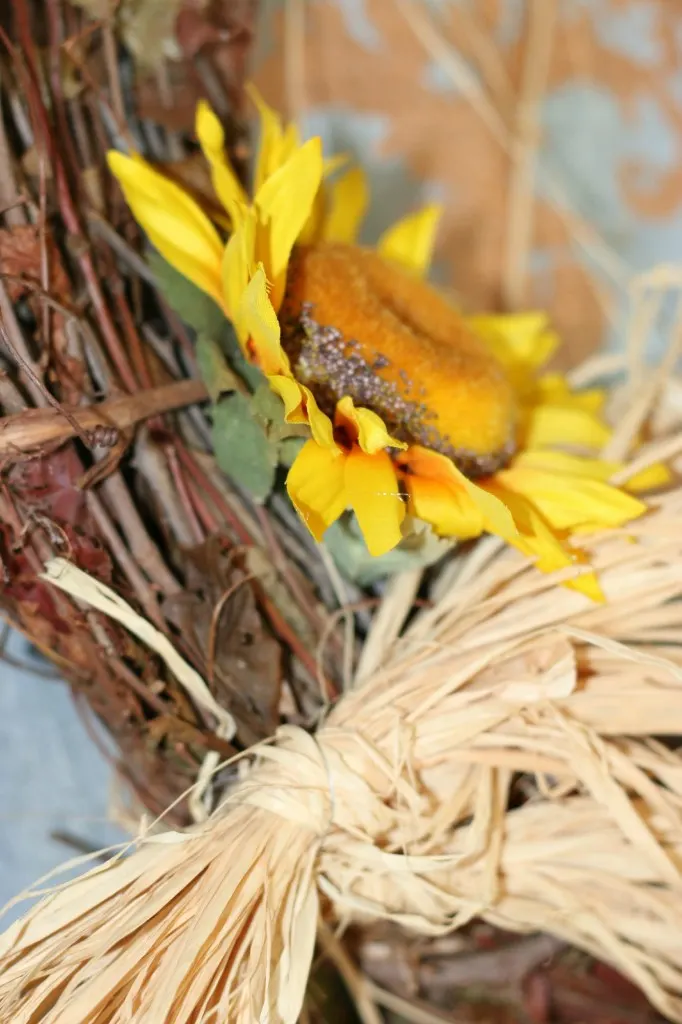
Do not discount yard sales. You can find a multitude of treasures to re-purpose adding a few touches here and there, and for a fraction of what you may pay in a craft store. The sunflowers in this piece are re-purposed from another wreath that I had stored for just a bit too long; luckily the sunflowers were not faded and still look like new!
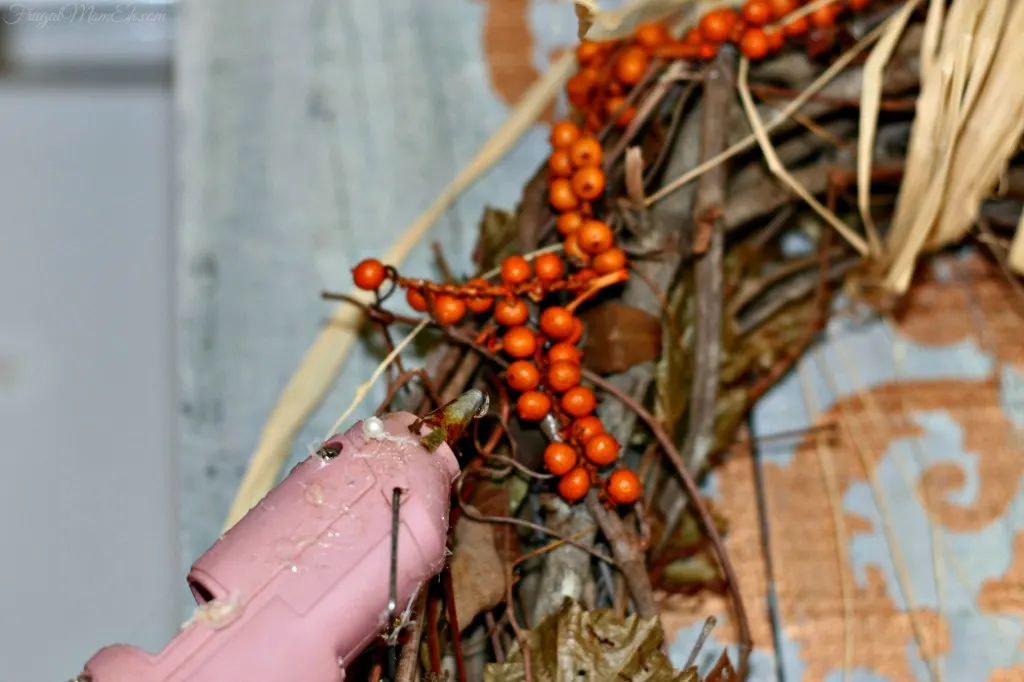
When applying small lightweight items to your wreath you can use hot glue, arranging the décor in a fashion that suits your taste. Heavier items, like the stemmed leaves, and bag are secured using crafting wire, looped into the grapevine wreath.
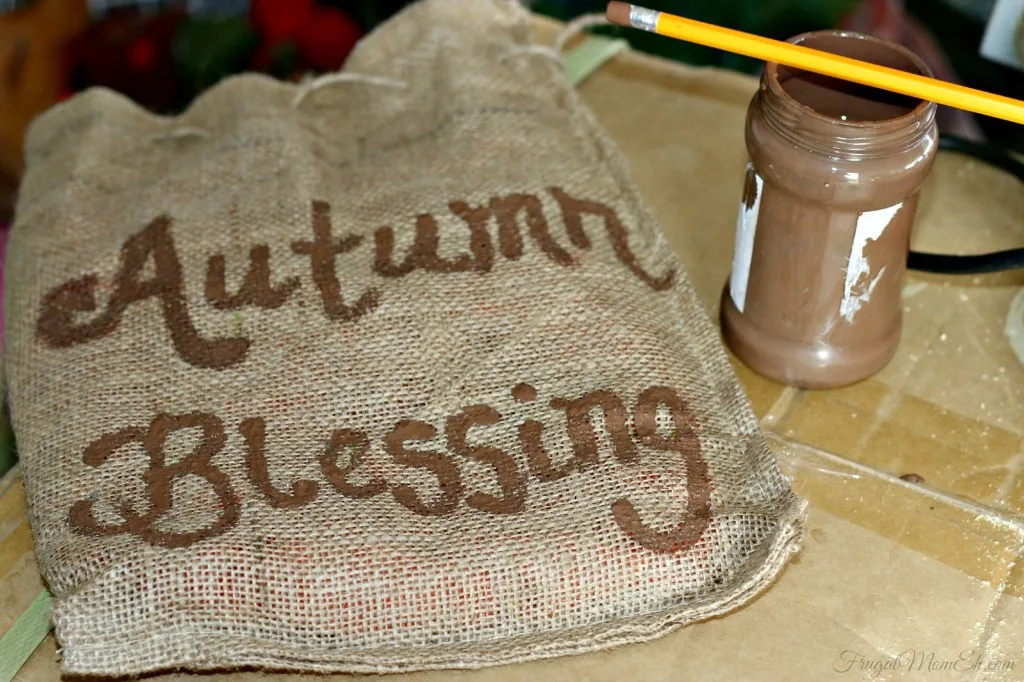
The burlap bag was also something that I had on hand from an online purchase of lotions. Using a light coloured marker, I wrote my chosen words. I used acrylic brown paint, thin enough to spread easily, and a pencil eraser to paint over the letters. The pencil eraser glided more easily over the burlap than a small paint brush. After the paint dried, I filled the bag with mesh ribbon, tied it to the wreath and secured with craft wire.
Utilizing your hot glue gun, just fill the ruffled top of the burlap bag with more lightweight fall décor.
Once your wreath is finished, secure the entire piece to the middle of the three boards. Place your new decoration by the door or fireplace to welcome guests with a feeling of warm togetherness.
This awesome DIY project was completed exclusively for Frugal Mom Eh by Beth.

Elizabeth Lampman is a coffee-fuelled Mom of 2 girls and lives in Hamilton, Ontario. She enjoys travelling, developing easy recipes, crafting, taking on diy projects, travelling and saving money!

kathy downey
Tuesday 11th of August 2015
Such a pretty fall decoration.
kathy downey
Monday 30th of March 2015
That is just so neat
ZZTHERESA
Friday 21st of November 2014
Great idea :) I love this thank you for posting.
Mishelle
Friday 21st of November 2014
I love the stencil pattern!! It's gorgeous! Where did you find it?
M
Anne Taylor
Monday 10th of November 2014
This is really lovely and so perfect for fall!