When we moved back in May to our new house I bought a kids table and chairs from Ikea for Keira, and eventually Ava, to use. It was the LÄTT Children’s table and 2 chairs, made from solid pine and a great deal at under $30 CDN. While the bare wood is nice enough on its own, I wanted to brighten up their space by painting the table and this table is super easy to paint for several reasons.
The first reason is that like most Ikea furniture, you have to assemble it yourself and this makes the painting process a breeze compared to trying to paint an assembled piece of furniture. Second, it is unstained and unpainted pine and the Behr Marquee paint I used went on perfectly.
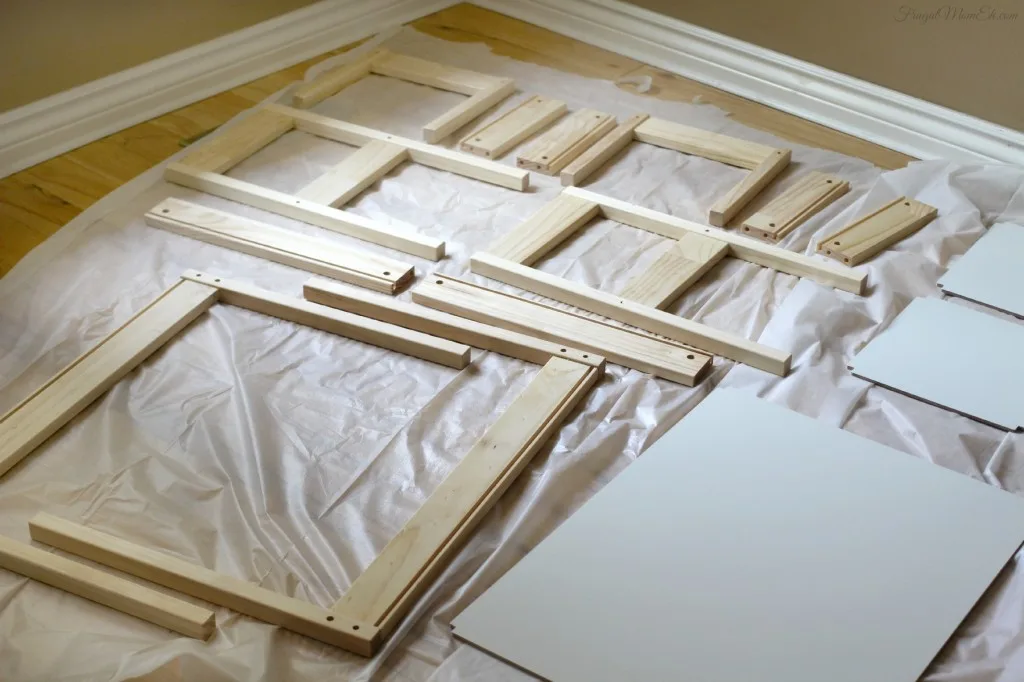
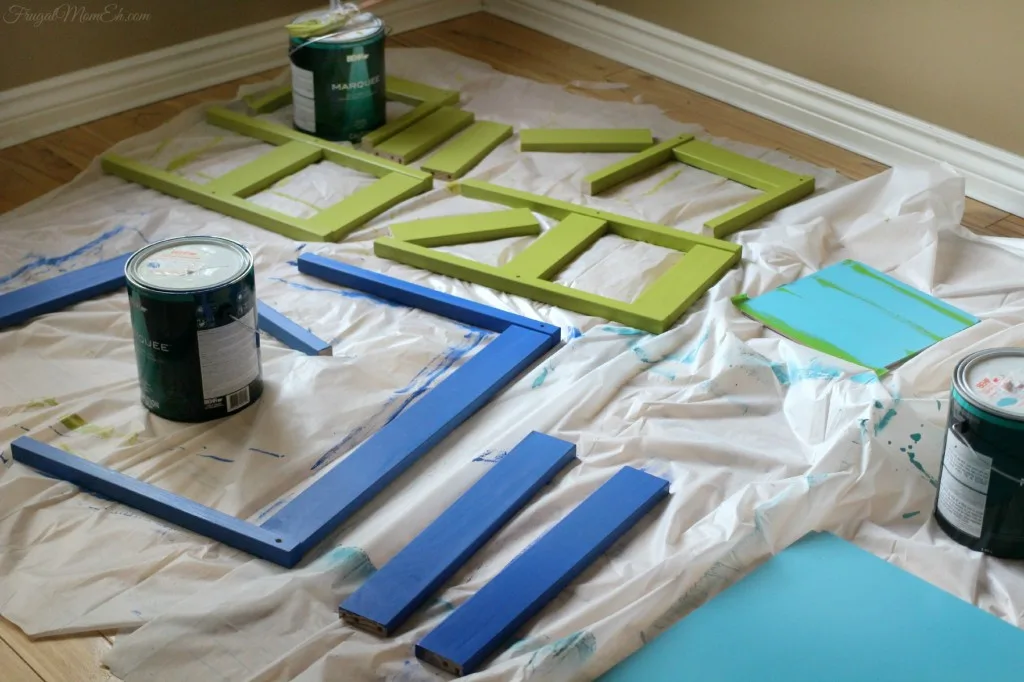
To get started you will want to lay out all the pieces to get an idea of how it will go together.
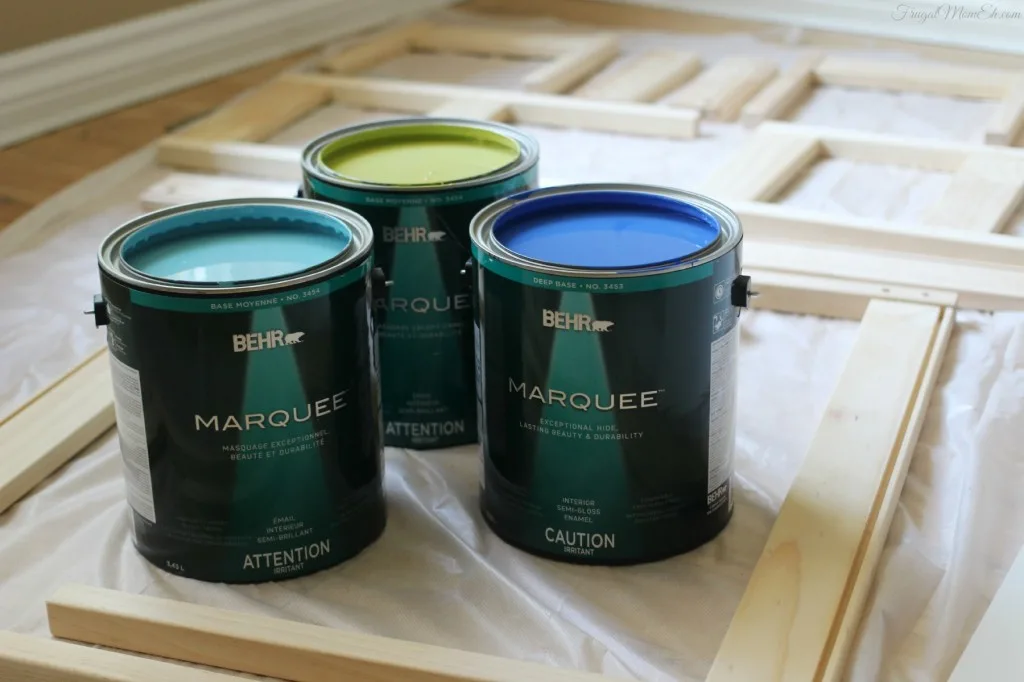
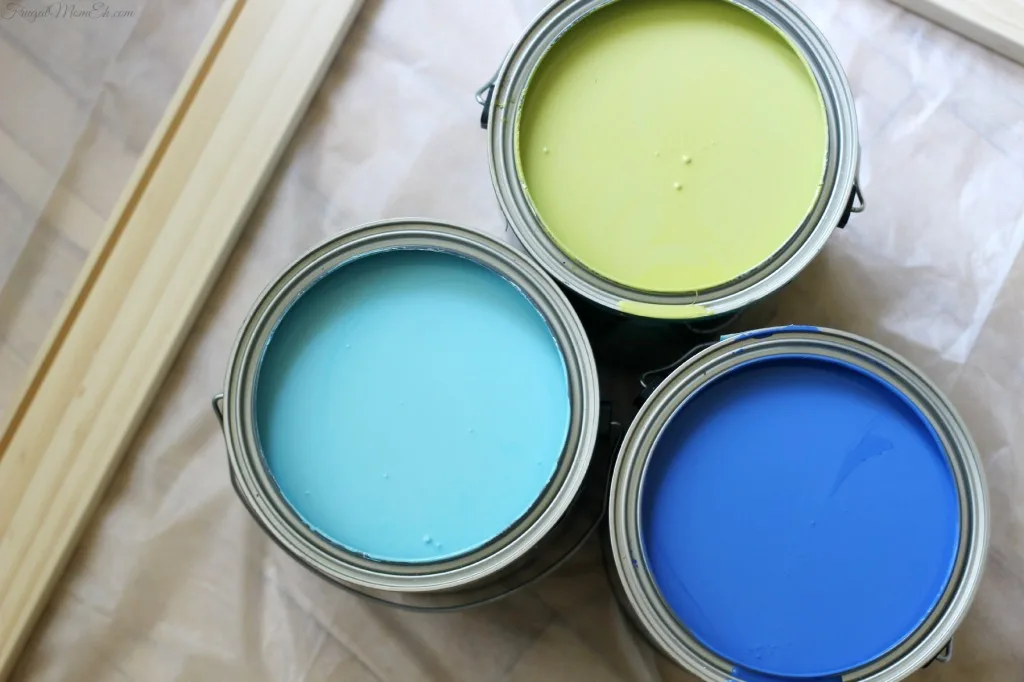
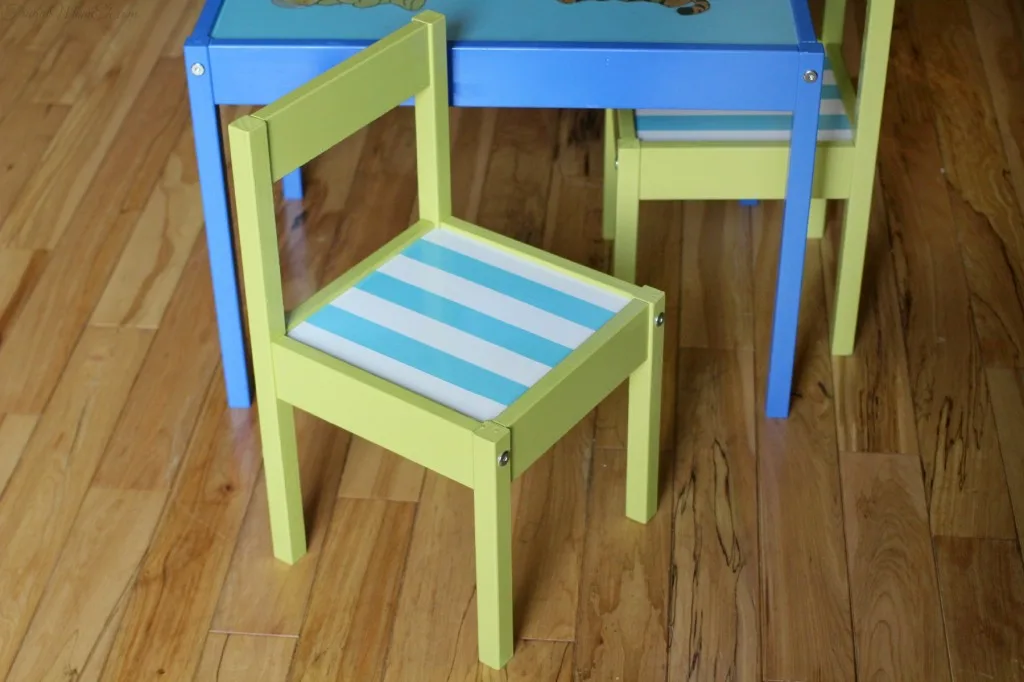
I chose to paint the chairs with Behr Marquee Pistachio, the seats and table top with Behr Marquee Adonis, and the table with Behr Marquee Electric Blue. Don’t these colours look fabulous together? I love how vibrant they are!
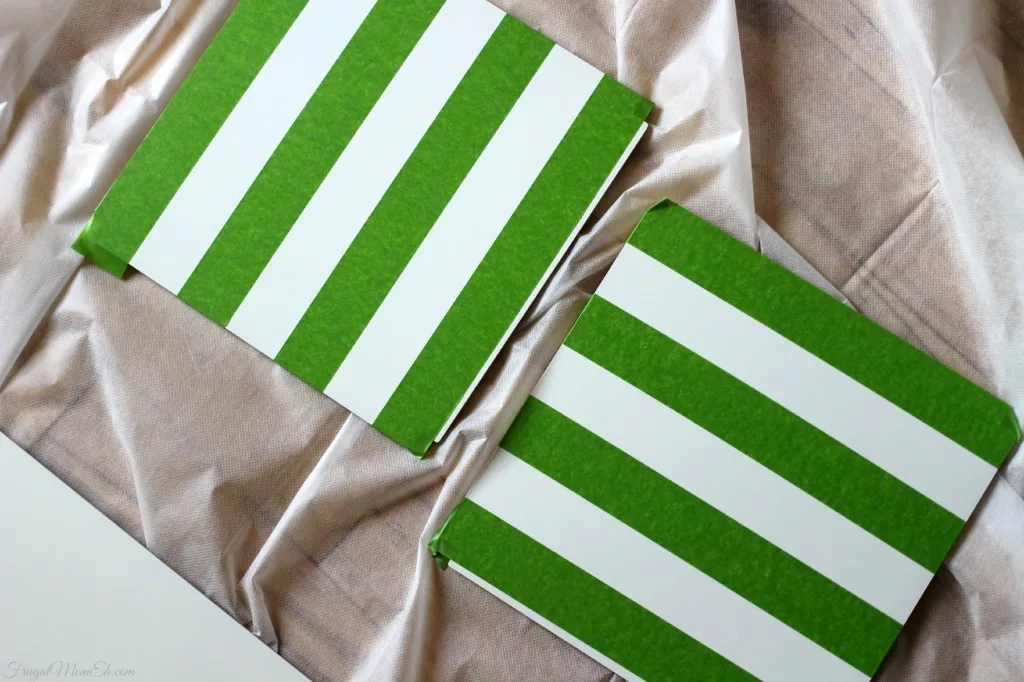
Before getting started with painting I used painters tape to mask off the areas of the chair seats that I wanted to keep white for a striped effect. To get even spacing I taped the entire thing and then removed every other stripe.
I painted every single surface twice allowing a couple hours between coats. Then I waited for 2 weeks for the paint to completely cure before I assembled the furniture. This is important or you could disturb the paint during the assembly process.
Despite waiting that time the paint didn’t fully adhere to the fiberboard of the table and seats which I wasn’t surprised about so I touched it up where the paint had peeled.
I then painted the entire thing with two coats of clear-coat just to really seal the paint on, especially with the seats and table top.
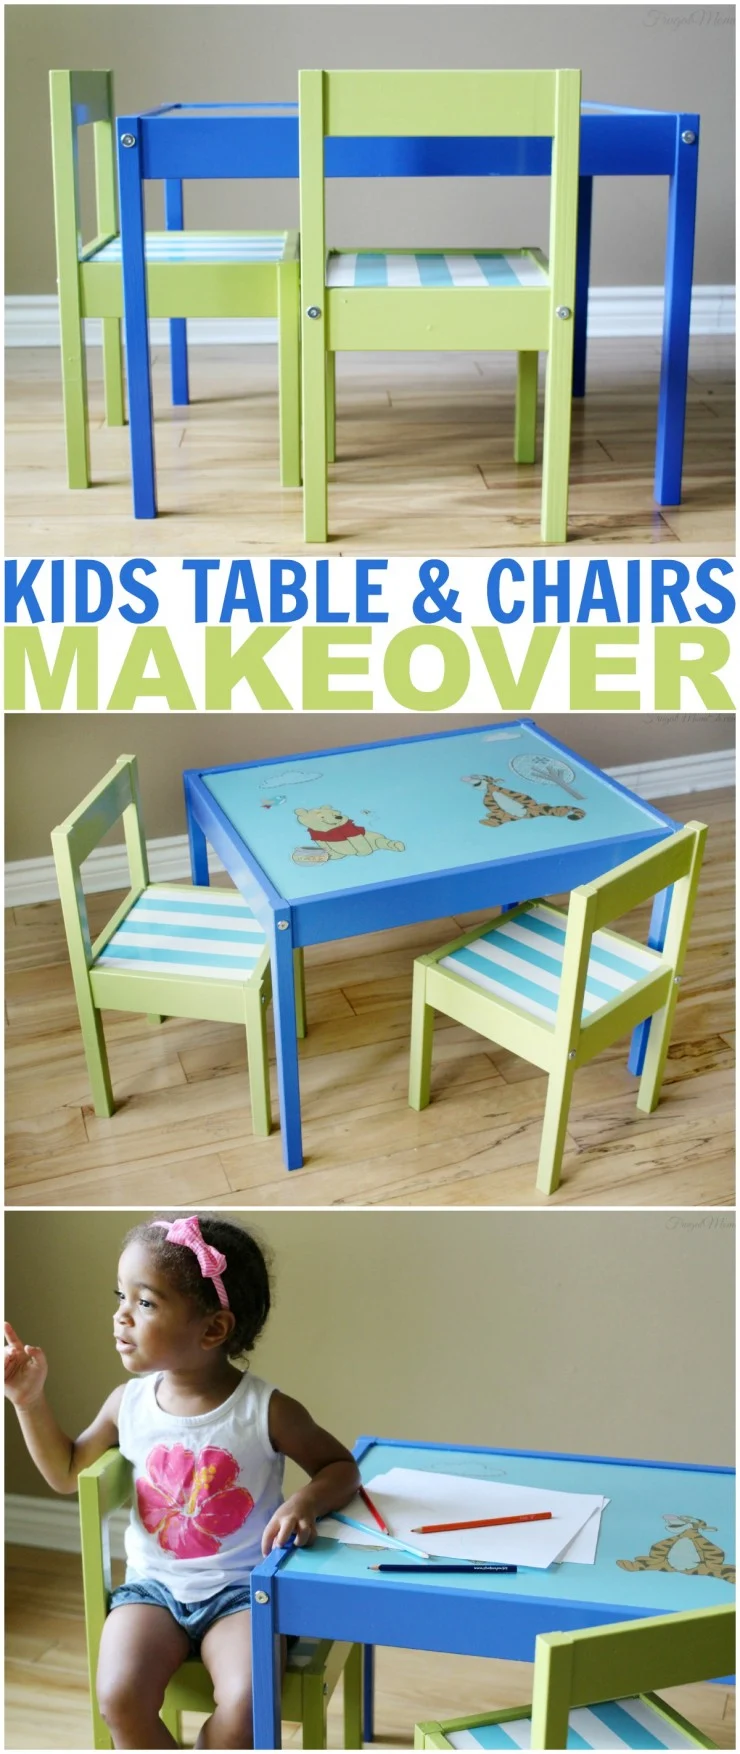
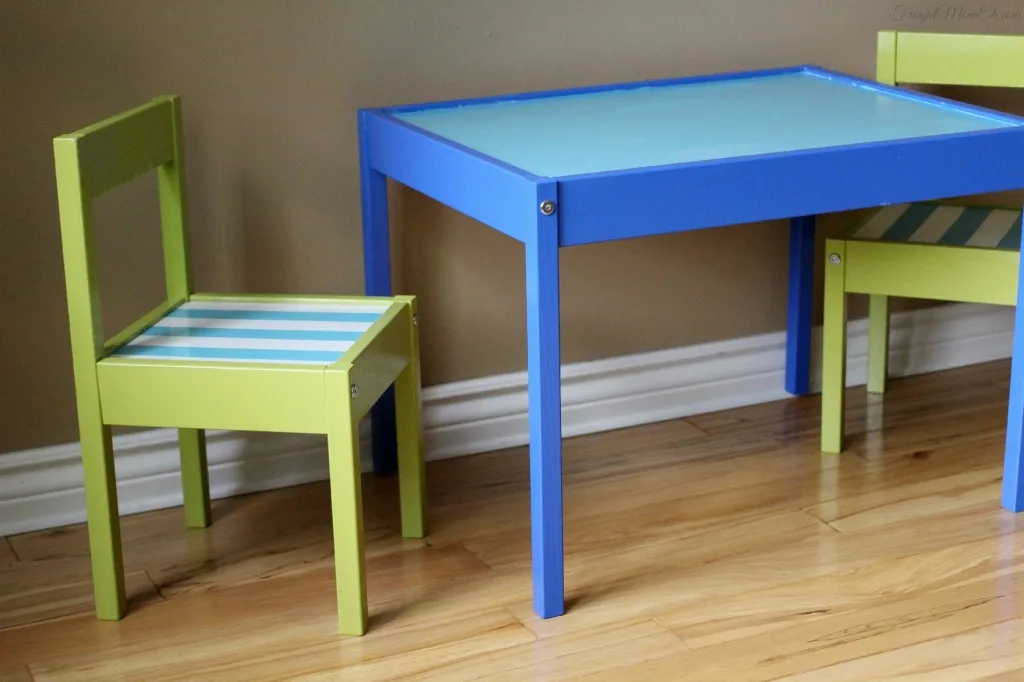
Here it is painted and assembled. Doesn’t it look great? The project didn’t stop here though…
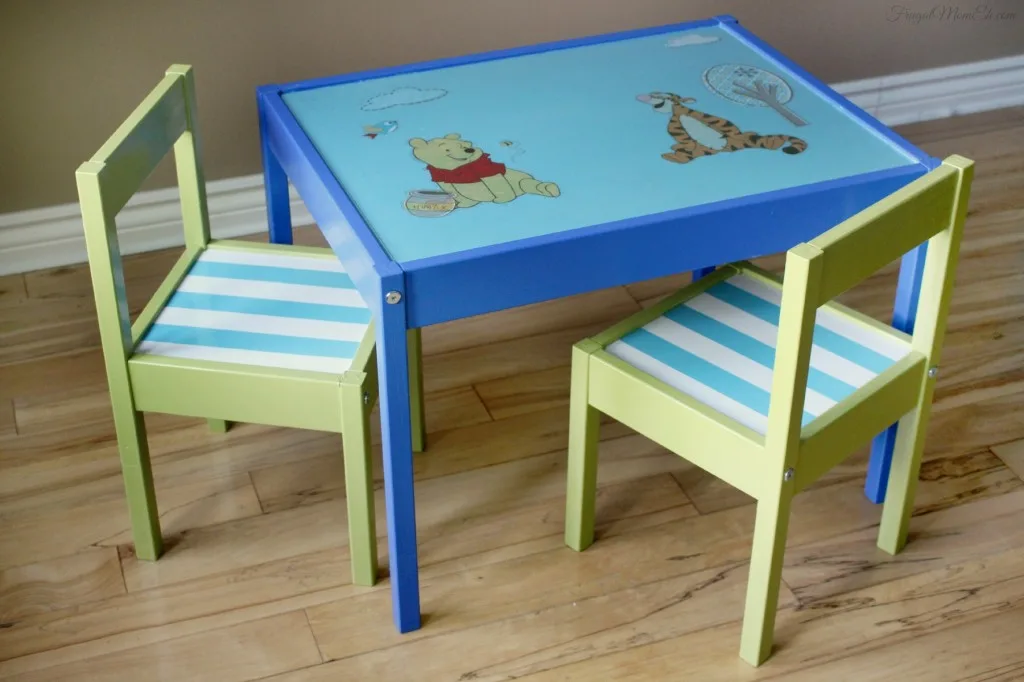
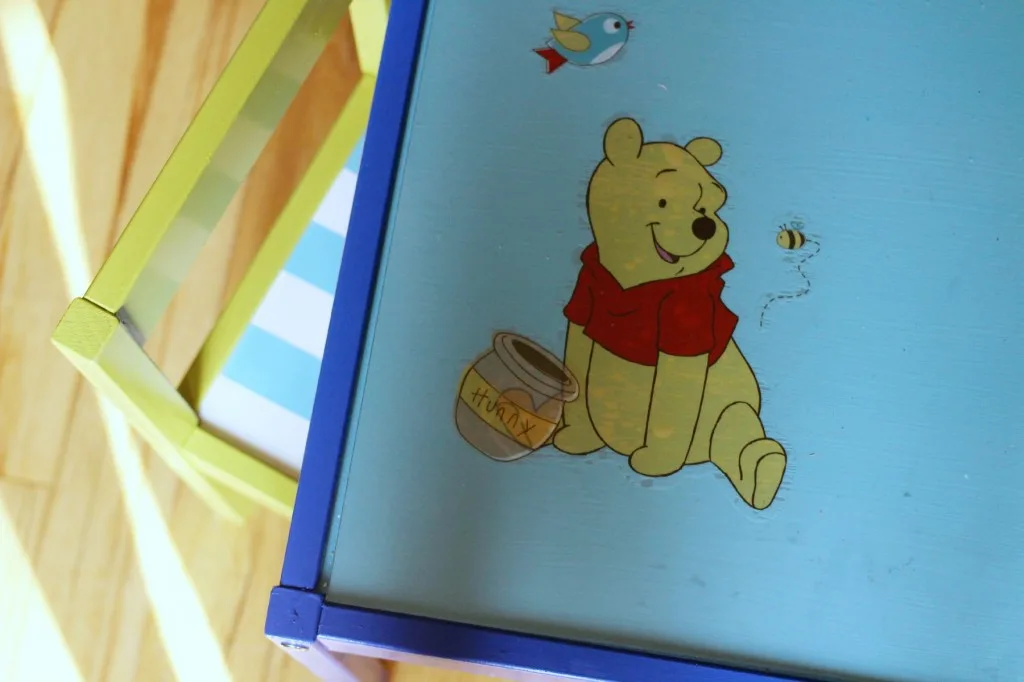
I then applied some fun wall stickers to the table top to appeal just a little bit more to Keira who loves Winnie the Pooh. I went out and bought a piece of acrylic sheet measured to cover the table top and to protect both the table itself as well as the decals.
The great thing about the wall stickers is that they are easily removed without damaging the Behr paint so we are able to change it up as often as we like.
Due to the way the LÄTT table was designed the table surface isn’t perfectly rectangle as the corners are cut into slightly by the legs. I ended up having the acrylic sheet measured to fit inside of the corners so it would be easy for an adult to remove but still sit sturdy on the table top and not affect its use.
I really love how the chairs turned out. The combination of colours and stripes are so sweet!
I love how the set just pops thanks to the beautiful Behr paint colours.
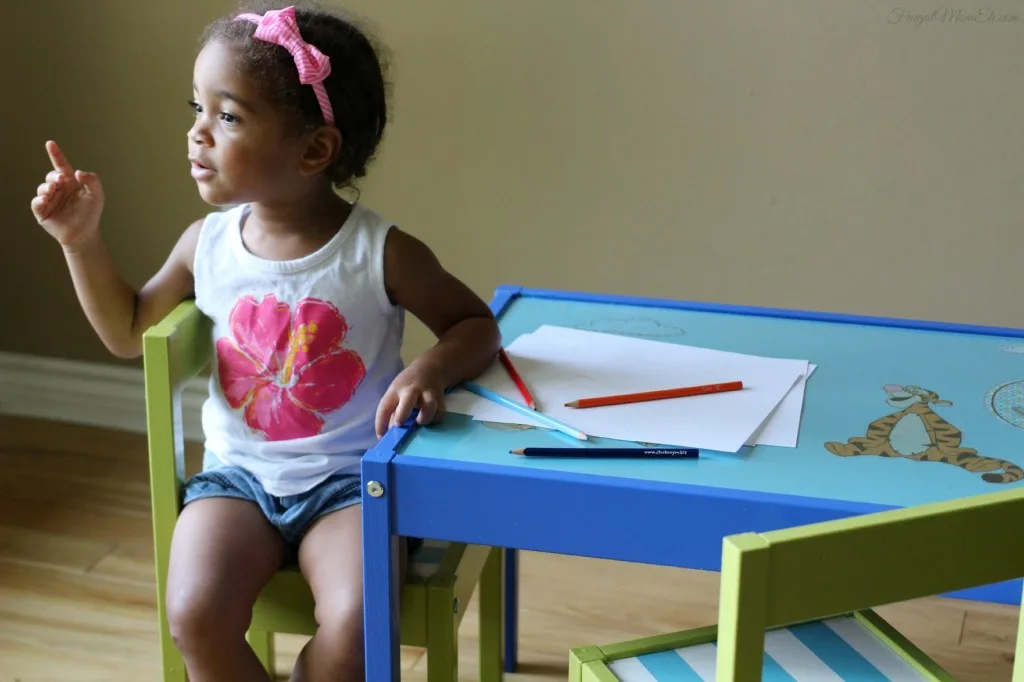
Keira loves her new table too. She is constantly sitting at it, colouring, reading or even just looking out the front window. Perfect.
What do you think of this colour combo?

Elizabeth Lampman is a coffee-fuelled Mom of 2 girls and lives in Hamilton, Ontario. She enjoys travelling, developing easy recipes, crafting, taking on diy projects, travelling and saving money!




Victoria
Saturday 15th of August 2020
Love the outcome it looks amazing!! May i ask where did you get the acrylic sheet from?
Elizabeth
Sunday 16th of August 2020
Home Hardware, they cut it to the size I needed.
Caroline
Friday 11th of September 2015
Cute colour combo. I love seeing Ikea makeovers!
Maggie C
Tuesday 4th of August 2015
I love to turn my Ikea goodies into my own as well. this is a great one!
kathy downey
Sunday 29th of March 2015
What an amazing set,awesome colors
Marcy
Sunday 15th of March 2015
We love our IKEA furnitue and never even thought to give it our own flair. This is super cute and creative