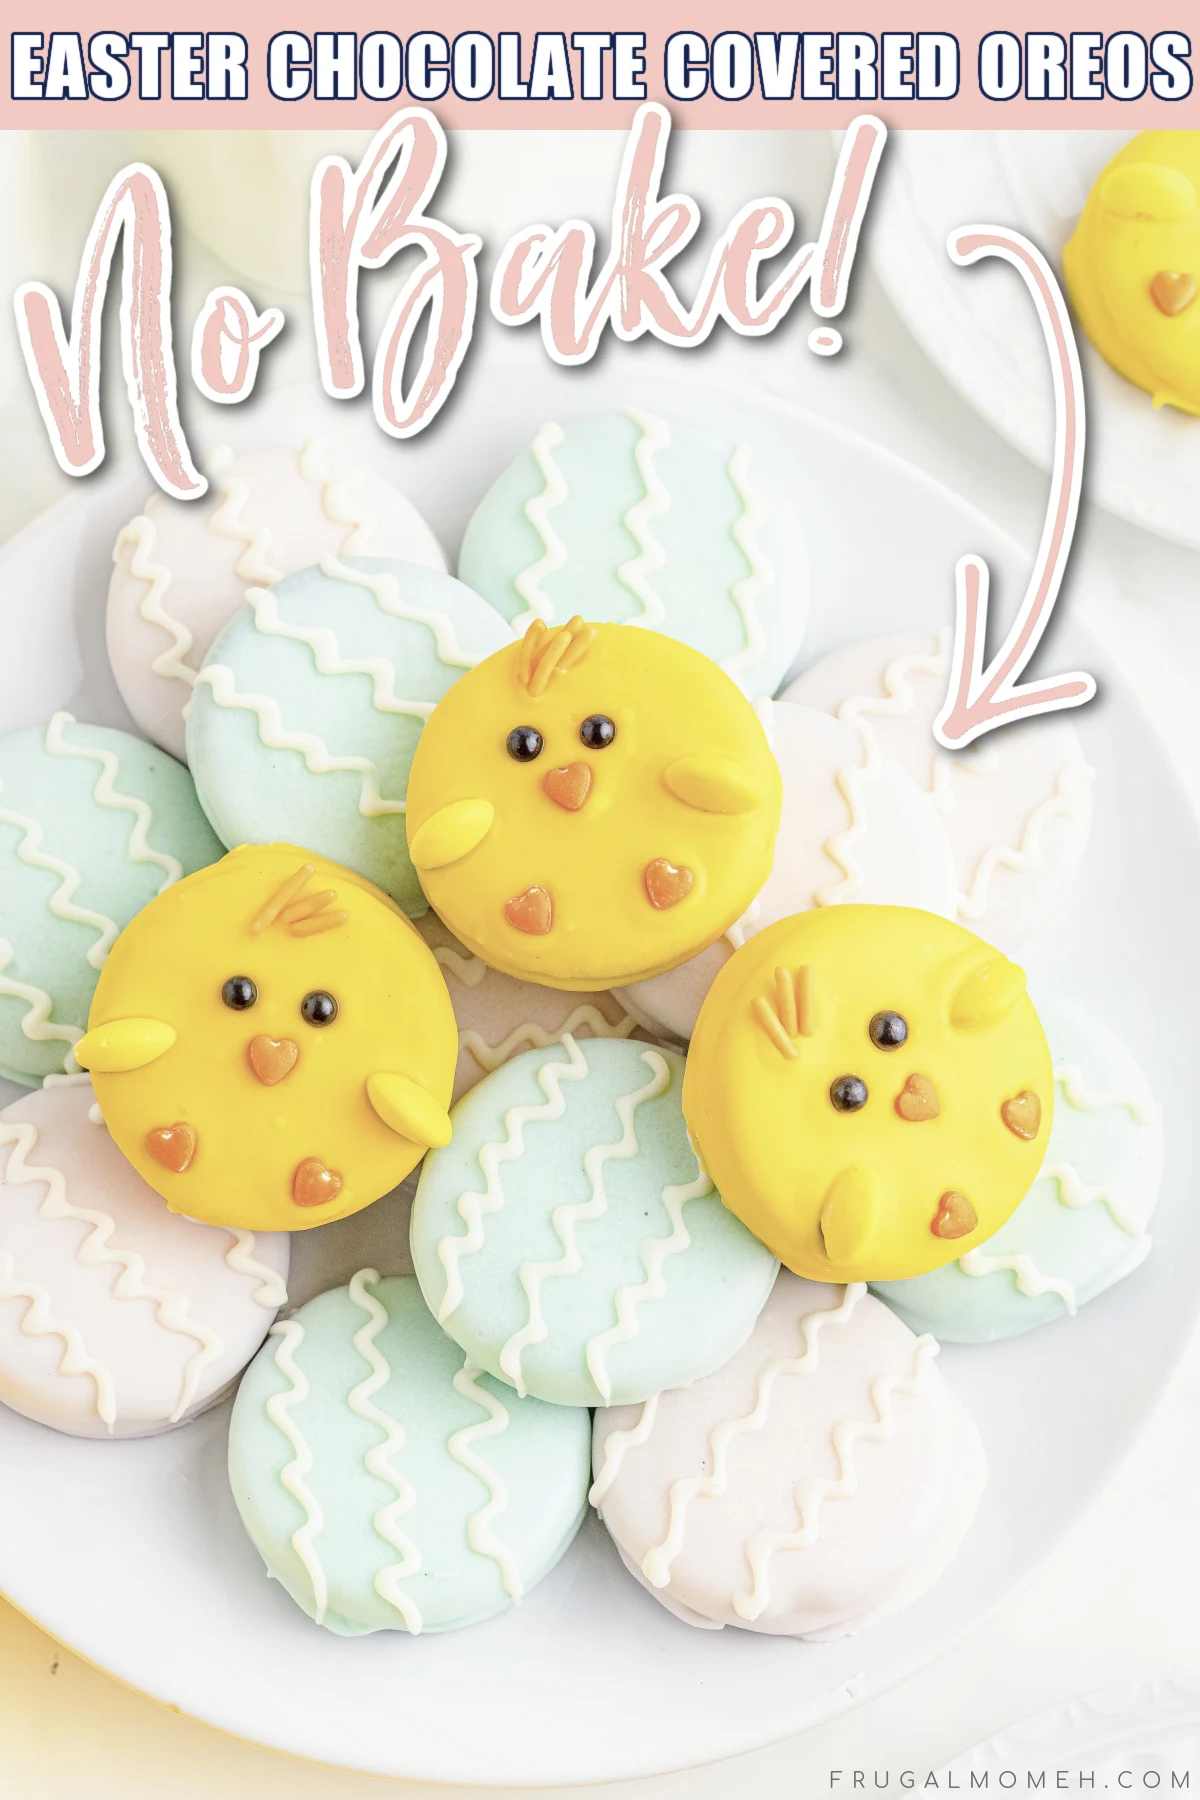
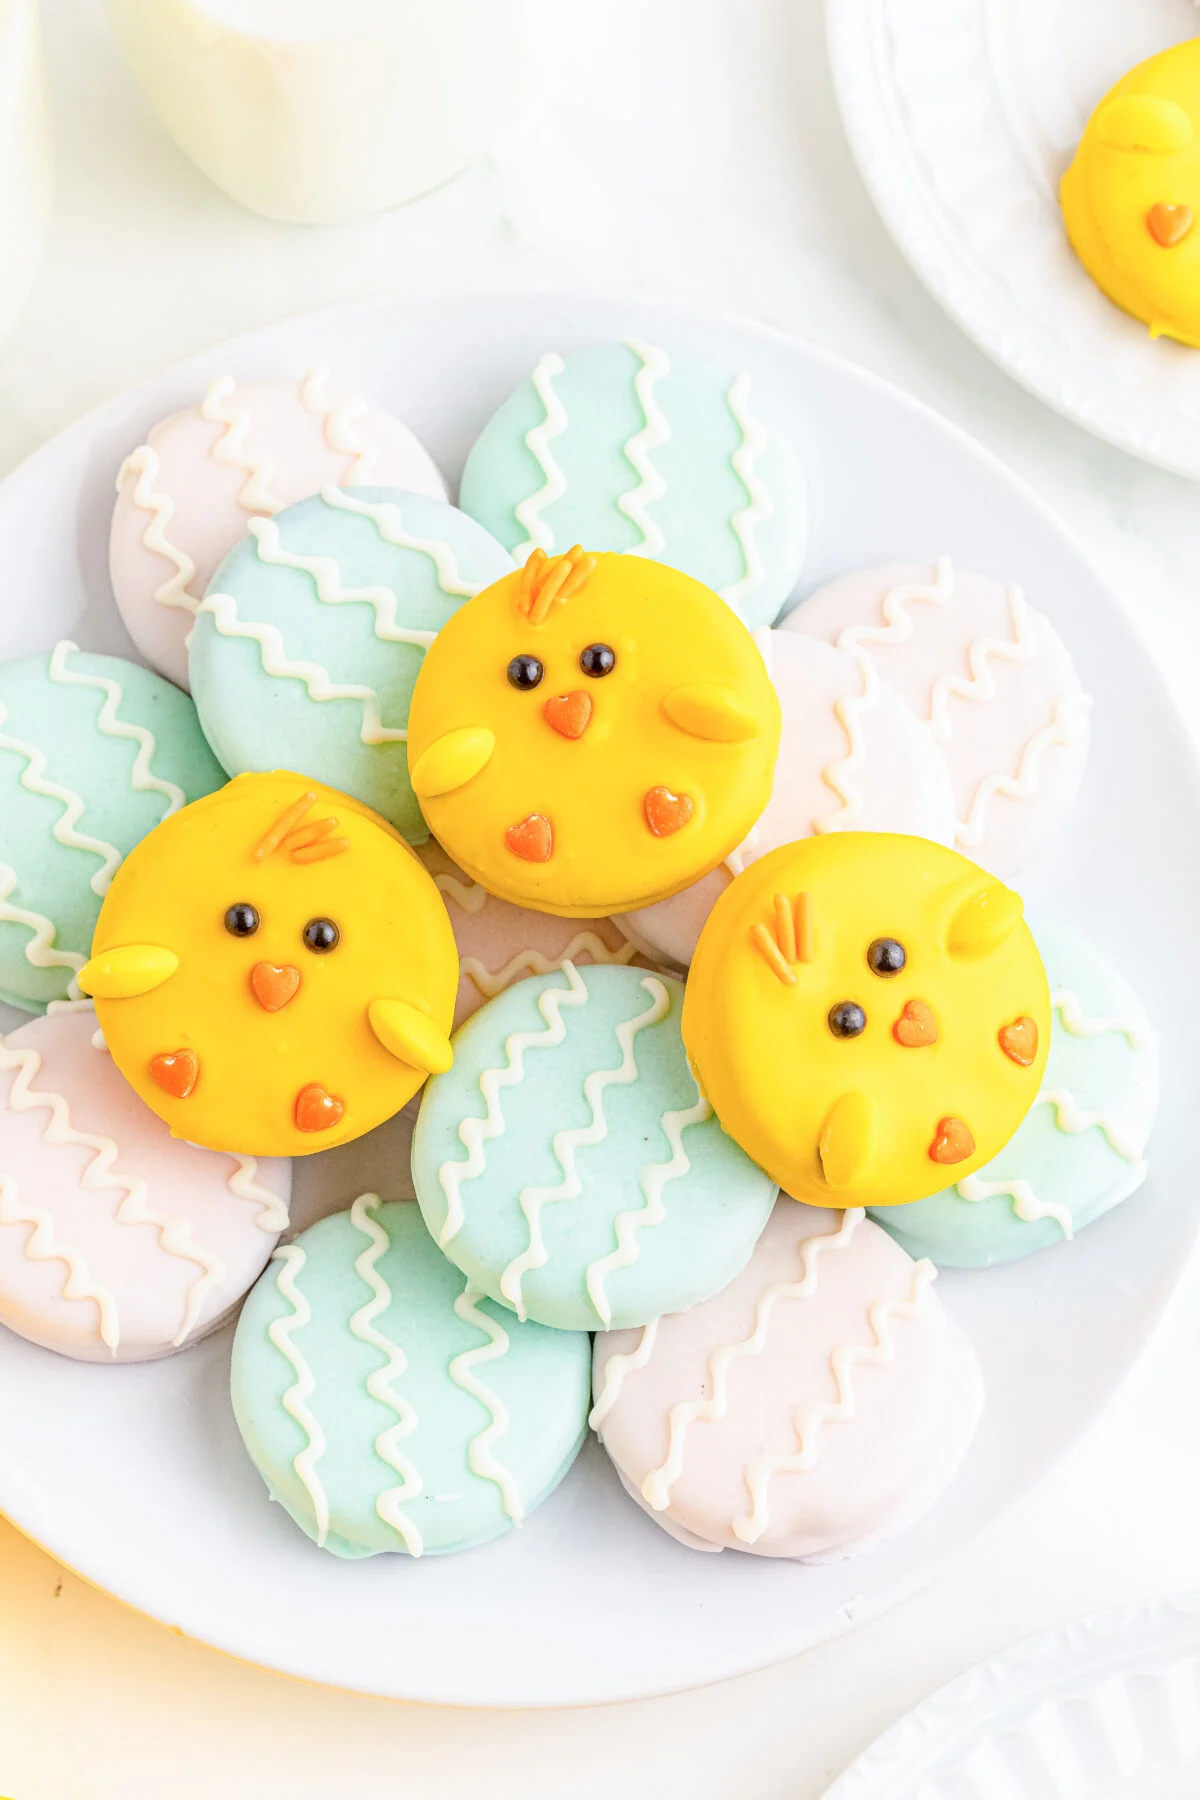
Add some fun to your Easter celebration with this easy-to-make and delicious Easter Chocolate Covered Oreo recipe – featuring chicks and eggs!

If you’re looking for an exciting and delicious Easter treat to make with the kids, look no further than this delightful recipe for Easter chocolate covered Oreos!
This simple yet gorgeous dessert is a breeze to assemble and will liven up any Easter party or gathering.
For this recipe, we’ll be dipping classic Oreos in melted white chocolates an decorating them into fun chick and Easter egg designs.
Not only are they incredibly fun and easy to make, but these sweet goodies look stunning when arranged on a platter—the perfect centerpiece for your Easter celebration. These Easter treats make great gifts at the end of your gathering too!
Come along as I show you how easy it is to create a serious “WOW-factor” dessert that everyone will love!
Why You Will LOVE These Easter Chick & Egg Oreos
- So adorable!
- No-bake treat, keep your oven off!
- Perfect for Easter or any spring celebration
- Quick and easy to whip up
- Great as gifts, package them up in cellophane or in a festive container.
- Simple ingredients

Variations on Chocolate Covered Easter Oreos
- Add sprinkles to the patterns on the eggs for a fun accent.
- Make Easter pops by pushing cake pop sticks into the Oreo icing before dipping.
- Twist open your Oreos and add a teaspoon of peanut butter before reassembling and dipping.

Tips for Making the Best Easter Chocolate Covered Oreos
- Use any colour of food colouring you like for the eggs. Just make sure it is an oil based food colouring. Other types of food colouring may cause the melting wafers to seize and thicken up quicker.
- Always melt the wafers on low heat, whether using the double boiler method or melting it in the microwave. Heating them on high heat can cause it to seize and thicken, making it difficult to get a thin and even layer of coating.
- If your melts do seize up you can loosen it up with a little coconut oil or vegetable shortening stirred in until smooth.
- You can use ready made pre-coloured candy melts for the coating like Wilton’s brand if you desire.
- You can use any flavour of Oreos you desire, even Golden Oreos.
- To help with placing the small sprinkles onto the cookie, you can use long tweezers. Do not squeeze it too tight as the sprinkles may break easily or scuff.
- Use good quality chocolate for the best results.

How to Store Chocolate Covered Easter Oreos
Once you have made your chocolate covered Oreos, it is important to store them properly to ensure that they stay fresh and delicious.
Only store the Oreos once the chocolate has completely set. Place the Oreos in an airtight container or zip-top bag to help keep the moisture out. Use parchment paper or wax paper between any layers of cookies.
Place the container or bag in a cool, dry place such as a pantry or cupboard. Avoid storing them in areas where there may be high humidity or extreme temperatures, as this can cause the chocolate to melt or become discolored.
If you are planning on serving the Oreos soon, then it is best to store them at room temperature. If you are not planning on serving them right away, then they can be stored in the freezer for up to three months.
It’s not necessary to refrigerate chocolate covered Oreos, and should be avoided is possible as it can harden the chocolate. Chocolate covered Oreos will last at room temperature for up to 2 weeks.

Equipment Needed to Make Easter Oreos
- Baking tray
- Parchment paper
- Double boiler or microwave safe bowl
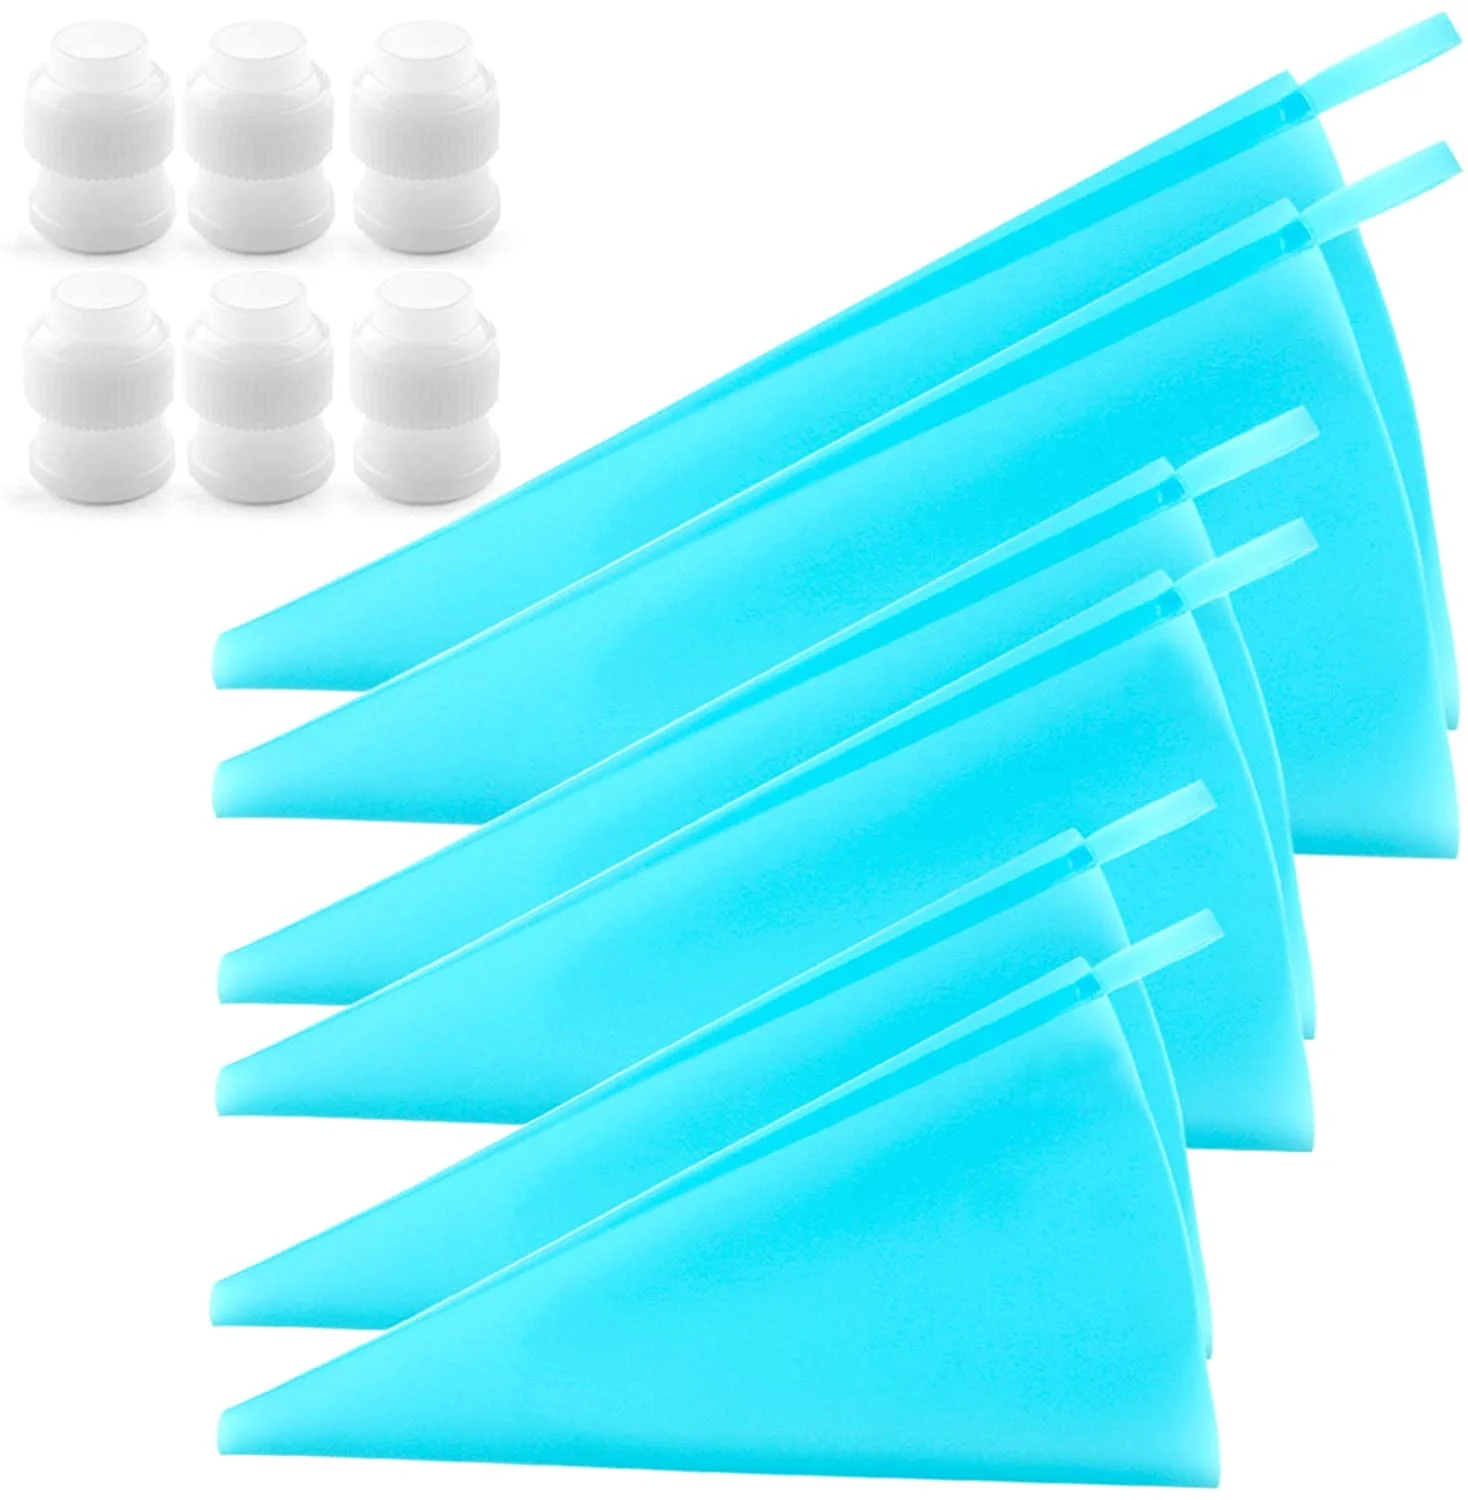
- Small piping bag

About the Ingredients for Easter Oreos
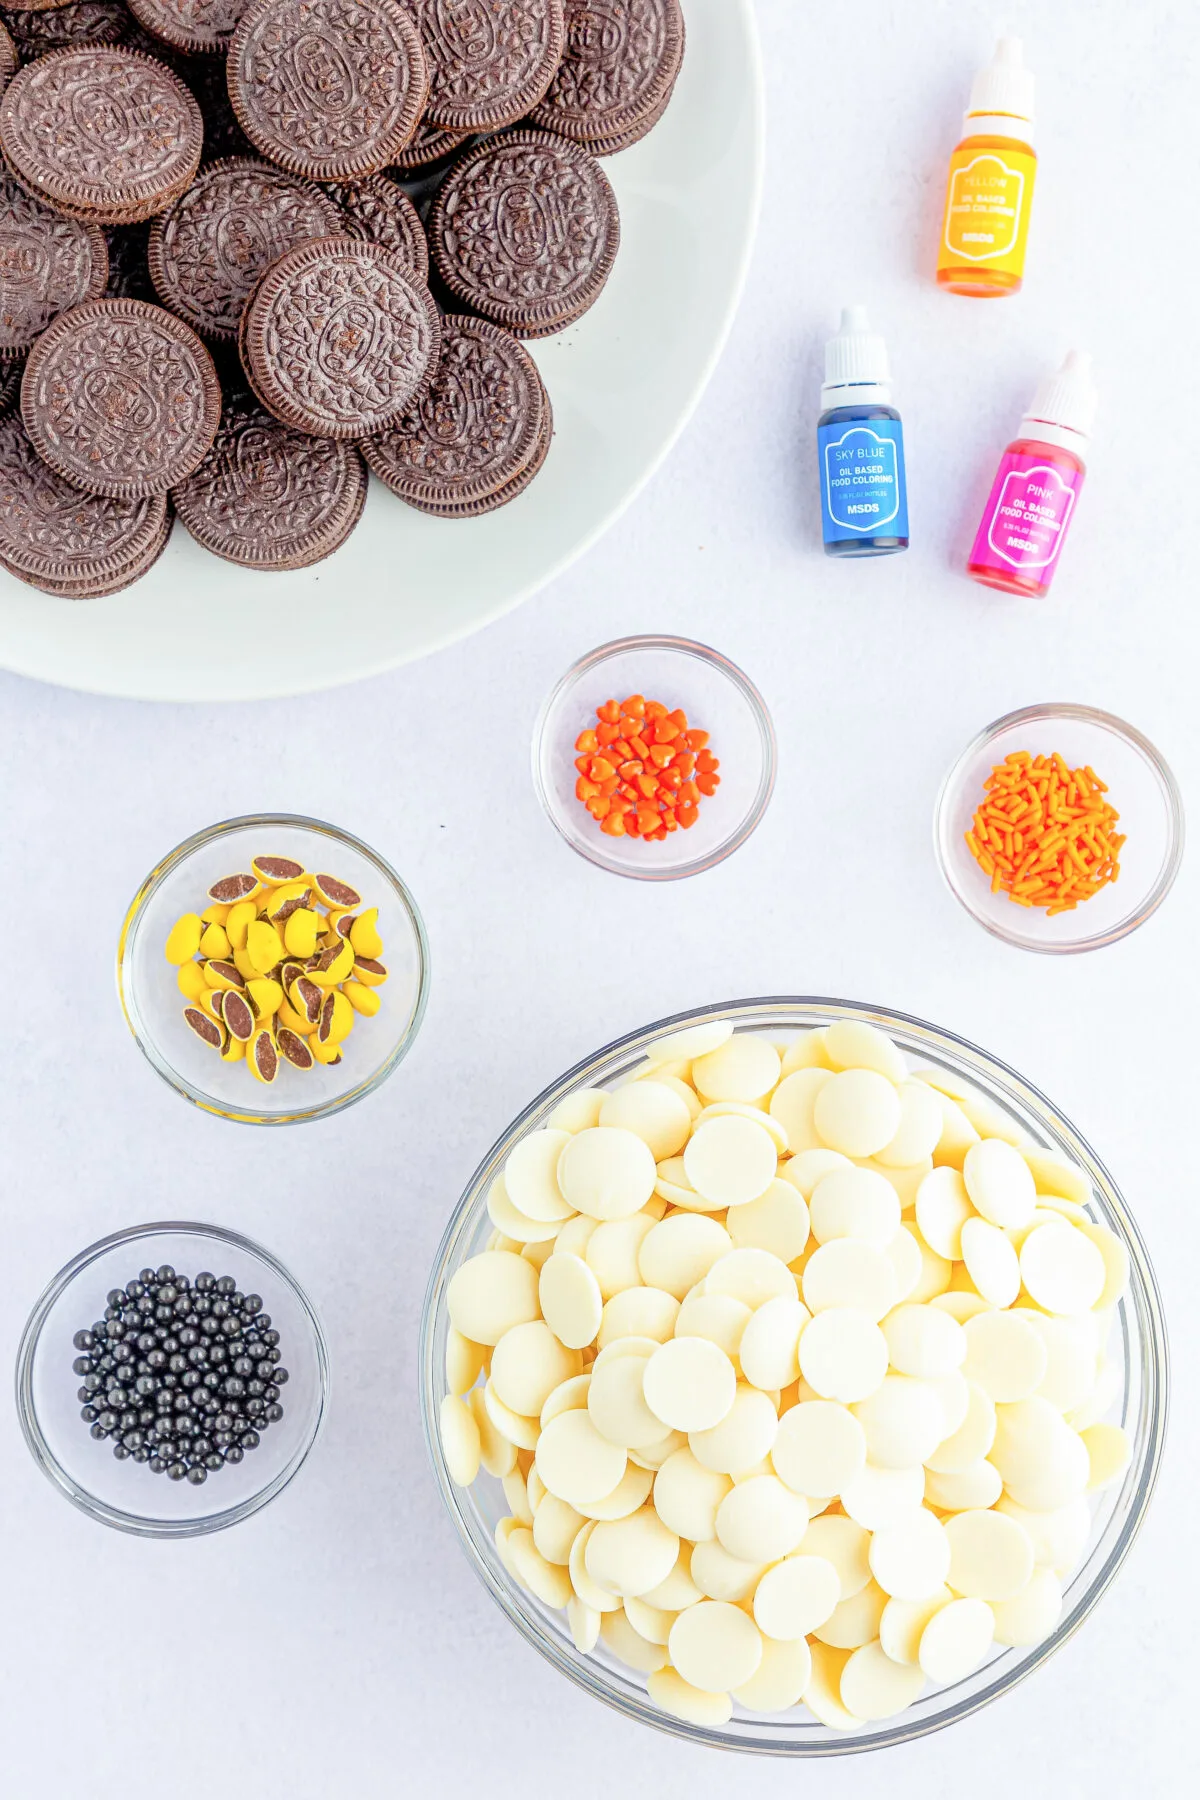
Oreos – You will need 24 Oreos. You can use any flavour of Oreo that you like, although I think Original is best.
Chocolate – You will need good quality melting chocolate for these. I used Ghirardelli vanilla melting wafers but even white chocolate chips will work. You can also use candy melts in the colours you want to use but the flavour won’t be as good.
Food colouring – You must used oil based food colouring to avoid seizing up the chocolate.
Sprinkles – You will need black sugar pearls for the eyes, orange hearts for the beak and feet, as well as orange jimmies for the chick’s hair. You can also use candy eyes instead of the pearls, or pipe on the details using more candy melts.
M&Ms – You will need 24 yellow M&Ms cut in half for the chick’s wings.

Looking for More Easy Easter Desserts?
Check out more of my favourite easy Easter desserts!

A blend of carrot cake mix, cream cheese, walnuts and white chocolate – these Carrot Cake Cheesecake Bites are a twist on classic carrot cake!
Looking for a delicious and easy Easter dessert? Check out our step-by-step guide to making Easter chocolate covered strawberries.
Bring a smile to your children’s’ faces with this easy and fun recipe for Bunny Face cookies – perfect for Easter, birthdays or just because!

How to Make Easter Chocolate Covered Oreos
Yields: 24 cookies | Prep time: 45 minutes | Additional time: 15 minutes
Ingredients:
- 24 Oreo cookies
- 3 10 oz bags Ghirardelli vanilla melting wafers
- Oil based food coloring in yellow, pink, and blue
- Small black sugar pearl sprinkles for the chick’s eyes
- Small orange heart sprinkles for the chick’s beak and feet
- Orange jimmies sprinkles for the chick’s hair
- Yellow M&M’s cut in half for the chick’s wings
Directions:
Line a large baking tray with parchment paper and set aside.
Using a double boiler on low heat, melt 1 cup of Ghirardelli vanilla melting wafers, stirring occasionally until smooth. You can alternatively melt the wafers in a microwave safe bowl in 30 second increments, stirring each interval until smooth.
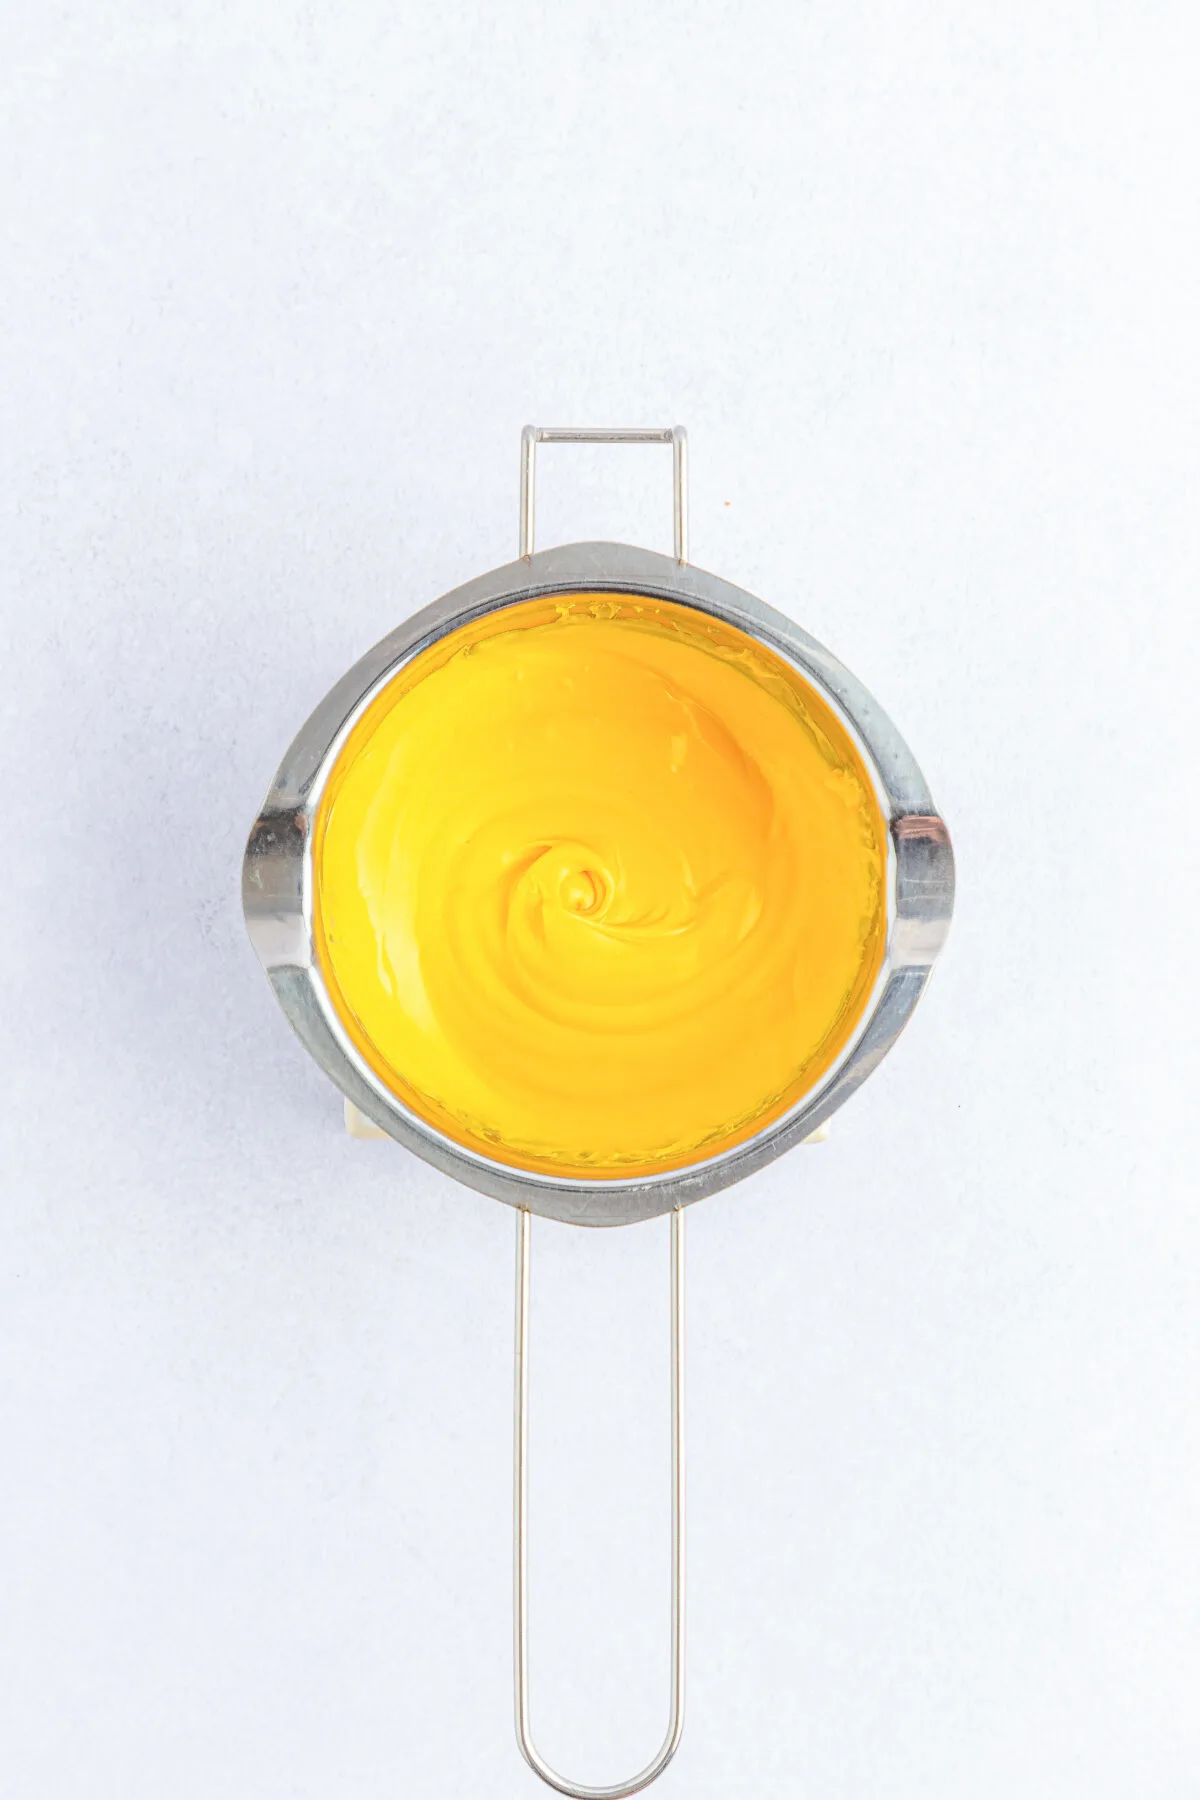
Drop a few drops of yellow food coloring and stir it in slowly until it is evenly distributed. Add more food coloring as needed to reach the desired shade.
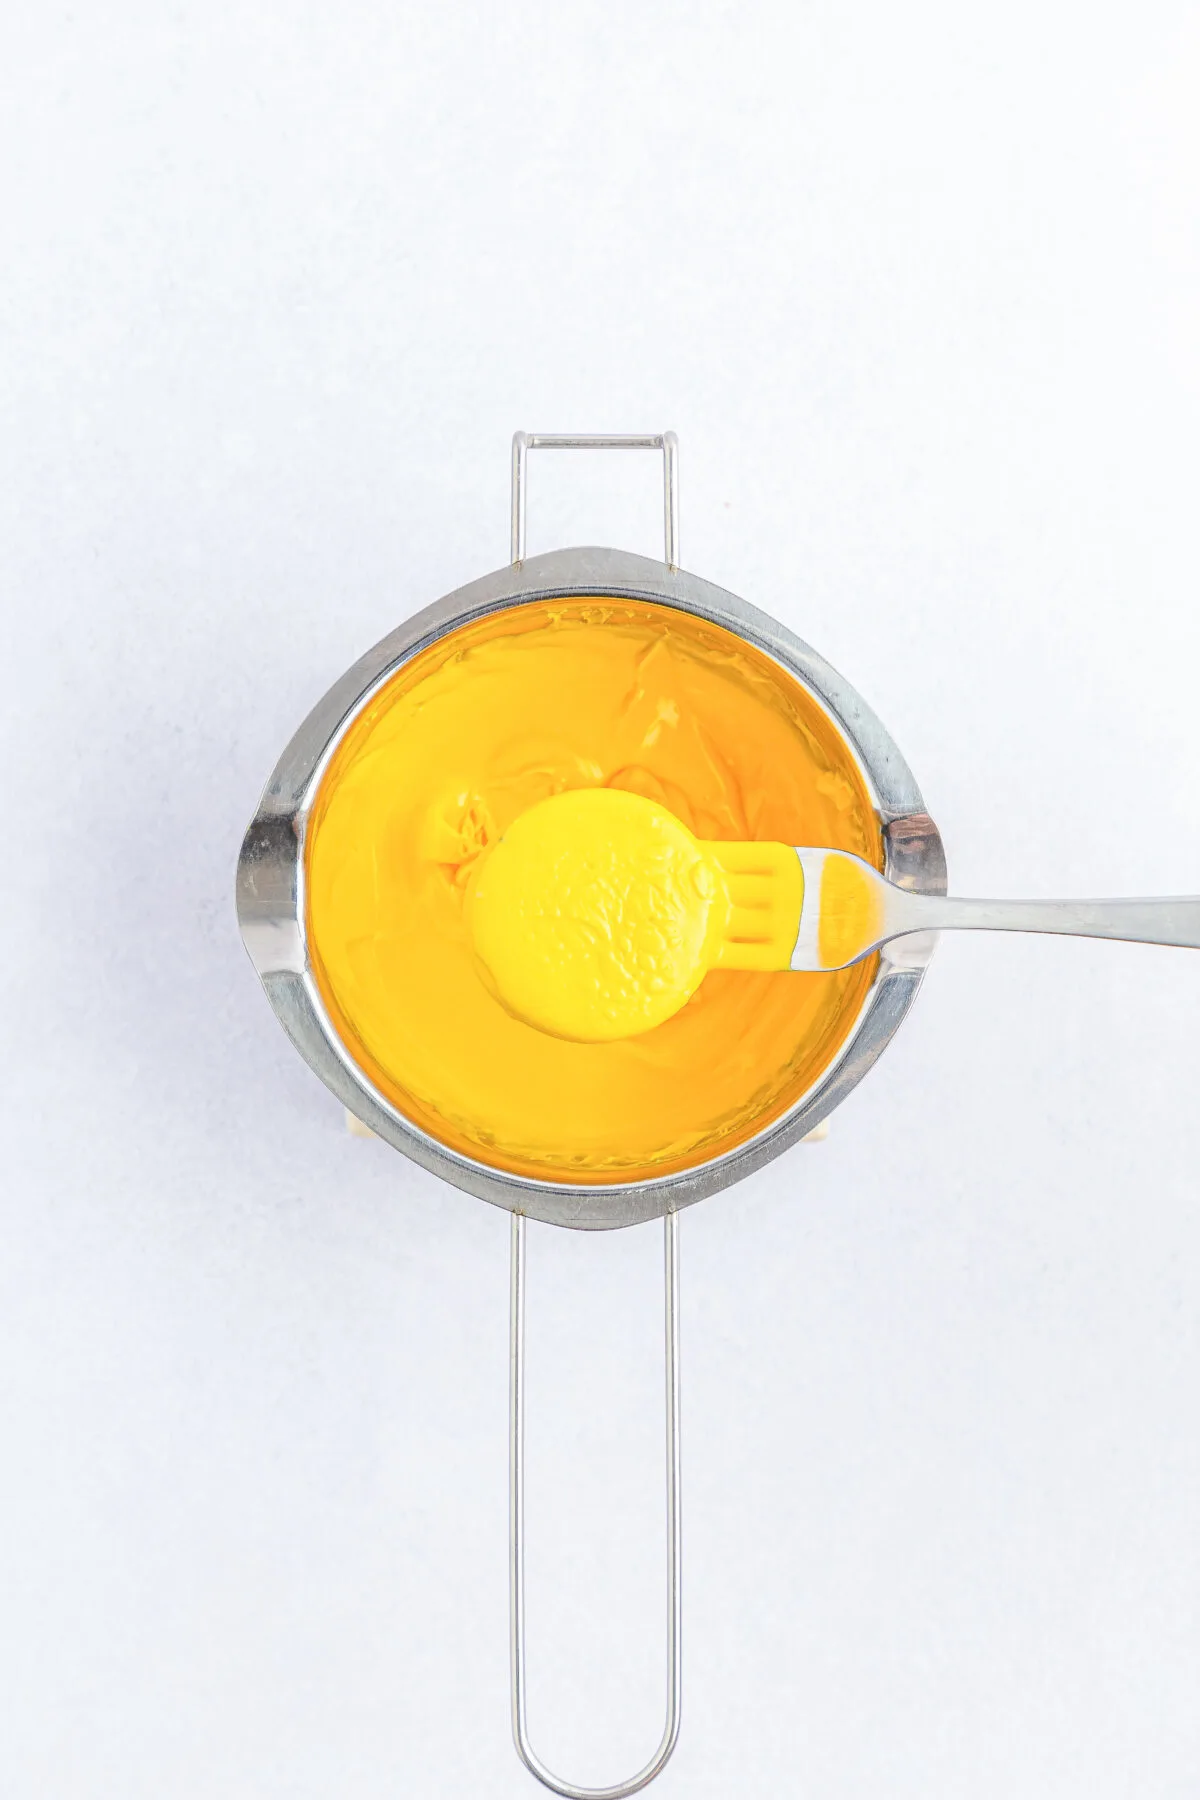
Place an Oreo cookie on a fork and submerge it fully into the yellow melts. Remove with the fork and tap off any of the excess coating.
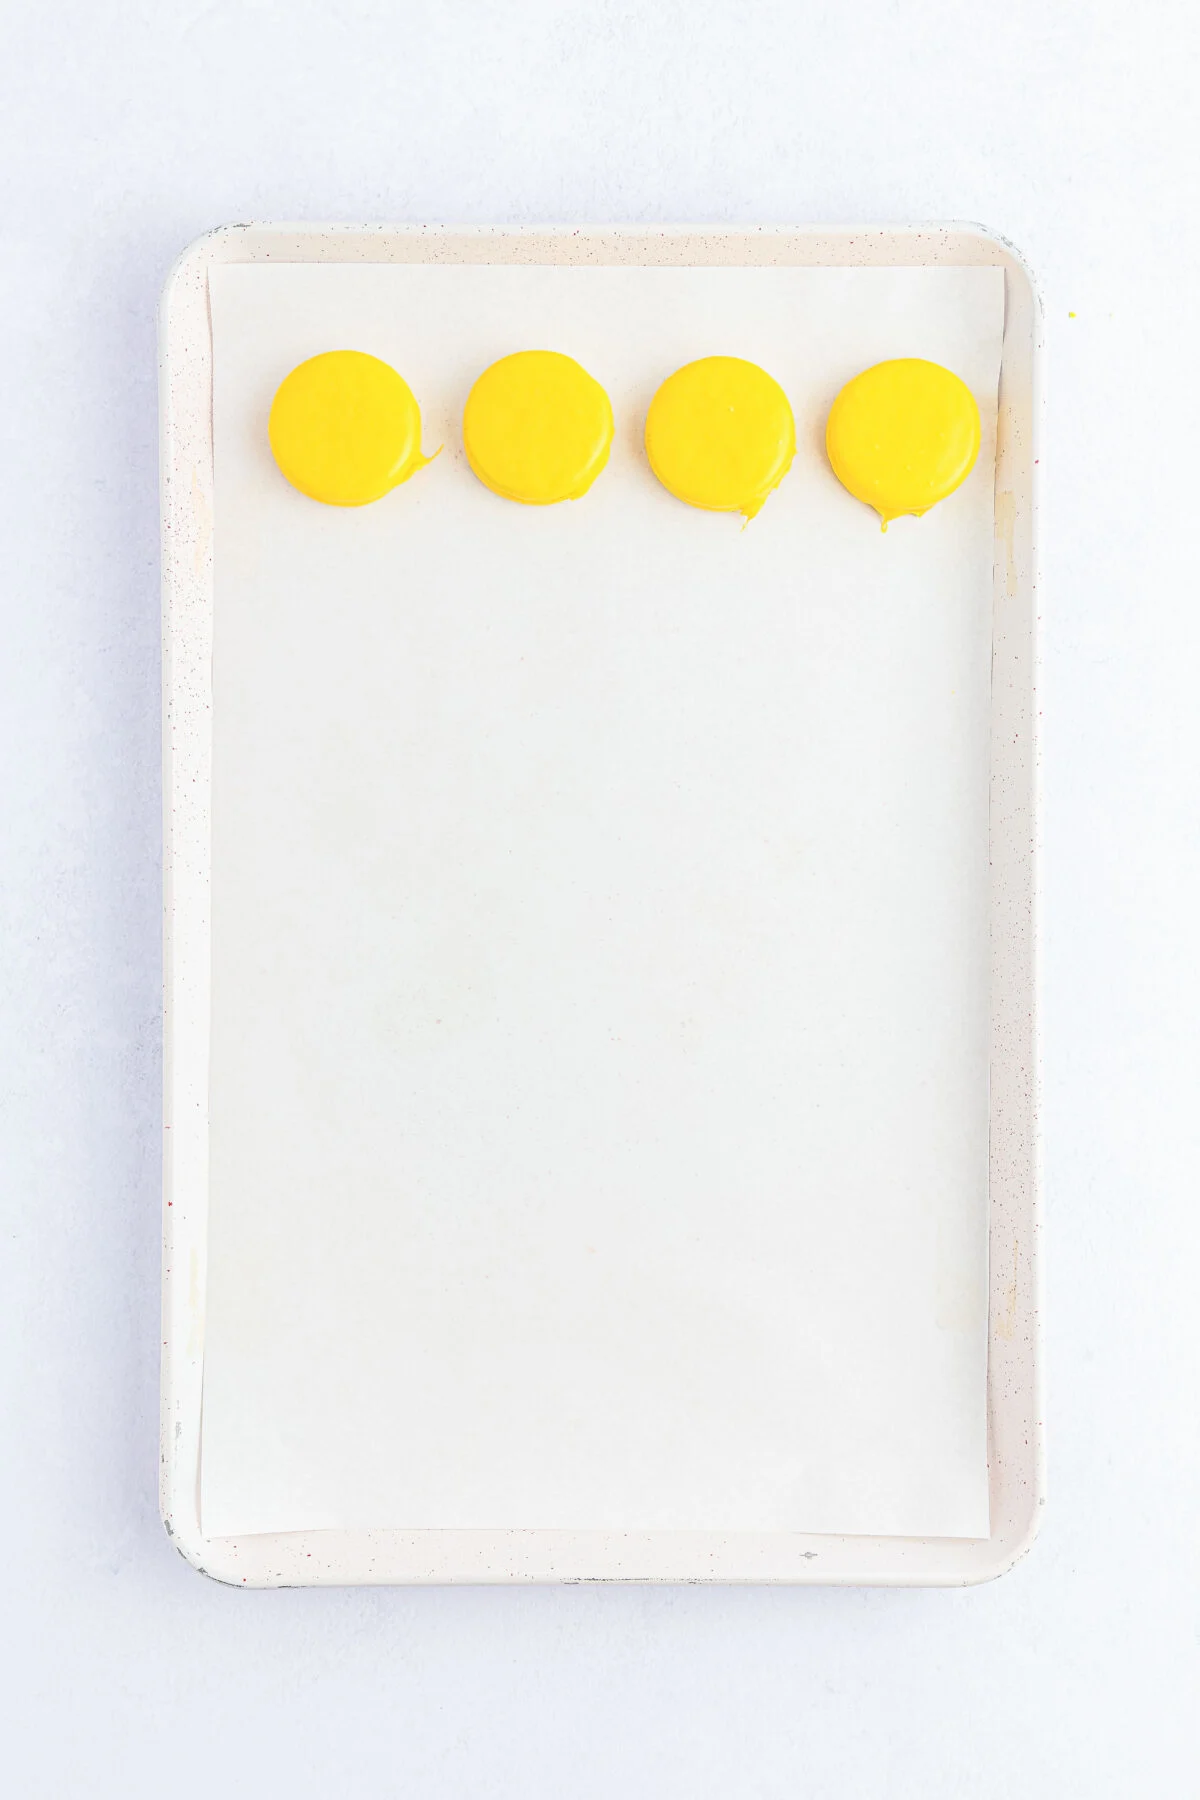
Place the cookie on the prepared baking tray and repeat with 3 more Oreos. You will want to work in small batches and work quickly before it sets.
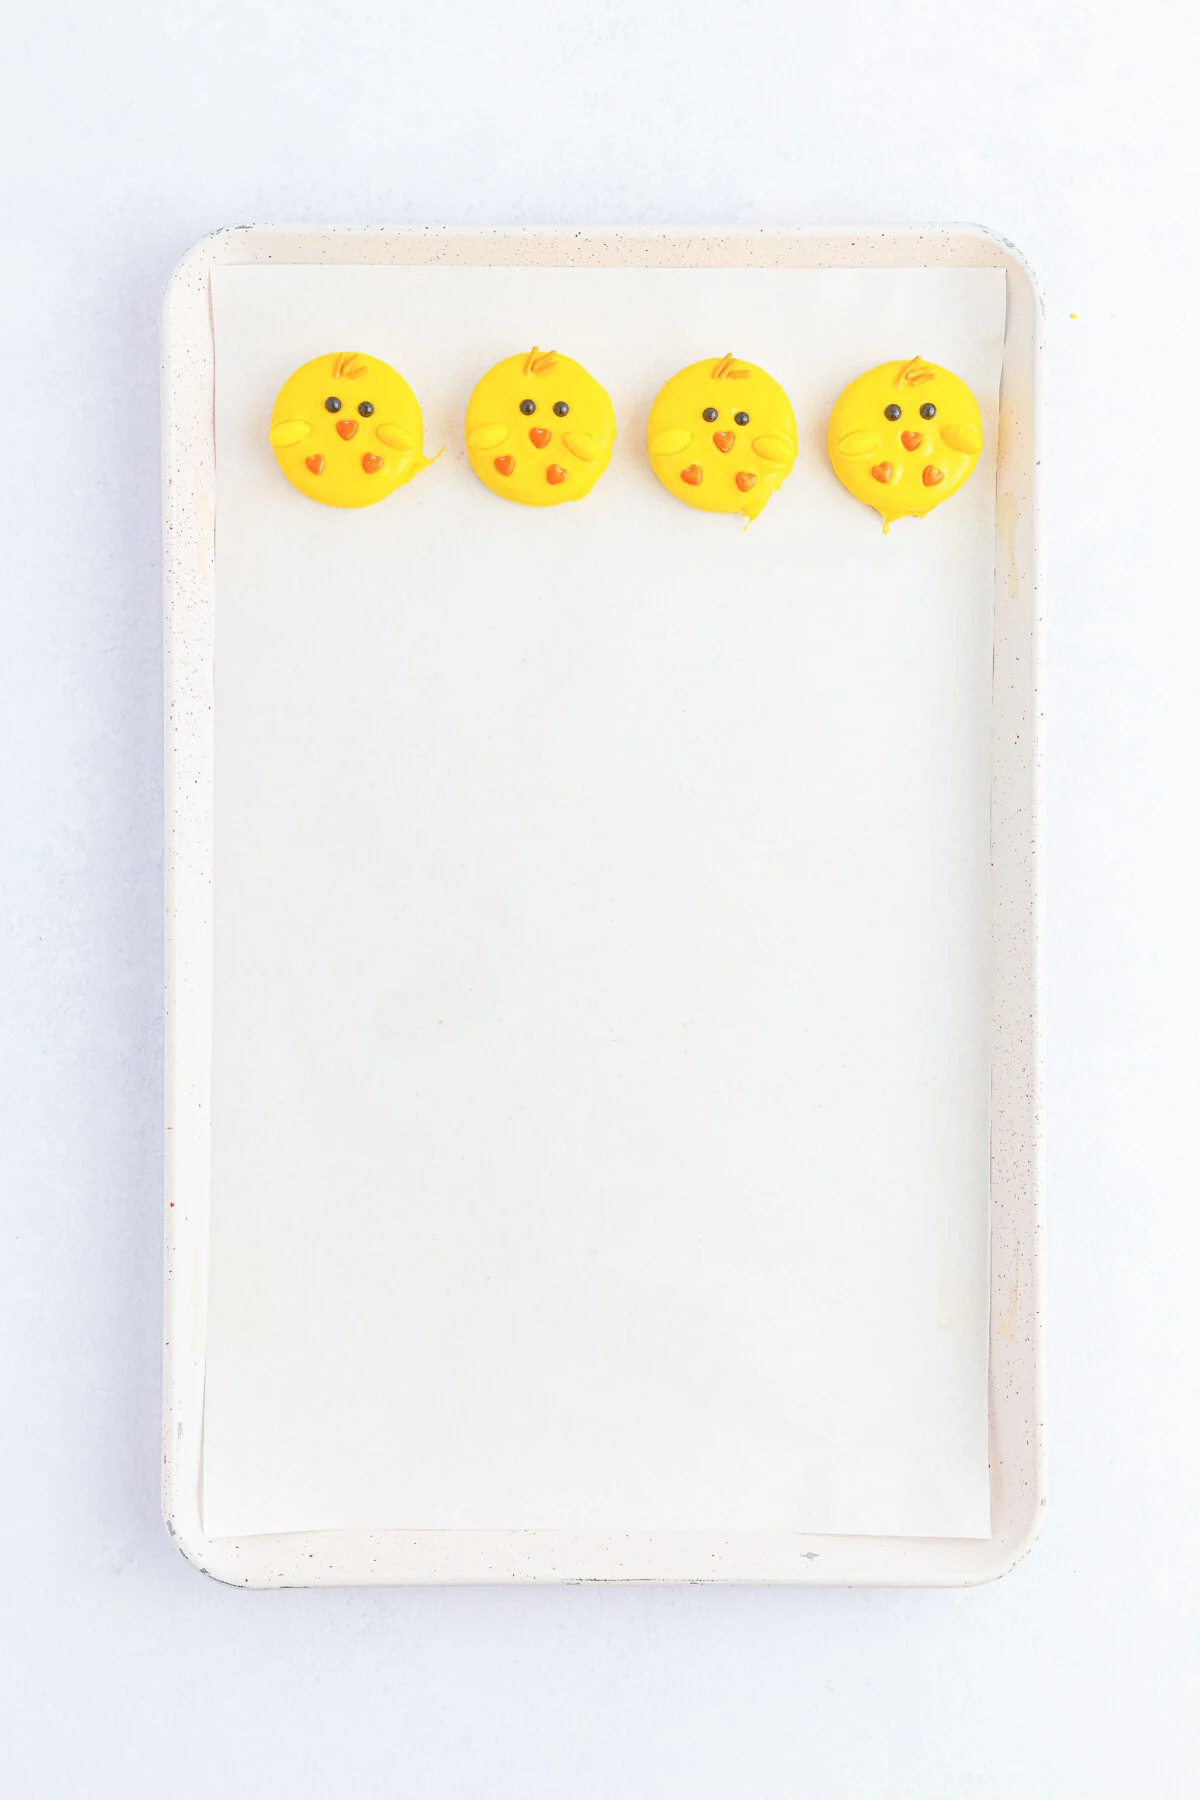
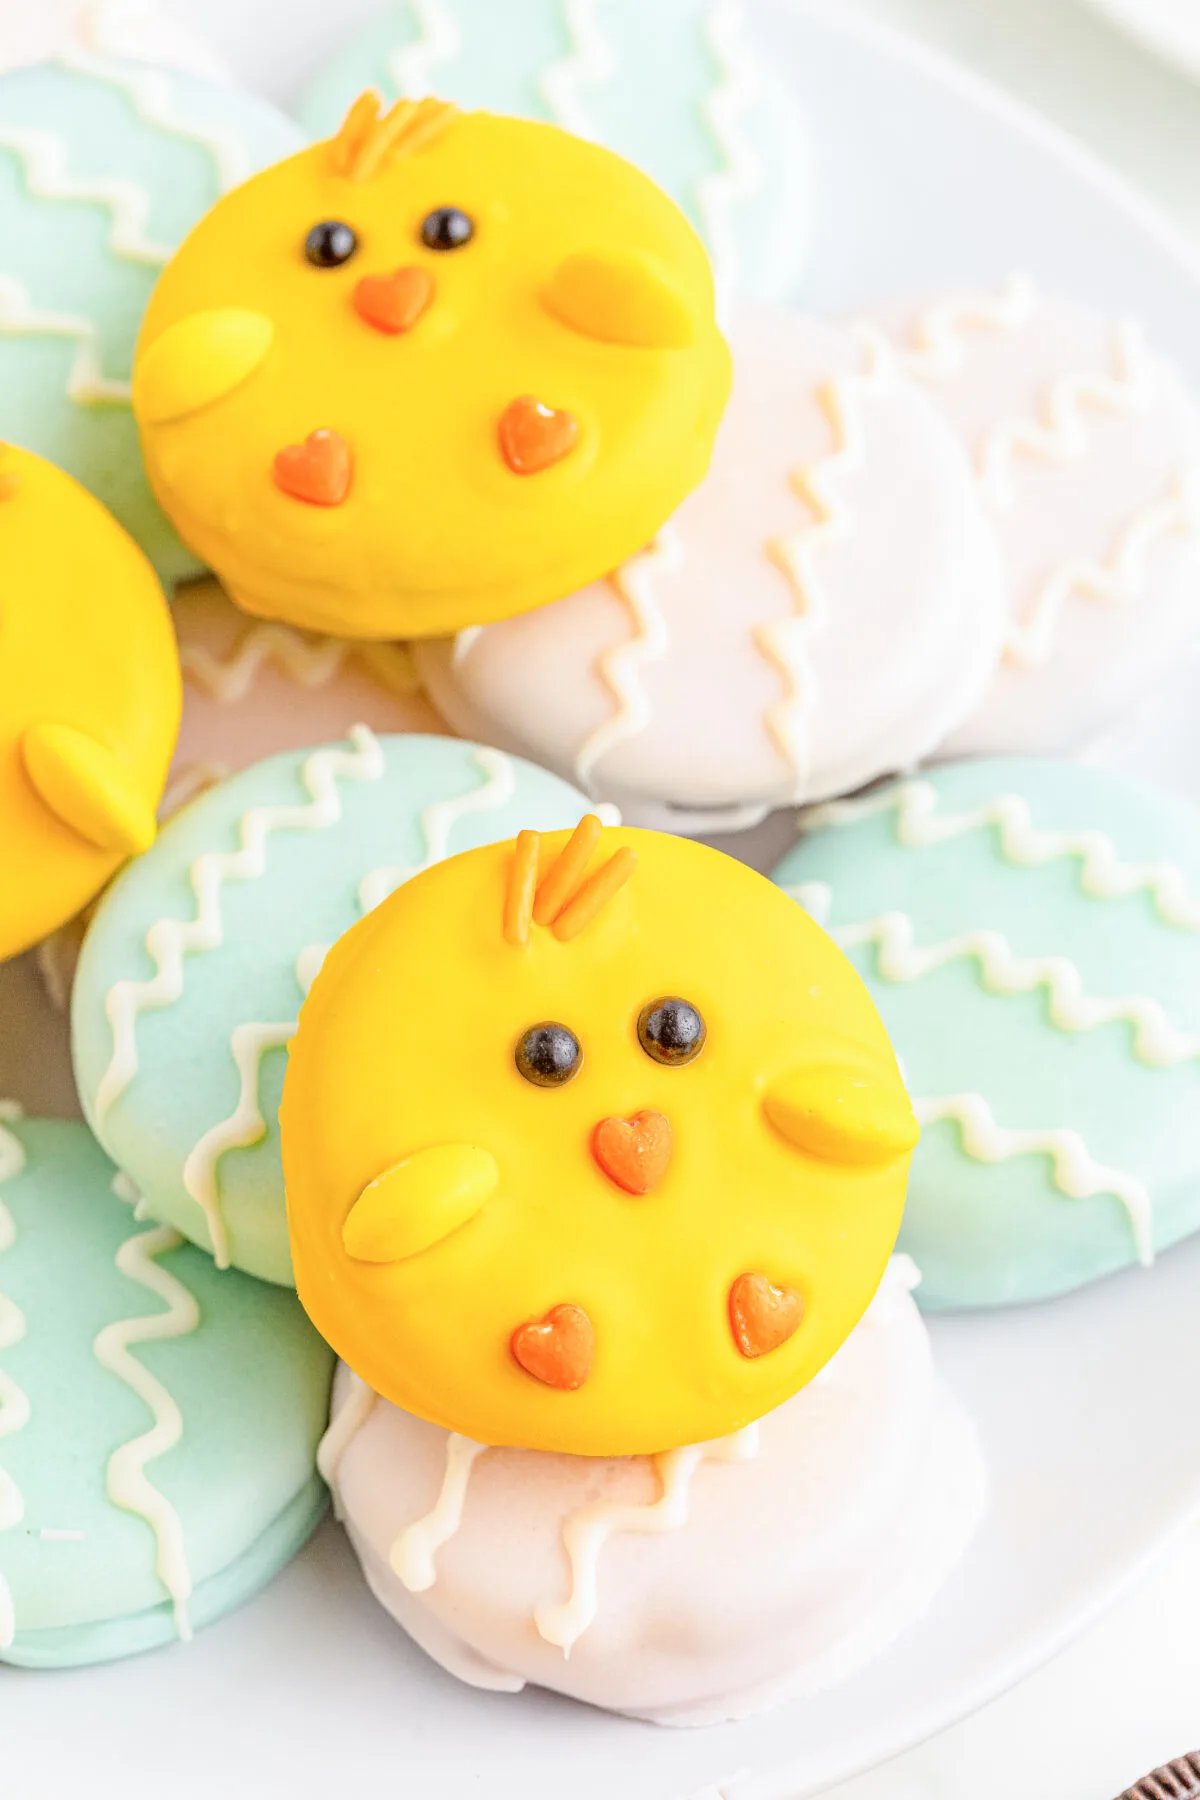
When you have 4 Oreos coated in yellow melts, start making the chicks by giving them two eyes. Then add an orange heart for the beak, placing it in the center, below the eyes. Add two orange hearts towards the bottom edge for feet. Add just a few orange jimmies for the hair. And then place one half of yellow M&M’s on both sides for the wings.
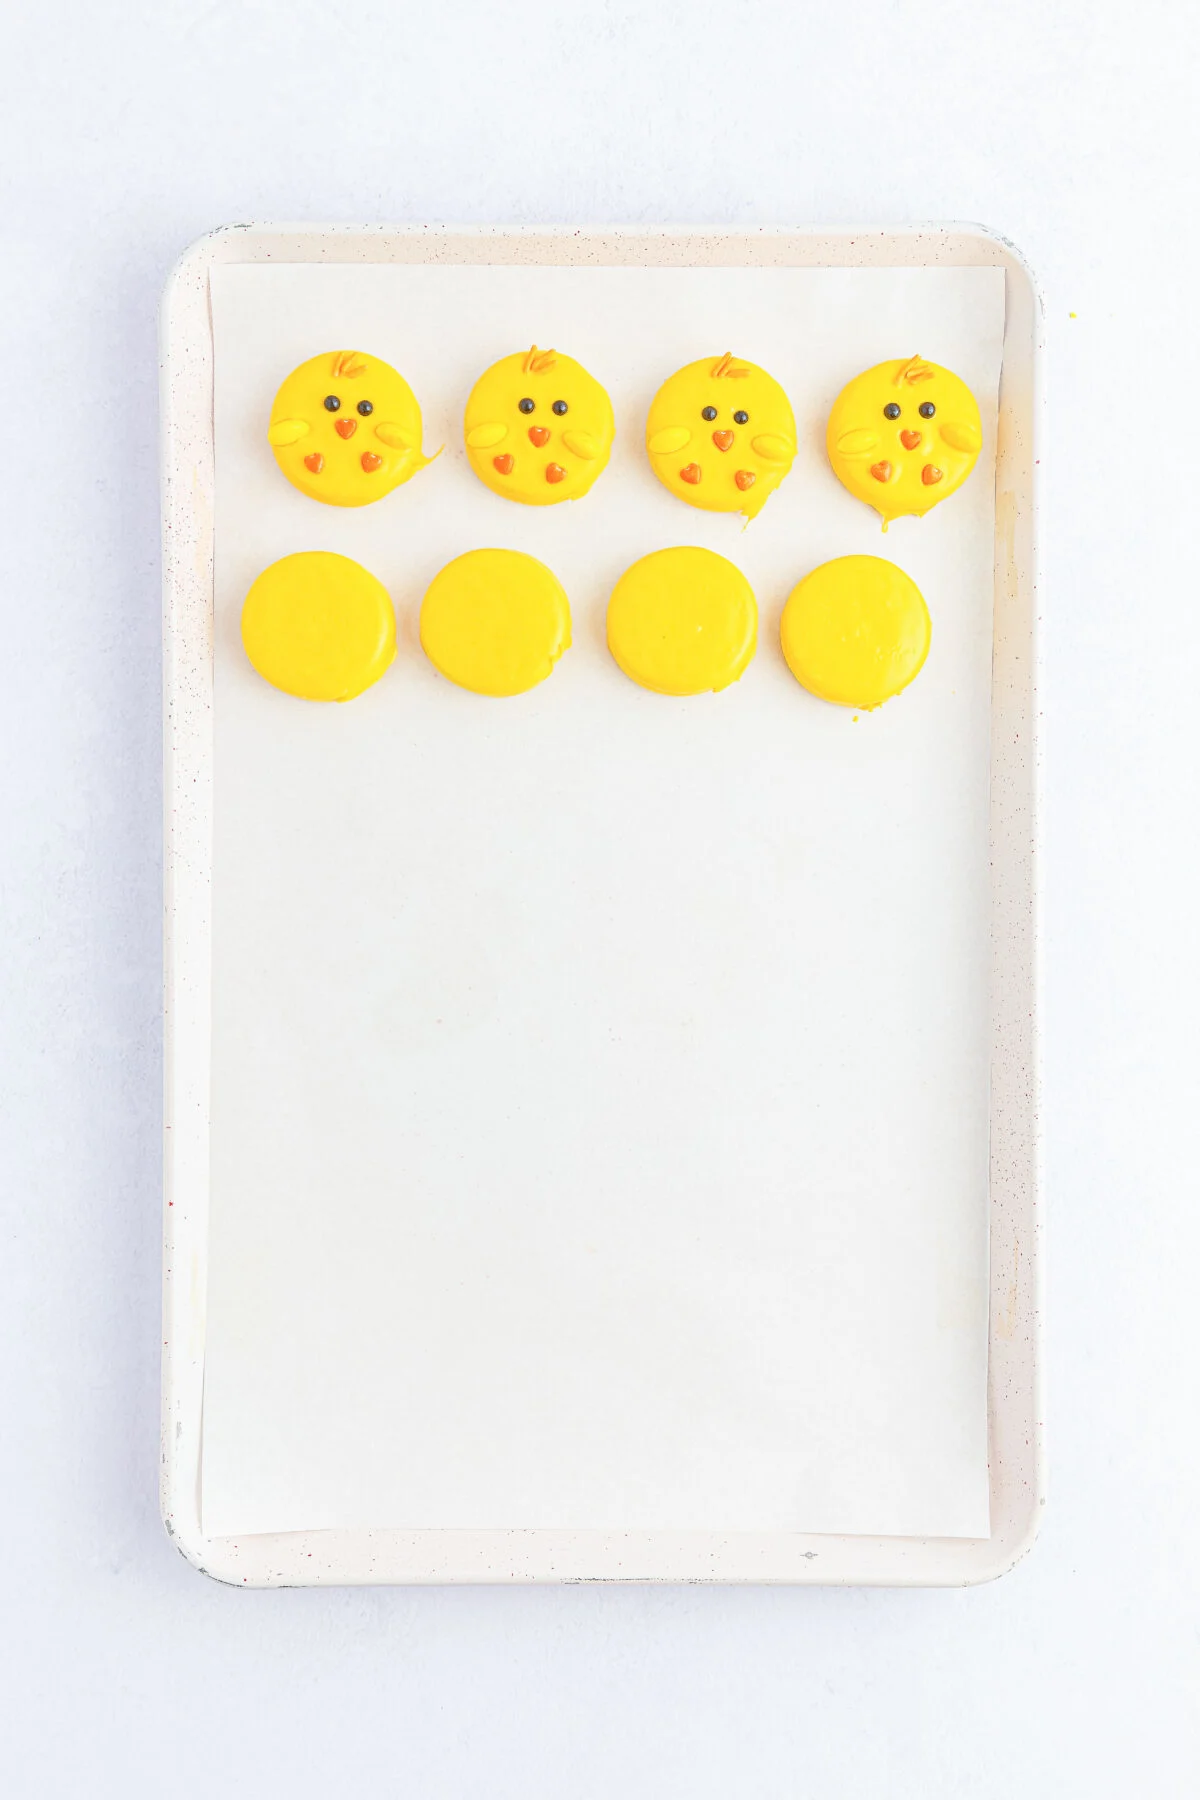
Give the melts in the double boiler a mix and then repeat with another 4 Oreos, dipping them in the yellow melts and then adding the sprinkles to make the chicks.
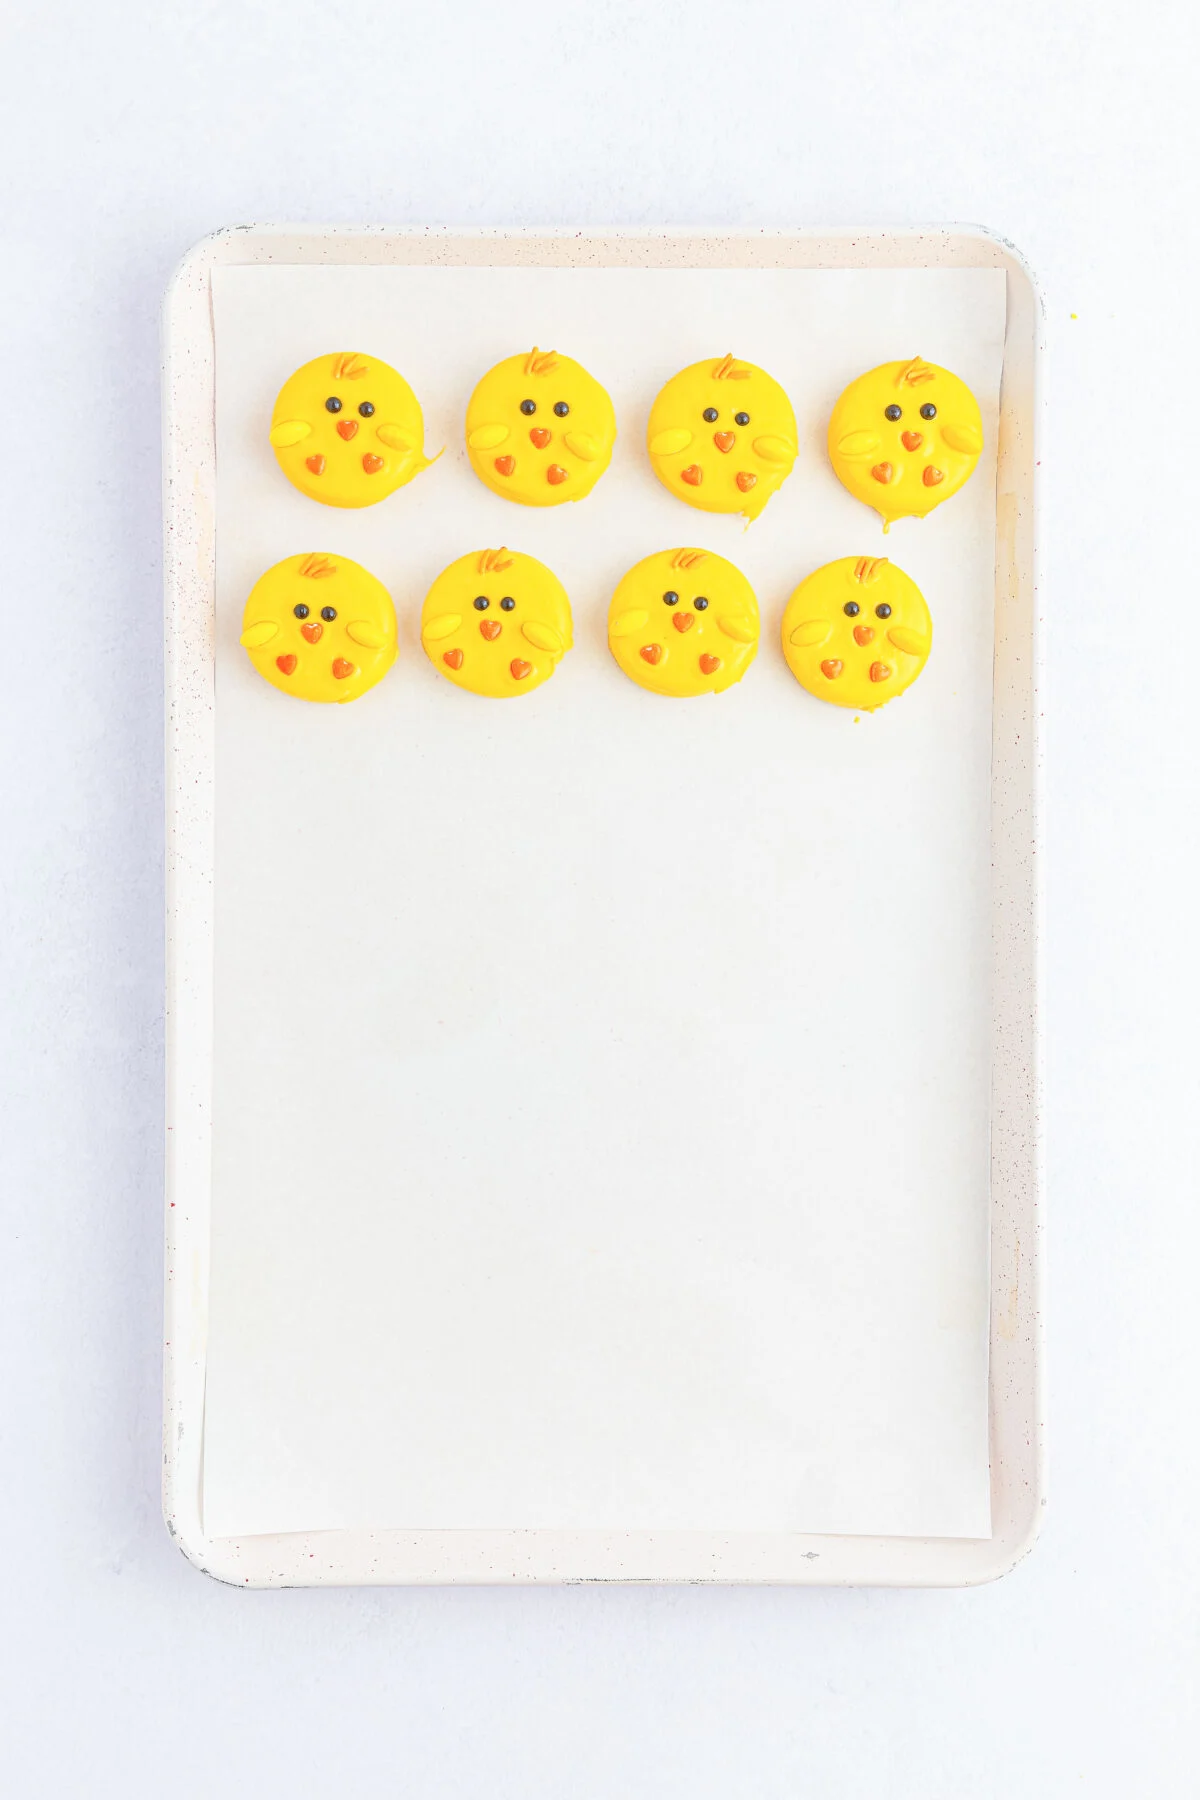
Set aside.
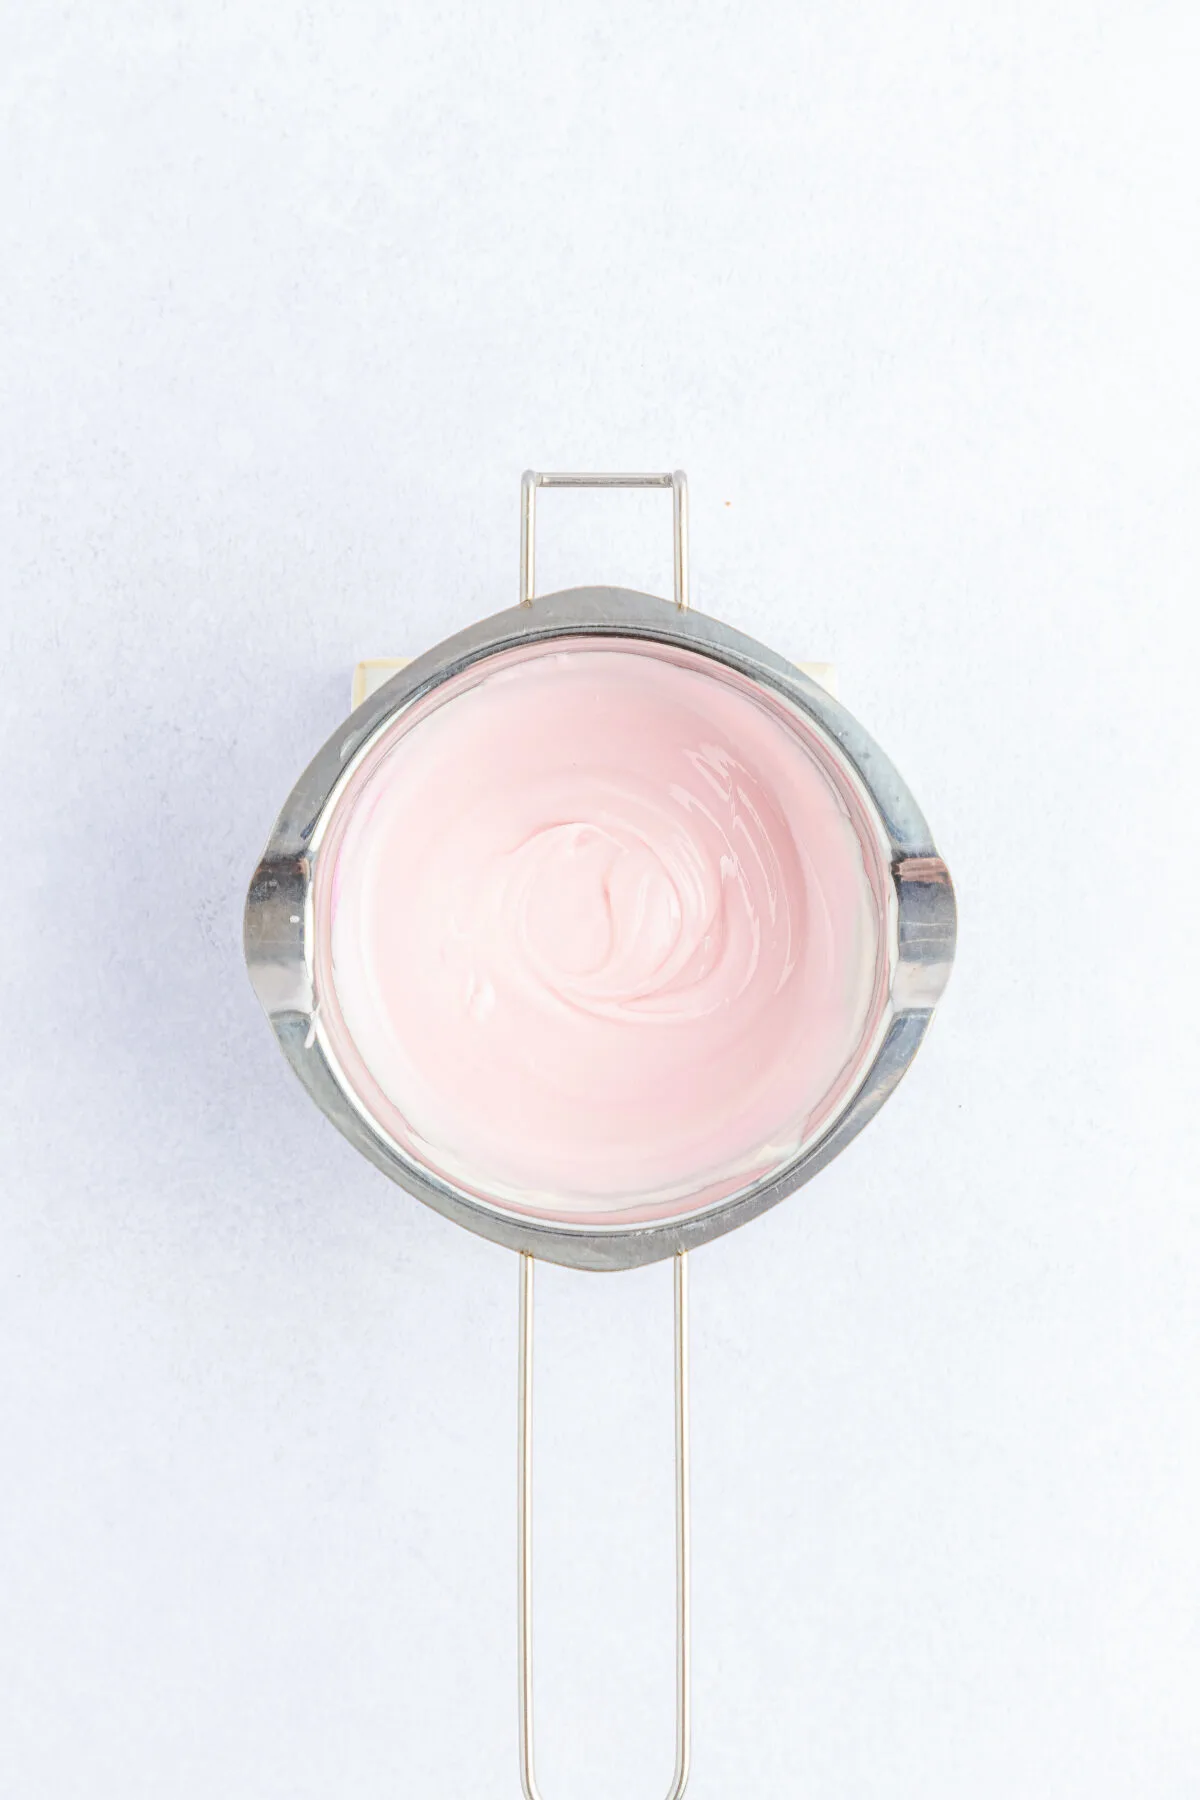
To make the eggs, clean the double boiler and then melt another 1 cup of the vanilla melting wafers, stirring occasionally until melted. Add a few drops of pink food coloring and stir it in. Add additional drops as needed until the desired shade is reached.
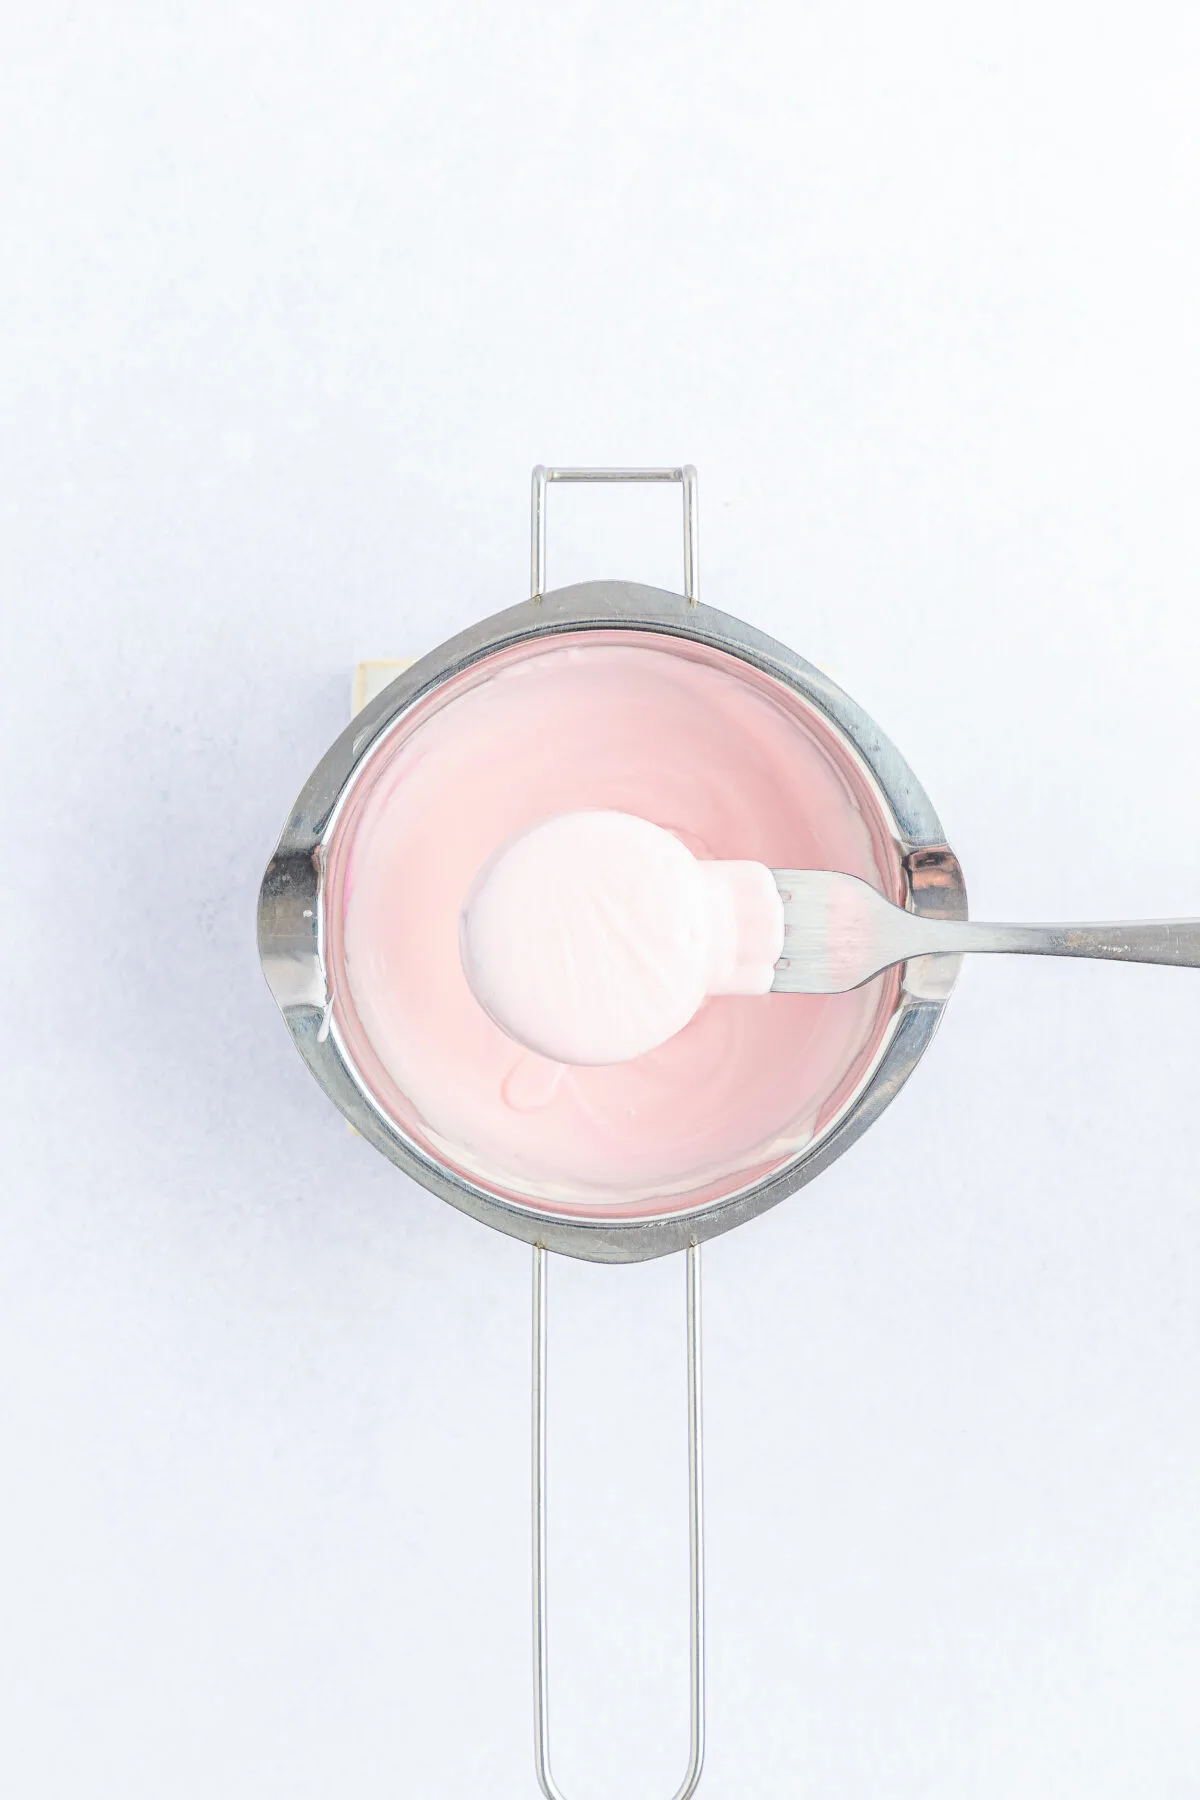
Place an Oreo cookie on a fork and submerge it fully into the pink melts. Remove with the fork and tap off any of the excess coating.
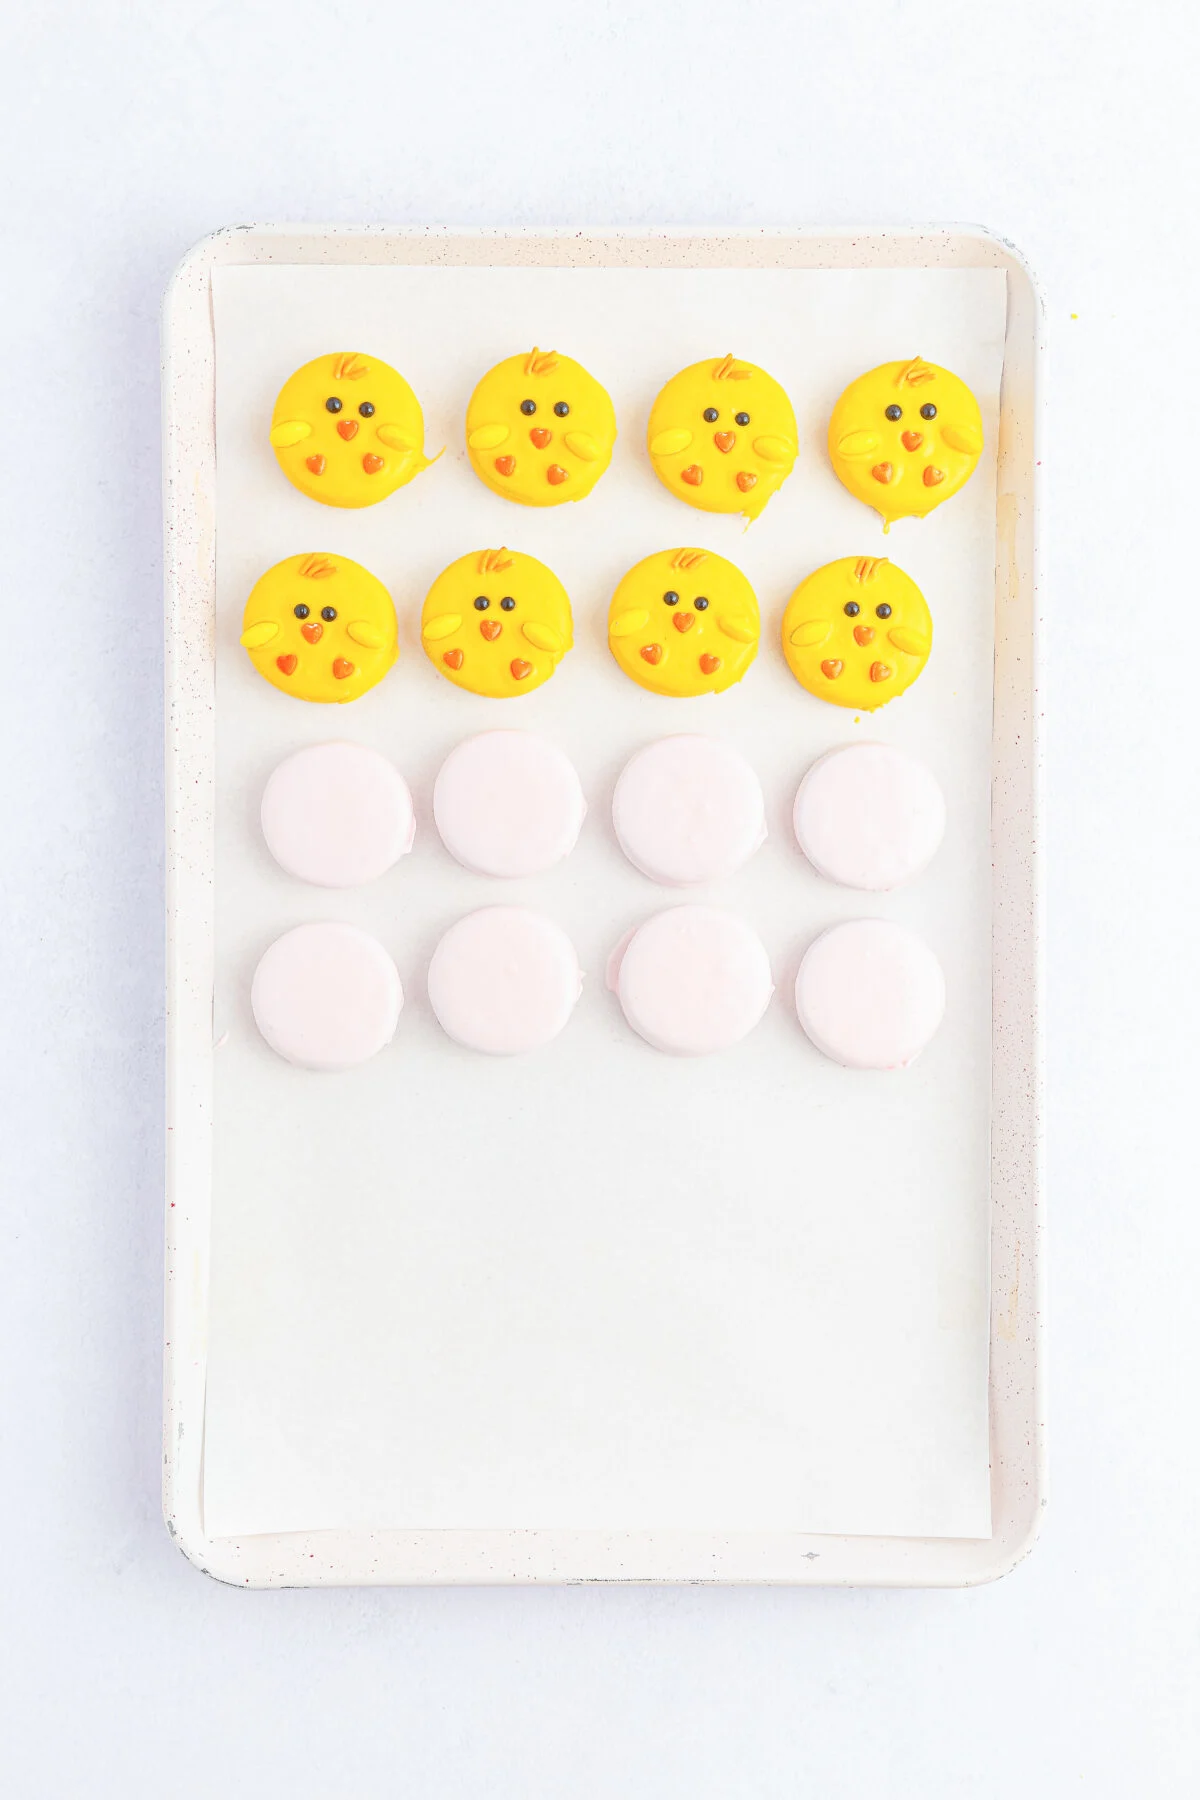
Place the cookie on the prepared baking tray and repeat with 7 additional Oreos. Set aside.
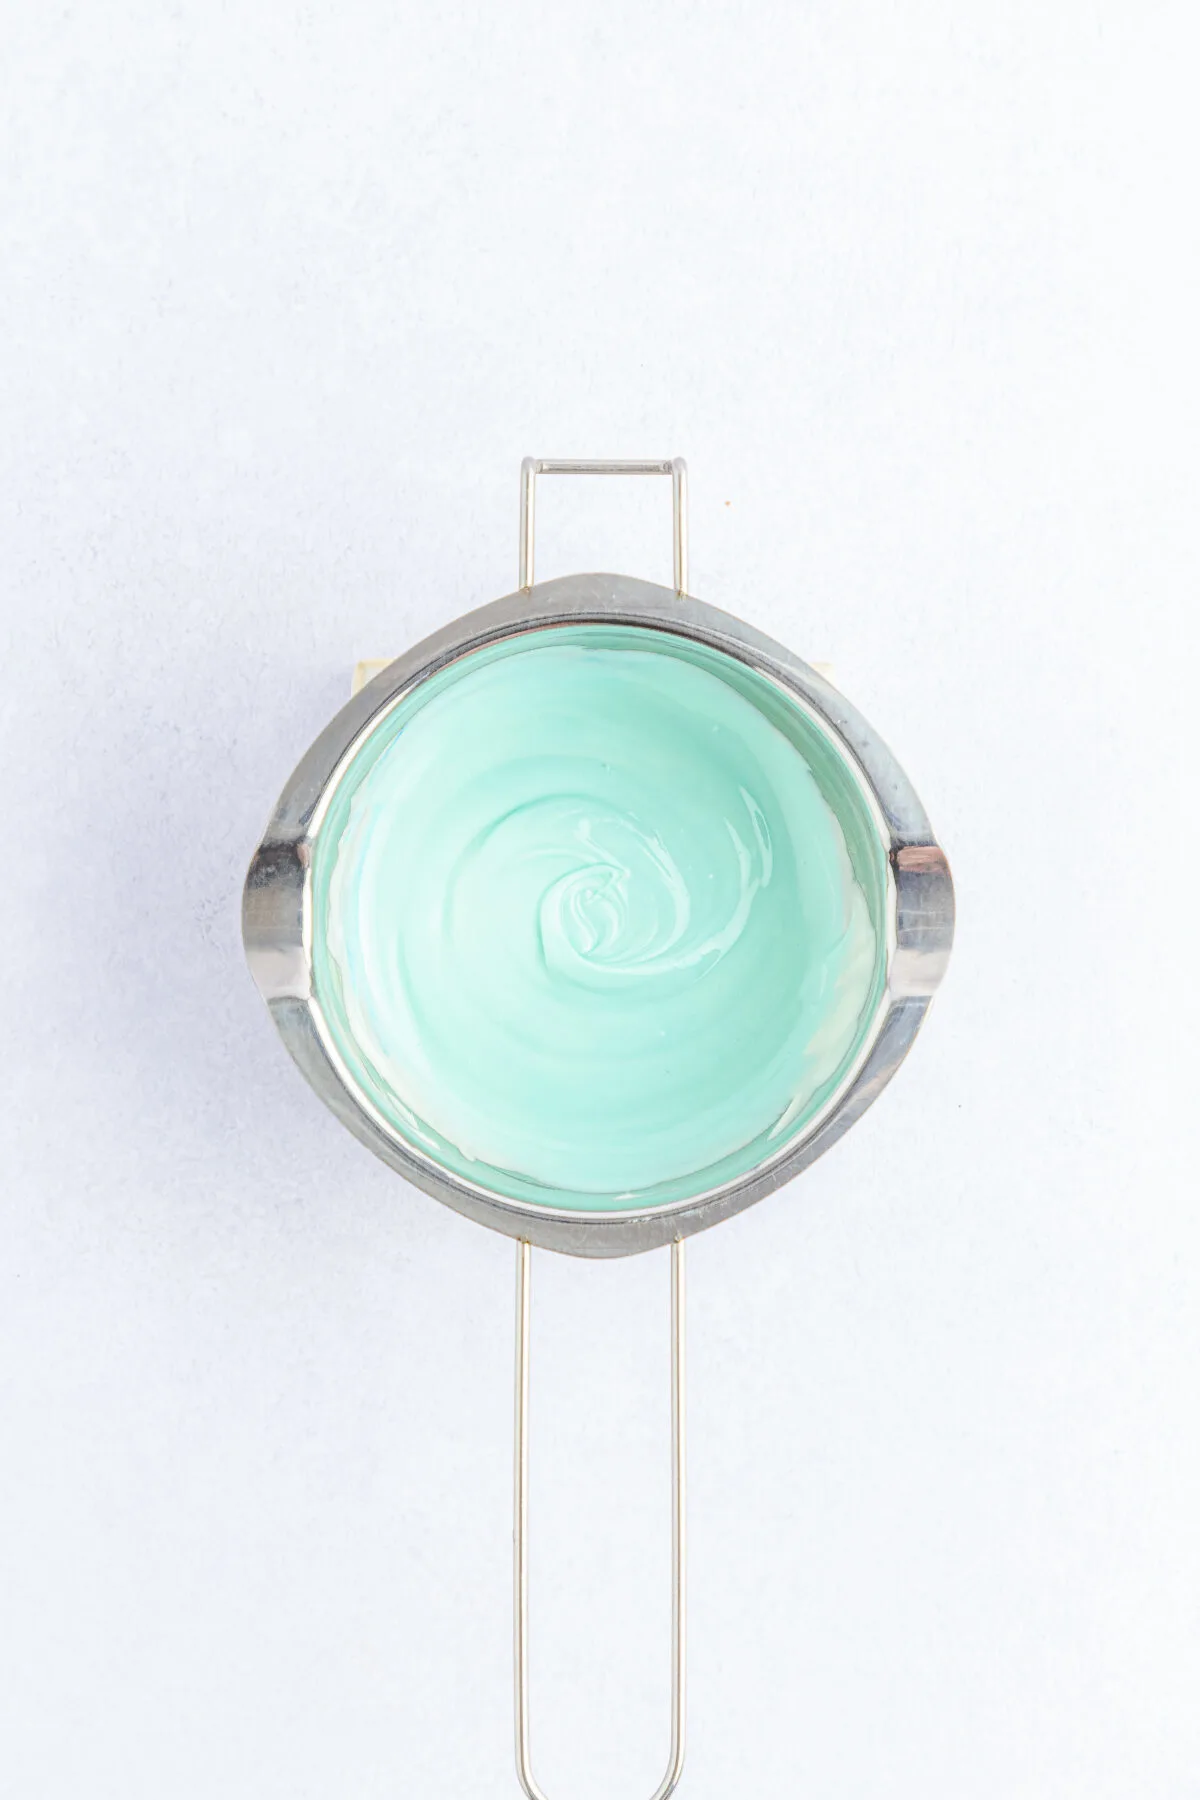
To make another color of eggs, clean the double boiler and melt 1 cup of the vanilla melting wafers on low heat, stirring occasionally until smooth. Then add a few drops of blue food coloring and stir it in slowly until it is evenly distributed. Add more food coloring as needed to reach the desired shade.
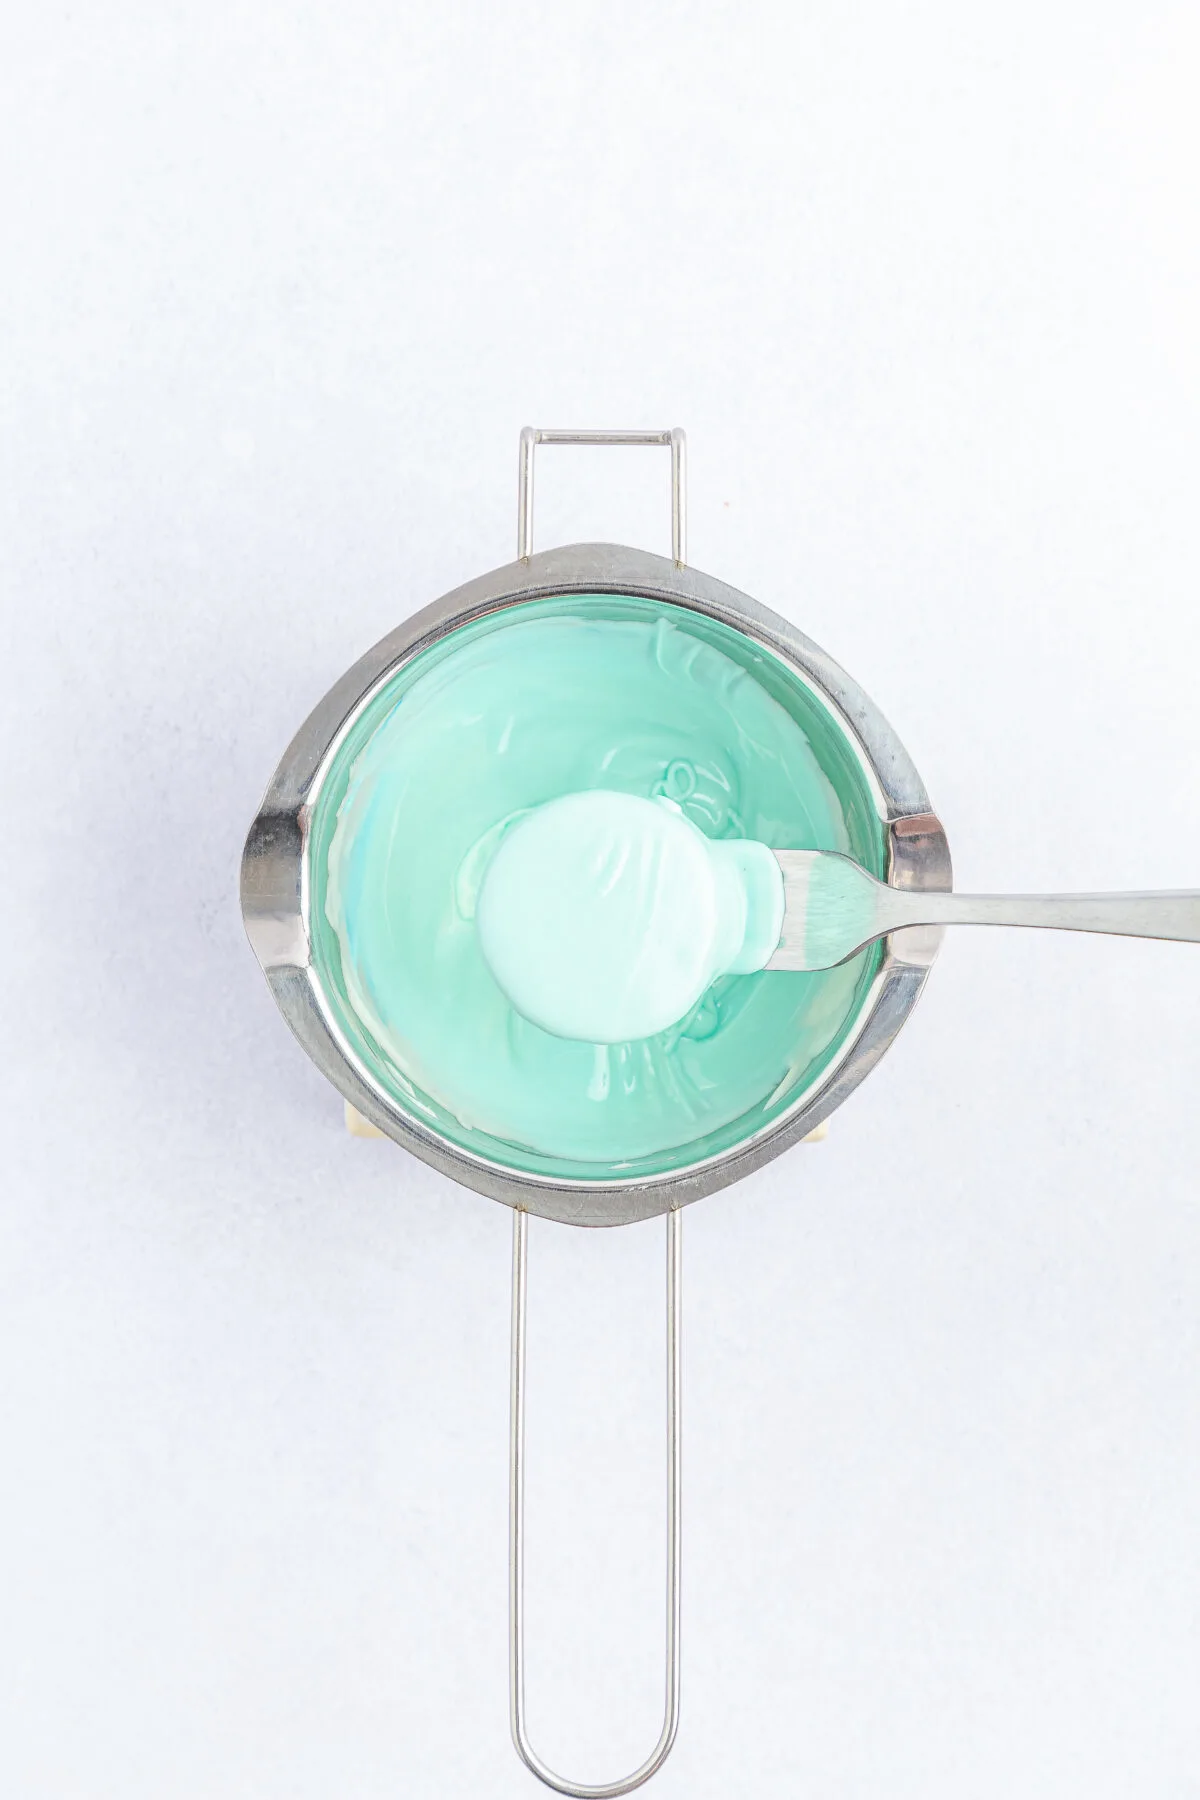
Place an Oreo cookie on a fork and submerge it fully into the blue melts. Remove with the fork and tap off any of the excess coating.
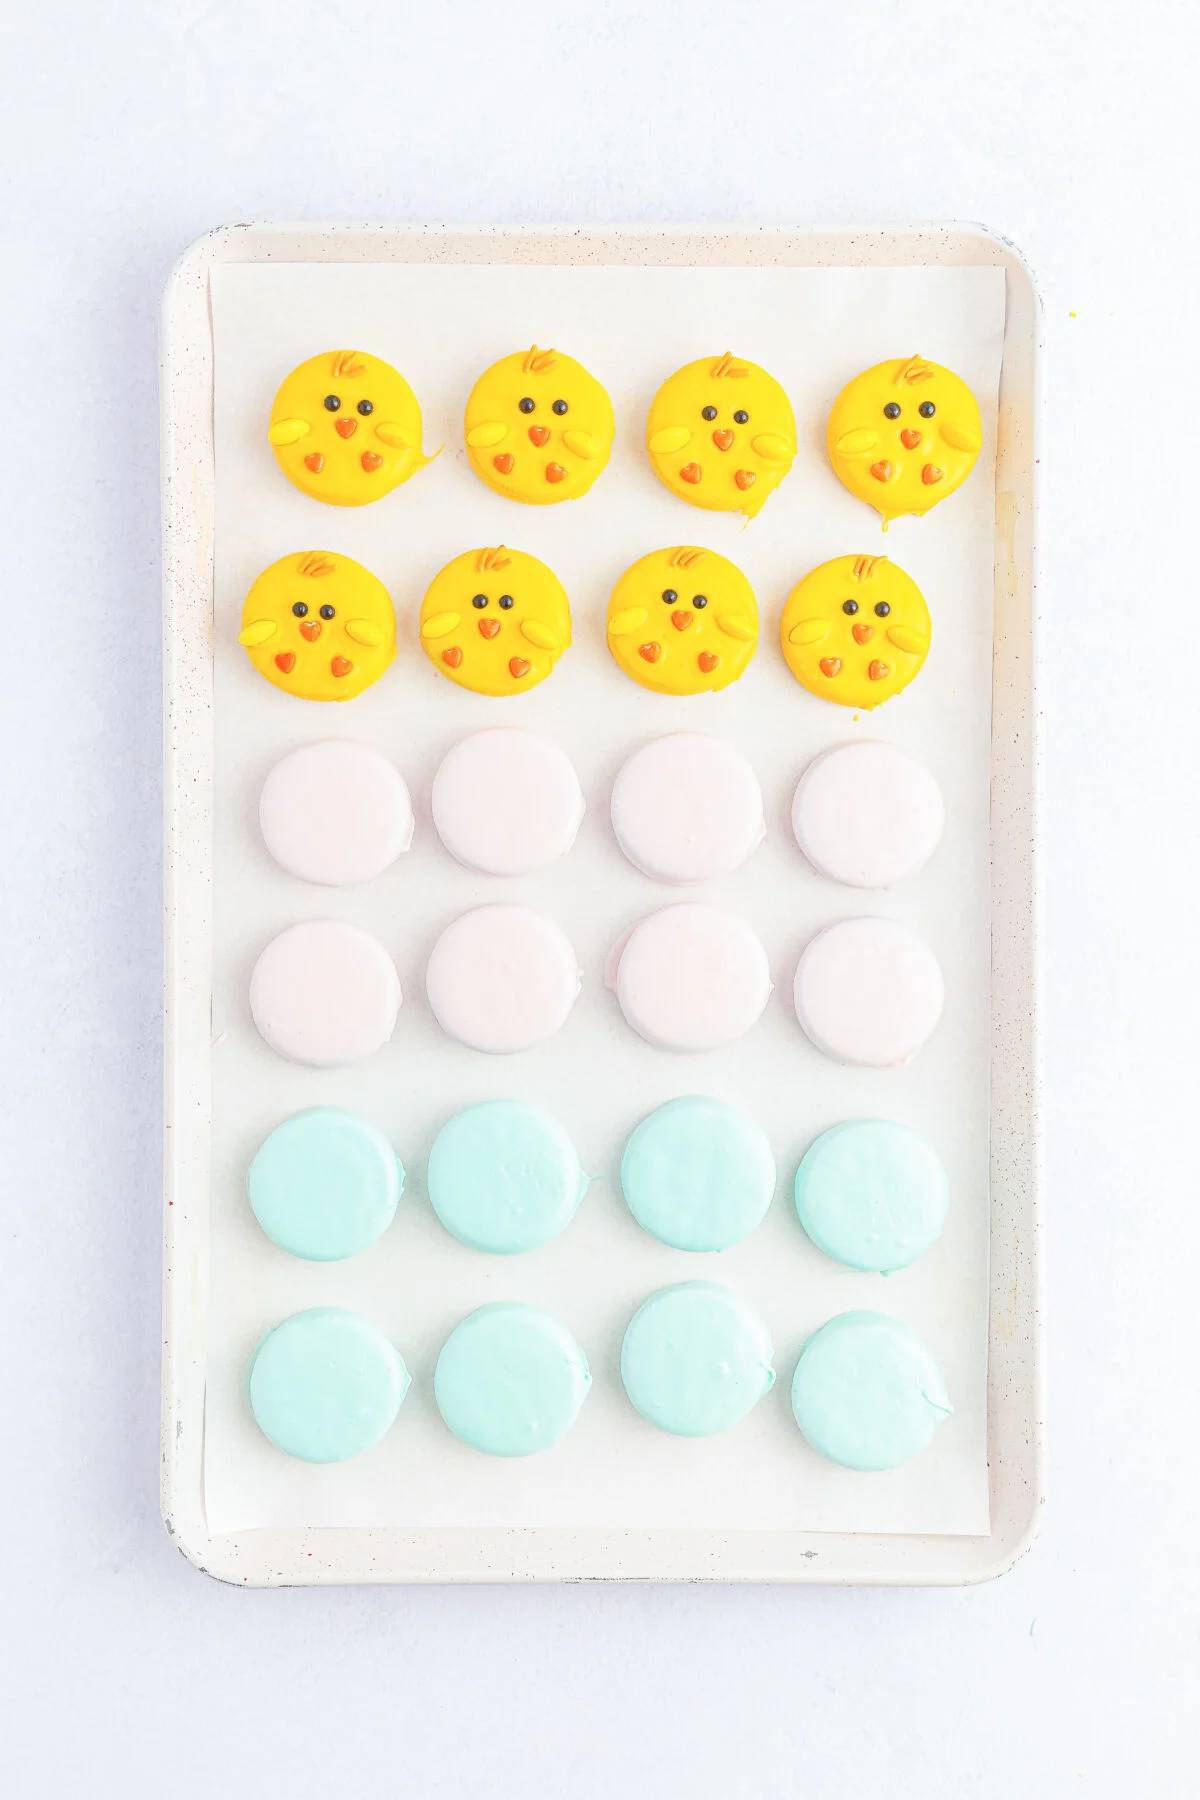
Place the cookie on the prepared baking tray and repeat with 7 additional Oreos. Set aside.
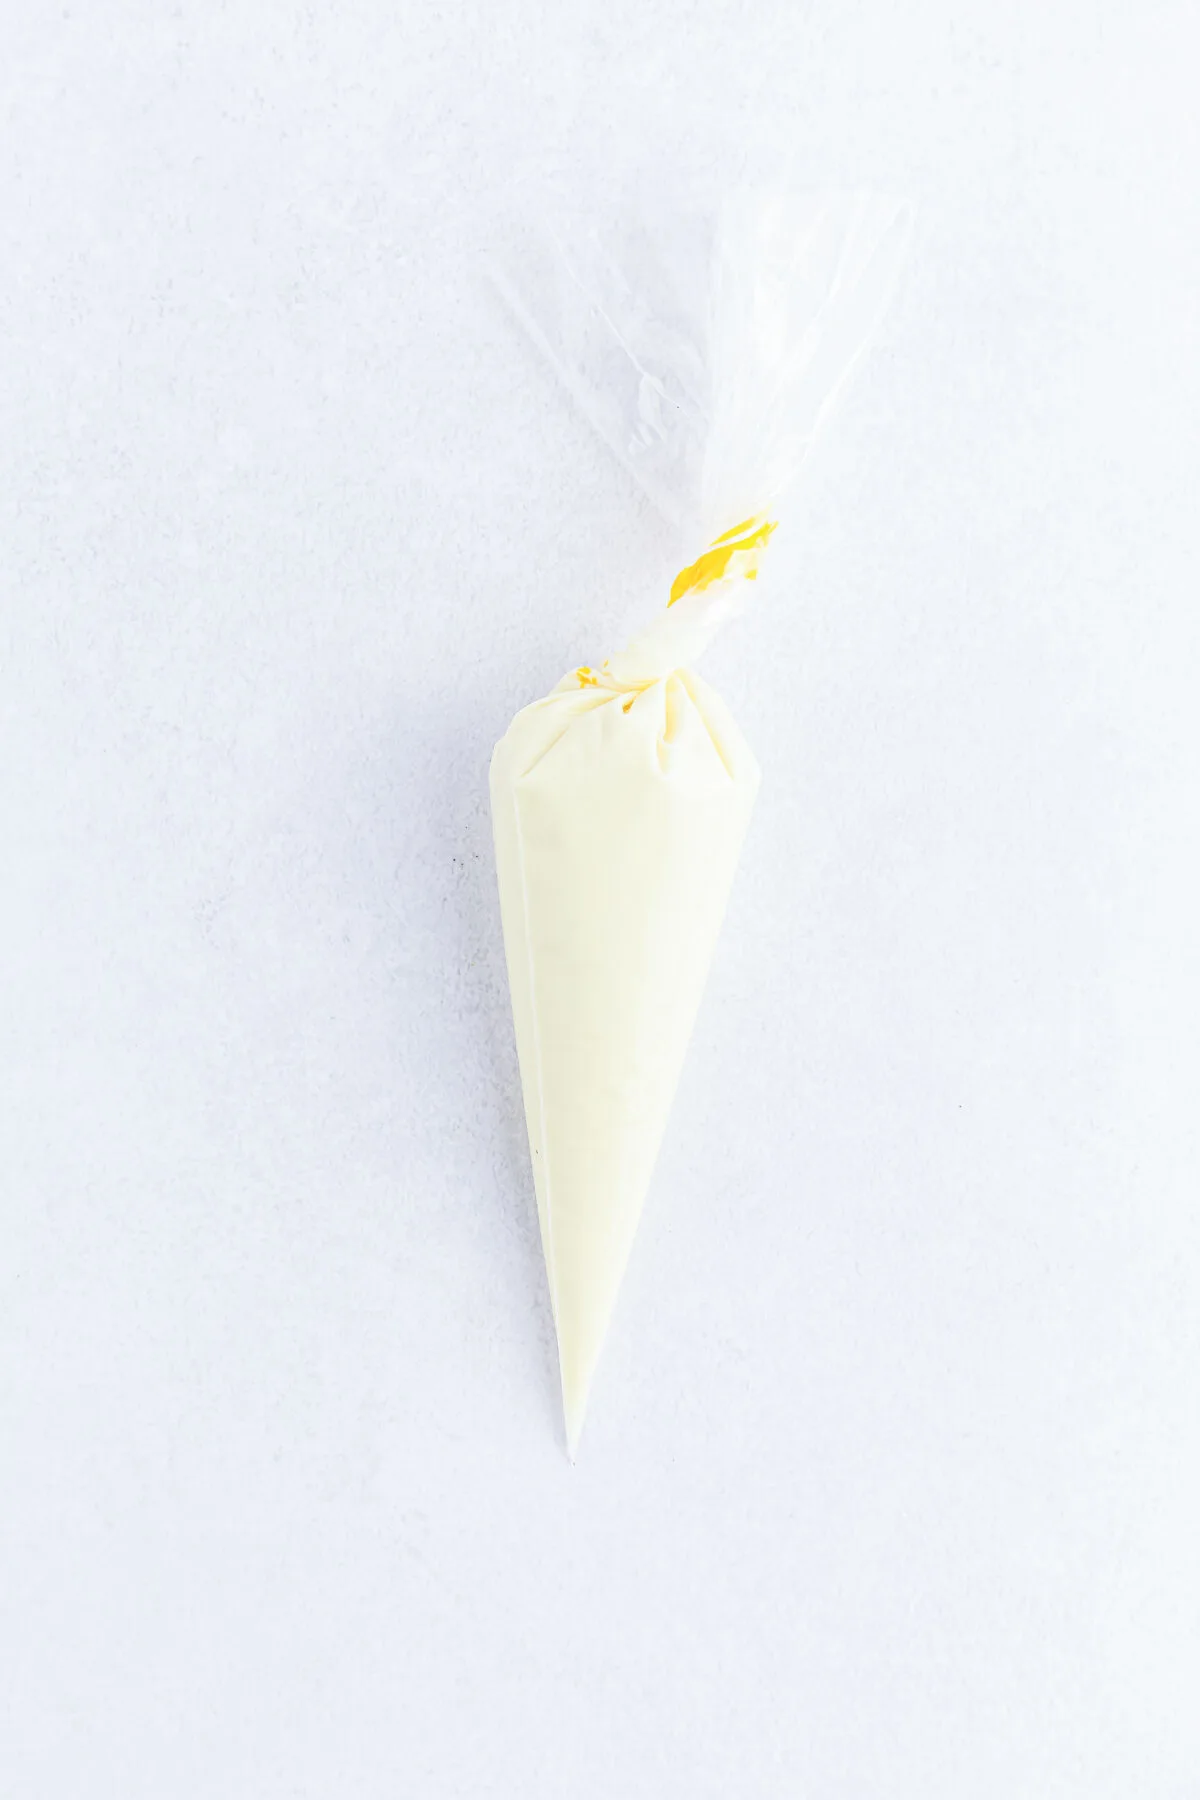
In a microwave safe piping bag, add ½ cup of vanilla melting wafers. Twist the bag shut and microwave in 30 second increments, massaging the bag each interval, until it is fully melted.
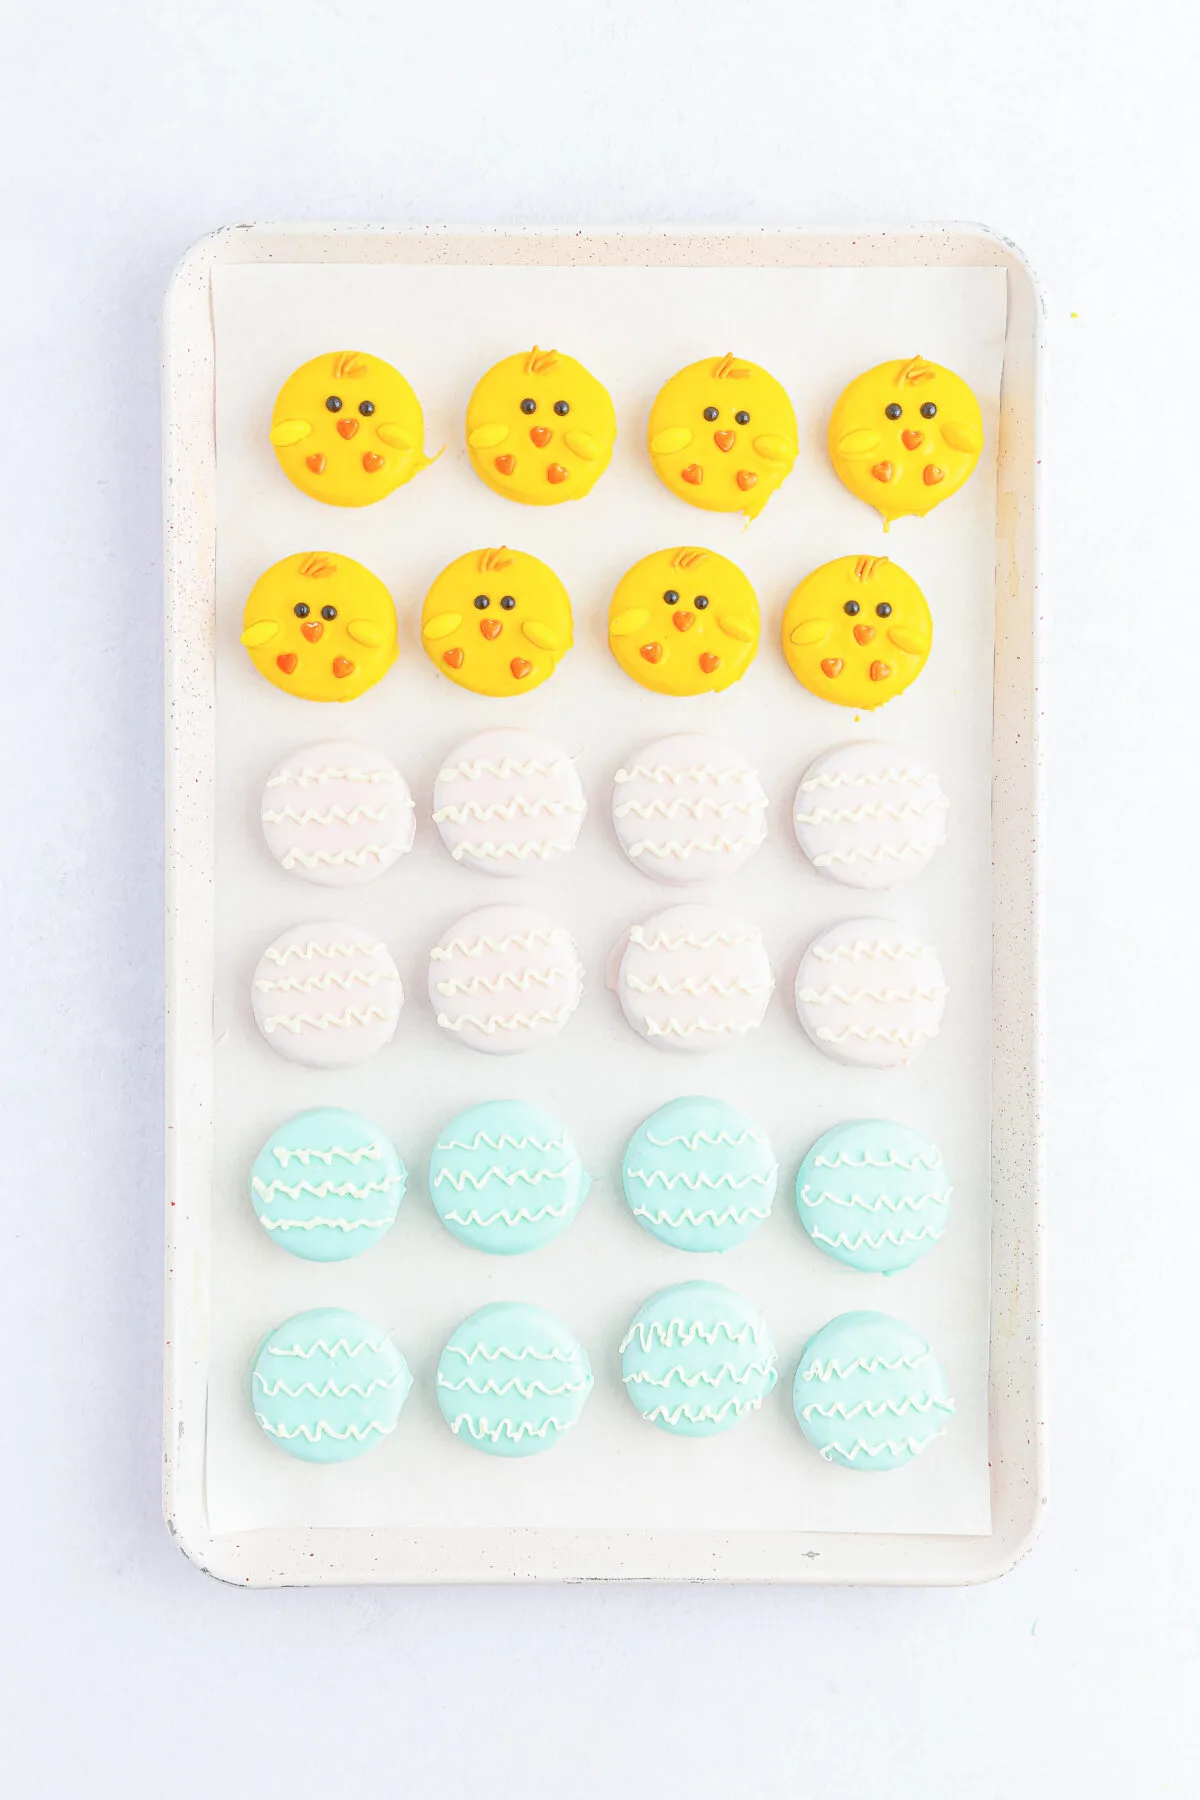
Snip a small piece of the tip off and drizzle it onto the pink and blue Oreos.
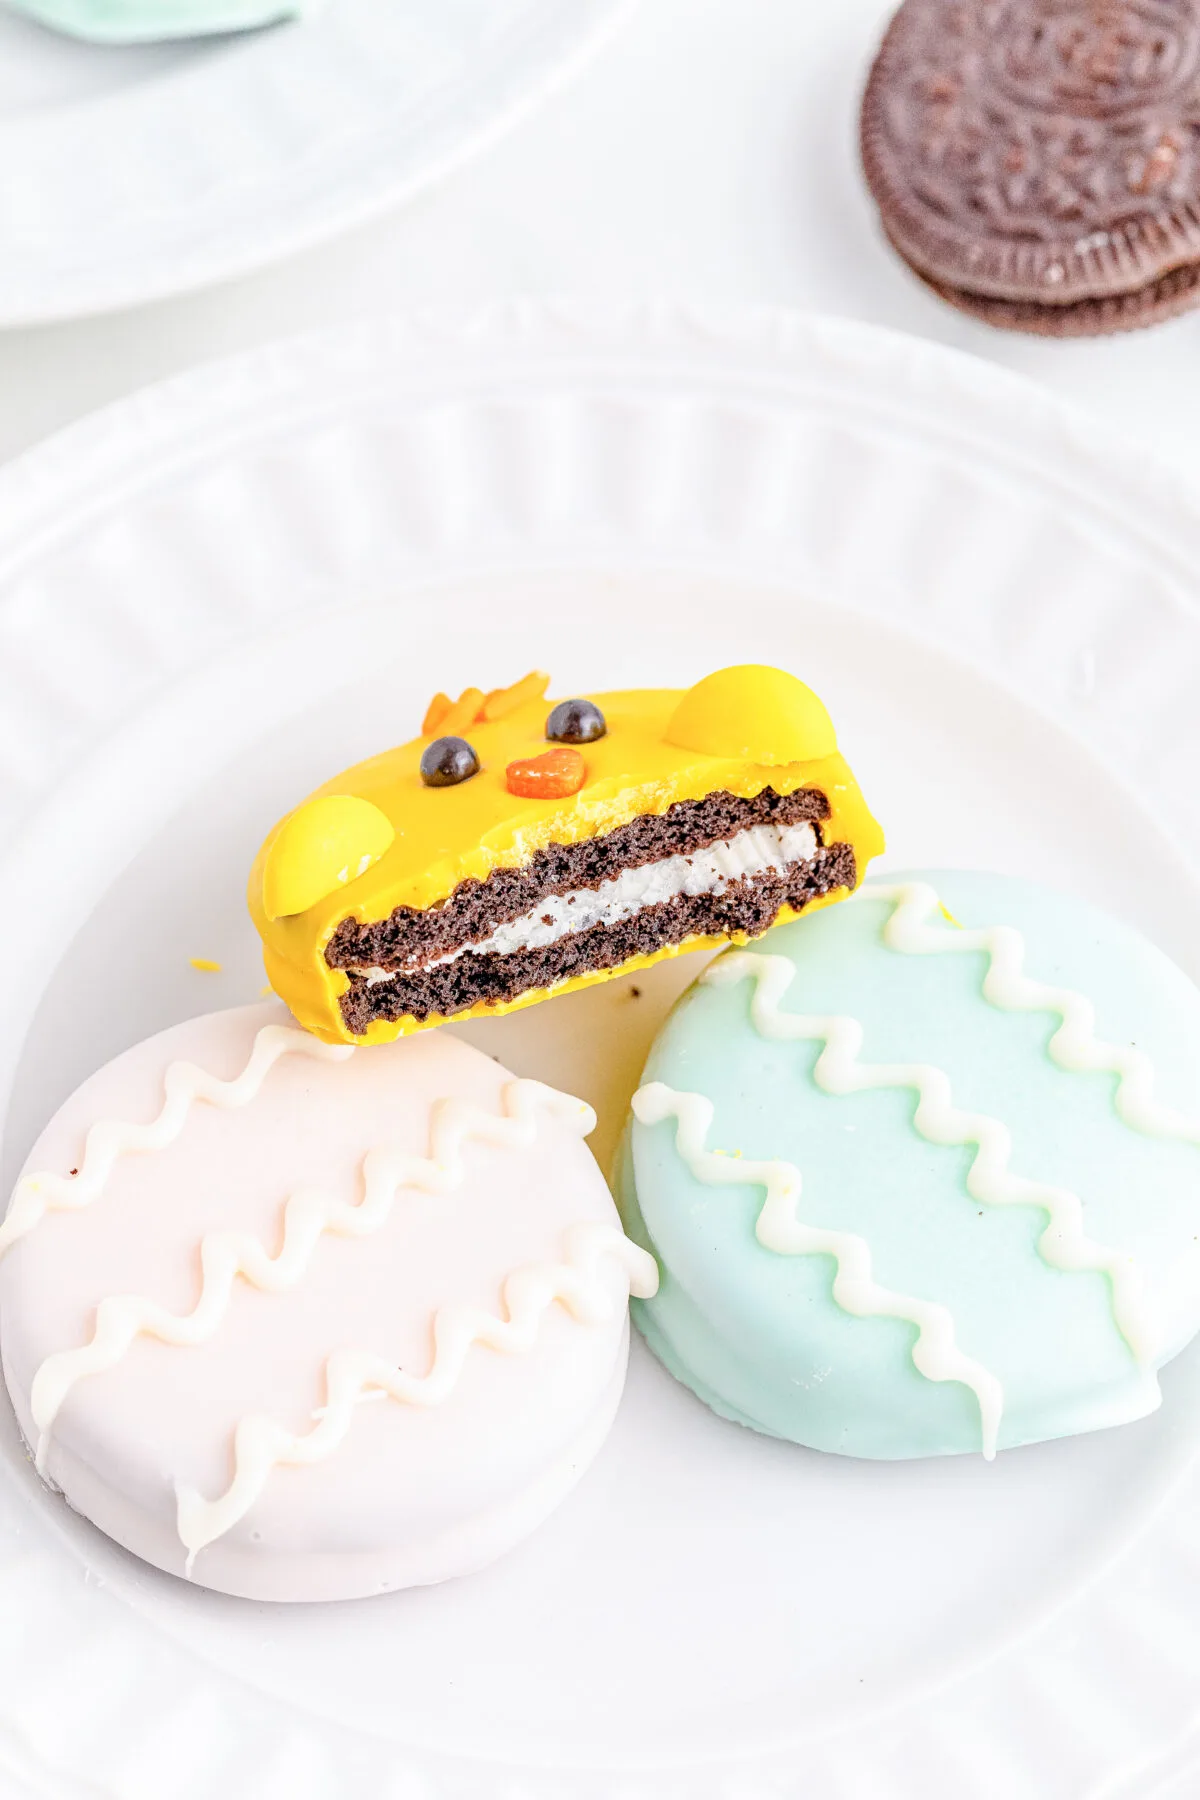
Place the baking tray in the refrigerator so the coating can set for 10-15 minutes before serving.

Easter Chocolate Covered Oreos
Add some fun to your Easter celebration with this easy-to-make and delicious Easter Chocolate Covered Oreo recipe – featuring chicks and eggs!
Ingredients
- 24 Oreo cookies
- 3 10 oz bags Ghirardelli vanilla melting wafers
- Oil based food coloring in yellow, pink, and blue
- Small black sugar pearl sprinkles for the chick’s eyes
- Small orange heart sprinkles for the chick’s beak and feet
- Orange jimmies sprinkles for the chick’s hair
- Yellow M&M’s cut in half for the chick’s wings
Instructions
- Line a large baking tray with parchment paper and set aside.
- Using a double boiler on low heat, melt 1 cup of Ghirardelli vanilla melting wafers, stirring occasionally until smooth. You can
alternatively melt the wafers in a microwave safe bowl in 30 second increments, stirring each interval until smooth. - Drop a few drops of yellow food coloring and stir it in slowly until it is evenly distributed. Add more food coloring as needed to reach the desired shade.
- Place an Oreo cookie on a fork and submerge it fully into the yellow melts. Remove with the fork and tap off any of the excess coating. Place the cookie on the prepared baking tray and repeat with 3 more Oreos. You will want to work in small batches and work quickly before it sets.
- When you have 4 Oreos coated in yellow melts, start making the chicks by giving them two eyes. Then add an orange heart for the beak, placing it in the center, below the eyes. Add two orange hearts towards the bottom edge for feet. Add just a few orange jimmies for the hair. And then place one half of yellow M&M’s on both sides for the wings.
- Give the melts in the double boiler a mix and then repeat with another 4 Oreos, dipping them in the yellow melts and then adding the sprinkles to make the chicks. Set aside.
- To make the eggs, clean the double boiler and then melt another 1 cup of the vanilla melting wafers, stirring occasionally until melted. Add a few drops of pink food coloring and stir it in. Add additional drops as needed until the desired shade is reached.
- Place an Oreo cookie on a fork and submerge it fully into the pink melts. Remove with the fork and tap off any of the excess coating. Place the cookie on the prepared baking tray and repeat with 7 additional Oreos. Set aside.
- To make another color of eggs, clean the double boiler and melt 1 cup of the vanilla melting wafers on low heat, stirring occasionally until smooth. Then add a few drops of blue food coloring and stir it in slowly until it is evenly distributed. Add more food coloring as needed to reach the desired shade.
- Place an Oreo cookie on a fork and submerge it fully into the blue melts. Remove with the fork and tap off any of the excess coating. Place the cookie on the prepared baking tray and repeat with 7 additional Oreos. Set aside.
- In a microwave safe piping bag, add ½ cup of vanilla melting wafers. Twist the bag shut and microwave in 30 second increments, massaging the bag each interval, until it is fully melted.
- Snip a small piece of the tip off and drizzle it onto the pink and blue Oreos.
- Place the baking tray in the refrigerator so the coating can set for 10-15 minutes before serving.
Recommended Products
As an Amazon Associate and member of other affiliate programs, I earn from qualifying purchases.
Nutrition Information:
Yield:
24Serving Size:
1 CookieAmount Per Serving: Calories: 191Total Fat: 4gSaturated Fat: 1gTrans Fat: 0gUnsaturated Fat: 3gCholesterol: 1mgSodium: 60mgCarbohydrates: 17gFiber: 1gSugar: 12gProtein: 1g
This information is provided as a courtesy and for entertainment purposes only. This information comes from online calculators. Although frugalmomeh.com attempts to provide accurate nutritional information, these figures are only estimates.


Elizabeth Lampman is a coffee-fuelled Mom of 2 girls and lives in Hamilton, Ontario. She enjoys travelling, developing easy recipes, crafting, taking on diy projects, travelling and saving money!

