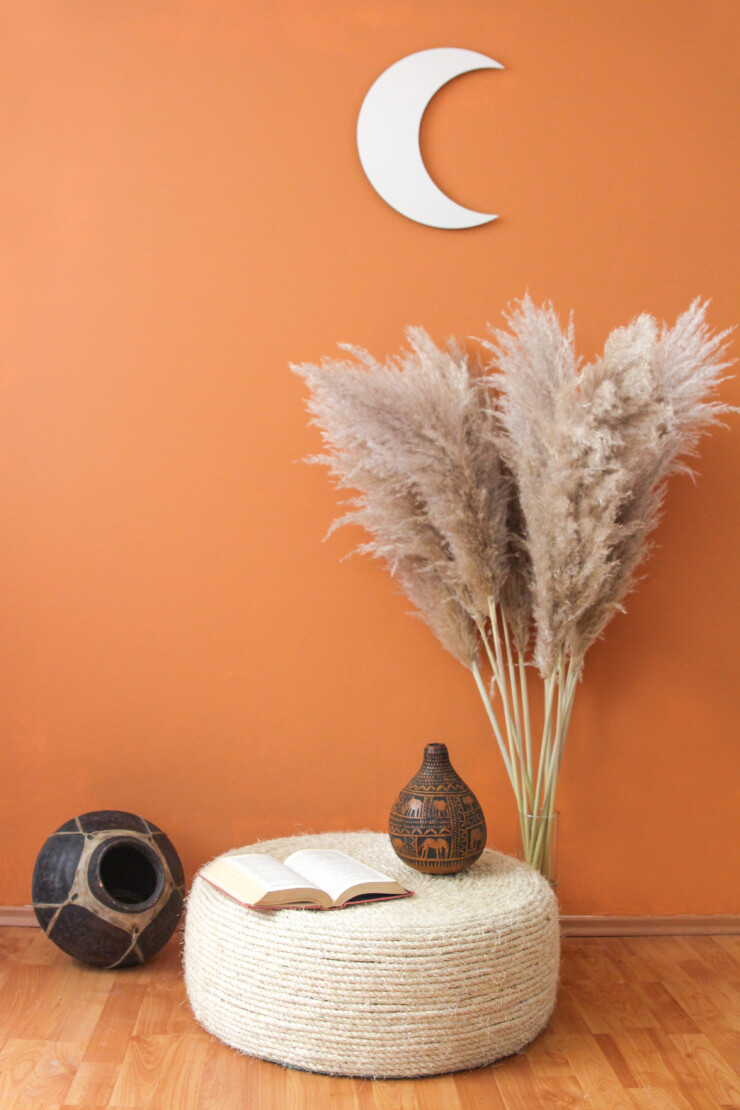
DIY Tire Ottoman

Repurpose a used care tire and transform it into a stunning custom piece of furniture for your home with this DIY Tire Ottoman tutorial.
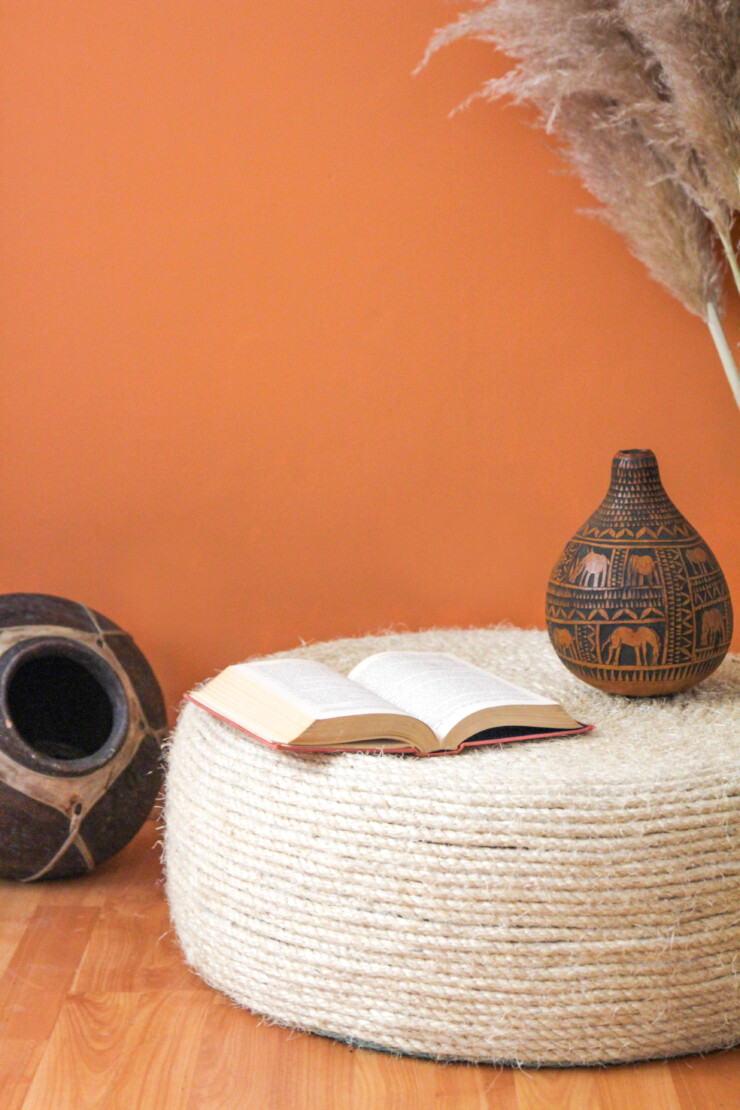
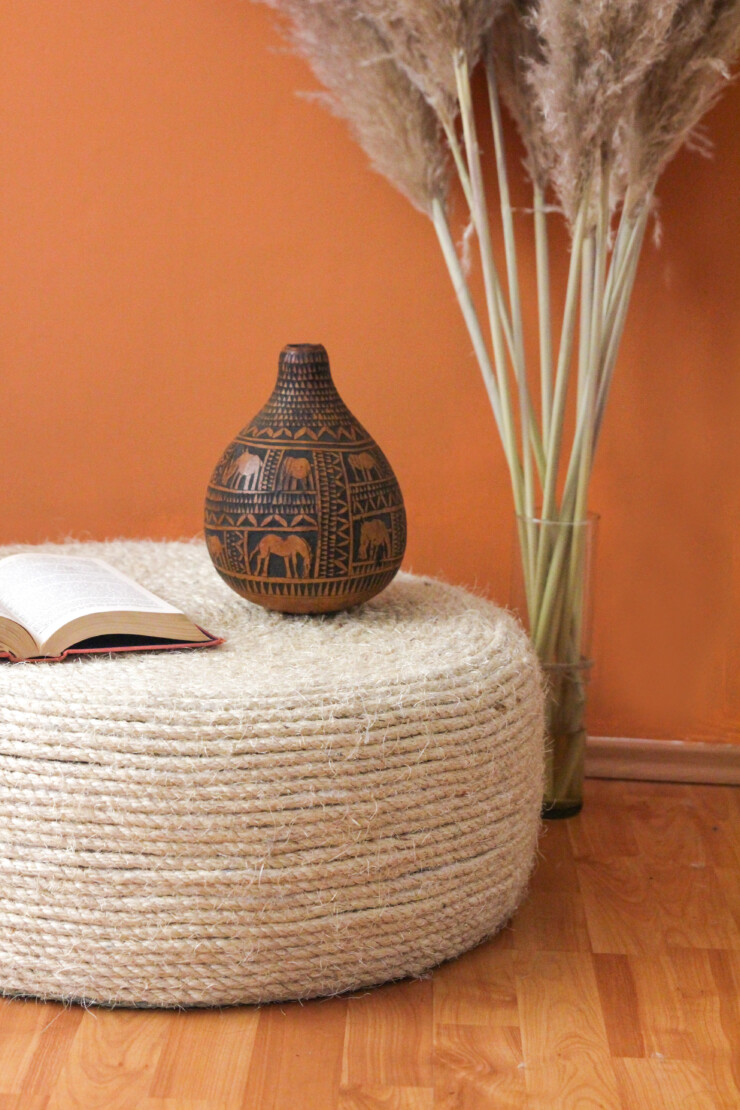
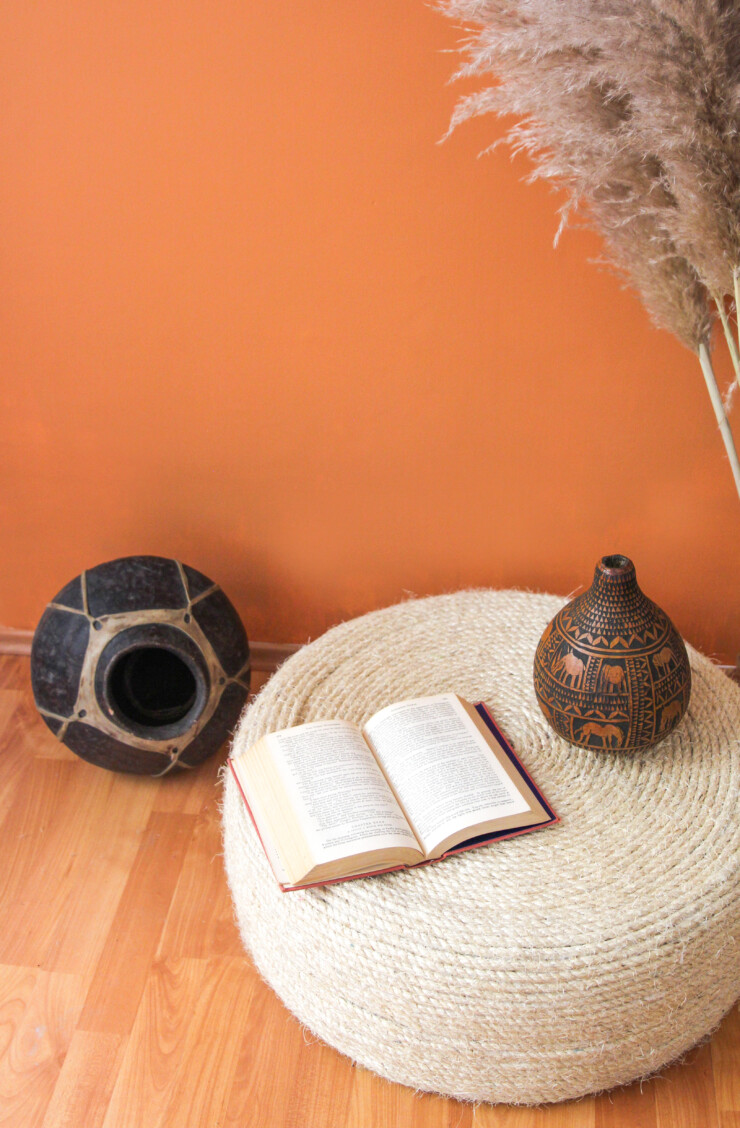
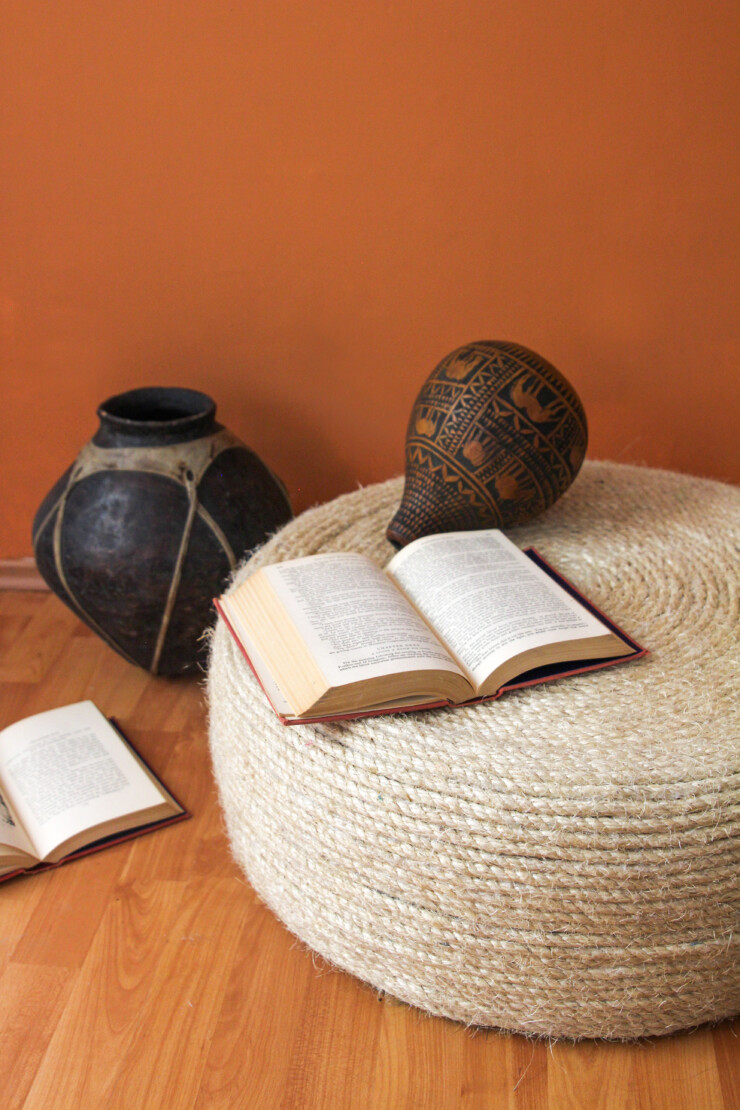
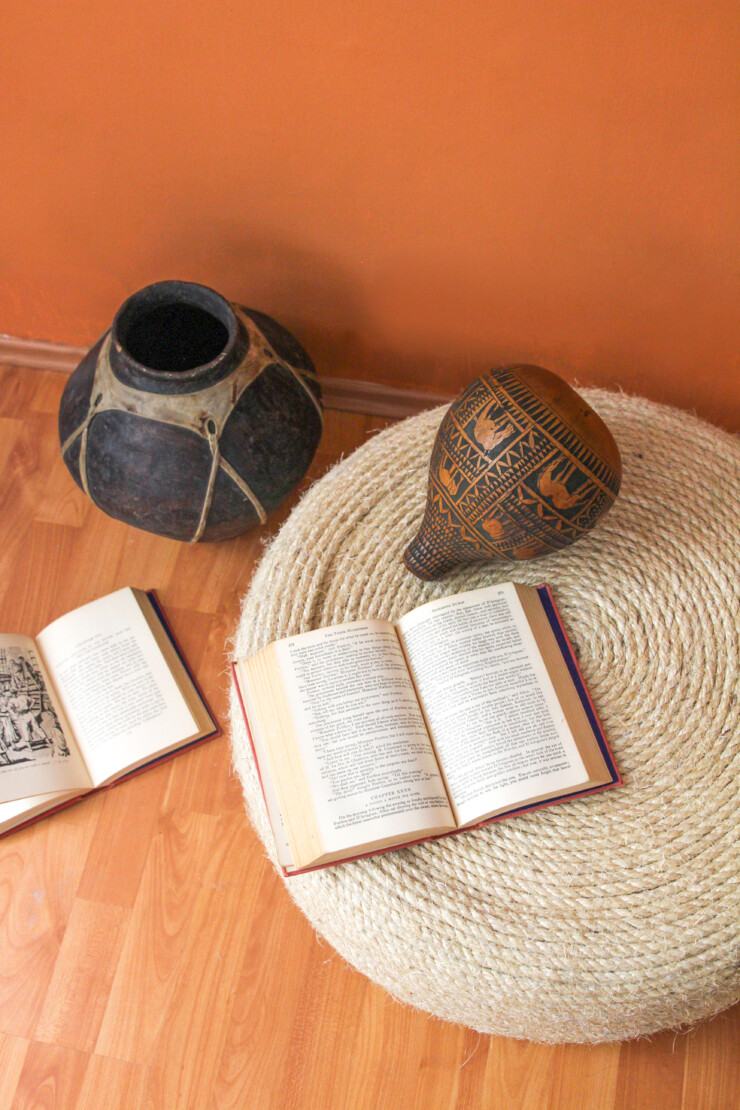
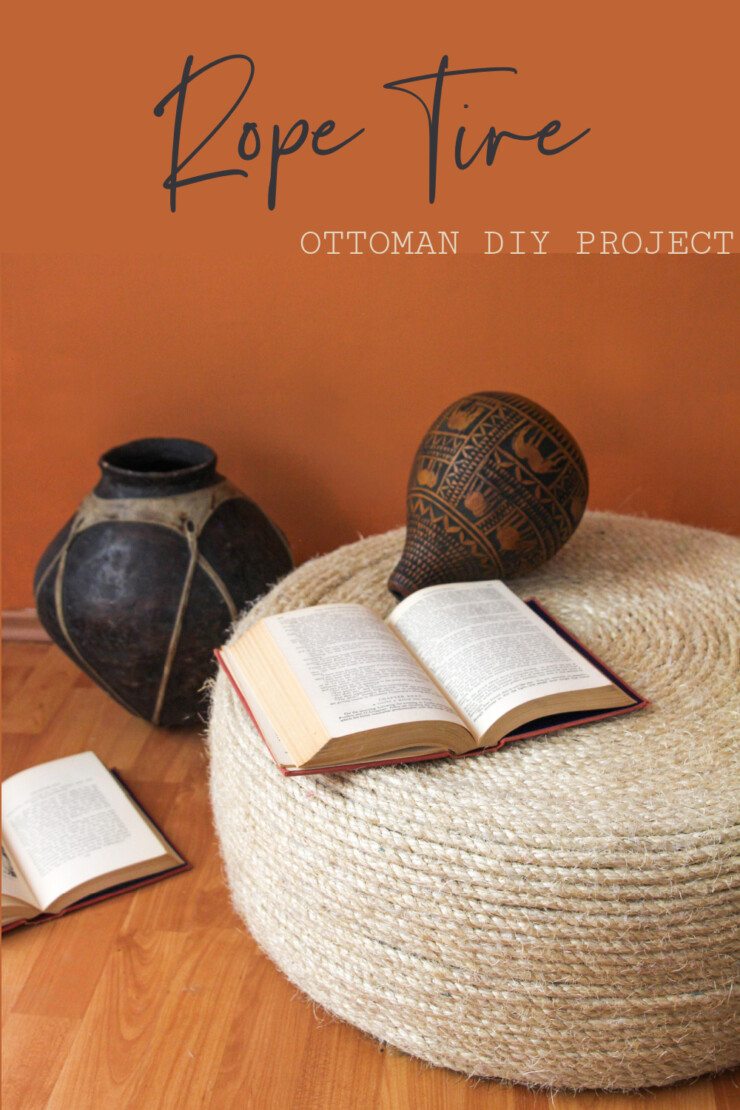
This rope tire ottoman can be used as a footrest, as a small coffee, as a side table or for extra seating. It adds a really cute rustic look to any room.
Lately I’ve been obsessed with making an ottoman made out of tires. It’s such an inexpensive project compared to the cost of buying something similar from a store. Yet it looks so chic.
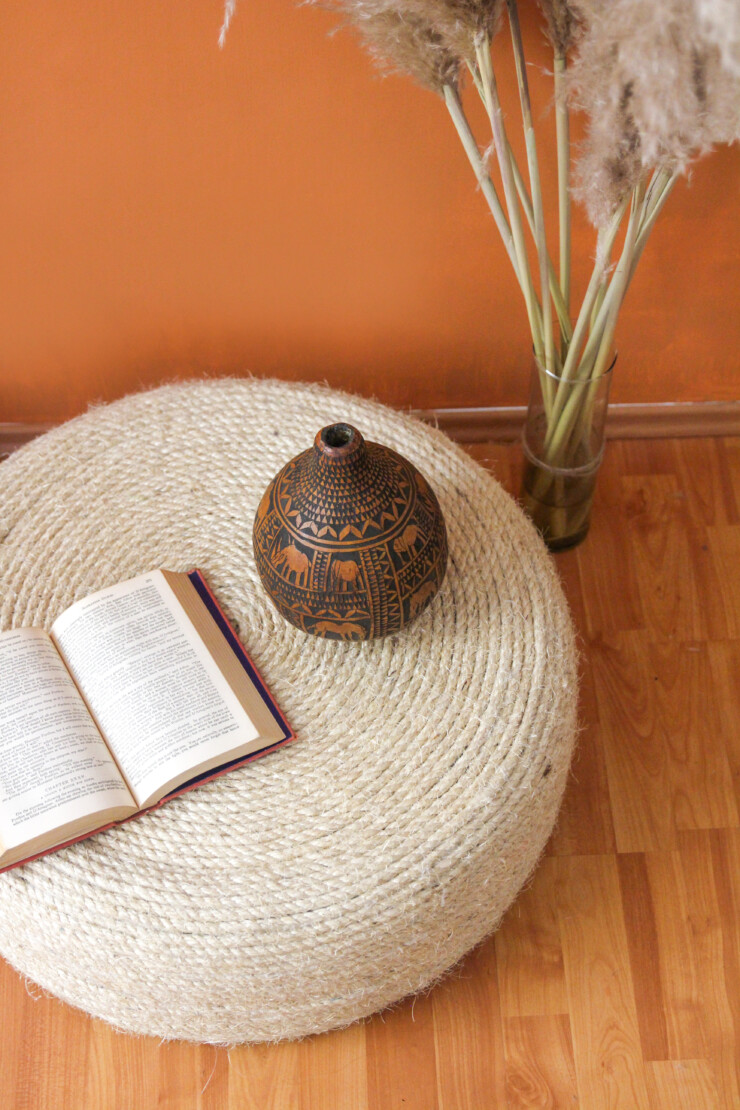
I love how inviting this rustic rope ottoman is. Trust me, nobody will believe it is actually a tire. It’s such an epic piece of furniture that you can’t help but just adore.
Why You’ll Love This Rope Tire Ottoman
- Inexpensive materials
- Firm enough to be used as a table but also squishy enough to sit on
- Repurpose old tires instead of sending them to a landfill
- Create your own custom look
- Very easy to create
Want to take this DIY Tire Ottoman to another level?
This tutorial offers the instructions for a basic wire wrapped tire ottoman but you may want to take it further, so here are some more ideas to run with:
- Turn it into a diy tire storage ottoman by lining the inside of the tire with fabric. Cover the tire to the inside rim with rope and use one of the round pieces of plywood as a lid. Simply wrap the “lid” separately with rope or upholster with cute fabric and a little cotton batting for a completely different look.
- Give it a lift by screwing in 3-4 legs onto the bottom piece of plywood.
About the DIY Rope Tire Ottoman Materials:
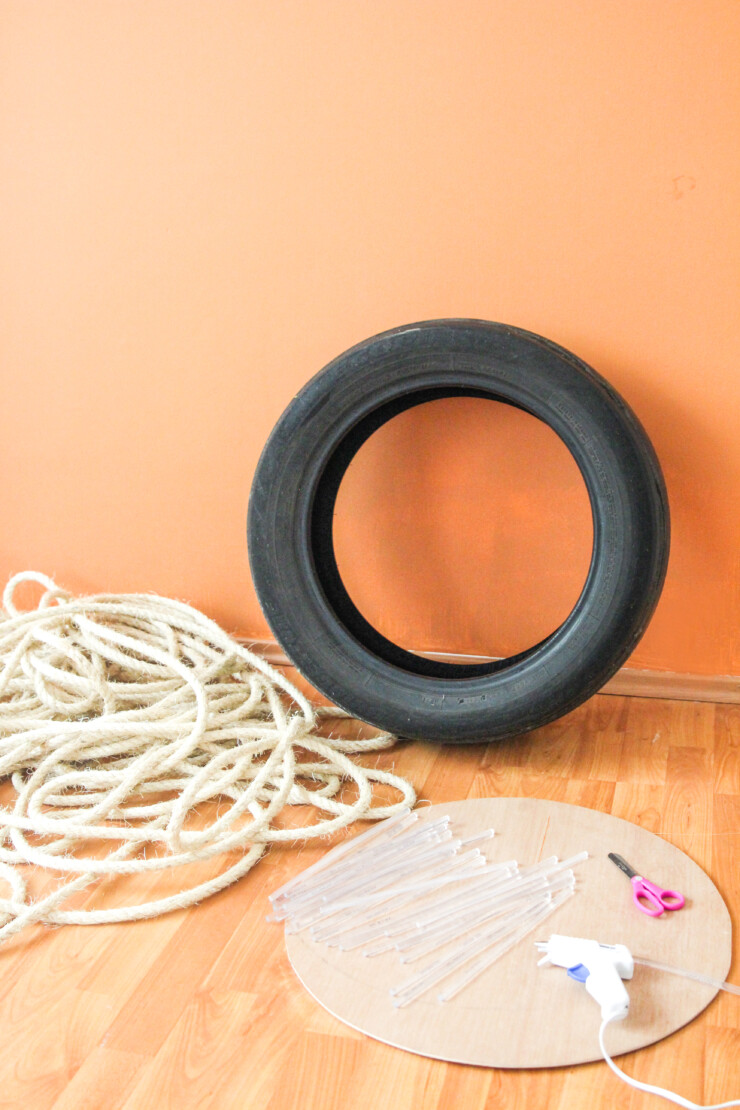
Old Tire: Any old tire will do in the size you desire. For reference, my tire has a 24-inch diameter and is 9 inches tall.
The Rope: I used twisted nylon rope to create the tire in this tutorial, but for a more custom look try using other fibers like sisal or manilla. The rope length will vary depending on the size of the tire you use. I always recommend getting a bit more than expected, just in case.
Circular plywood: Be sure it is the same size or just slightly smaller than the diameter of your used tire.
Hot glue gun & glue sticks: You will need plenty of good quality hot glue sticks for this project so stock up ahead! I recommend Gorilla brand, I find it has a much stronger bond than other brands. Alternatively you could use a construction grade adhesive like Liquid Nails.
Sealer: I do recommend sealing the Ottoman, just use a concentrated, clear sealer.
More DIY Projects for your Home:
If you are looking for more great do it yourself projects to give your home a lift, check out some of my favourites:
Ikea Tarva Dresser Makeover with Fabric
IKEA Hack: Kitchen Furniture Makeover
DIY Tire Ottoman
Materials:
Old tire
About 150-200 feet of ⅜” rope
2 pieces of circular plywood (same diameter as your tire)
Hot glue gun and glue sticks
Sealer (optional)
Directions:
If you’re using a used tired, scrub it with water to clean. Make sure it is thoroughly dry before continuing this tutorial.
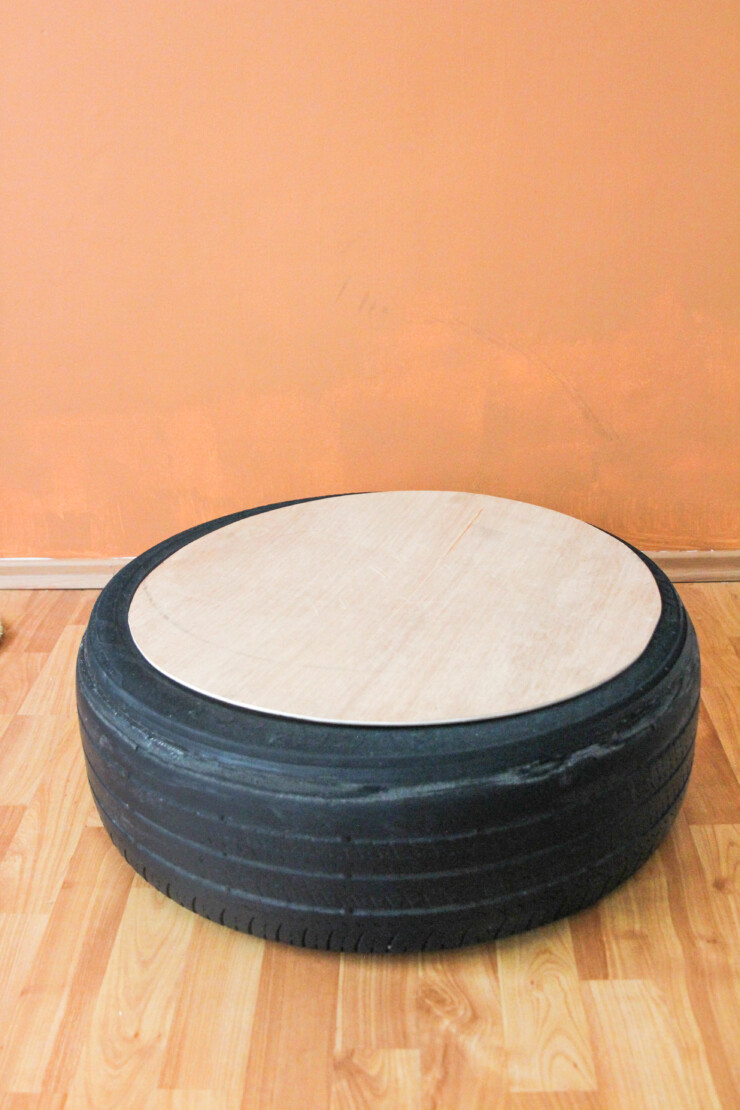
Glue one piece of the circular plywood to the top and bottom of the tire. Optimally, you can also screw the wood, but it doesn’t necessarily need to be 100% secure as the rope will make sure everything stays in place!
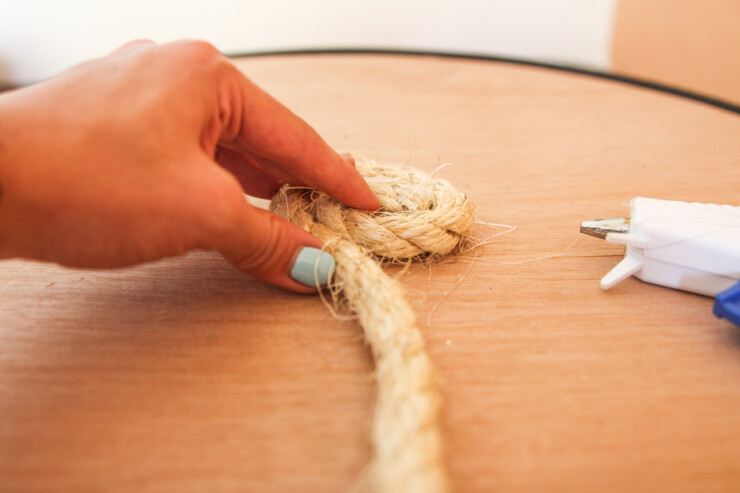
Begin to coil the rope around the centre of the plywood, applying glue on each round and pressing down hard to make sure it’s secure.
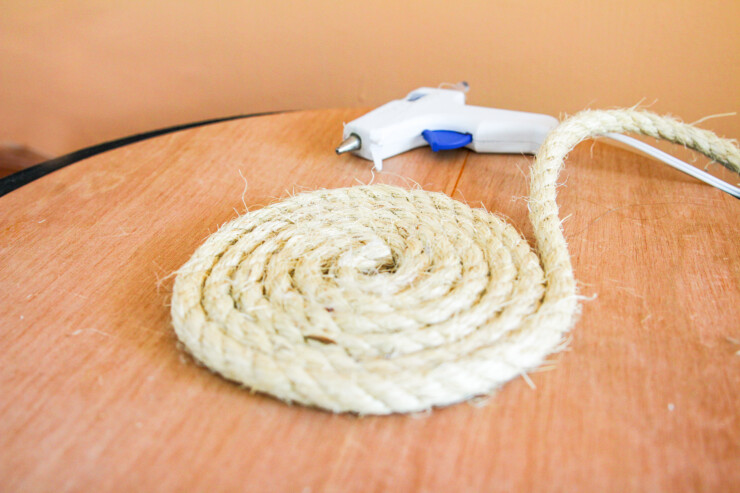
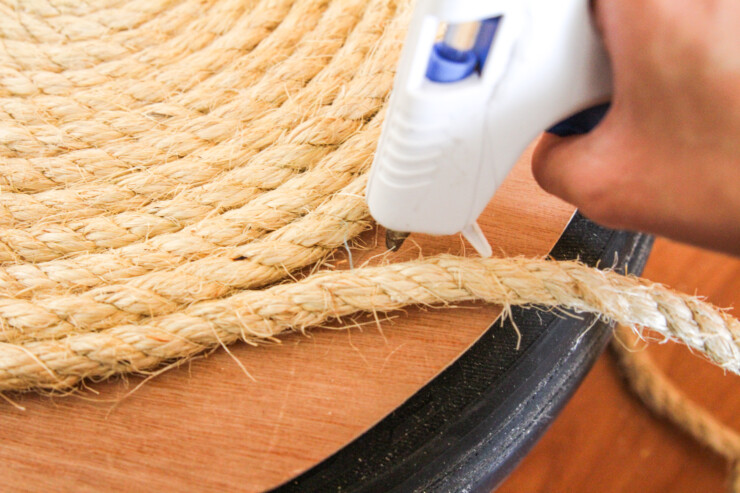
Continue coiling the rope around the tire until it’s fully covered. For the rim, I recommend gluing the rope to the tire, but occasionally gluing the rope together to make sure it’s secure and no openings are left that will reveal the tire.
Once you reach the bottom, cut down the rope with your scissors or flip it over to continue coiling to cover the bottom plywood (this step is optional, as the wood will not be visible as it will be facing down).
Optional: Apply the sealer with a brush and cover the full surface of the ottoman with it. Wait one hour, then apply another coat. The sealer is ready to touch after one day but it can take two weeks to completely dry.


Wow! This is really one of the cutest and most functional things that you can create at home with your own hands. This is wonderful! I’ve even come up with a new application for them. I have two cats living at home, and if you initially take a good, not dangerous glue for them, then you can use it as a place for a cat, and taking into account what materials it was created from, then this can be used to sharpen cat claws. Perfect and comfortable! I think my cats should like it. And it does bring some benefits because of the reuse of raw materials.
I love the idea. I will pass it on.
The end product is so amazing. What a great idea.
I love this idea, I was going to use my old tired as garden beds, but this is way better, thank you.
This is such a great way to recycle old tires!
This is such a cute and useful way to get rid of old tires .