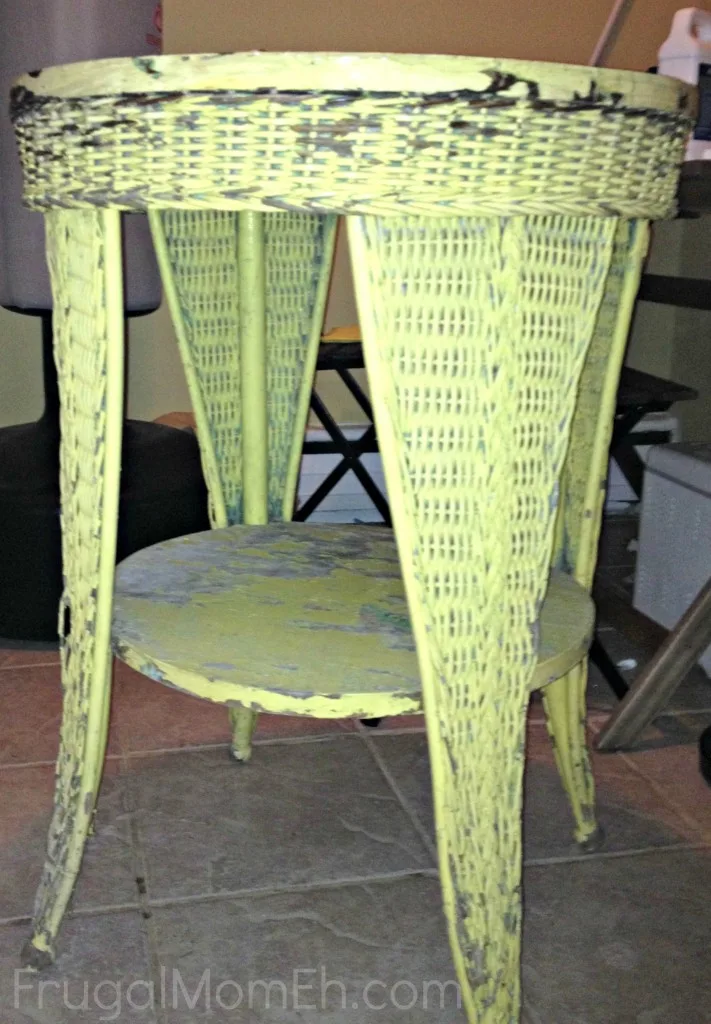
This DIY Antique Wicker Table Restoration project has a tremendous sentimental value to me. I first saw this old, beat up table made of wood and wicker at my great aunt’s house collecting dust in her basement. I made a comment on how beautiful the table was, and she told me I could have it if I wanted. It turns out that it belonged to my great-great grandfather, and is more than a hundred years old. I knew instantly that I needed to do something special to breathe life back into this table.
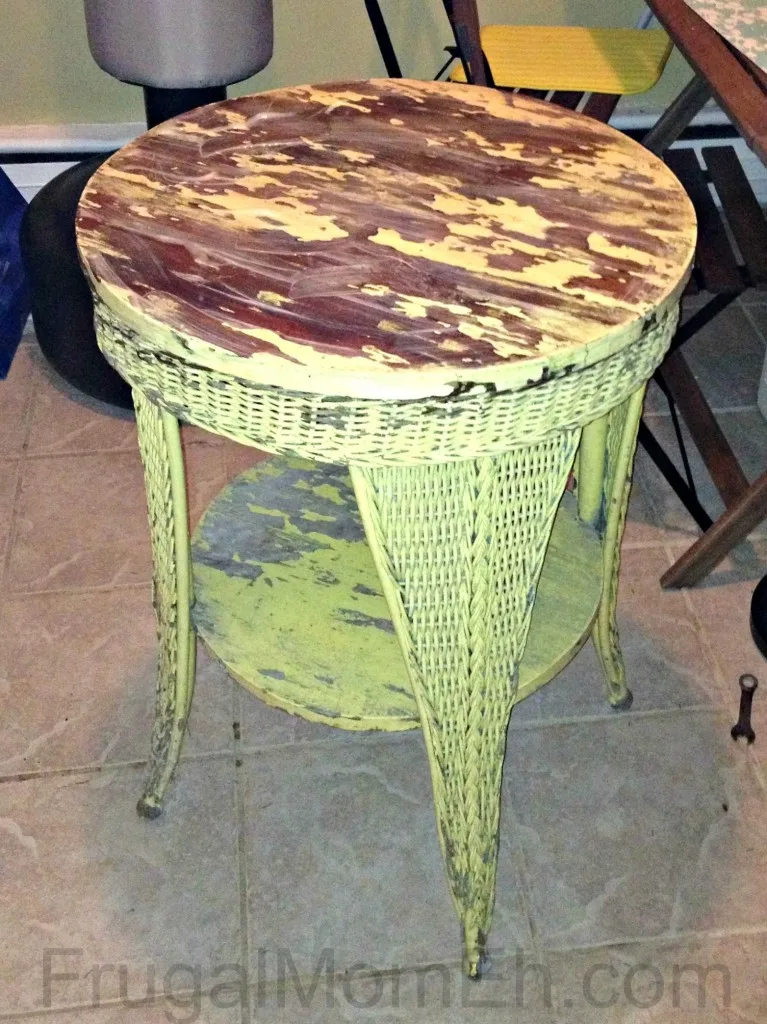
The top of the table and the shelf were solid wood, that had been painted first a mint green, and then on top of that, a bright yellow. I wanted to preserve the wood, as the wood and painted wicker combination is really beautiful. Given the age of this table, I didn’t want to use a sander, as it could risk damaging the wood. I opted to use a paint stripper instead, so I chose one of the ‘friendlier’ brands, that wouldn’t burn through my skin or destroy anything. I had to buy some tools, such as scrapers and scrubbers, but the dollar store had everything I needed in order to remove the paint.

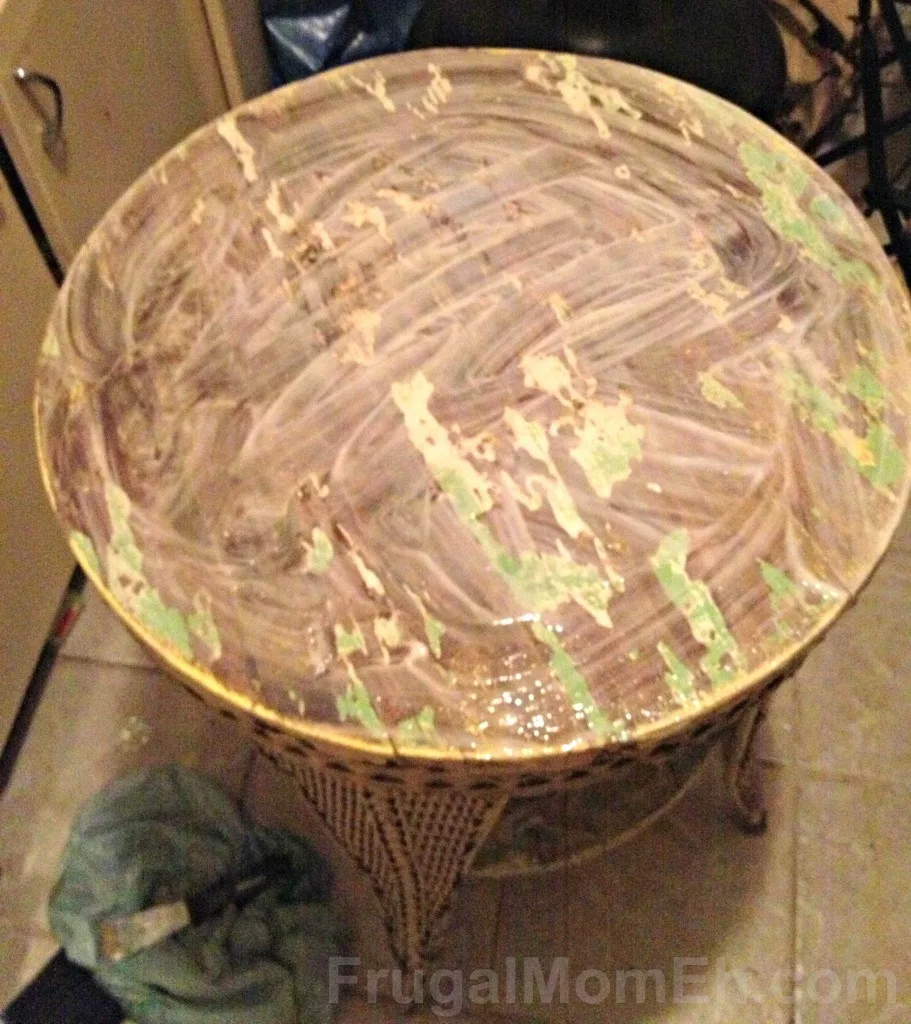
I washed the table first, as it had collected dirt and dust over the years, then I made sure to change into my painting clothes. I also used rubber gloves, just in case. The paint stripper I used was really smelly, so I had to open all of the windows to make sure there was proper ventilation. The product I used was goopy and messy, so I laid out a tarp under the table.

What I did, was put a layer of the paint stripper (about a quarter of an inch thick) all over the wooden surfaces. I let it sit for about a half an hour, then with my scrapers in hand, took off the first layer of paint. Because this was the least ‘intense’ paint stripper and the table had a few different layers of paint, I had to repeat the process about four times to ensure all of the paint was removed from the wooden tabletop and shelf.
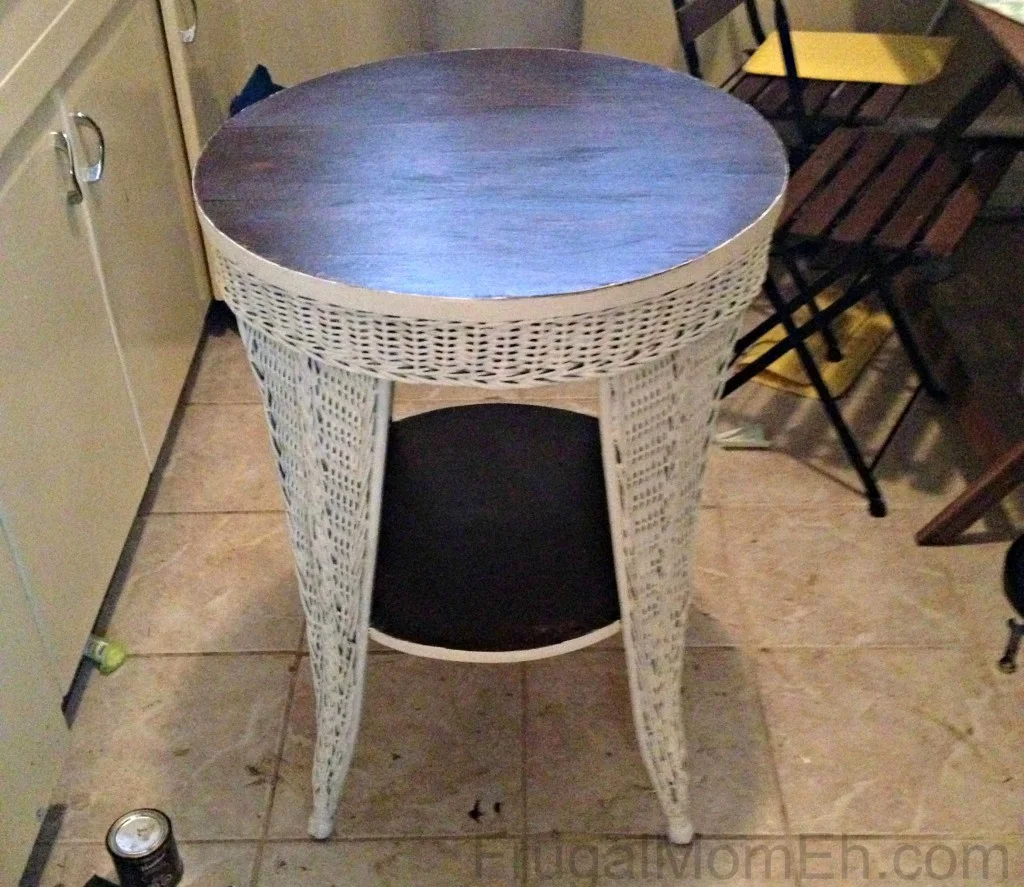
The transformation has been incredible, especially knowing how old this table was. I would definitely use paint stripper again, but in the future, I might use something a little stronger, as it would consume less time. I am so happy and honored to be able to breathe new life into a family heirloom that I will hold onto forever. I decided to paint the wicker parts of the table an antique white, so in order to prep the surface, I just washed it and gave it a very light sanding by hand. I painted the wicker parts with two coats of paint, and after this was dry, I decided I wanted to stain the tabletop and shelf a dark walnut color. The old wood absorbed the stain, so I gave it two good coats, and then finished it with a matte sealant.

Sarah is currently studying Anthropology at McMaster University. She enjoys up-cycling, creating customized furniture, decorative furniture painting and any do-it-yourself projects, big or small. She is passionate about creative sustainability, by breathing new life into items destined for the land-fill.

Elizabeth Lampman is a coffee-fuelled Mom of 2 girls and lives in Hamilton, Ontario. She enjoys travelling, developing easy recipes, crafting, taking on diy projects, travelling and saving money!


Caroline
Sunday 6th of September 2015
What a transformation! I love breathing new life into old, tired furniture.
Wanda Tracey
Monday 11th of May 2015
You have a great imagination of how the finished product is going to look when it's done.It looks awesome!It is such a pretty table that has it's own distinguished look now.Great job!!!!!
kathy downey
Sunday 29th of March 2015
I love redoing over old pieces and giving them new life,I can wait for the yard sales to start
kathy downey
Saturday 14th of March 2015
I really like this piece
DARLENE W
Tuesday 28th of October 2014
Nicely done, I have always had a hard time painting wicker