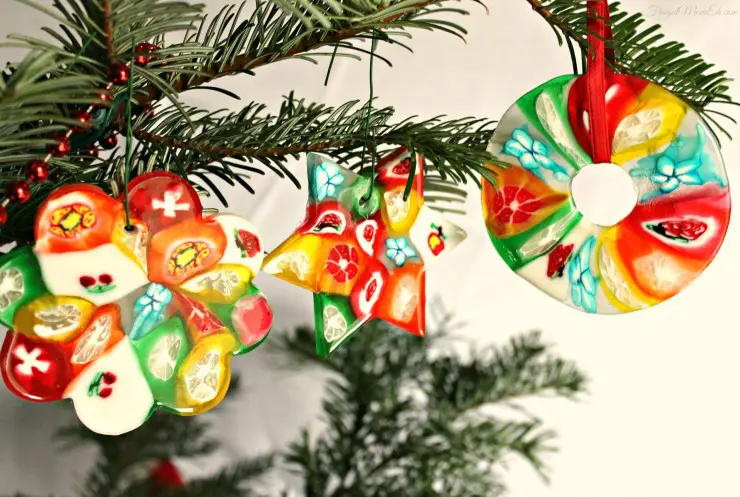
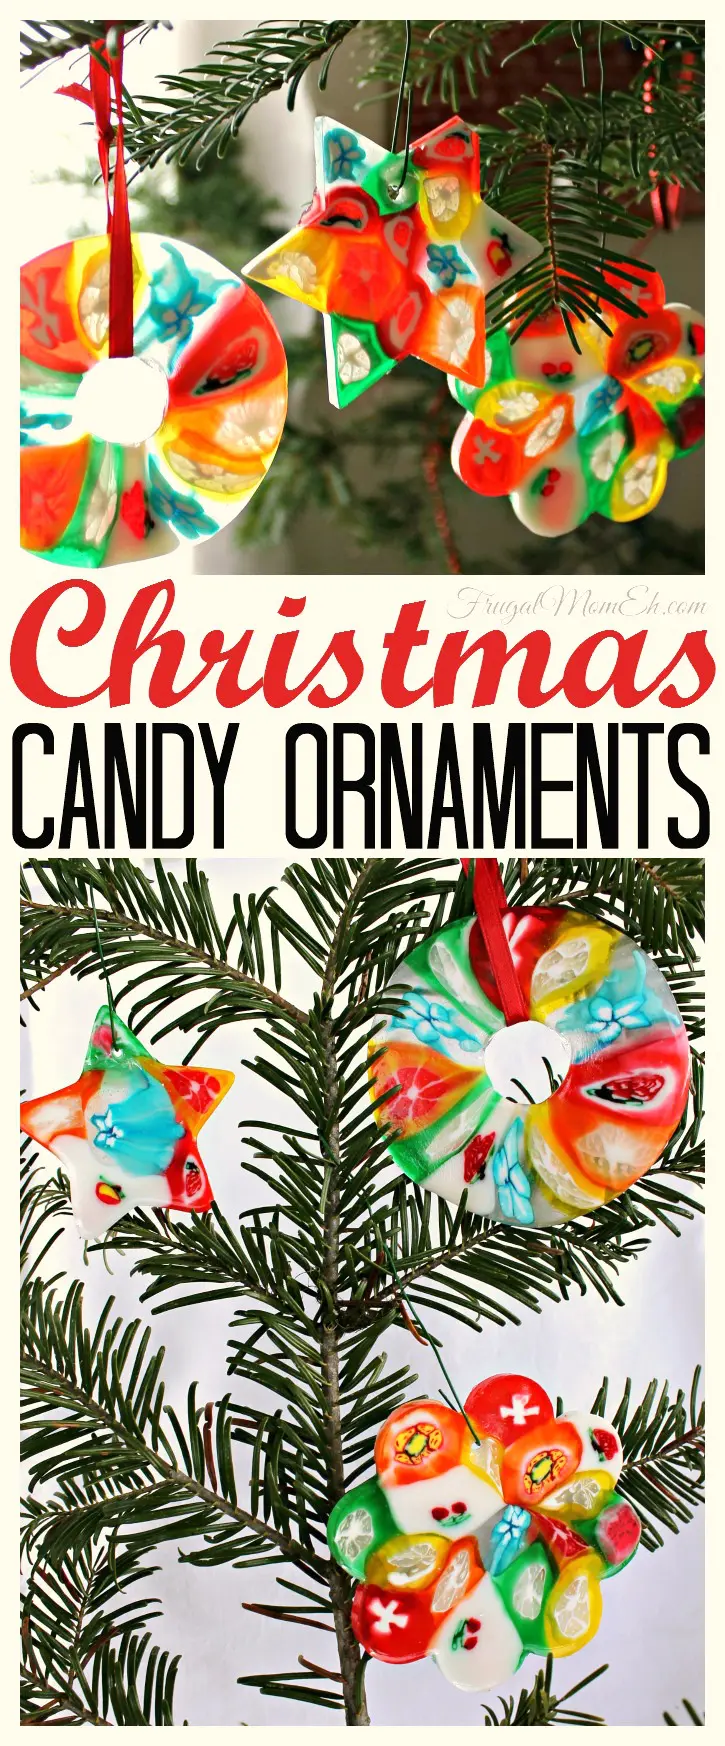
These Christmas Candy Ornaments are a surprisingly easy diy craft idea. Perfect for hanging on your Christmas tree or giving as gifts!
For an easy holiday project that’s fun for young and old alike, make these beautiful ornaments from cut rock candy. The festive designs inside the slices of these classic hard candies create beautiful, edible art.
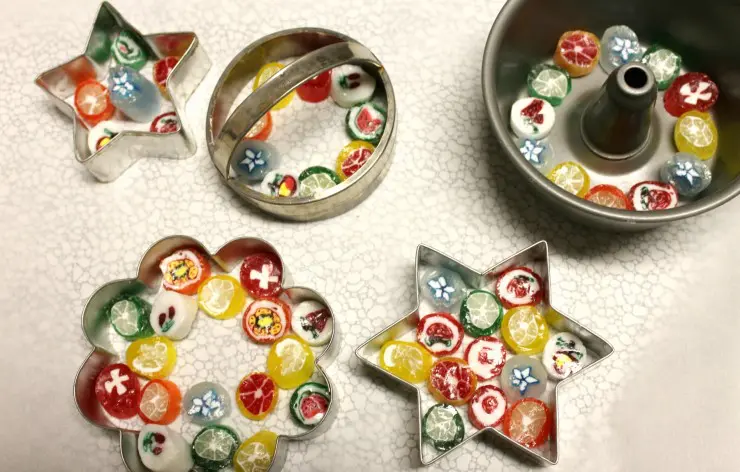
Metal cookie cutters, tart pans, and mini cake pans are used to melt the candies. Children will love arranging (and re-arranging) the candies into perfect colour combinations, but an adult will need to remove the hot pans from the oven. Holes can be made in the ornaments while the candy is still warm, or rings of candy can be hung with a ribbon.
As the size of your moulds will vary, so will the number of candies required for each ornament. Plan on an average of 12 candies per ornament, but buy a little extra; some of the cut rock candies in the bag may be broken or unsuitable (too thin or too thick) and you will not want to run out!
With time the ornaments may get a little sticky. To avoid this, many cake supply stores carry “Confectioner’s Glaze”, edible shellac that’s used commercially on many different types of candy. Brush it on, allow it to dry, and you may be able to carefully save your masterpieces – enclosed in plastic and stored in a cool, dry location – for next year!
Christmas Candy Ornaments
Materials:
Hard rock cut candy (or the Bulk Barn)
Cookie cutters or mini pans
Parchment
Baking sheets
Toothpicks
Ribbon or Ornament hangers
Instructions:
Sort through your candy and remove pieces that are too thin or thick. Try to keep the thickness of the pieces roughly equal.
Heat oven to 300 F.
Lightly grease the inside of each cookie cutter or mini pan. These will be your moulds.
Place moulds on parchment covered baking sheets.
Place the candies (flat side down) inside the moulds. For rings or wreaths, only place the candies around the outer edge. For solid ornaments, fill the pans. Leave as little empty space as possible.
Place 1 baking sheet in the oven at a time. Begin checking after 5 minutes. Remove from oven when the candies are melted together and smooth on the top.
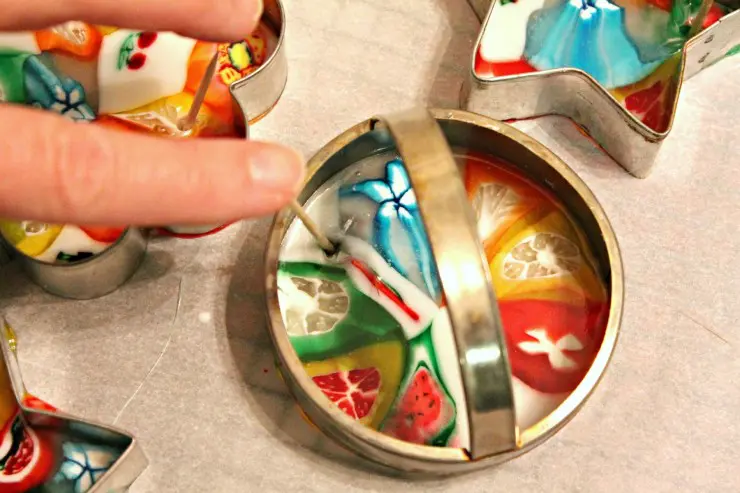
Set the sheet on a cooling rack and allow the ornaments to cool for 2 minutes. Carefully slide the parchment with the warm ornaments onto the rack. If you plan to put holes in the candy ornaments, poke a toothpick in each one, wherever you want the hole. Push the toothpick through the parchment a little and rotate gently to enlarge the hole. If the candy is still too warm the hole will fill back up; wait for a minute and try again.
Once the hole remains open, remove the toothpick and let the ornaments cool completely before handling.
Once cool, add ribbon or an ornament hanger.
Tutorial created for Frugal Mom Eh by Lorinda M.

Elizabeth Lampman is a coffee-fuelled Mom of 2 girls and lives in Hamilton, Ontario. She enjoys travelling, developing easy recipes, crafting, taking on diy projects, travelling and saving money!


Sumoski Barbara
Sunday 22nd of October 2023
Hi,
I am using a non stick, six cavity, mini like bundt pans for the wreaths. How long do I let it cool before flipping over to remove?
Thank you!
Linda
Friday 13th of October 2023
Thank you So Very Awesome Idea. They are Beautiful and now I Also I Also have to make a trip to the Bulk Barn to get my candies too. Can't wait. THANKS again for your ideas.
Lori
Wednesday 9th of November 2022
These are so beautiful and look so easy! Question: If I shellac them after will they last more than one year?
Elizabeth Lampman
Friday 11th of November 2022
Yes!
Jena
Friday 31st of December 2021
We made ornaments like these when I was a kid, in school or scouts—maybe grade 4 or 5? Mine lasted right up until this year (so about 33 years) and probably would’ve lasted even longer if my basement hadn’t had two occasions of extreme dampness in the last year. I recall using an iron (and wax paper barriers) and melting the candies together, instead of using the oven and cookie cutters.
Gayla
Friday 28th of May 2021
Wonder if one could use some sort of ceramic or urethane sealer to keep for years without getting sticky. I love these that much!!!