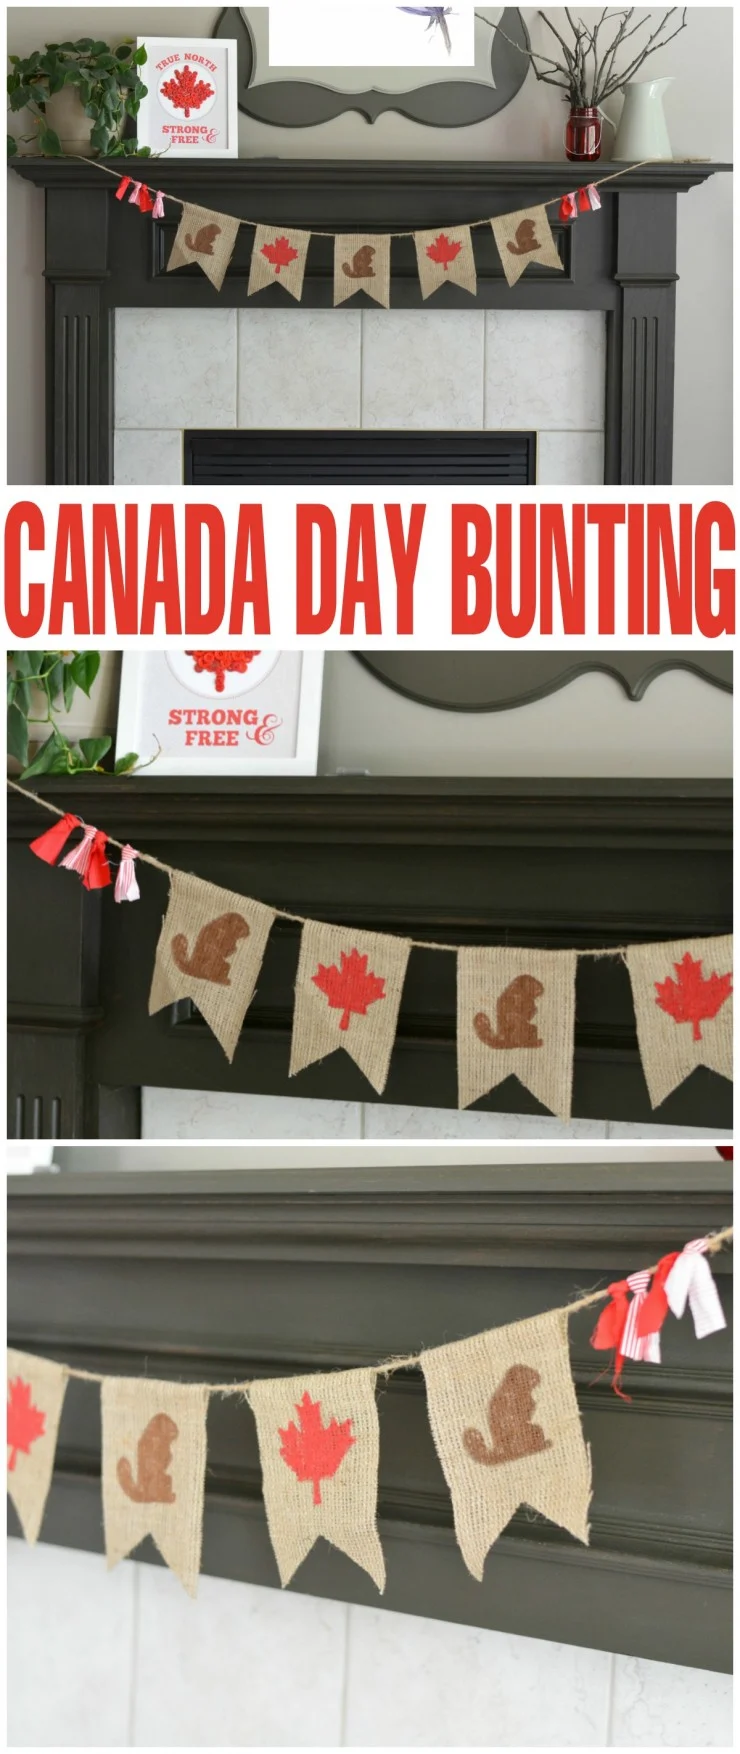
Celebrate Canada Day this year with an easy to make DIY patriotic decor project: Canada Day Bunting with a free printable template.

Happy Canada Day! There is still a little time left to decorate before you really celebrate this year, so here is a fun and really easy bunting banner made with burlap, a little paint and my free printable template.
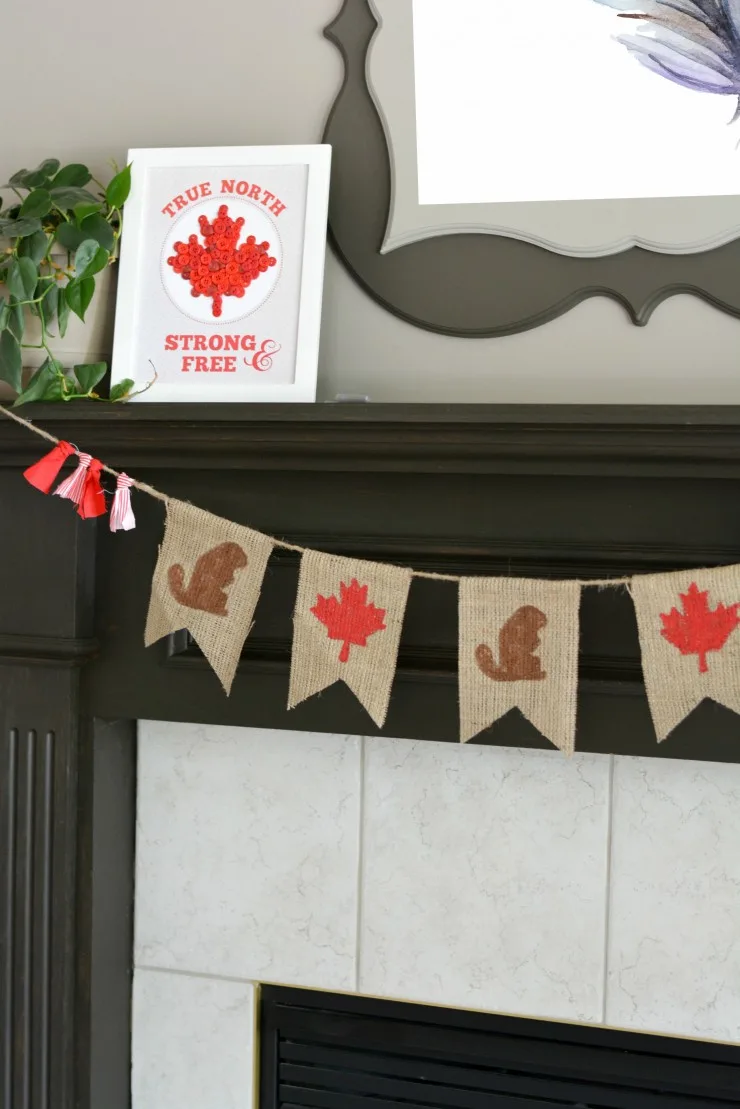
It looks great on the mantel along with the True North Strong & Free Button Art project I shared with you all last year. Don’t you think?
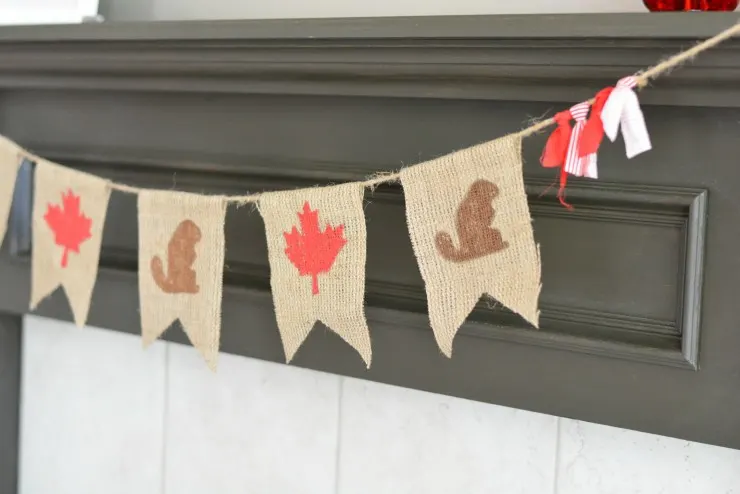
Now that I have the decor down, the house cleaned, and dinner pre-made – I am ready to spend the long weekend with my family as unplugged as I can get.
We’re going to celebrate this year by taking the girls to see the fireworks show the city puts on every year. We missed taking them on Queen Victoria Day and spent a good half hour looking out our windows at the fireworks when the girls woke up crying that a ghost was knocking on their doors. (Thank you for that one Paw Patrol!)
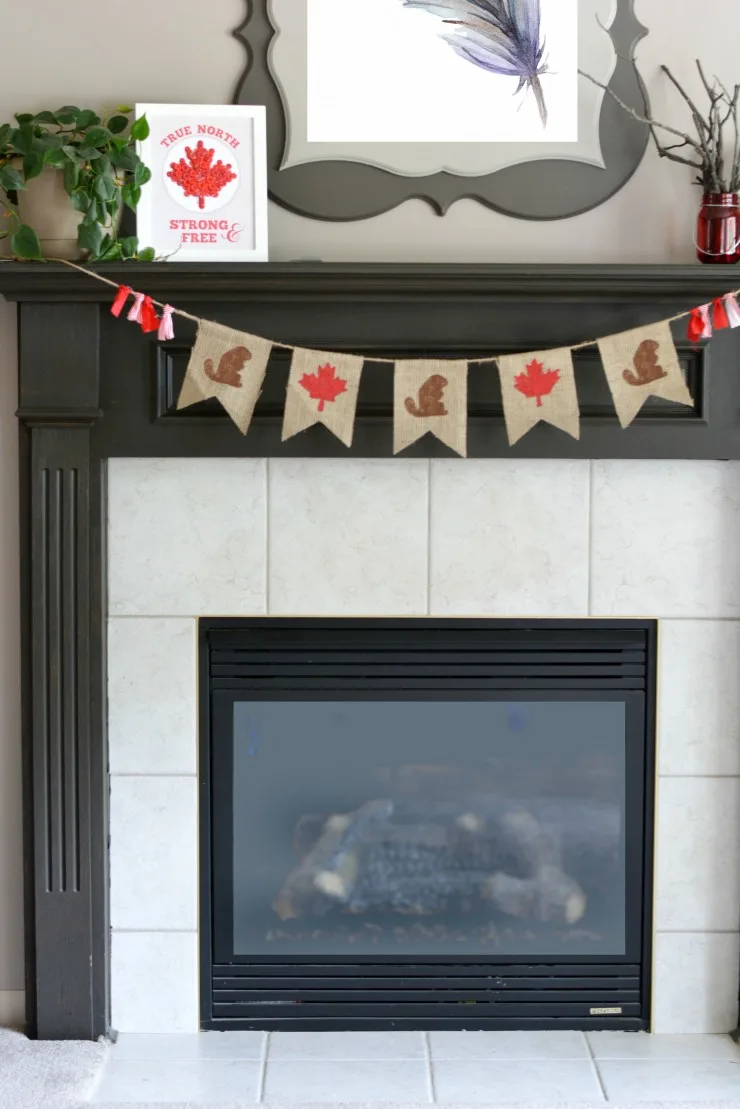
Canada Day Bunting with Free Printable Template
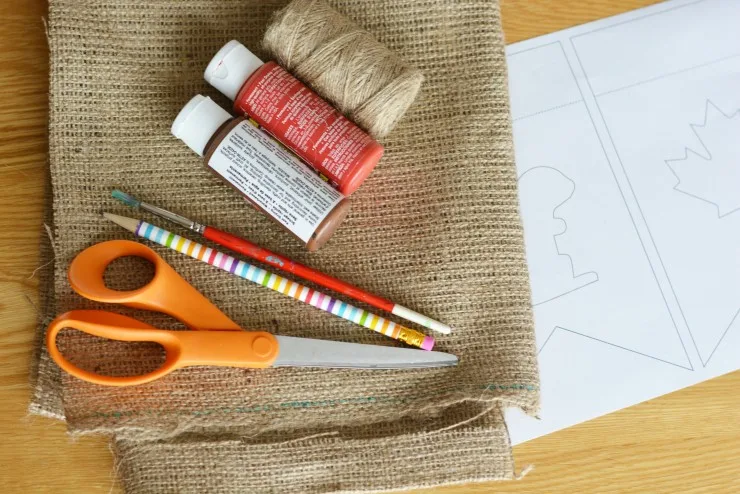
Materials:
Burlap Material
Scissors
Pencil
Twine
Brown Acrylic Paint
Red Acrylic Paint
Paint Brush
Hot Glue
Wax Paper
Pen
Scrap (red) fabric
Directions:
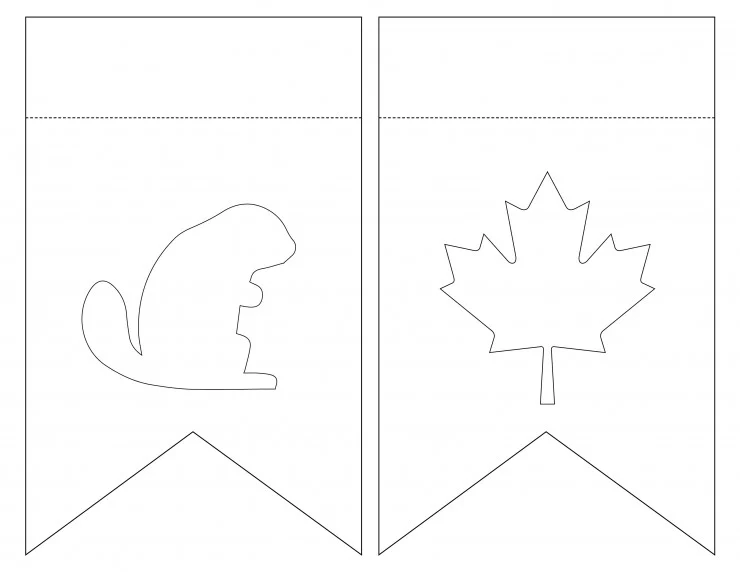
Use the template to cut out burlap flag shape.
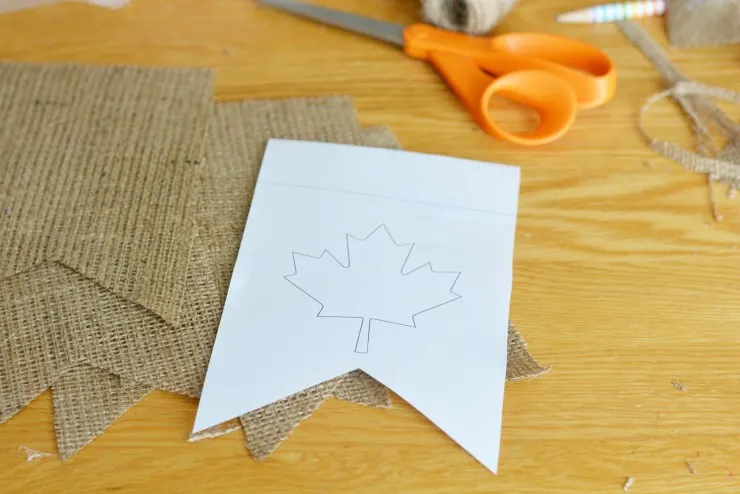
The dashed line is where the flag folds to hang onto the twine.
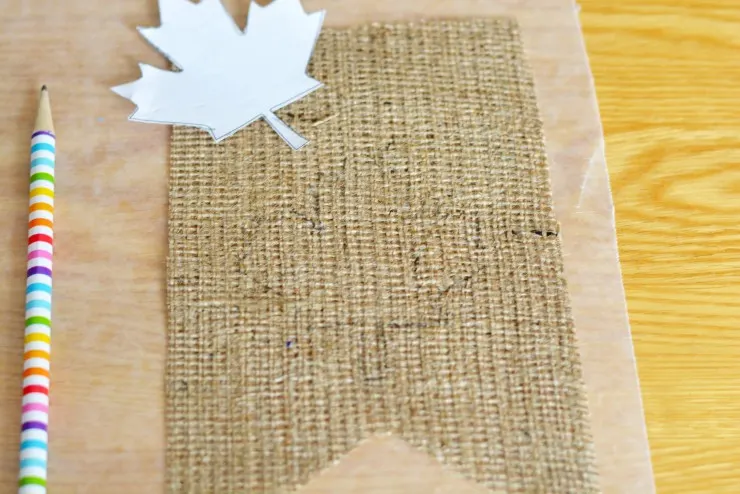
Once you’ve cut out all of the flags you want, cut out the maple leaf and beaver on the paper template.
Place wax paper on a flat surface and place one banner shape onto the was paper. Use a pencil to trace the outline of the beaver and maple leaf onto the burlap.
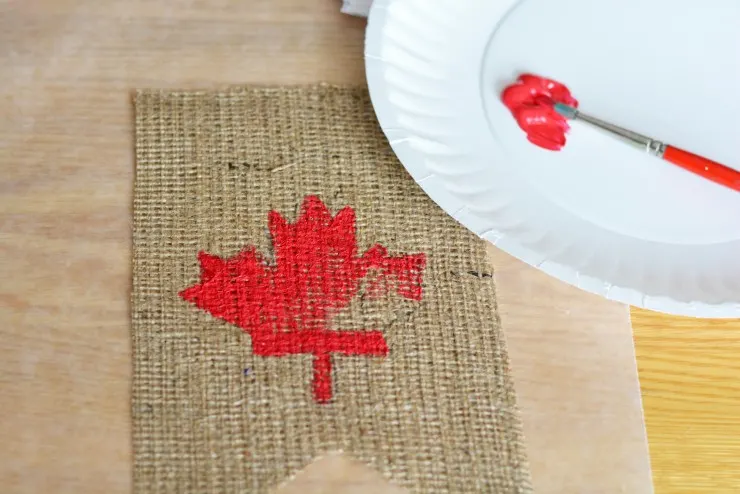
When finished, paint the leaf red and the beaver brown. Let dry.
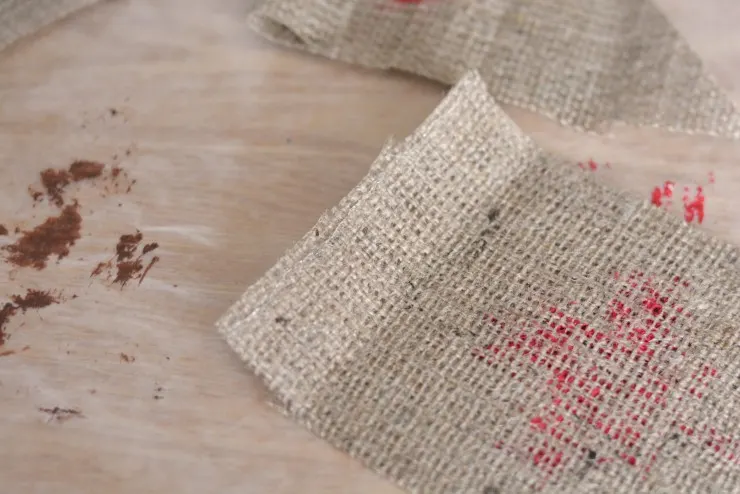
Fold over the top portion of the banner.
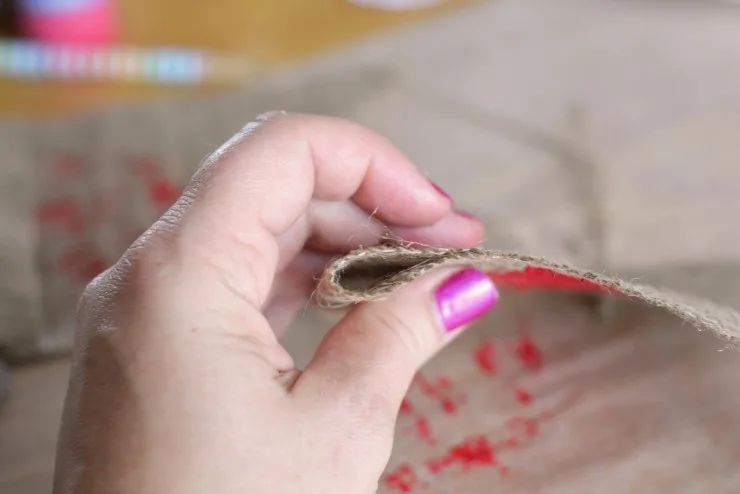
Apply a thin strip of hot glue to the edge and fold over to affix.
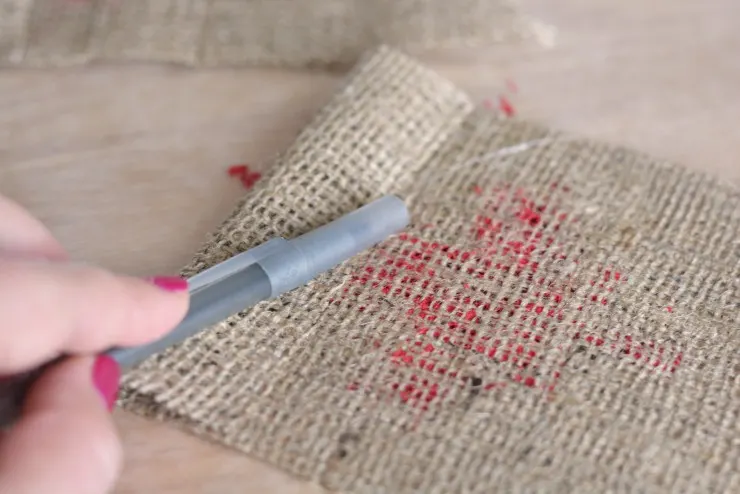
The hot glue will sneak through the burlap, so use something like a plastic pen to press it together. You want there to be an opening so you can thread through the twine. Repeat until all banners are finished.
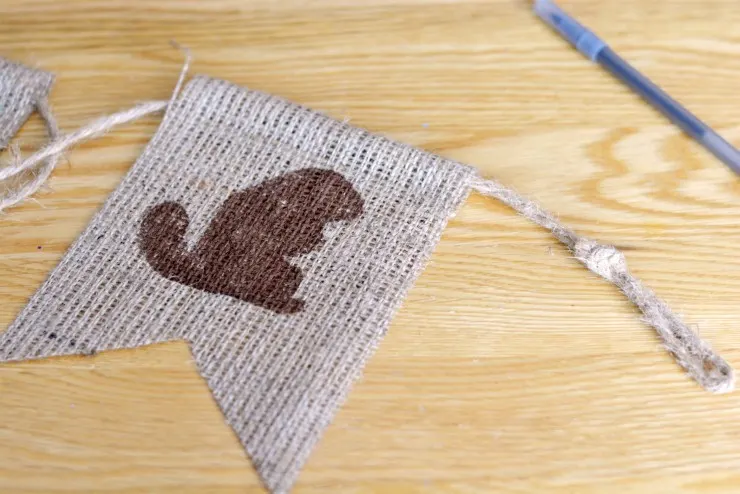
Cut your twine 8″ longer than desired and slip knot each end. Trim excess. Thread your twine through the ends of the banners, using a pen if necessary to shove the twine through the banner.
Cut 8 pieces of scrap fabric about 5″ long by 1″ wide. Fold in half longways before attaching to the ends of the banner twine with a slip knot. Trim if necessary.

Elizabeth Lampman is a coffee-fuelled Mom of 2 girls and lives in Hamilton, Ontario. She enjoys travelling, developing easy recipes, crafting, taking on diy projects, travelling and saving money!

