Kellogg’s Rice Krispies Holiday Ornaments

Have I mentioned lately that I love being part of the Kellogger’s Network? I received a “gift” from Kellogg’s this week in a bright red box full of awesome goodies. I couldn’t wait to get started making Rice Krispies with this awesome kit. I used my kit to make Holiday “ornaments” thanks to the inspiration of Lisa Sanguedolce, a top Canadian cake decorator who teamed up with Kellogg’s Rice Krispies.
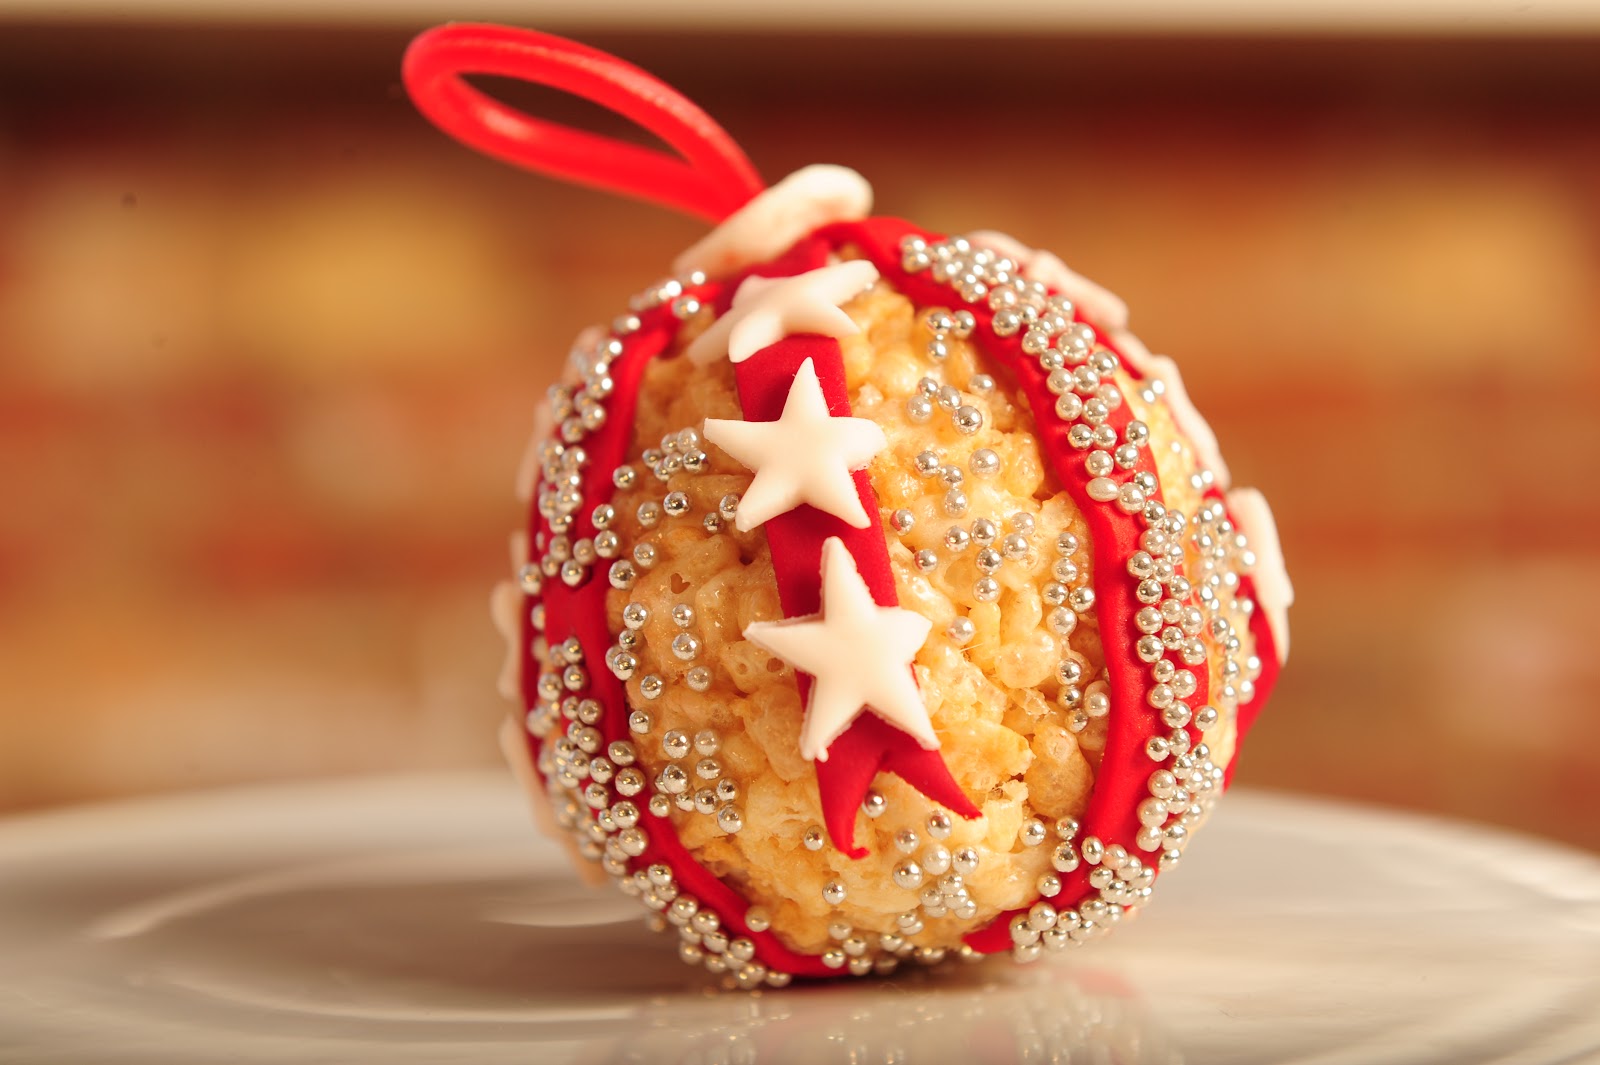
Kellogg’s Rice Krispies Holiday Ornament
What You’ll Need
- 6 cups (1.5 litre) Kellogg’s Rice Krispies cereal
- 250g (1 pkg) Marshmallows
- 1/4cup (50ml) Butter or Margarine
- 2ml (1/2 tsp) Vanilla extract
- Red licorice string
- Red and white fondant and edible silver balls (available at cake decorating supply shops, crafting or grocery stores)
- Ruler, bamboo skewer, pizza cutter, rolling pin and paint brush
- Wrapping: cello bags, ribbon, and mini decorative bulbs (available at local crafting stores)
Make the Rice Krispies Base
1. In a large microwave safe bowl, heat margarine and marshmallows at HIGH for 3 minutes, stirring after 2 minutes
2. Stir in vanilla. Stir in Kellogg’s Rice Krispies cereal until well coated. Allow mixture to cool slightly; form into shape.
Shape the Ornament
1. Form Kellogg’s Rice Krispies cereal mixture into half balls, leaving space in the centre
2. Poke a small hole in a piece of fondant with bamboo skewer and thread with your red licorice to make the loop for hanging
3. Place the loop inside the ball and add more Kellogg’s Rice Krispies mixture to close the ball around the licorice so the loop sticks out; add more mixture as needed and mold with hands into ball shape
Decorate!
1. Roll fondant into a sheet using a rolling pin
2. With a ruler and pizza cutter, cut fondant into long strips; place onto ornament working your way around, cutting any excess
3. Use a very small cookie cutter decorating tool to cut out fun shapes from the fondant
4. Dip the paint brush in some water and brush onto the fondant; sprinkle on edible silver balls
5. Once complete, package the Kellogg’s Rice Krispies ornament in a cellophane bag, adding ribbon and mini decorative bulbs for the perfect holiday gift!
You can also watch a step-by-step video by visiting http://www.youtube.com/RiceKrispiesCanada
Disclosure: I received a sample of the product in order to facilitate my review. All opinions are my own.


These will be nice for the holidays
Wow! These look awesome! Thanks for the idea. Cant wait to make these with my little girls 🙂
It looks lovely!!! I will do this crunchy yummy divine Christmas balls!!Thank you for this recipe 🙂 🙂 🙂 🙂
So cute… I remember the first tree we had was decorated only in food stuff…. good thing when you have little storage.
These are awesomely gorgeous…a must to try!
these look amazing !! i love the creativity im defiantly gonna have to make these with my daughter!
oh my gosh these are so cute! my kids would love to help make these.. they are so neat!
i want to do this with my kids. for thanksgiving, i made turkey pops from balls of rice krispies.
awesome but how to you get picked for the Kellogger’s Network?
Ava, if you check under affiliations in my sidebar and click on the button for the Kellogger’s network there is a sign up to join. Good luck! 🙂
These are too cute! I love giving away cookies/baked goods to co-workers for the holidays, and I’ve been looking for something else to go along with my cookies. These would be perfect! And not super complicated. I love it! Thanks for sharing these!
Wow are these creative. The only thing I have mad with Rice Krispies is the same bars that everyone makes. i wonder if you could hang something like this on outdoor trees for birds to eat if you didn’t cover them with sugary frosting.