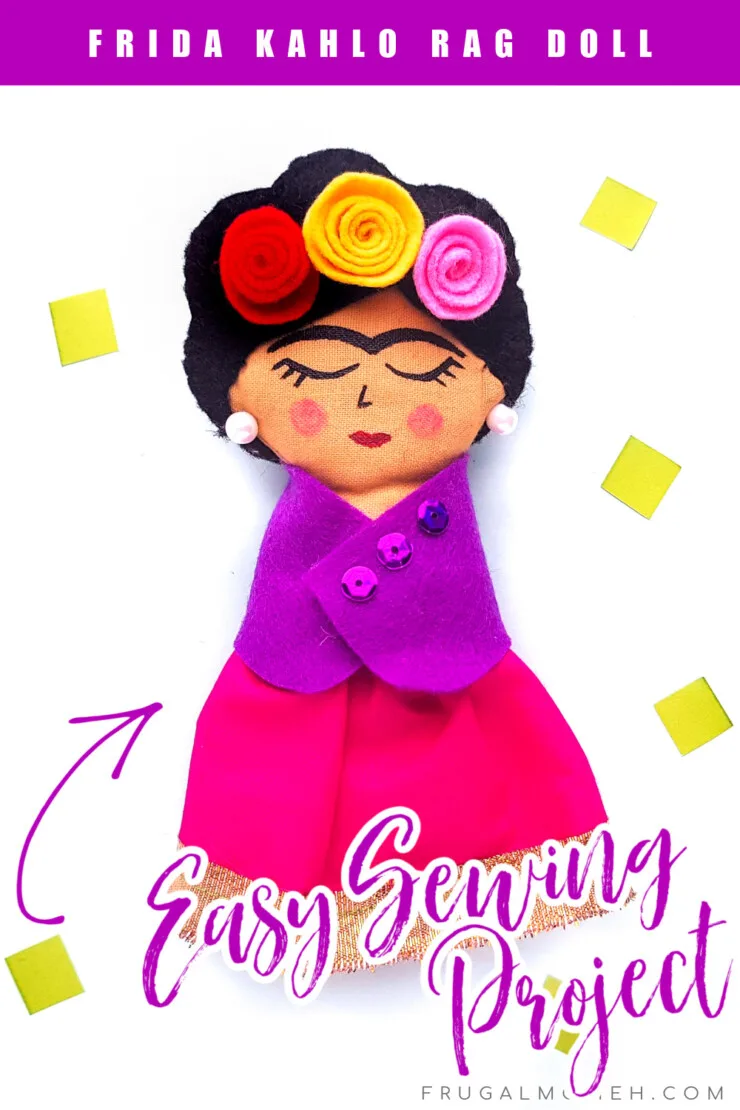
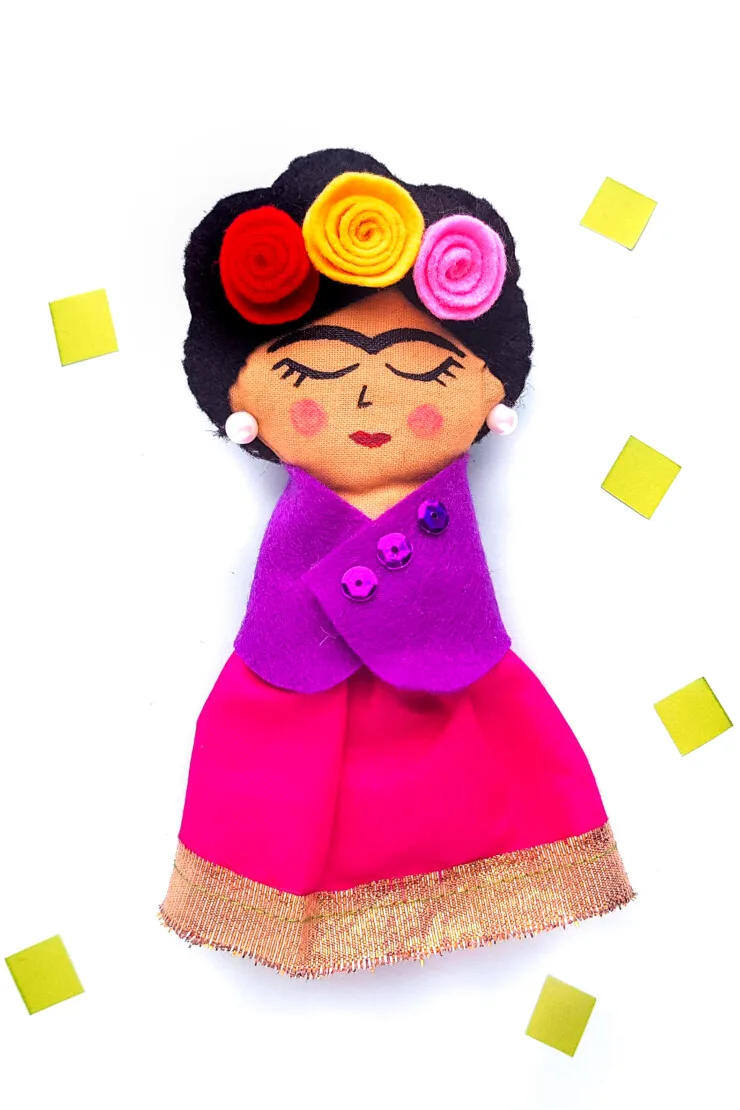
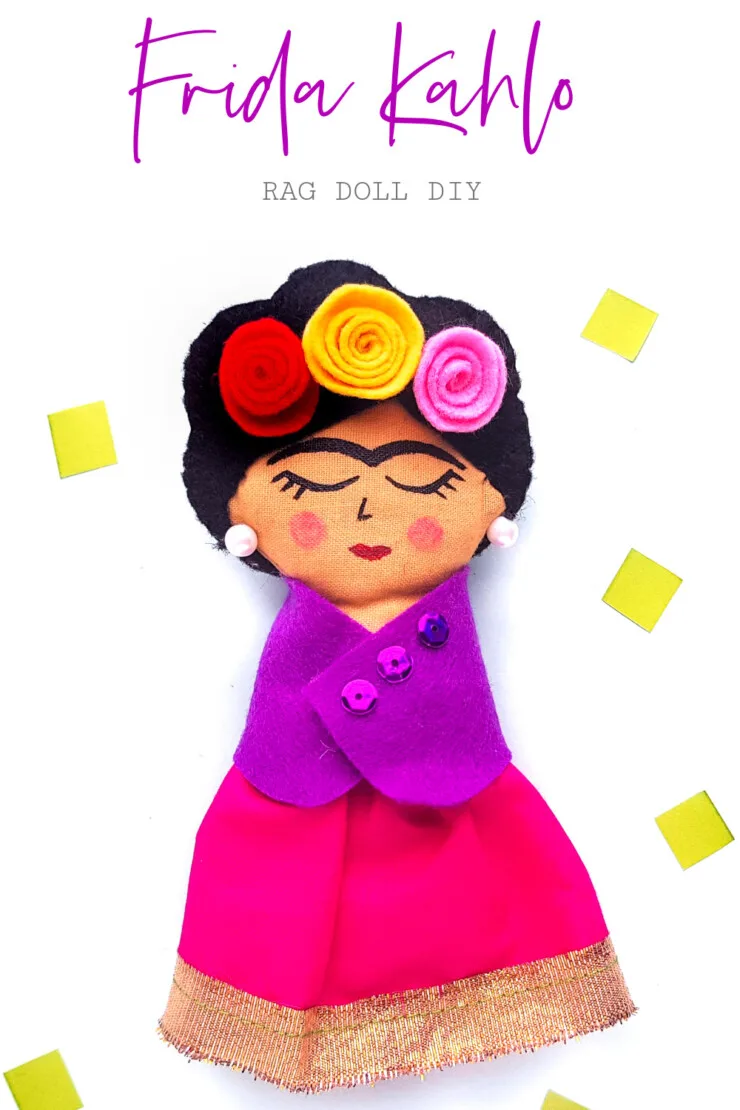
This DIY Frida Kahlo Rag Doll is an excellent beginner sewing project that includes an easy to use free rag doll pattern.
How to Make a Rag Doll
In this tutorial for the Frida Kahlo Rag Doll, you will learn how to make a rag doll step-by-step.
This easy rag doll pattern is one for a very basic handmade cloth doll, it is even easy enough for older kids to tackle.
This rag doll tutorial is a great jumping off point to really get creative as you master the art of rag doll making.
When it comes to fabric for making rag dolls, the only fabric that really matters is the fabric you choose for the body. Be sure to choose a plain, flesh toned cotton fabric that has a nice stretch to it.
Who was Frida Kahlo
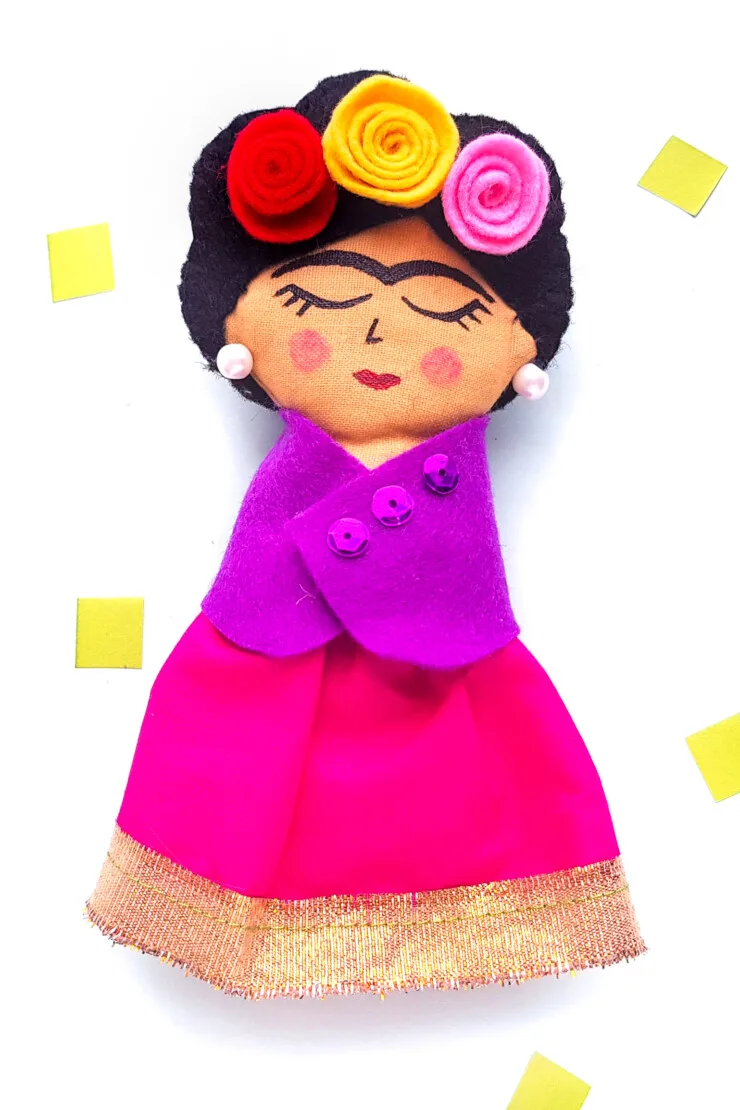
Frida was a Mexican artist known for her uncompromising and vividly coloured self-portraits. She was really an inspiring woman because during a time when being ultra feminine was everything, she was bold and strong enough just to be herself.
If you would like to explore Frida more I would recommend picking up a copy of Frida : A Biography of Frida Kahlo by Hayden Herrera.
DIY Frida Kahlo Rag Doll
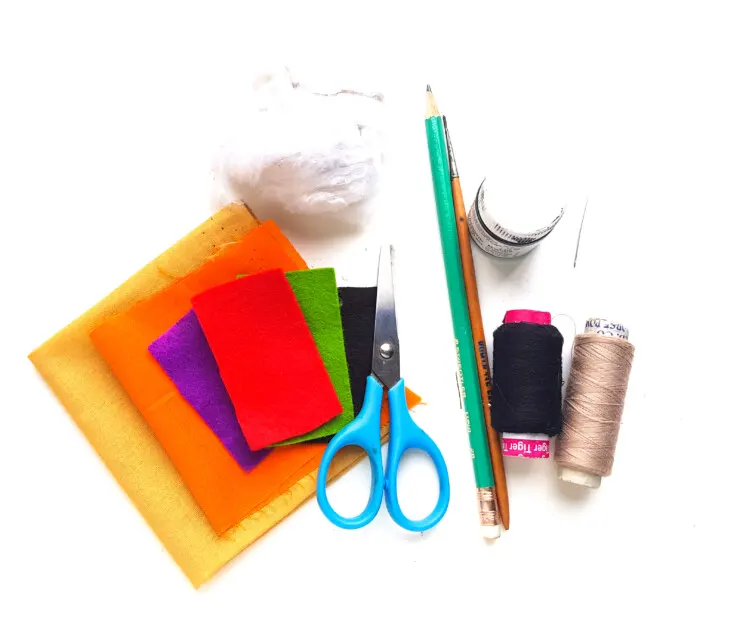
Supplies:
Fabric – different colours, plain tan cotton for body
Pencil or fabric chalk
Needle and thread
Polyester Filling
Felt
Beads
Sequins
Scissors
Frida Rag Doll Printable Template
Instructions:
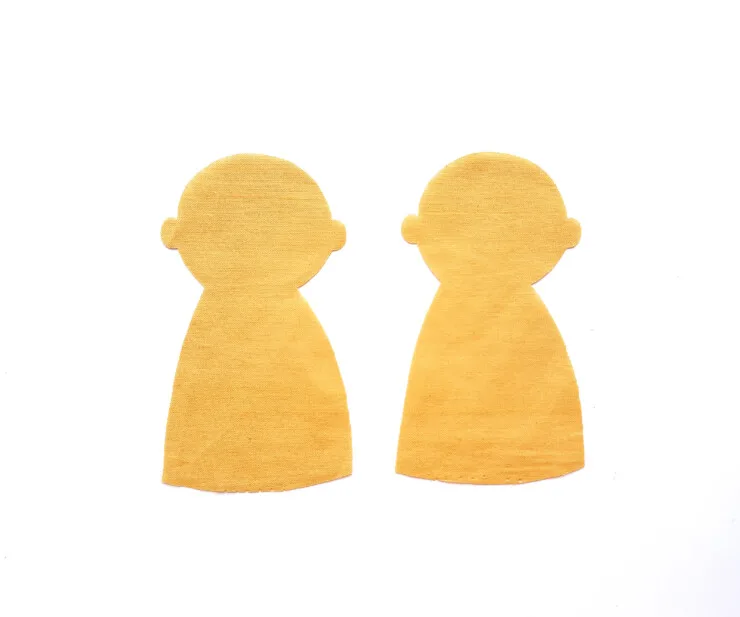
Select a fabric for the doll base and black or dark brown felt for the hair. Select different colored fabrics of your choice for the dress and accessories for the Frida doll. Trace the rag doll patterns (2) on the fabric selected for the doll. Cut out the traced pattern from the fabric.
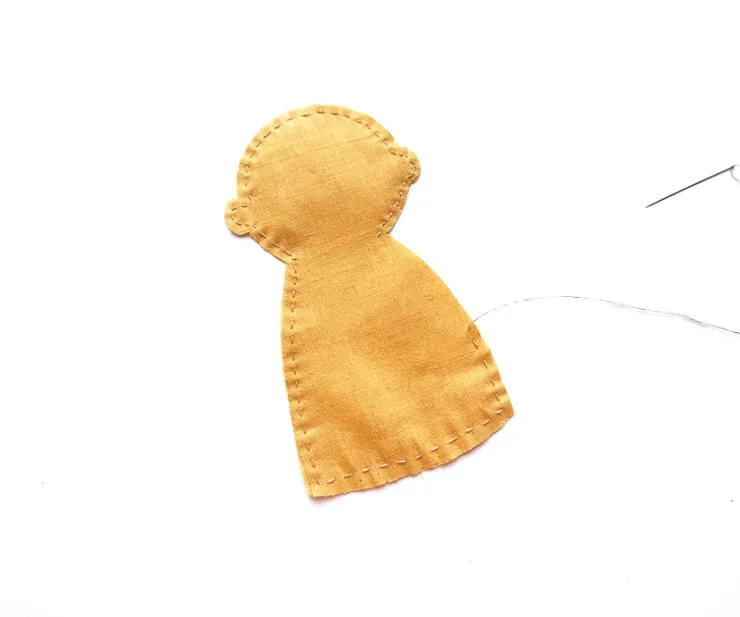
Now place the both body bases on top of each other with their wrong sides facing out. Prepare needle and thread to stitch around the side of the fabric patterns to join them together around the sides.

Keep a small opening to turn the doll base to the right side.
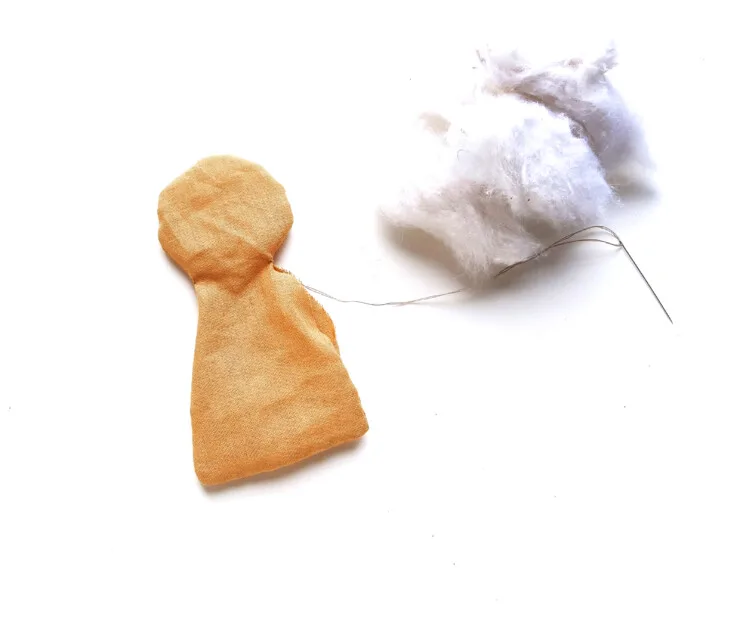
Turn the right side out through the small opening. Keep the small opening for stuffing the doll base. I’m using cotton for stuffing the doll.
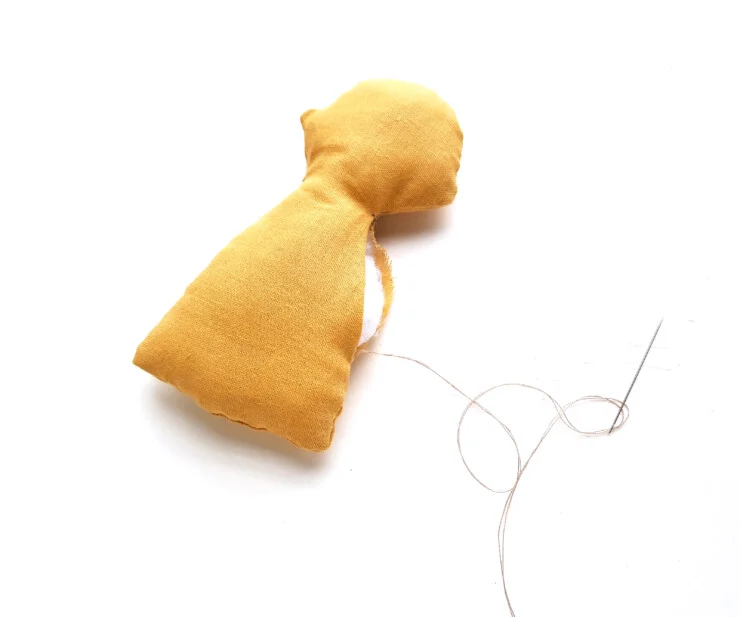
Stuff the doll base with cotton through the small opening until you are satisfied with the pattern. But make sure that the stuffing isn’t too tight; keep it nice and fluffy.
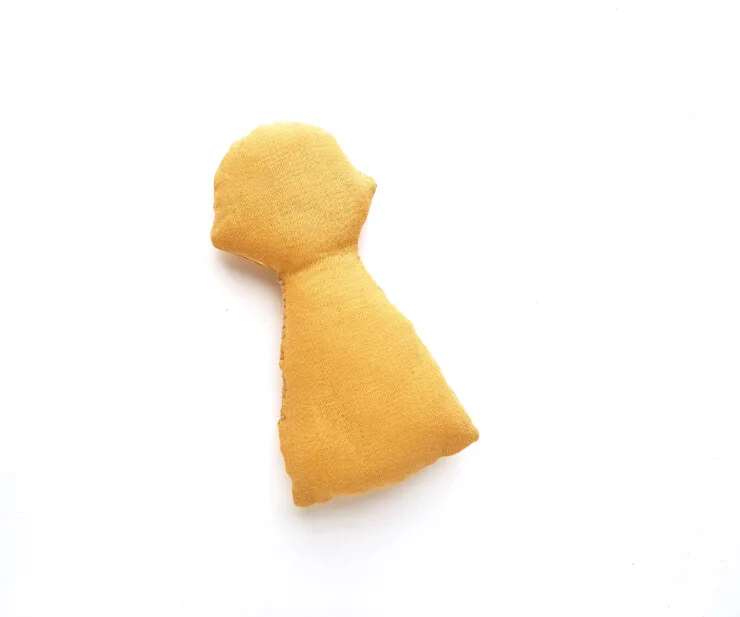
Stitch the small opening using needle and thread to secure the stuffing.
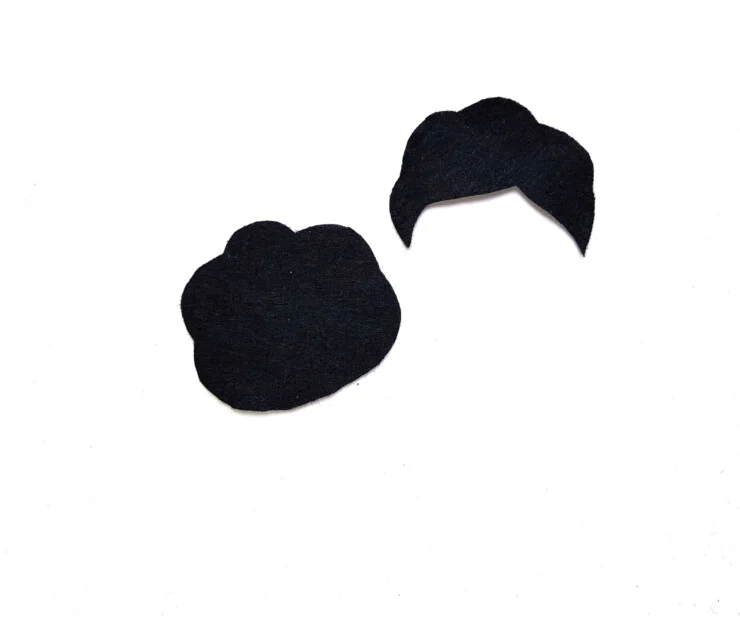
Trace and cut out the hair pattern from black or dark brown felt fabric.
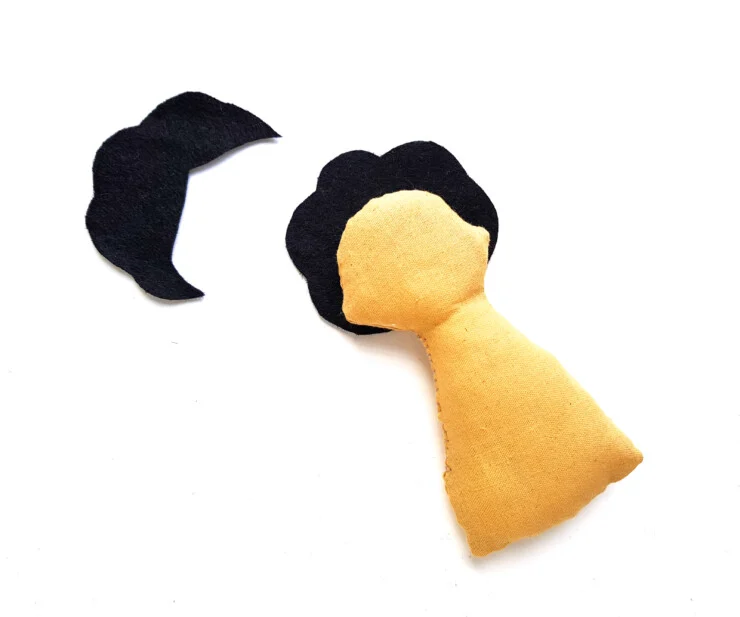
Place the full hair pattern on the back side of the head part (of the doll base).
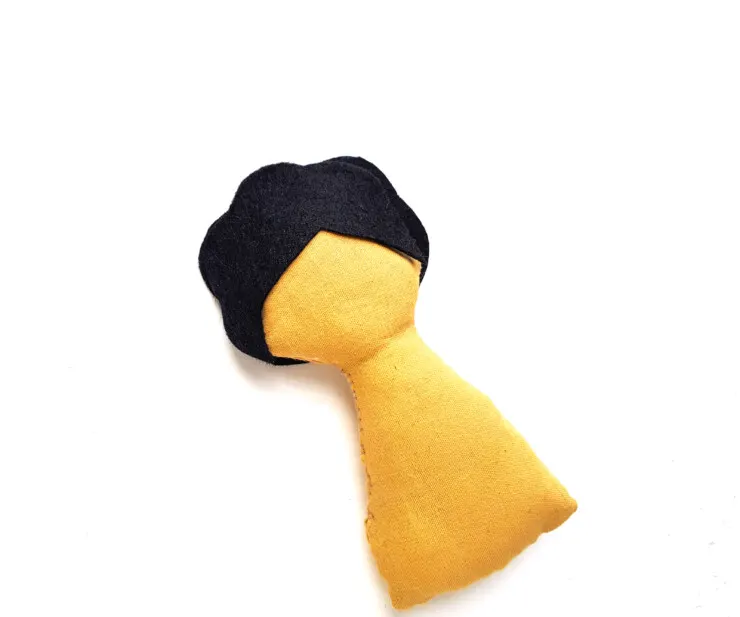
Place the semi-hair pattern to the front side of the head; making sure that the sides of both hair patterns match nicely.
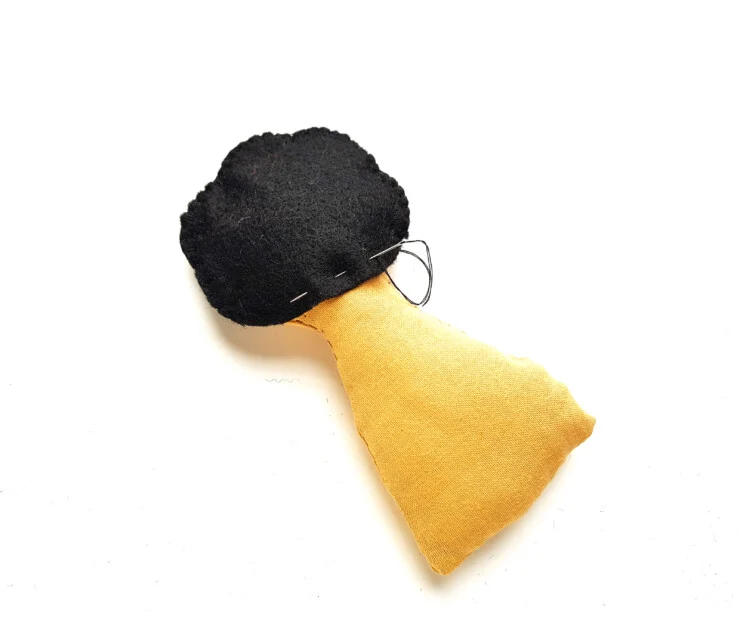
Prepare needle with black thread and stitch around the outer side and back side of the hair pattern. When stitching the backside make sure to stitch the hair along with the base.
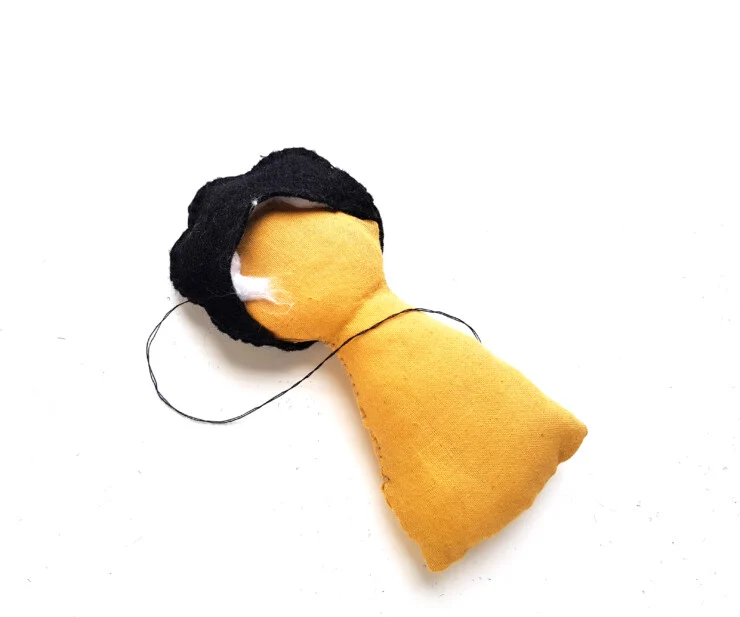
Keep the front side of the hair open for stuffing. Fill the hair part with cotton.
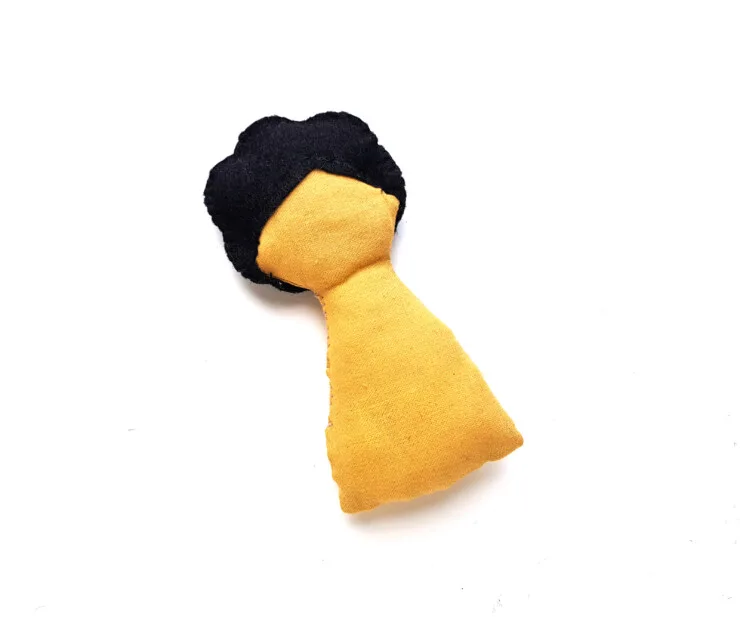
When you’re done stuffing the hair part; stitch the front open end of the hair with the base as well.
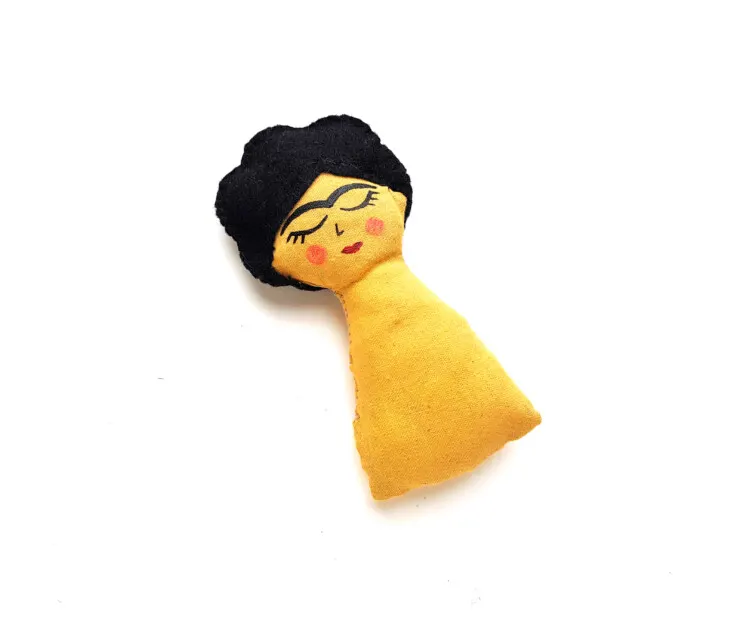
Use fabric paints to draw the eyes, nose and lips (other details if you wish) of the Frida rag doll.
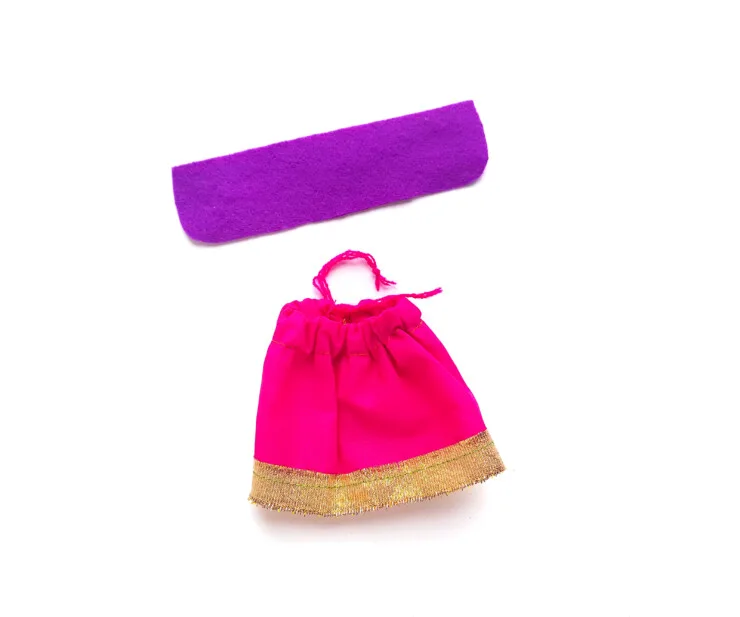
Simply cut a rectangle piece from a felt for the top part of the dress (scarf) and stitch a simple plain skirt from any fabric of your choice.
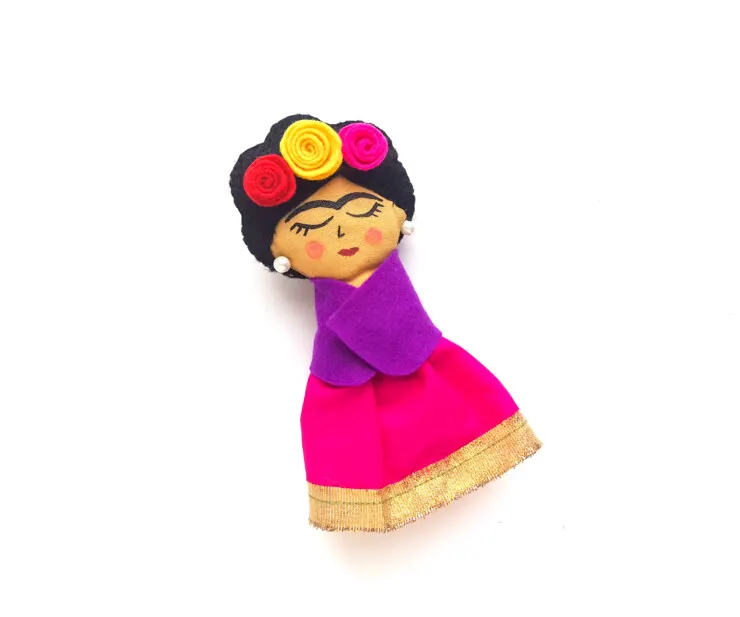
You can use small fabric flowers, beads and stones to decorate the hair of the doll. You can either use hot glue to join them or stitch to join them.

Elizabeth Lampman is a coffee-fuelled Mom of 2 girls and lives in Hamilton, Ontario. She enjoys travelling, developing easy recipes, crafting, taking on diy projects, travelling and saving money!

Dandi D
Tuesday 27th of October 2020
This is really cute and would be great to make with my daughter!
Shirley O
Tuesday 27th of October 2020
This is a super cute craft project and it looks easy to make too.