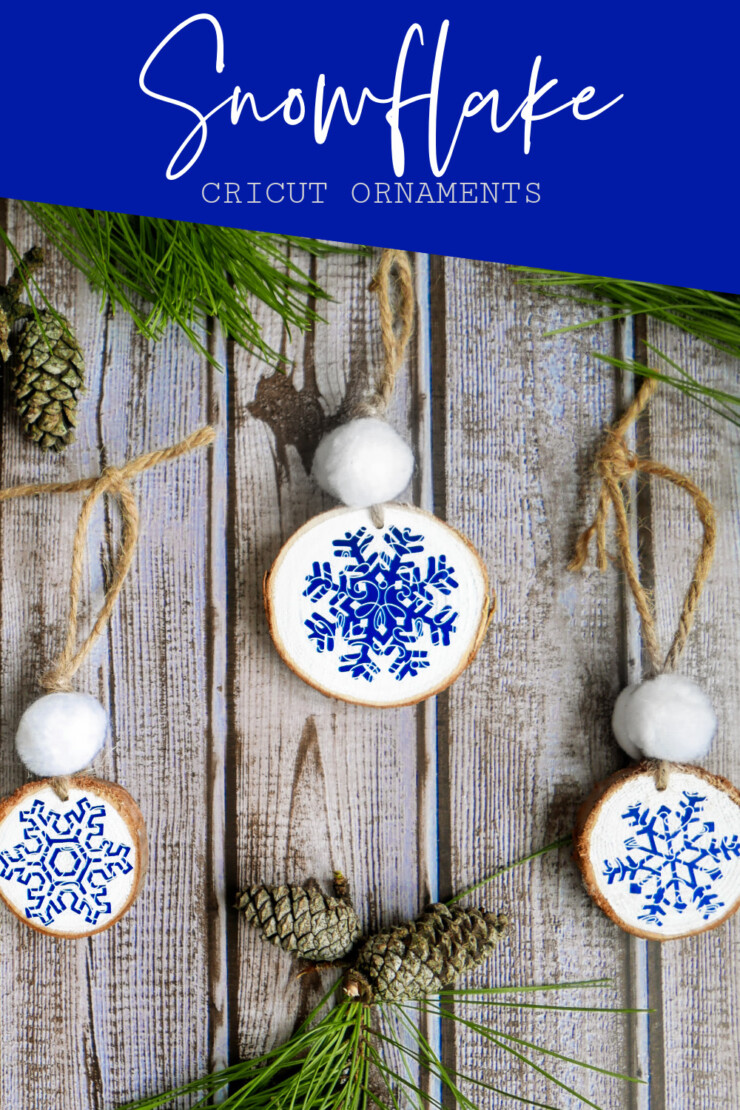
Cricut Snowflake Ornaments
These Cricut Snowflake Ornaments are easy to make and give your Christmas tree a Nordic inspired rustic look.

These rustic Nordic look ornaments are easy enough for any crafting level and take just 10-15 minutes to make. All you need is a cricut cutting device, vinyl, wood slices and other basic supplies.

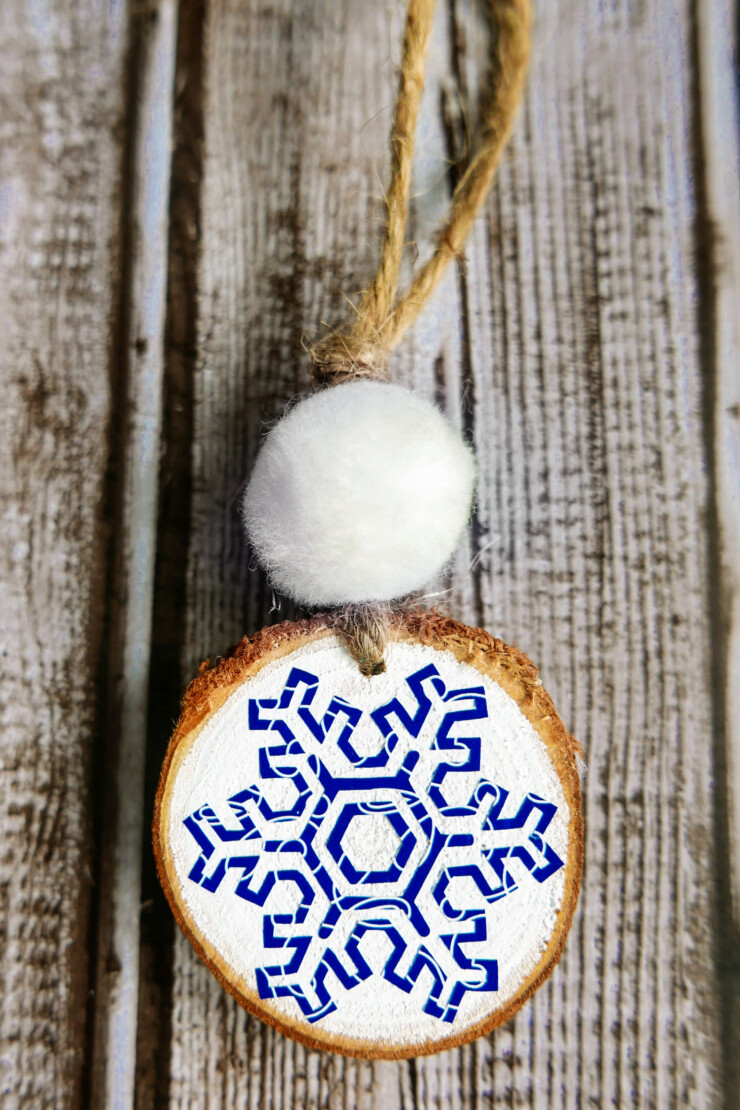
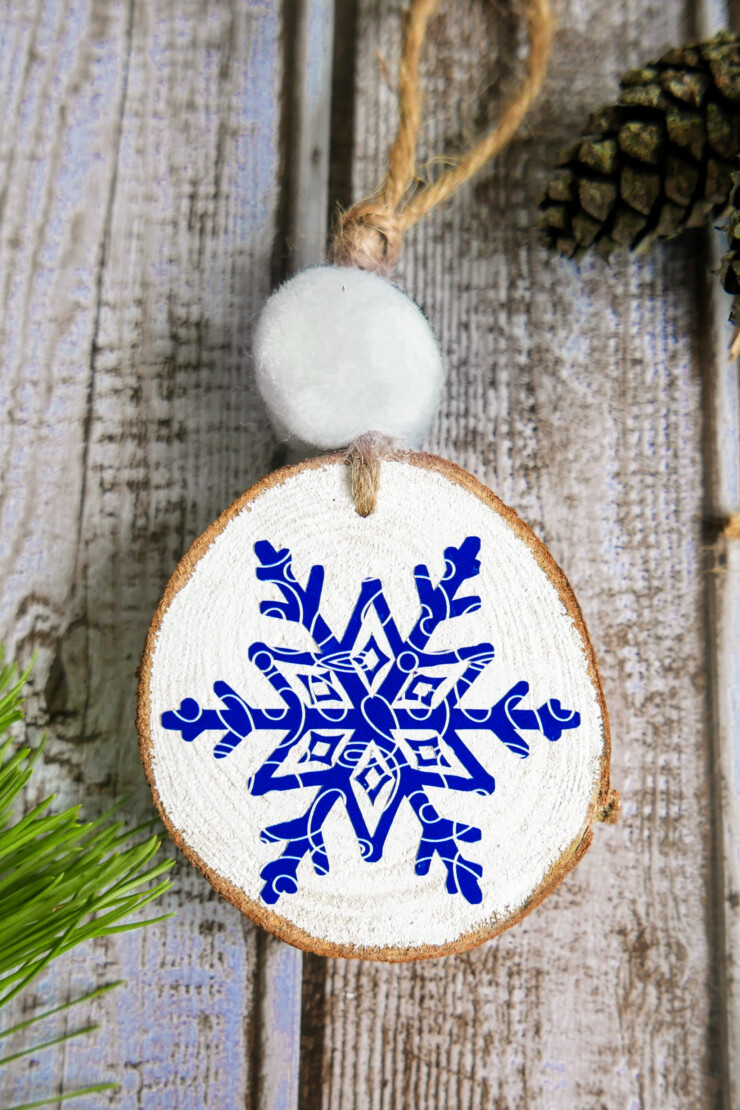
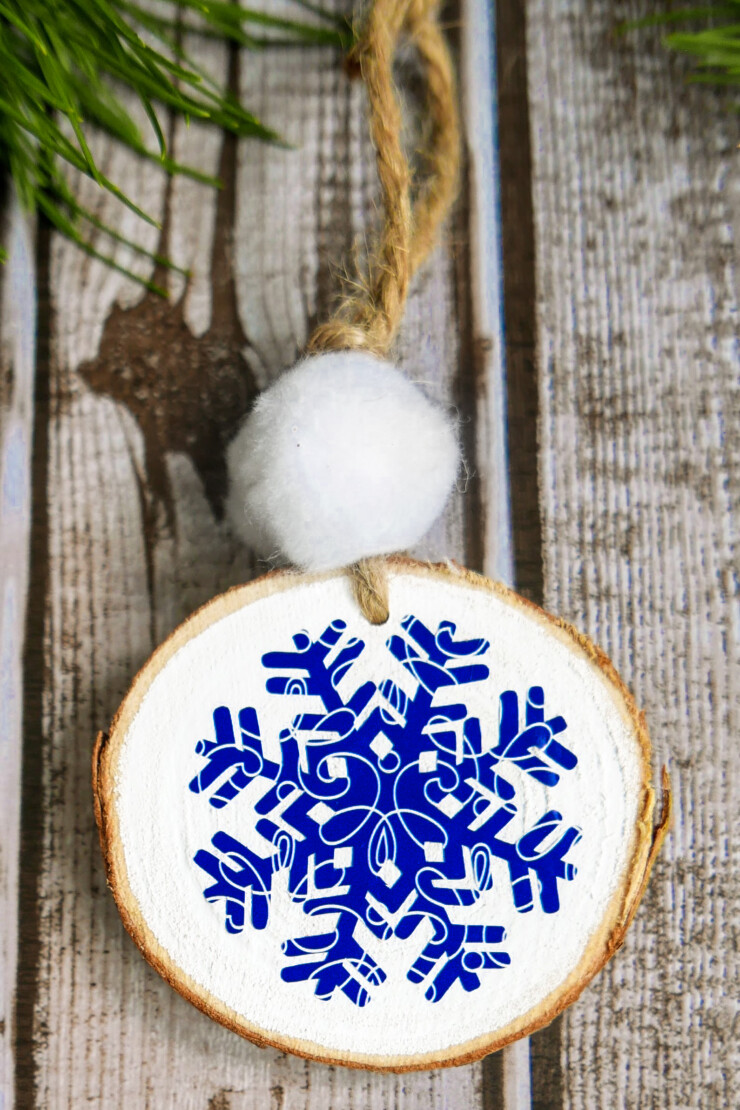
I love how these snowflake ornaments really pop against my Christmas tree. The stark white and royal blue really shine against the green backdrop of pine needles. The look is softened with the live edge of the wood slices and the soft white poms.
About the Vinyl used for this Cricut Ornament Craft
I used Cricut Premium Vinyl in Filigree Blue for this project but any decorative royal or dark blue adhesive vinyl would work.
You can certainly experiment with other colours but they should be darker jewel tones for best effect.
Handmade Ornament Gifts
These Cricut Snowflake Ornaments are not only a really charming way to decorate a tree, but they also make for adorable gifts.
Use them as tags tied onto boxes of cookies, poinsettia plants, gift cards, and more.
If you’re in the holiday crafting spirit these rustic cricut ornaments make easy and inexpensive gifts for neighbours, teachers, friends and others on your list!
Looking for more Handmade Rustic Christmas Ornaments?
Check out some of my favourite handmade Christmas Ornaments:
Wood Slice Woodland Doe Ornaments

Cricut Snowflake Ornaments
Level: Easy | Time: 15-20 minutes
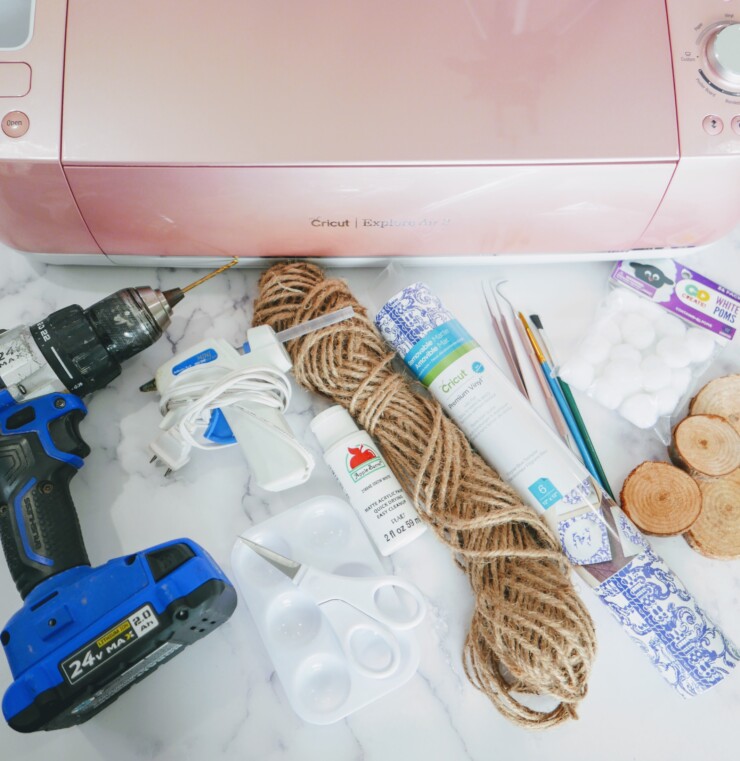
Supplies:
Cricut Premium Vinyl, Filigree Blue (or any decorative blue adhesive vinyl)
Weeding tools
Small wood rounds/slices
Drill
Cricut Explore Air 2, or similar cutting device
Snowflake SVG
White acrylic craft paint
Craft paint brushes
Painter’s Tape
Scissors
Craft jute twine
Hot glue gun and glue sticks
Small white pom poms
Directions:
Open the Snowflake SVG in Design Space. Adjust the sizes of the snowflakes to fit your wood rounds.
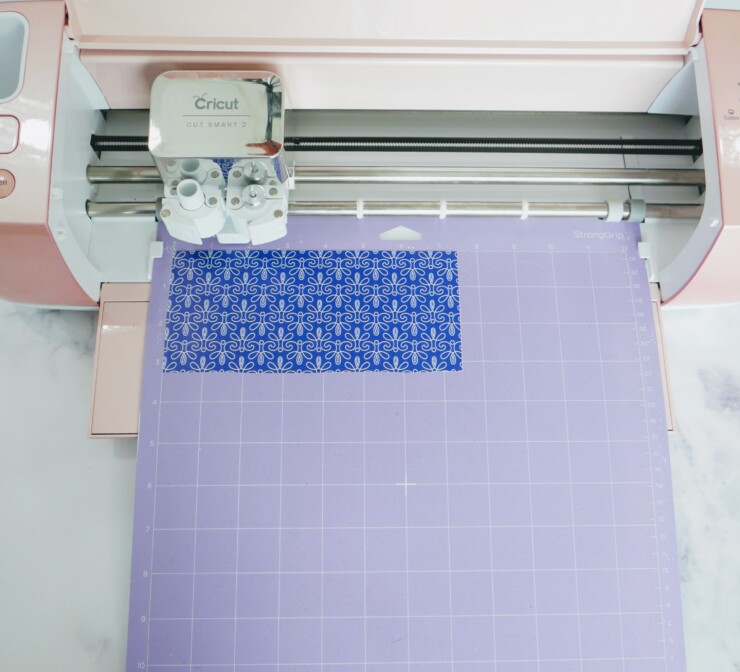
Ensure your Cricut, or similar cutting device, is set for cutting Vinyl. Place one sheet of the Filigree Blue Sampler vinyl of your choice on a cutting mat, and follow the prompts to cut the four snowflakes.
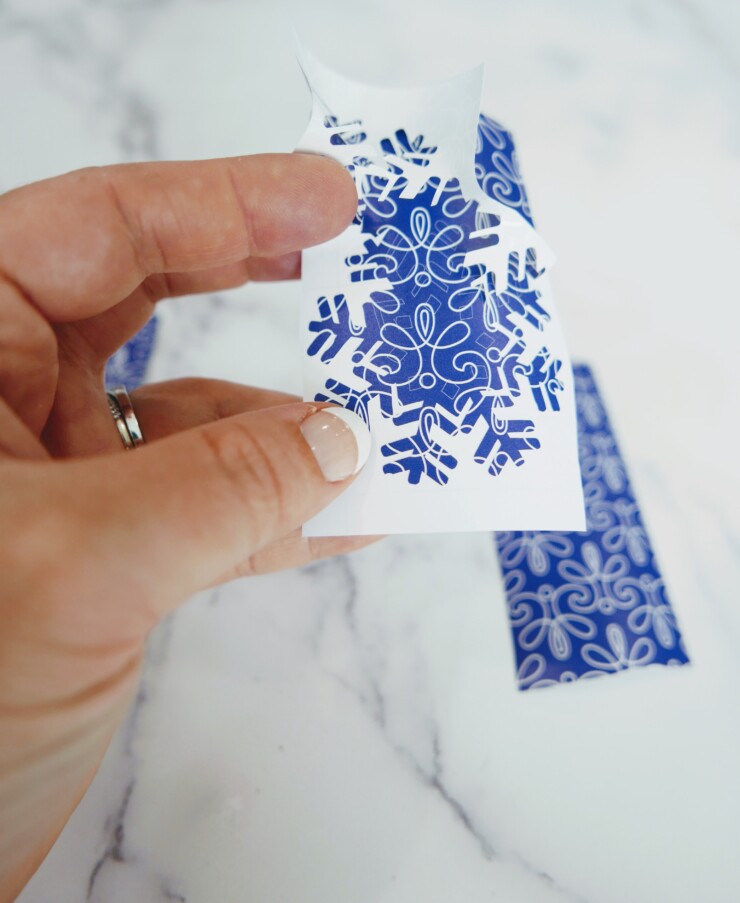
Remove from the mat, and separate the snowflakes with scissors.

Using weeding tools, remove all excess vinyl from the snowflakes.

Drill a small hole in each of the four wood rounds towards the top of the round.
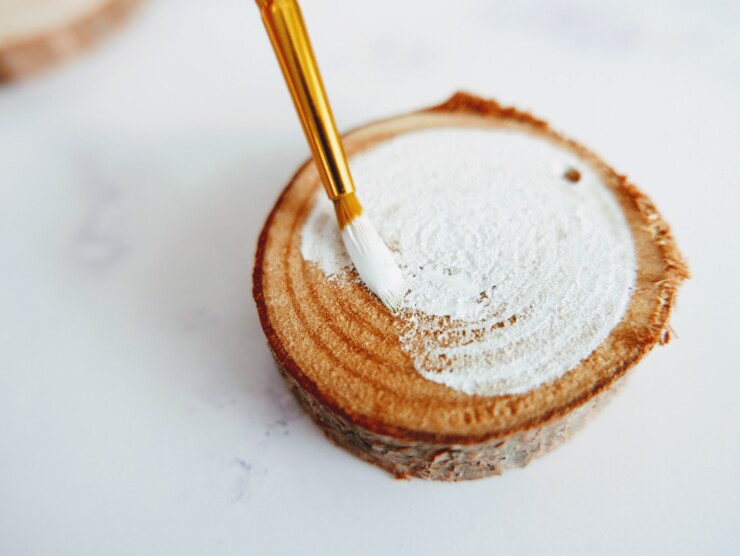
Paint the front face of the wood rounds with white acrylic craft paint and a small paint brush. Let dry completely, or the acrylic will not adhere to the wood round.
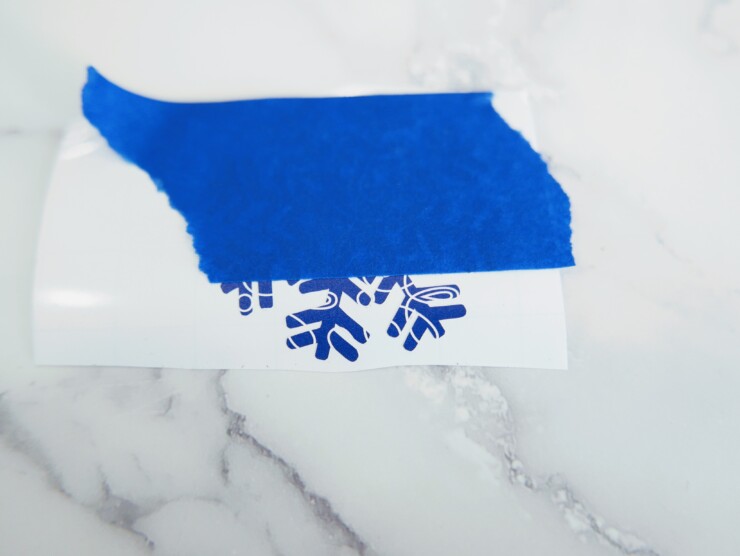
Cover vinyl with layers of Painter’s Tape.
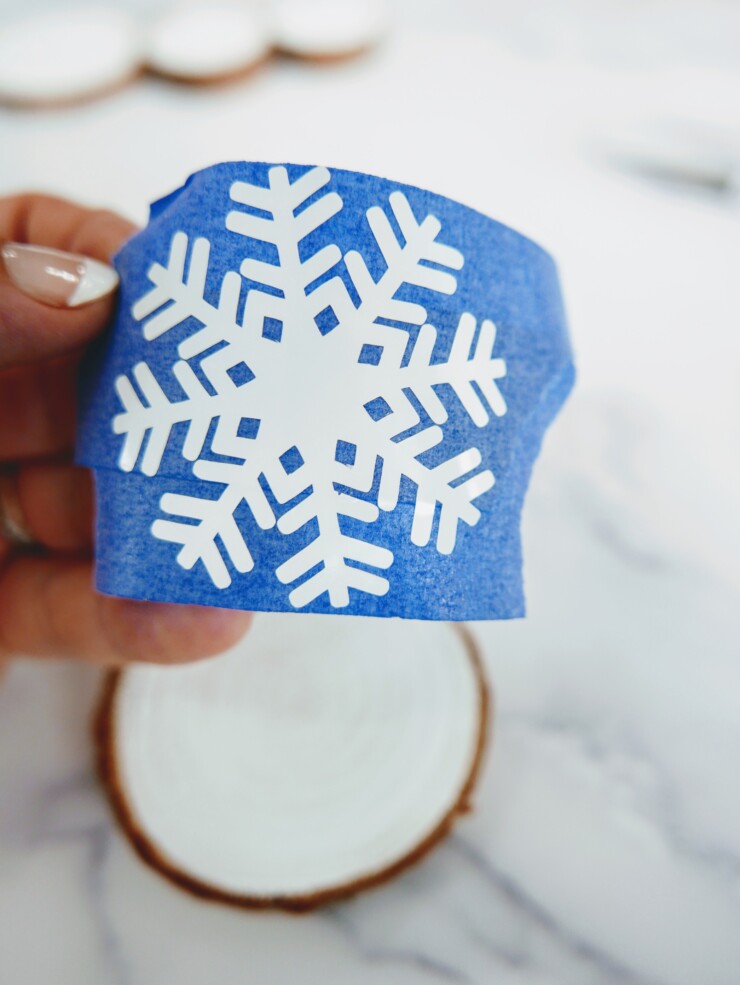
Note: Transfer tape can remove the paint, so using Painter’s Tape instead will protect the freshly painted wood rounds.
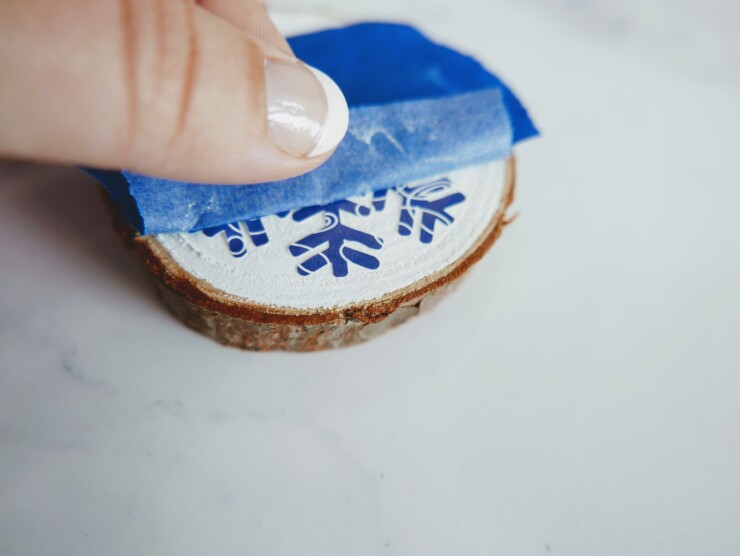
Remove from paper backing and apply the vinyl snowflakes to each of the wood rounds.

Note:if you are having trouble getting the vinyl to stick, using a hair dryer on the warm setting on low will slightly heat the vinyl, and help it to adhere)
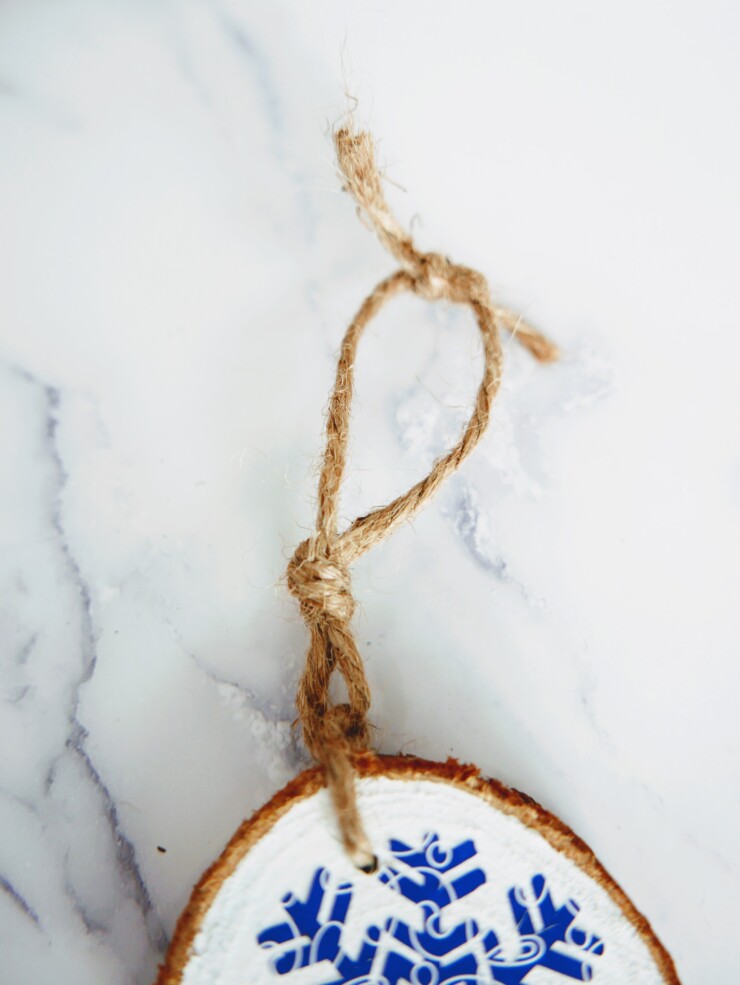
Cut four pieces of craft jute twine approximately 15”. Thread each piece through the hole in the wood round, twisting as you go to help keep the twine together as you thread. Tie a double knot against the wood. Tie another knot approximately 1” above the first knot, then tie a double knot at the top of the twine.
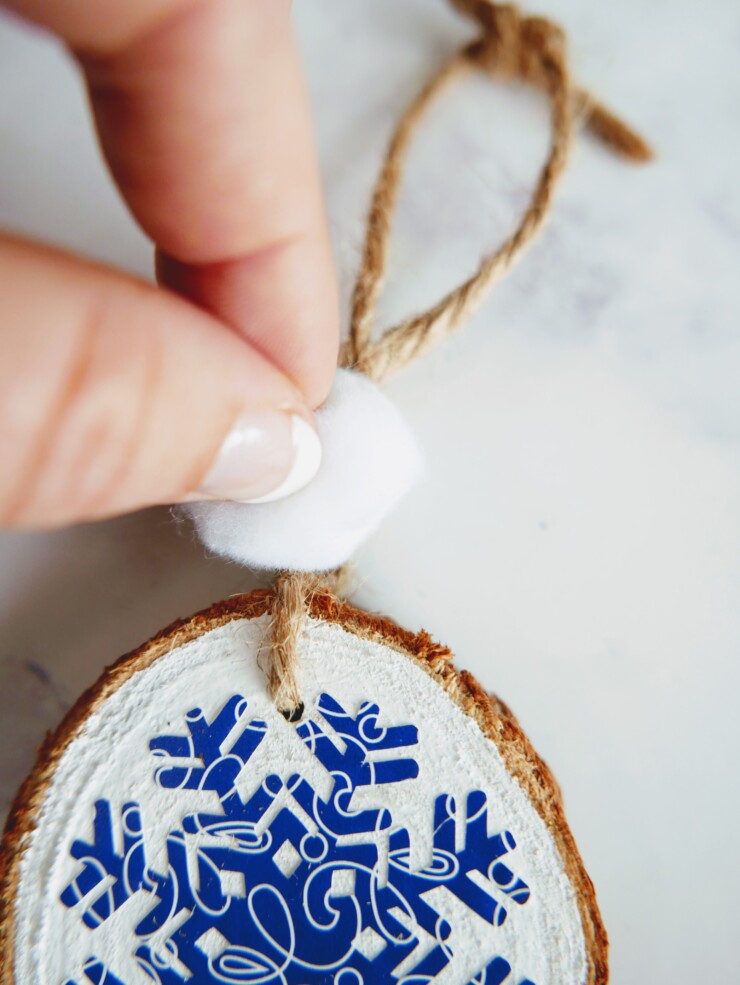
Apply hot glue between the two bottom knots. Attach one white pom pom to the glue.
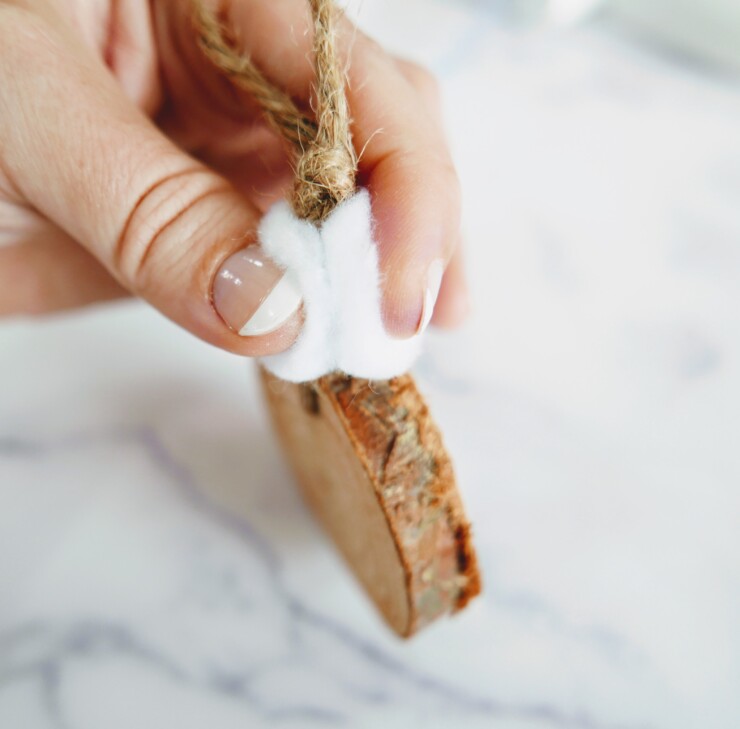
Flip over, and apply hot glue to the back of the pom pom. Place a second pom pom on the glue.
Hang and enjoy!


