
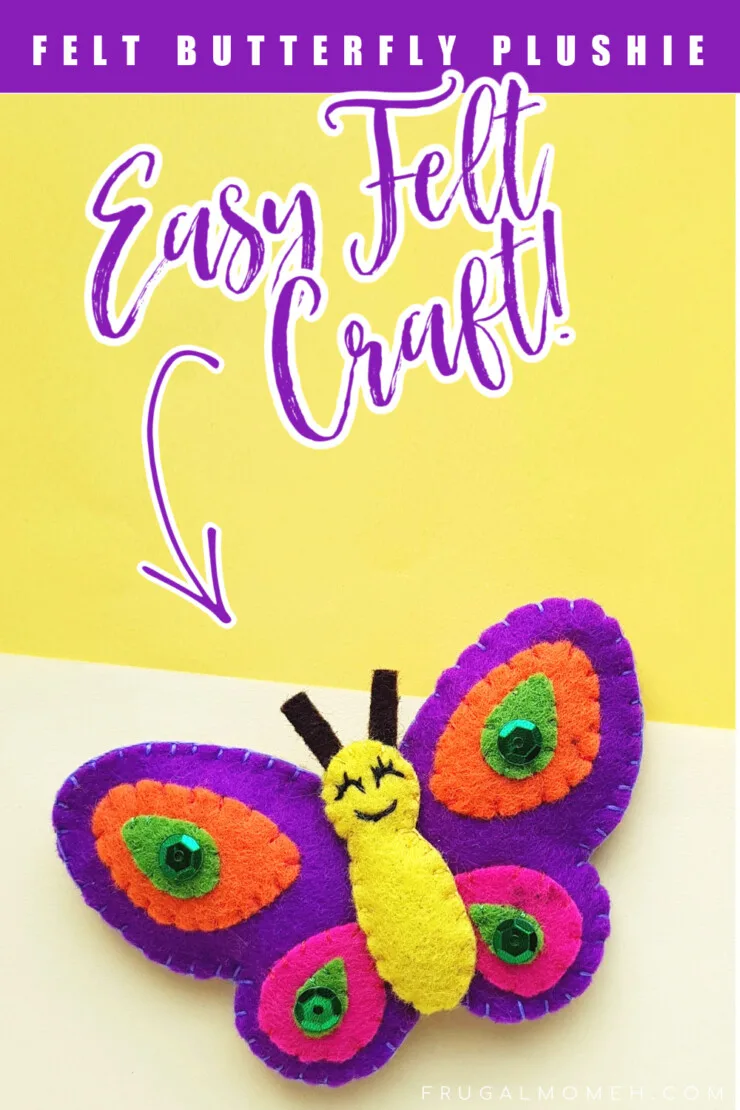
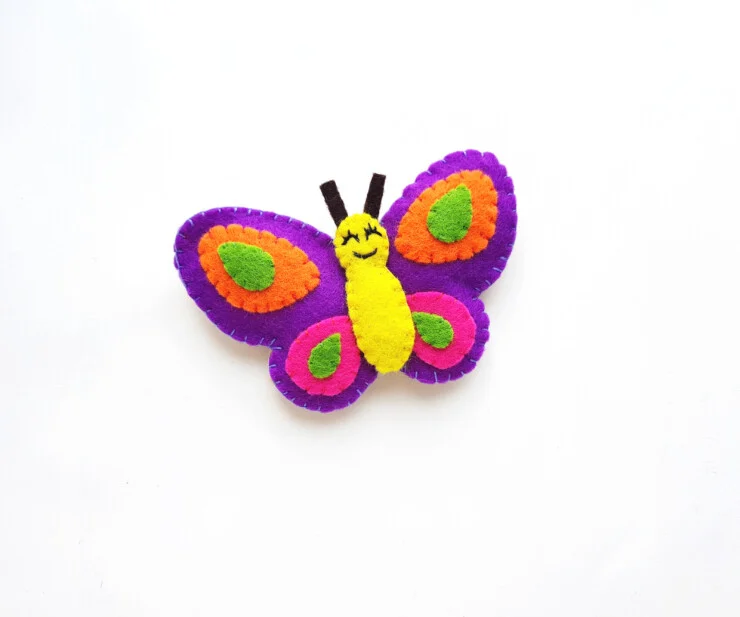
Make a smiling felt butterfly plushie using the free pattern and a few everyday craft supplies. This easy felt craft is a great first sewing project for older kids to accomplish themselves!
This felt butterfly plushie can be enjoyed as is or used to make an ornament, a magnet, for use in a quiet book, to decorate a wreath or picture frame plus I am sure you can come up with other fun ways to give this plushie more purpose.
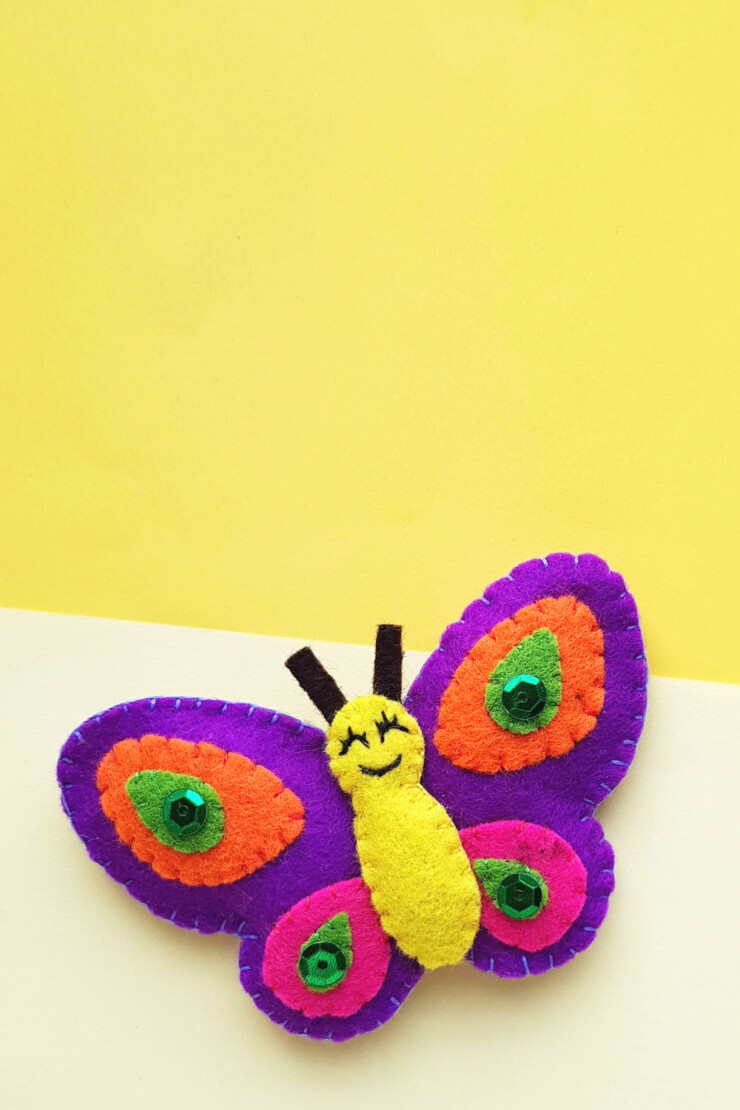
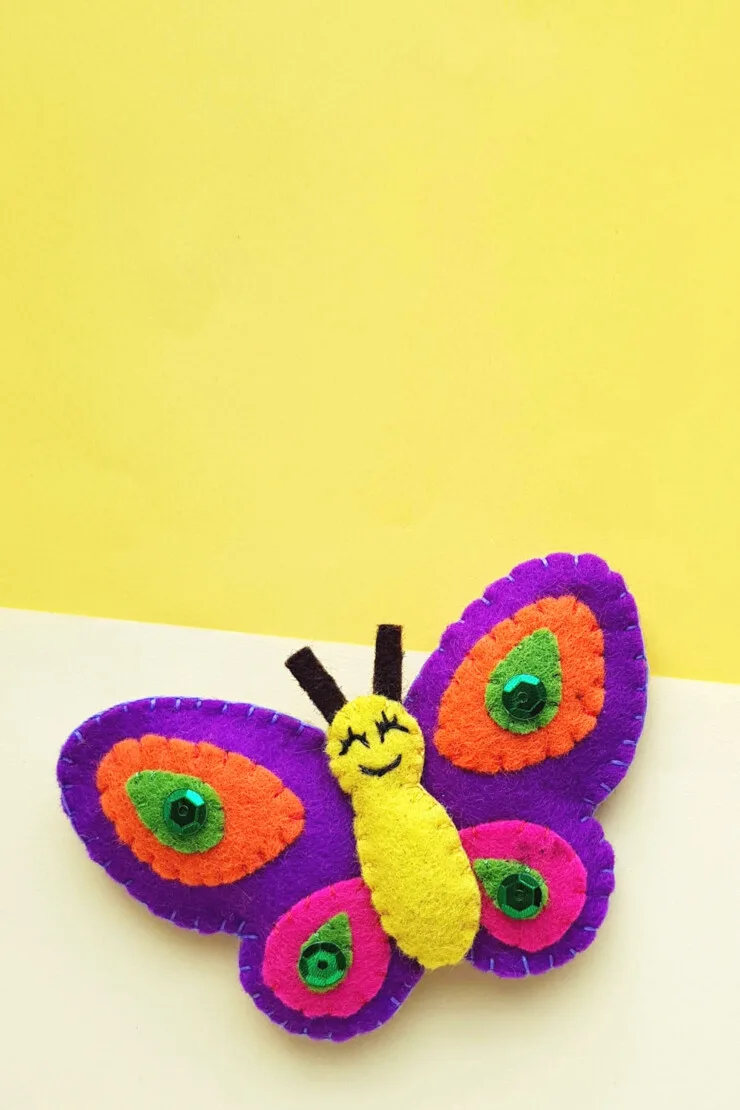
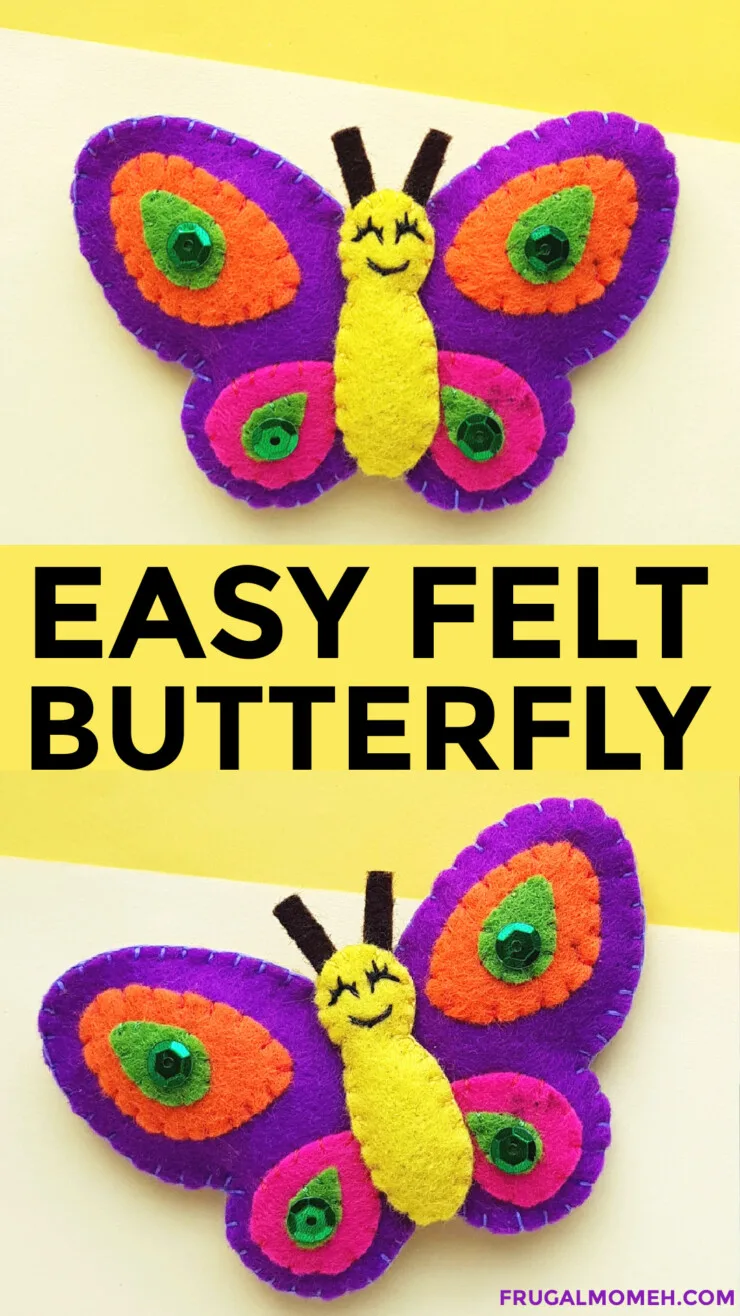
Felt Butterfly Plushie
Supplies:
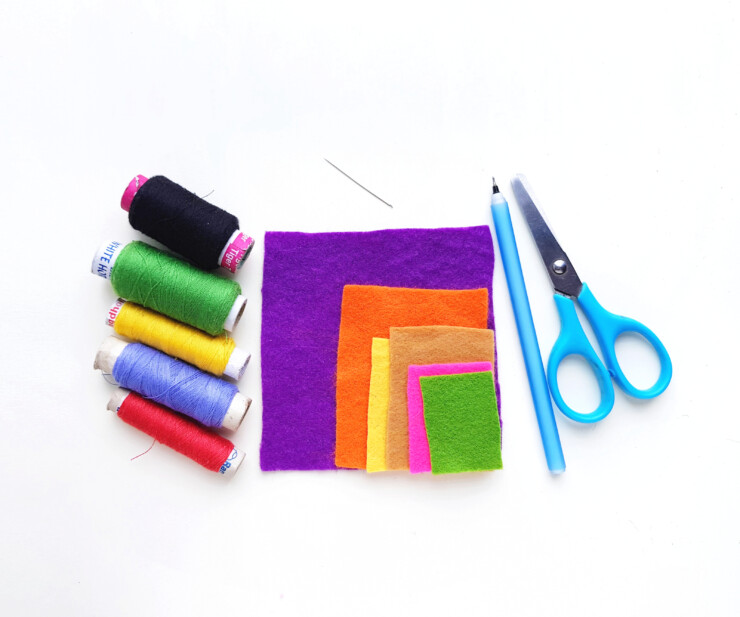
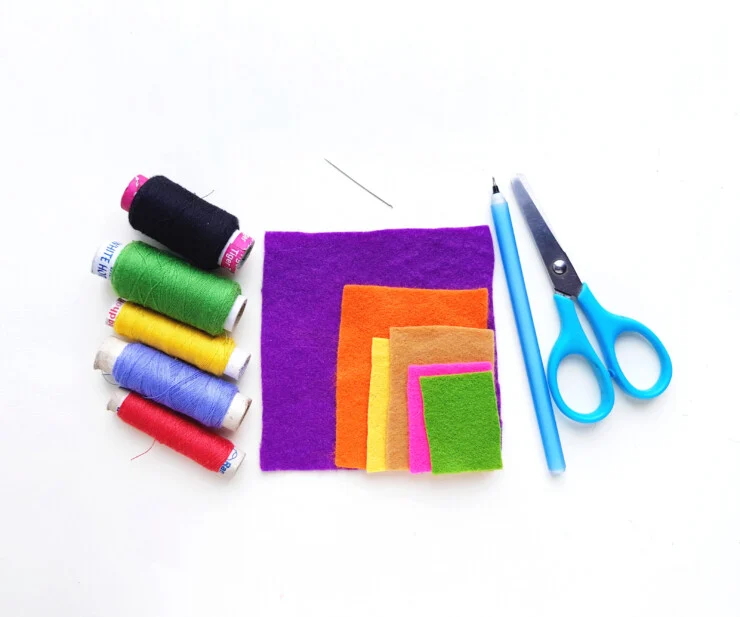
Colourful felt fabric
Needle and thread
Pencil
Fabric Scissors
Butterfly Template
Instructions:
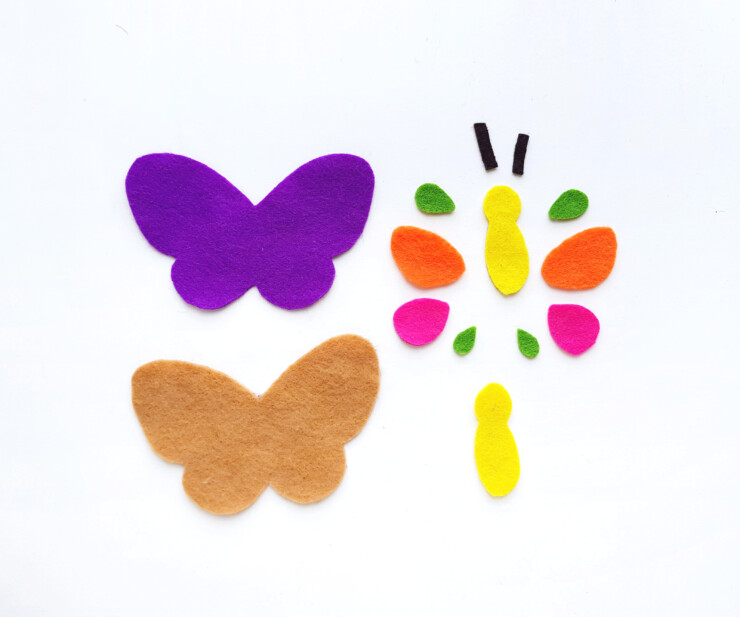
Select different coloured felt fabrics for the butterfly doll. Trace the butterfly patterns on the selected felts from the provided free template. Cut out the traced patterns as neatly as you can.
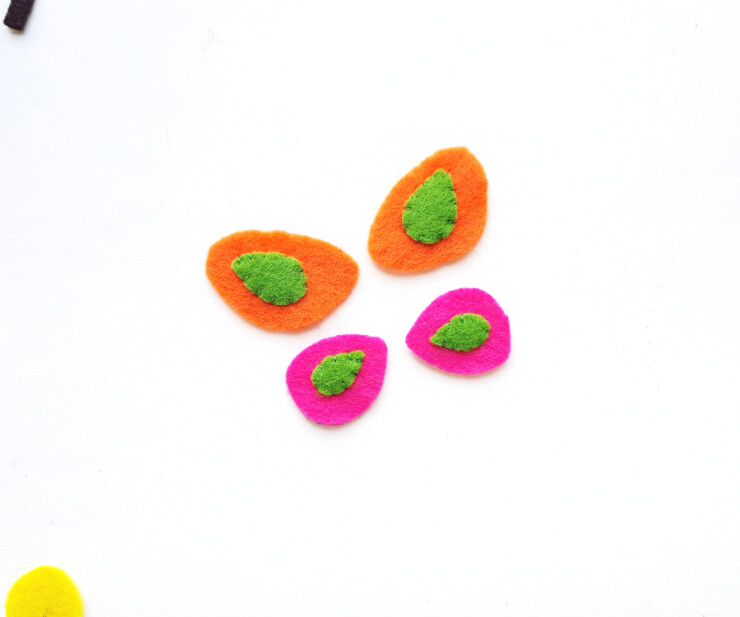
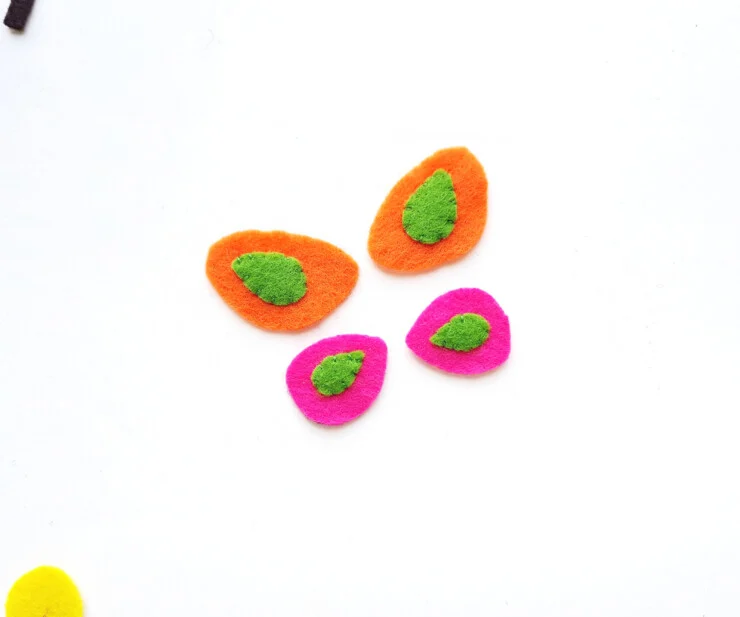
Grab the inner wing patterns. Stitch the smaller patterns in the middle of the bigger patterns.
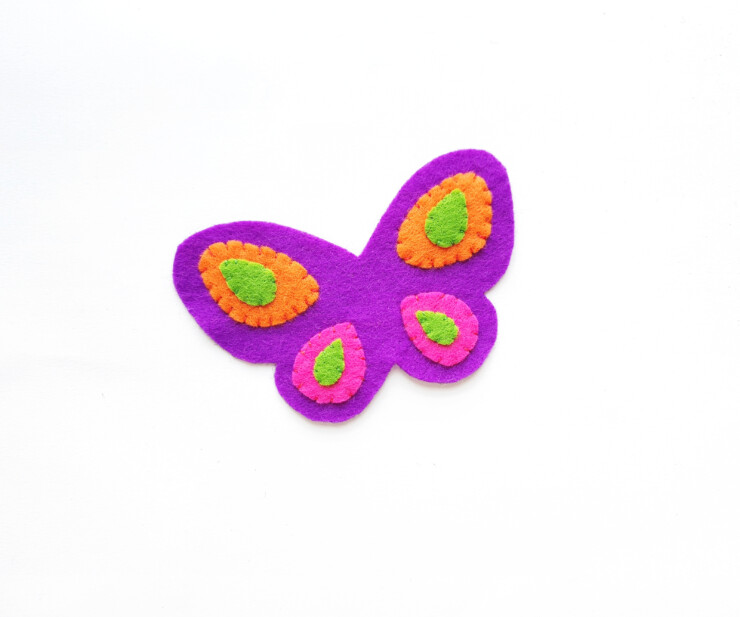
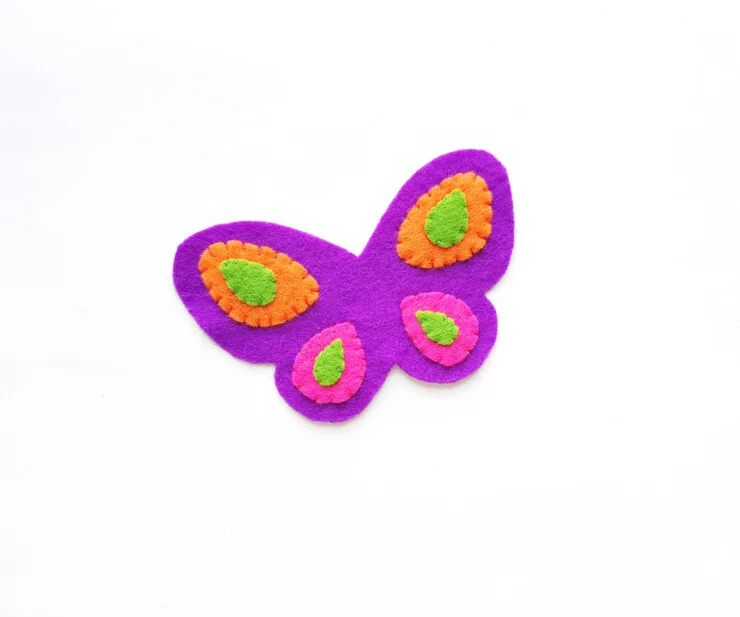
Now grab the main wing (the one you would like to use for the front side of the butterfly doll). Stitch the inner wing parts prepared in the previous step on the main wing pattern.

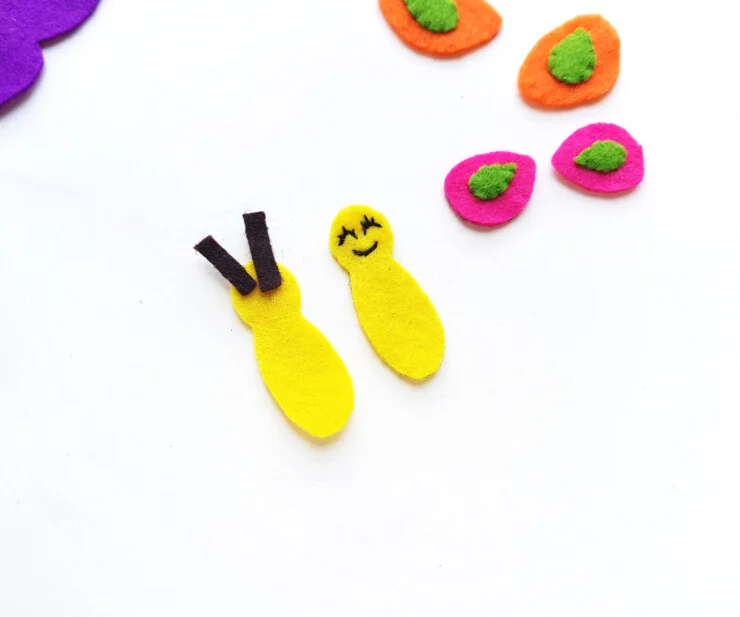
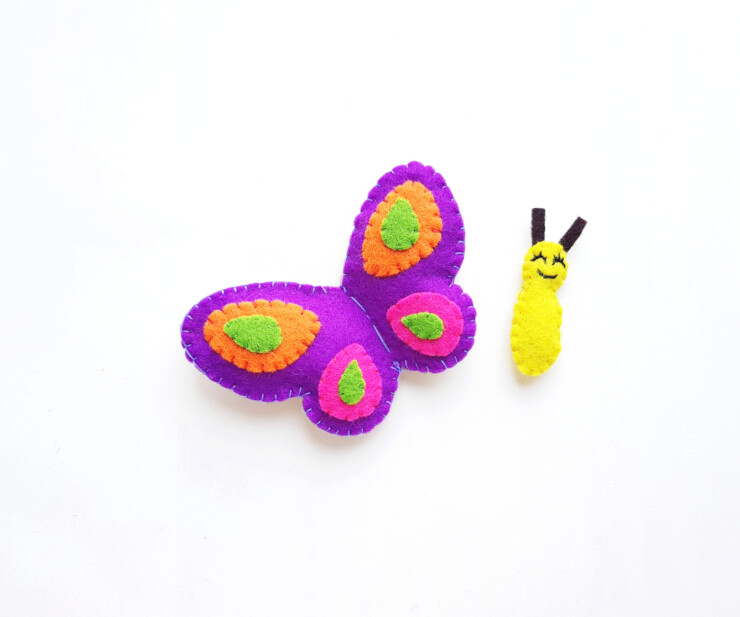
Take the body patterns and the antenna cutouts. Stitch the eyes and mouth of the butterfly doll on either of the body cutouts. Place the other body cutout on a flat surface and place the 2 antenna cutouts on the top side.

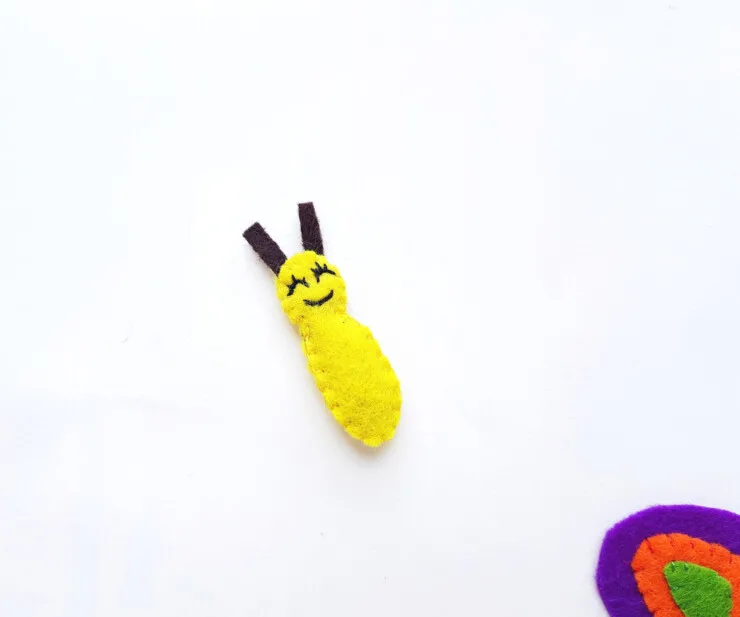
Place the stitched body pattern on the top of the plain one, keeping the antenna cutouts between them. Stitch around the sides of the body patterns and fill them with scrap felt to give the body a fluffy look.
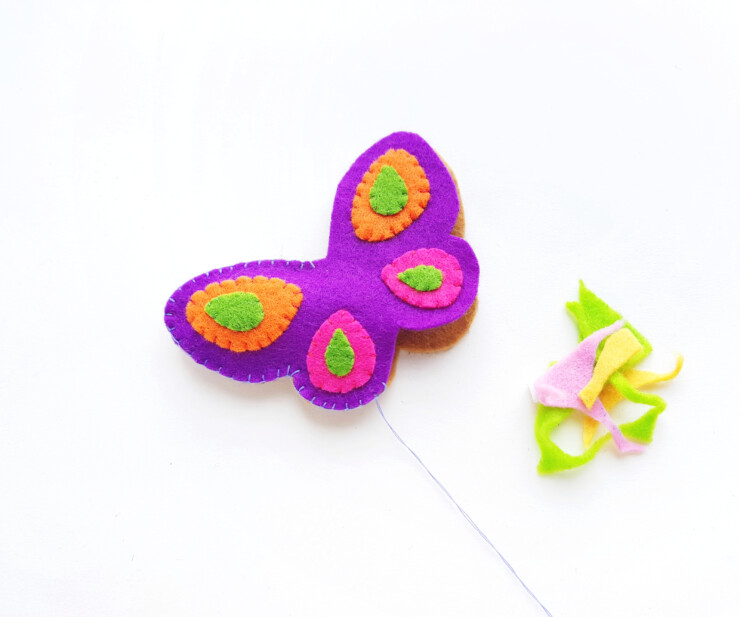
Place the 2 wing patterns together, keeping the patterned wing to the front side. Prepare matching needle and thread and start to stitch around the side of the wings to join them.
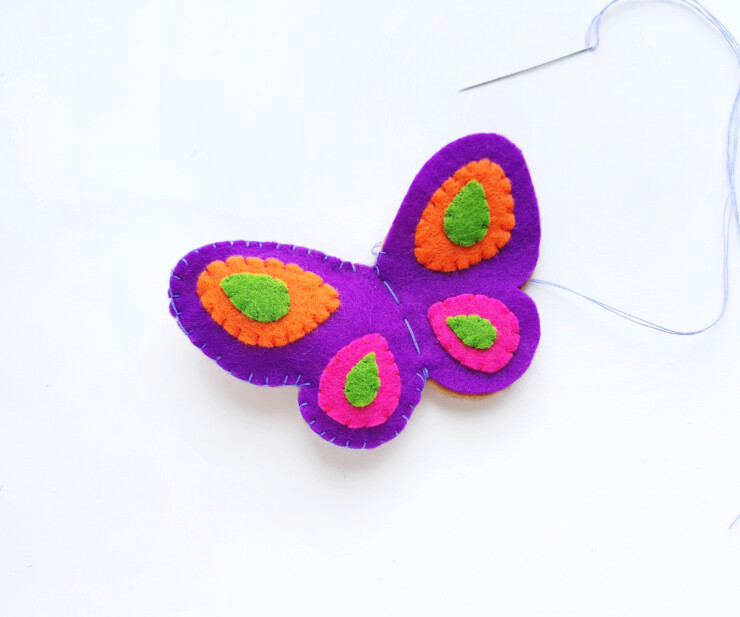
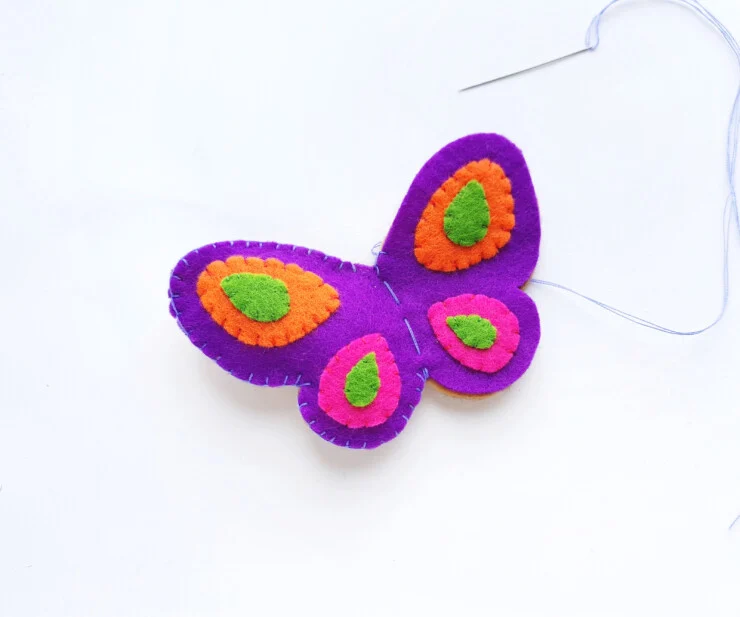
Keep a small opening to fill the wing. I’m using scrap felt to fill the felt wing.

Once you are done filling the felt wing stitch the open end to secure the filling. You can stitch along the middle line of the wing to flatten it.
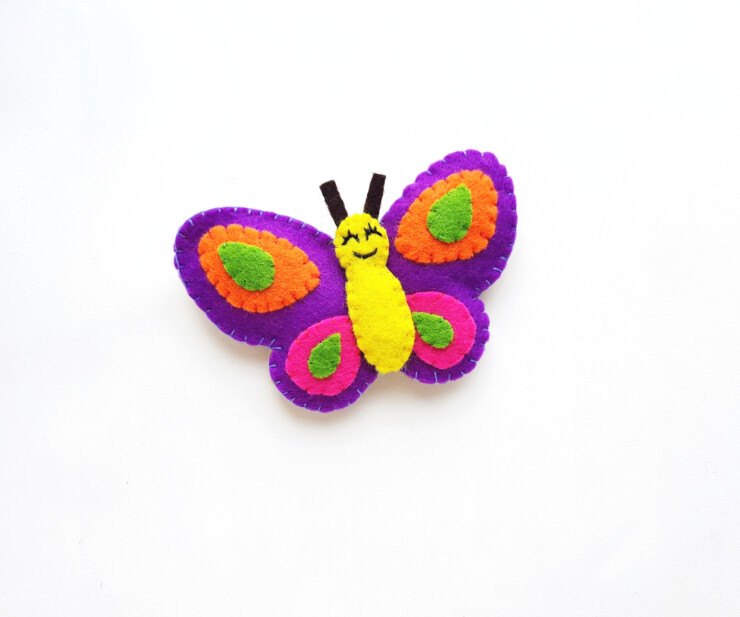
Stitch the body along the middle line of the wing pattern to complete the butterfly craft.


Elizabeth Lampman is a coffee-fuelled Mom of 2 girls and lives in Hamilton, Ontario. She enjoys travelling, developing easy recipes, crafting, taking on diy projects, travelling and saving money!