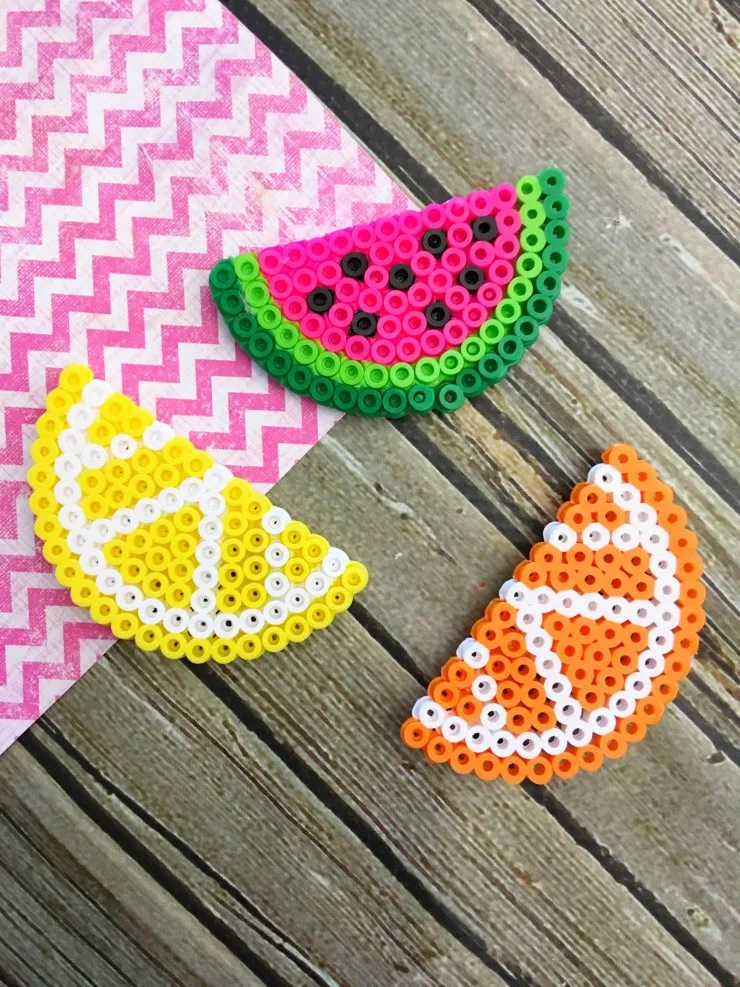
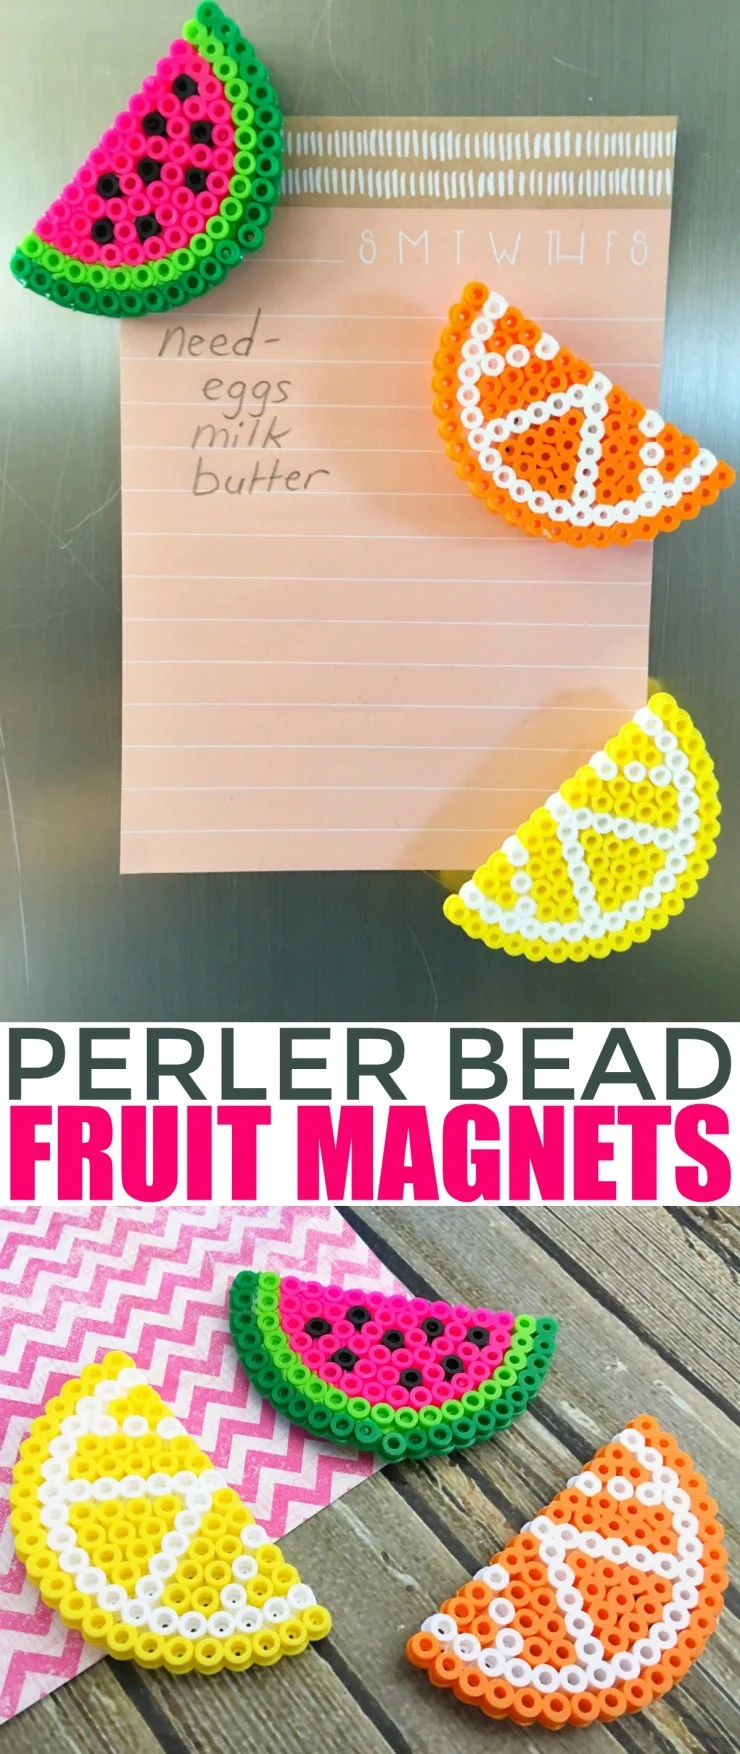
Learn how to make fruit perler bead magnets with this easy tutorial and free templates. This project is such a cute perler bead idea!

Perler beads are so much fun and are pretty versatile as far as projects you can make with them.
So I’m going to tackle a pretty easy project and share with you how to make perler bead magnets.
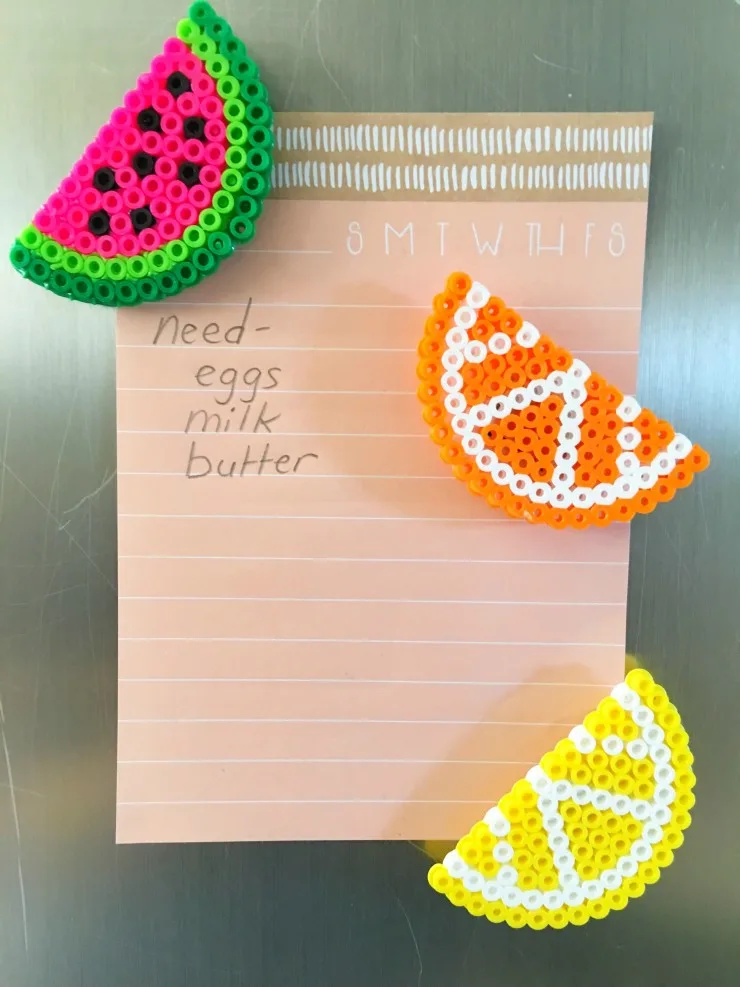
I love these bright and fruity designs. They look so vibrant and summery.
Of course you can use the same technique to create your own designs. Go wild!
How do you glue magnets to Perler beads?
If you cannot get magnets with a sticky back then you can glue them onto the perler bead designs with some strong craft glue.
Just apply a little glue to the back of the magnet and press and hold onto your perler bead project.
Let the glue dry before using.
What can I use instead of ironing paper for Perler beads?
If you do not have perler bead ironing paper on hand then you can safely use parchment paper as a replacement.
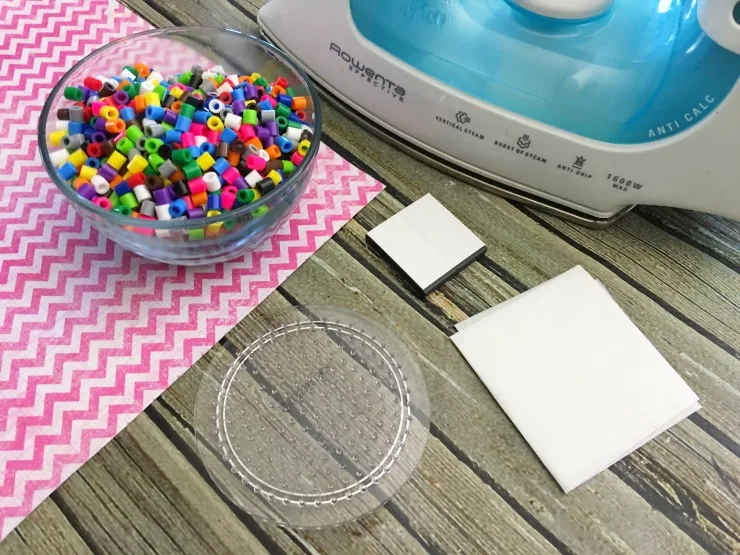
Fruit Perler Bead Magnets
Materials:
Printable Templates for: watermelon, lemon and orange
Mixed bag of Perler beads
Small circle pegboard
Perler beads Ironing paper
Magnets with peel off sticky backing
Iron
Tweezers (optional)
Directions:
1. Print off your templates to look at while you make your fruit slices
2. Place your circle pegboard so that you have the straight line in the center
3. Start by placing your beads on for the U shaped “peel” and working your way up to the center line
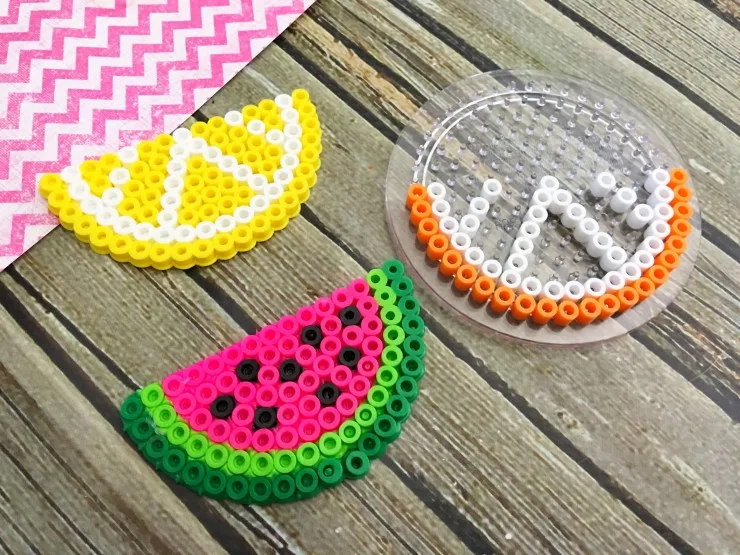
4. Next make your second line for the U shaped peel
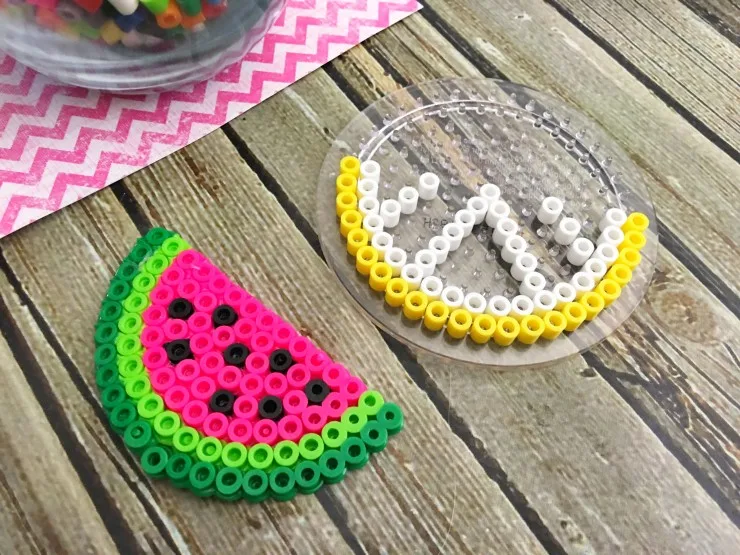
5. Now you can start making the designs in the center like the white lines or the black seeds
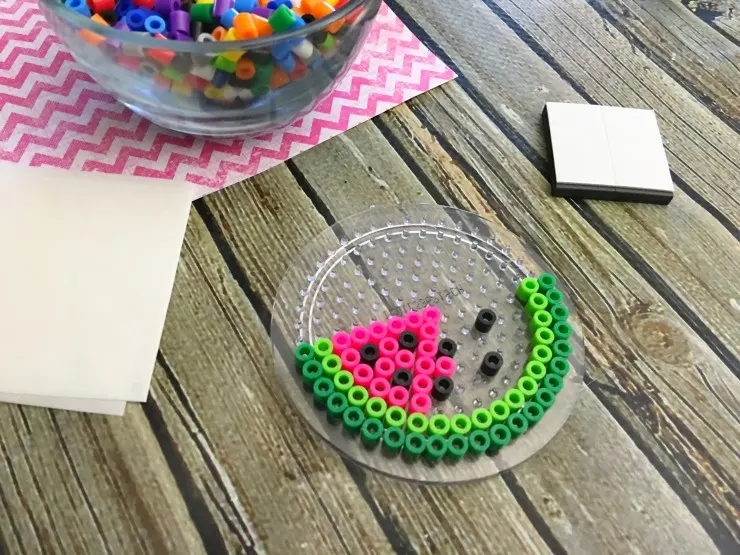
6. To finish your beading, fill in your U shape with the remaining yellow, pink, or orange beads
7. Carefully place a piece of ironing paper over the fruit slices
8. Press your iron down on the ironing paper for about 20 seconds
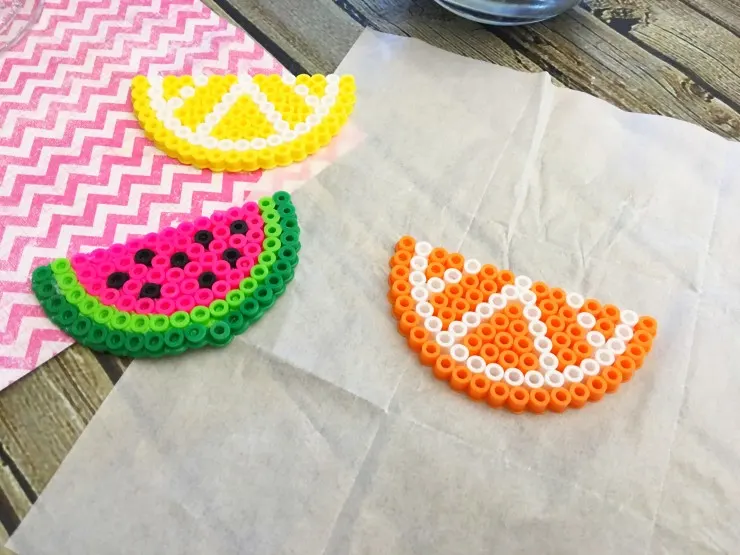
9. Carefully peel your paper off and the beads should come off attached
10. Now place another sheet of ironing paper over your fruit slices and iron for another 15 second
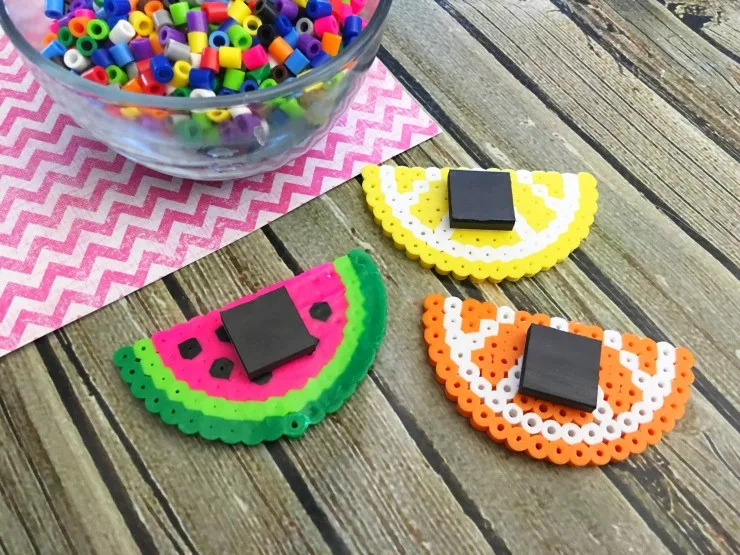
11. Let your fruit cool down and place one sticky back magnet on the back side
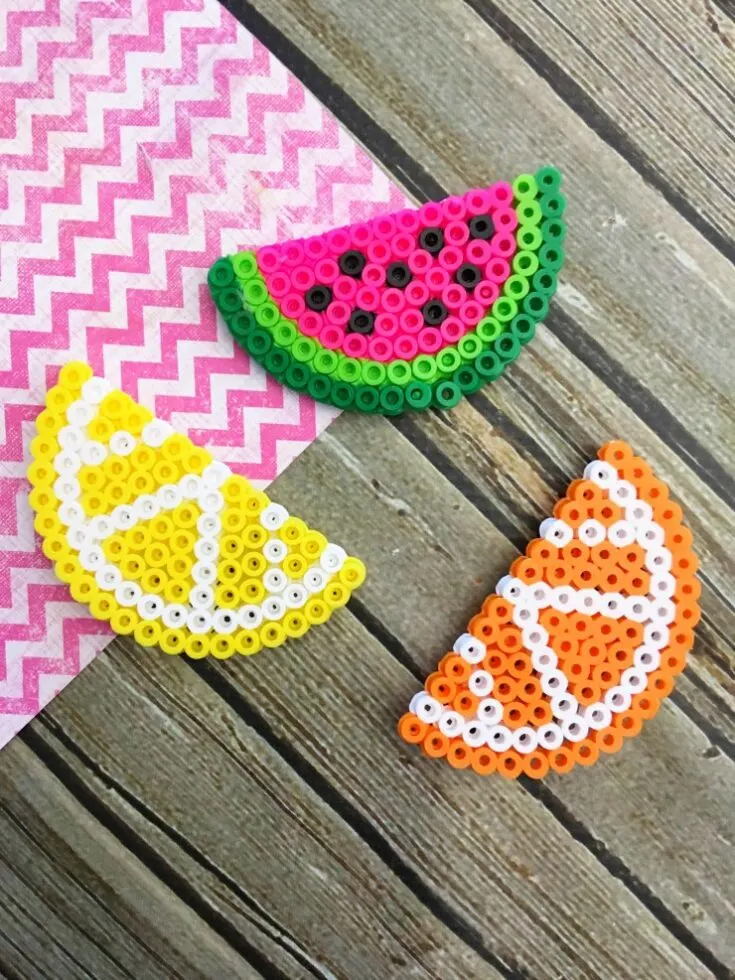
Fruit Perler Bead Magnets
Learn how to make fruit perler bead magnets with this easy tutorial and free templates. This project is such a cute perler bead idea!
Materials
- Printable Templates for: watermelon, lemon and orange
- Mixed bag of Perler beads
- Small circle pegboard
- Perler beads Ironing paper
- Magnets with peel off sticky backing
Tools
- Iron
- Tweezers, optional
Instructions
- Print off your templates to look at while you make your fruit slices.
- Place your circle pegboard so that you have the straight line in the center.
- Start by placing your beads on for the U shaped “peel” and working your way up to the center line.
- Next make your second line for the U shaped peel.
- Now you can start making the designs in the center like the white lines or the black seeds.
- To finish your beading, fill in your U shape with the remaining yellow, pink, or orange beads.
- Carefully place a piece of ironing paper over the fruit slices.
- Press your iron down on the ironing paper for about 20 seconds.
- Carefully peel your paper off and the beads should come off attached.
- Now place another sheet of ironing paper over your fruit slices and iron for another 15 second.
- Let your fruit cool down and place one sticky back magnet on the back side.
Tried this?
Tag your creations with #FrugalMomEh on Instagram & subscribe for more!

Elizabeth Lampman is a coffee-fuelled Mom of 2 girls and lives in Hamilton, Ontario. She enjoys travelling, developing easy recipes, crafting, taking on diy projects, travelling and saving money!


kathy downey
Sunday 14th of August 2016
My granddaughter will love making these thanks for the idea
Aimee
Saturday 16th of July 2016
So cute! I have a crafty daughter who will love this!